概要
MQTTブローカの "Shiftr.io" を使い始めるための備忘録です。
Shiftr.ioについては↓URLを参照してください。
https://shiftr.io/about
手順
1.アカウント作成
Shiftrにアクセスして「Sign up」からアカウントを作成します。
https://shiftr.io/
2.namespace作成
siftrはnamespaceと呼ばれるプロジェクト単位でMQTTブローカを管理できるようです。
ログイン後、New Namespaceからnamespaceを作成します。

3.namespace設定
namespaceの名前と公開設定を行います。テスト用なので、公開設定をPrivateにするためチェックを入れています。
Desciptionはnamespaceの説明で、必要に応じて設定します。入力後、Create Namespaceで設定を完了しnamespaceを生成します。

4.token作成
namespaceの生成後、MQTTブローカの状態が表示されます。
次に接続トークンを追加します。
まずはNamespace Settingsを開きます。

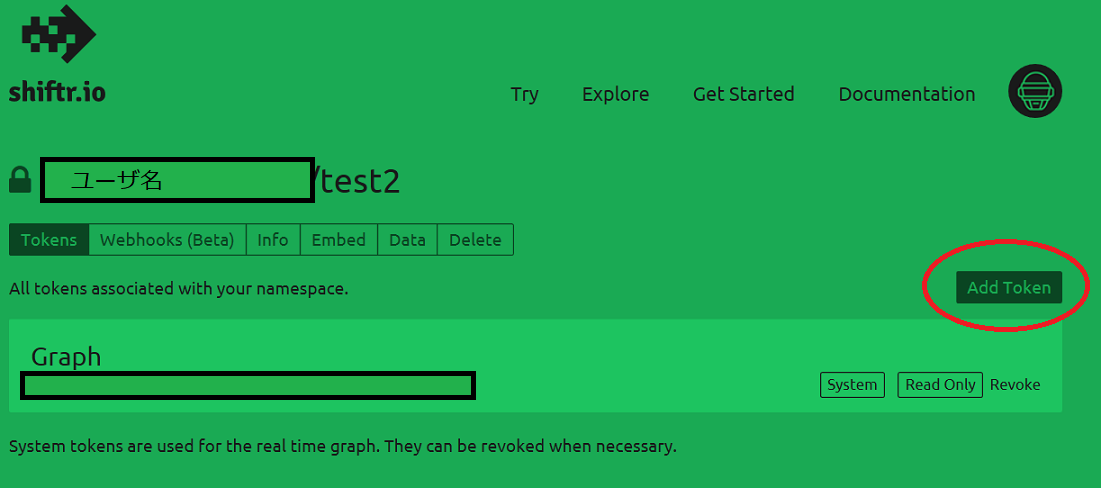
Namespace settingを開いたら、Add Tokenを選択します。
Add Token画面が開くと、デフォルトのKeyとSecretが入力されています。
ここはそのままにして、Permissionを選択します。
"full-acess" か "reead -onry"が選択可能です。
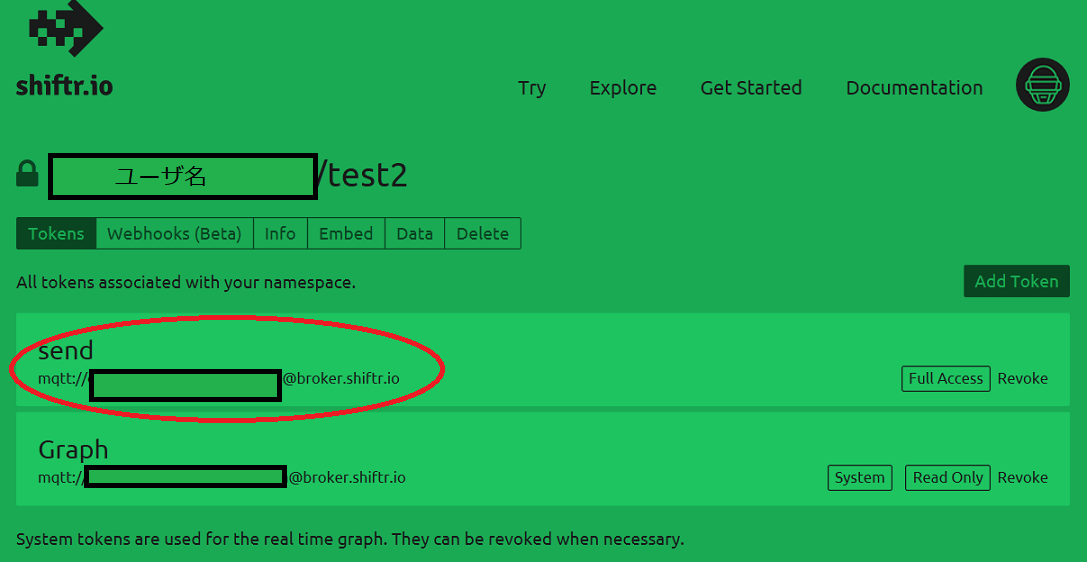
Descriptionに接続トークン名を入力します。今回は「send」としています。
入力が終わったら"Create Token"をクリックしてトークンを生成します。

5.トークンのURL確認
トークン生成後、Namespace Settings画面に遷移します。
トークン名の下部に接続URLが表示されています。
このURLをMQTTのpub/subに設定します。


