はじめに
今回はサーバー(Server)側の開発をすることなく、Unityにてログイン機能を追加する方法について記事をあげさせていただきます。
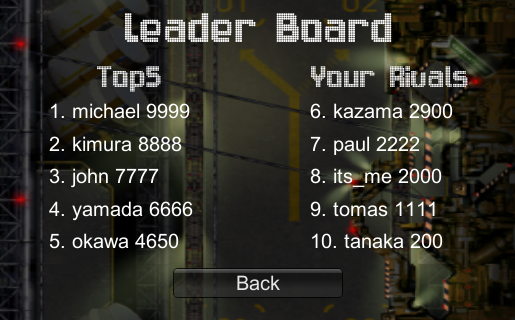
目指す画面としてはこのようなイメージです。

準備するもの
動作環境
MacOS : 10.13.3
Unity : 2019.2.8f1
mBaaS : Unity SDK v4.0.3
基本最新版に近いものなら大丈夫そう。
手順
まずは下記サイトを参考にSDKを導入までを行ってください。
クイックスタート
Unityを触ったことのある人なら、
約20分ほどで終わります。
その後
・ログイン機能を作る
・ハイスコアをサーバーに保存する
・[ハイスコアランキング機能を作る]
(https://mbaas.nifcloud.com/doc/current/tutorial/unity_highscore.html)
の順番で進めてまいります。
今回はサーバー側の開発をしないで、
ログイン機能を実装していきます。
ログイン機能を作る
1.概要
ゲーム開始時のログイン画面をニフクラ mobile backend(サーバー側)を無料で使用して表示できるようにします。
この時、できるようにする機能は
・ ログイン機能
・ 新規プレイヤー登録
ログイン画面とメインゲーム画面をそれぞれ別のシーンに分けて実装していきます。
2. シーンファイルのダウンロード
ダウンロードしたシーンをUnity側のSceneファイルに入れます
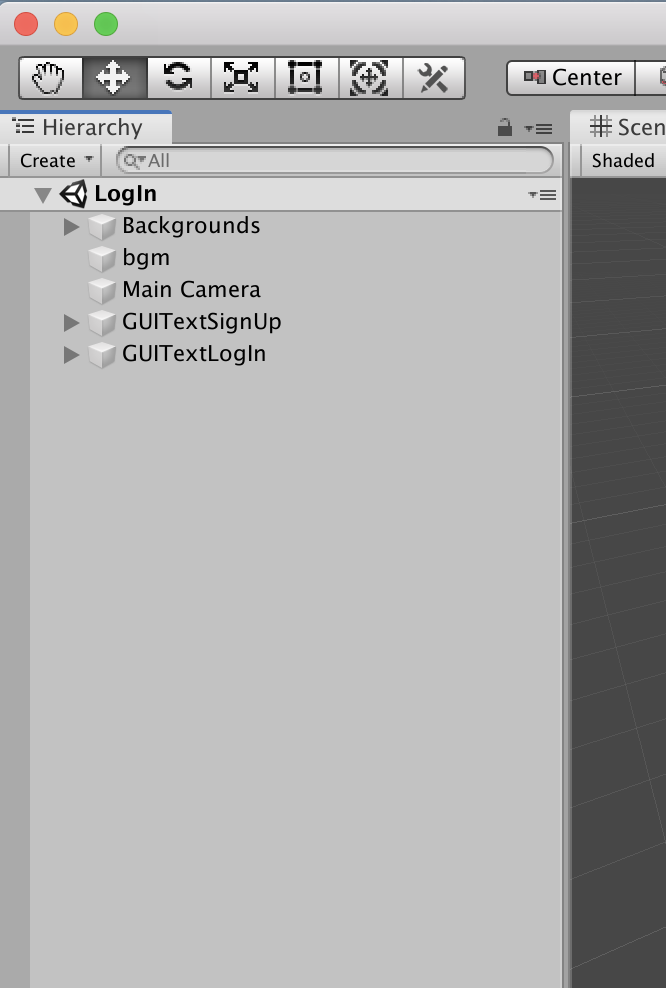
シーンを開きますと、ダウンロードしたシーンの中に画面に表示するテキストは下図のように用意されています。

ニフクラ mobile backend(サーバー側)と通信して下記の機能を追加する。
ログイン機能
・ログイン
・ログアウト
・新規登録
・ログイン中のプレイヤーのIDの取得を行う機能
さてこんなに欲張って一気に追加できるのか??
3.ニフクラ mobile backend(サーバー側) ログイン機能と新規登録
ログイン機能
・ログイン
・ログアウト
・新規登録
をUnity側に一気に実装していきます。
会員管理機能を使うにはNCMBUserクラスを使用します。
- LogInシーンに空のGame Objectを作成
- 名前を「UserAuth」にする
- 同名のC#スクリプト作成し以下の内容にします
- UserAuthにUserAuth.csをアタッチする
using UnityEngine;
using System.Collections;
using NCMB;
using System.Collections.Generic;

public class UserAuth : MonoBehaviour {
  private string currentPlayerName;
  // mobile backendに接続してログイン ------------------------
  public void logIn( string id, string pw ) {
    NCMBUser.LogInAsync (id, pw, (NCMBException e) => {
    // 接続成功したら
    if( e == null ){
      currentPlayerName = id;
    }
    });
}

  // mobile backendに接続して新規会員登録 ------------------------
  public void signUp( string id, string mail, string pw ) {
    NCMBUser user = new NCMBUser();
    user.UserName = id;
    user.Email    = mail;
    user.Password = pw;
    user.SignUpAsync((NCMBException e) => {
    if( e == null ){
      currentPlayerName = id;
    }
      });
  }

  // mobile backendに接続してログアウト ------------------------
  public void logOut() {
    NCMBUser.LogOutAsync ( (NCMBException e) => {
    if( e == null ){
      currentPlayerName = null;
    }
    });
  }

  // 現在のプレイヤー名を返す --------------------
  public string currentPlayer()
  {
    return currentPlayerName;
  }
}
Unity側で扱うメソッドとして
ログイン機能
ログイン->「NCMBUser.LogInAsync」
ログアウト->「NCMBUser.SignUpAsync」
新規登録->「NCMBUser.LogOutAsync」
を使います。
とりあえず、こちらは置いておいて次に行きます。
4.ログイン画面と新規登録画面を切り替える
ログイン機能をもつ画面と新規登録するための画面を切り変える準備をしていきます。
- LogInシーンに空のGame Objectを作成
- 名前を「LogInManager」にする
- 同名のC#スクリプト作成し以下の内容にします
- LogInManagerにLogInManager.csをアタッチする
using UnityEngine;
using System.Collections;

public class LogInManager : MonoBehaviour {

  private GameObject guiTextLogIn;   // ログインテキスト
  private GameObject guiTextSignUp;  // 新規登録テキスト

  // ログイン画面のときtrue, 新規登録画面のときfalse
  private bool isLogIn;

  // ボタンが押されると対応する変数がtrueになる
  private bool logInButton;
  private bool signUpMenuButton;
  private bool signUpButton;
  private bool backButton;

  // テキストボックスで入力される文字列を格納
  public string id;
  public string pw;
  public string mail;

  void Start () {

    FindObjectOfType<UserAuth>().logOut();

    // ゲームオブジェクトを検索し取得する
    guiTextLogIn  = GameObject.Find ("GUITextLogIn");
    guiTextSignUp = GameObject.Find ("GUITextSignUp");

    isLogIn = true;
    guiTextSignUp.SetActive (false);
    guiTextLogIn.SetActive (true);

  }

  void OnGUI () {

    // ログイン画面
    if( isLogIn ){

      drawLogInMenu();

      // ログインボタンが押されたら
      if( logInButton )
         FindObjectOfType<UserAuth>().logIn( id, pw );

      // 新規登録画面に移動するボタンが押されたら
      if( signUpMenuButton )
         isLogIn = false;
    }

    // 新規登録画面
    else {

      drawSignUpMenu();

      // 新規登録ボタンが押されたら
      if( signUpButton )
         FindObjectOfType<UserAuth>().signUp( id, mail, pw );

      // 戻るボタンが押されたら
      if( backButton )
         isLogIn = true;
    }

    // currentPlayerを毎フレーム監視し、ログインが完了したら
    if( FindObjectOfType<UserAuth>().currentPlayer() != null )
       Application.LoadLevel("Stage");

  }

  private void drawLogInMenu()
  {
    // テキスト切り替え
    guiTextSignUp.SetActive (false);
    guiTextLogIn.SetActive (true);

    // テキストボックスの設置と入力値の取得
    GUI.skin.textField.fontSize = 20;
    int txtW = 150, txtH = 40;
    id = GUI.TextField     (new Rect(Screen.width*1/2, Screen.height*1/3 - txtH*1/2, txtW, txtH), id);
    pw = GUI.PasswordField (new Rect(Screen.width*1/2, Screen.height*1/2 - txtH*1/2, txtW, txtH), pw, '*');

    // ボタンの設置
    int btnW = 180, btnH = 50;
    GUI.skin.button.fontSize = 20;
    logInButton      = GUI.Button( new Rect(Screen.width*1/4 - btnW*1/2, Screen.height*3/4 - btnH*1/2, btnW, btnH), "Log In" );
    signUpMenuButton = GUI.Button( new Rect(Screen.width*3/4 - btnW*1/2, Screen.height*3/4 - btnH*1/2, btnW, btnH), "Sign Up" );

  }

  private void drawSignUpMenu()
  {
    // テキスト切り替え
    guiTextLogIn.SetActive (false);
    guiTextSignUp.SetActive (true);

    // テキストボックスの設置と入力値の取得
    int txtW = 150, txtH = 35;
    GUI.skin.textField.fontSize = 20;
    id = GUI.TextField     (new Rect(Screen.width*1/2, Screen.height*1/4 - txtH*1/2, txtW, txtH), id);
    pw = GUI.PasswordField (new Rect(Screen.width*1/2, Screen.height*2/5 - txtH*1/2, txtW, txtH), pw, '*');
    mail = GUI.TextField   (new Rect(Screen.width*1/2, Screen.height*11/20 - txtH*1/2, txtW, txtH), mail);

    // ボタンの設置
    int btnW = 180, btnH = 50;
    GUI.skin.button.fontSize = 20;
    signUpButton = GUI.Button( new Rect(Screen.width*1/4 - btnW*1/2, Screen.height*3/4 - btnH*1/2, btnW, btnH), "Sign Up" );
    backButton   = GUI.Button( new Rect(Screen.width*3/4 - btnW*1/2, Screen.height*3/4 - btnH*1/2, btnW, btnH), "Back" );
  }

}
これによって、Unity側でログイン機能画面と新規登録画面をボタンで切り替えられるようになります。
5.UserAuthに追加してシングルトン化する
 // シングルトン化する ------------------------

  private UserAuth instance = null;
  void Awake ()
  {
    if (instance == null) {
      instance = this;
      DontDestroyOnLoad (gameObject);

      string name = gameObject.name;
      gameObject.name = name + "(Singleton)";

      GameObject duplicater = GameObject.Find (name);
      if (duplicater != null) {
        Destroy (gameObject);
      } else {
        gameObject.name = name;
      }
    } else {
      Destroy (gameObject);
    }
  }
これにより他のシーンでもUserAuthを使得るようになります。
6.タイトル画面にメニューを作る
Unity側で
- Manegerオブジェクトを作成する
- 同名のC#スクリプト作成し以下の内容に書き換え
ニフクラ mobile backend(サーバー側)と通信して下記の機能を追加する
・ログイン中のプレイヤーのIDの取得を行う機能
using UnityEngine;

public class Manager : MonoBehaviour
{
  // Playerプレハブ
  public GameObject player;

  // タイトル
  private GameObject title;

  // ボタンが押されると対応する変数がtrueになる
  private bool leaderBoardButton;
  private bool commentButton;
  private bool logOutButton;

  void Start ()
  {
    // Titleゲームオブジェクトを検索し取得する
    title = GameObject.Find ("Title");
  }

  void OnGUI() {
    if( !IsPlaying() ){
      drawButton();

      // ログアウトボタンが押されたら
      if( logOutButton )
         FindObjectOfType<UserAuth> ().logOut ();

      // 画面タップでゲームスタート
      if ( Event.current.type == EventType.MouseDown)
         GameStart ();
    }

    // ログアウト完了してたらログインメニューに戻る
    if( FindObjectOfType<UserAuth>().currentPlayer() == null )
      Application.LoadLevel("Login");
  }

  void GameStart() {
    // ゲームスタート時に、タイトルを非表示にしてプレイヤーを作成する
    title.SetActive (false);
    Instantiate (player, player.transform.position, player.transform.rotation);
  }

  public void GameOver() {
    FindObjectOfType<Score> ().Save ();
    // ゲームオーバー時に、タイトルを表示する
    title.SetActive (true);
  }

  public bool IsPlaying () {
    // ゲーム中かどうかはタイトルの表示/非表示で判断する
    return title.activeSelf == false;
  }

  private void drawButton() {
    // ボタンの設置
    int btnW = 140, btnH = 50;
    GUI.skin.button.fontSize = 18;
    leaderBoardButton = GUI.Button( new Rect(0*btnW, 0, btnW, btnH), "Leader Board" );
    commentButton     = GUI.Button( new Rect(1*btnW, 0, btnW, btnH), "Comment" );
    logOutButton      = GUI.Button( new Rect(2*btnW, 0, btnW, btnH), "Log Out" );
  }
}
ログイン画面の実装と同様でボタンと遷移の実装をしました。
IsPlaying ()メソッドで現在Play中かの判断もできるようになりましたね。
実行結果(Unity側)
・ 新規登録(Sign Up)
- ここまで作成し実行します
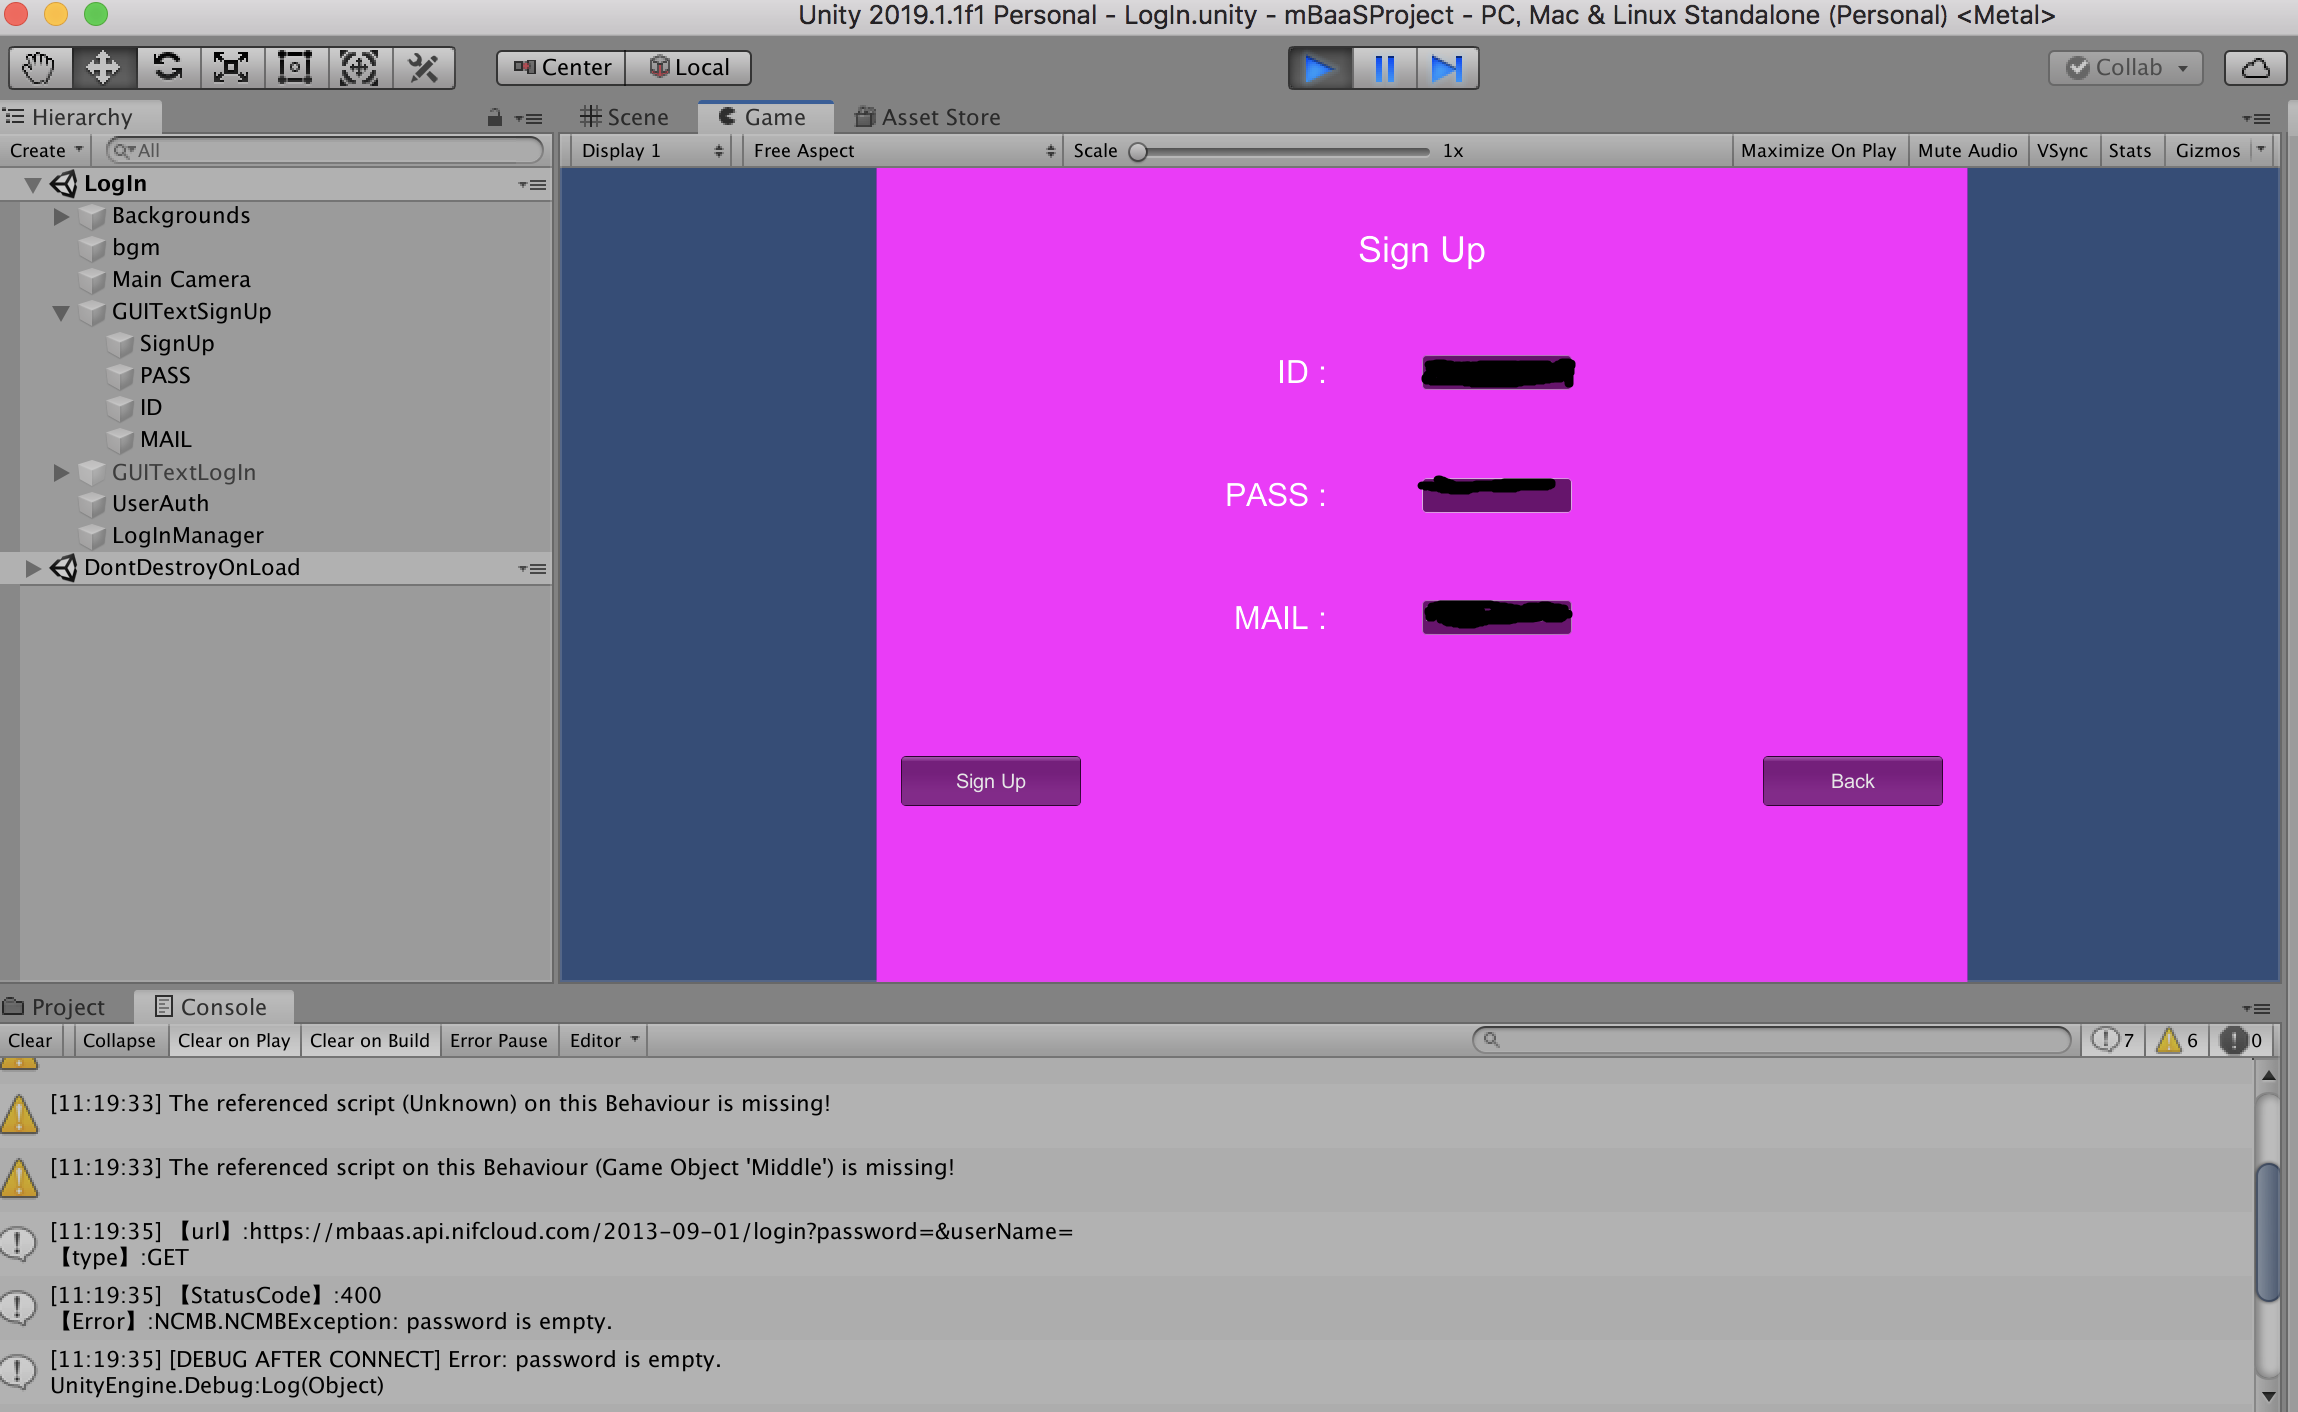
- 右下の「Sign Up」ボタンを押すと以下のようなログイン機能画面が出ます

- ID、PASS、Mailの内容を入力し、左にある「Sign Up」ボタンを押す
- 次のようなログが出れば成功

・ ログイン(Log In)
- 実行します
- ID、PASSの内容を入力し、左にある「Log In」ボタンを押す
- 次のようなログが出れば成功

ここまでできれば会員登録完了です!
では本当に会員登録できているのか
ニフクラ mobile backend
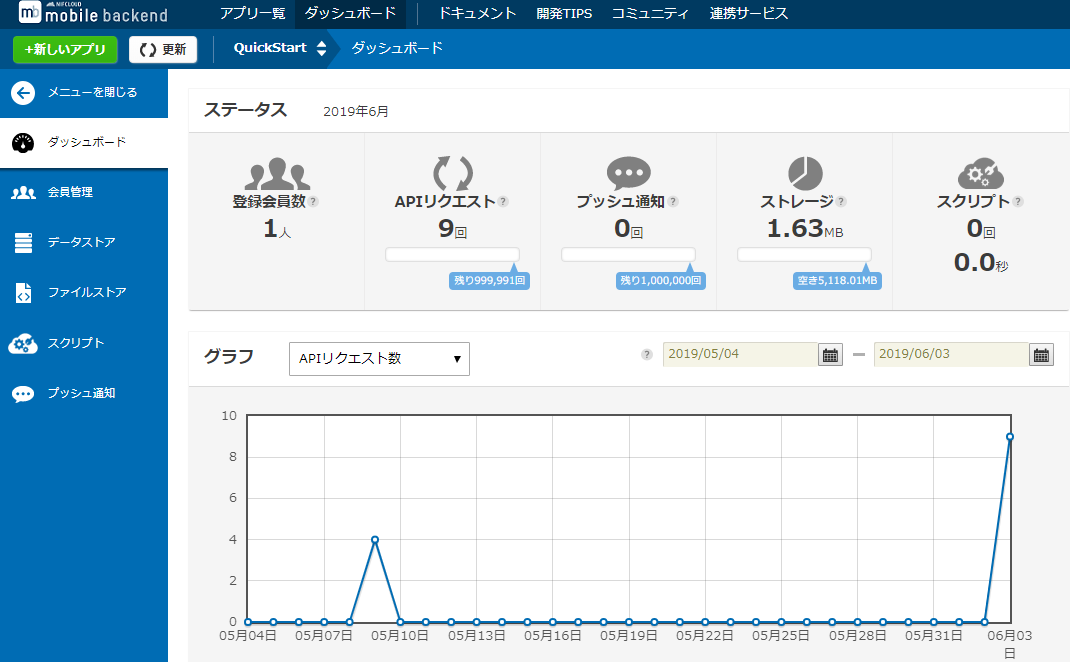
にログインし会員数確認してみましょう~
見事会員数1人になっていました!!
もう一度同じ手順を踏めば2,3人と繰り返し会員登録することが可能になります!!
さいごに
Unityで作成したゲームをPlayerに提供するのであればログイン画面は欠かせない存在です。
ログイン機能などを沢山いれたい欲張りさんの期待に応えてくれて、
約30分ほどでログイン画面を作成し登録できてしまいました!
こんなに簡単に実装できたのも全て、
ニフクラ mobile backend(サーバー側)のおかげですね。
Unityとニフクラ mobile backend(サーバー側)はスムーズに開発でき、とても仲良しな気がします!
次回のハイスコアをサーバーに保存するときもUnityとニフクラ mobile backend(サーバー側)をどんどん使っていきますよ~!
