はじめに
これからOutSystemsを使ってみたいと考えている方向けの記事です。
OutSystemsには「OutSystems11(O11)」と「OutSystems Developer Cloud(ODC)」の2つのプラットフォームがありますが、本記事ではO11を使用します。
ODCは10日間の無償期間しか自由に使えないので…。
2つの違いについて詳しく知りたい方は、以下の記事が参考になるかと思います。
O11とODCで開発方法にほとんど違いはないのでご安心ください。
1.アカウント作成
以下のページの入力フォームに必要な情報を入れ、Agree and Start freeボタンを押します。

以下のページへ遷移し、招待メールが届きます。
(届かない場合は迷惑メールに分類されているかも)

招待メールのActivate accountボタンを押します。

先ほど設定したメールアドレスとパスワードでログインします。
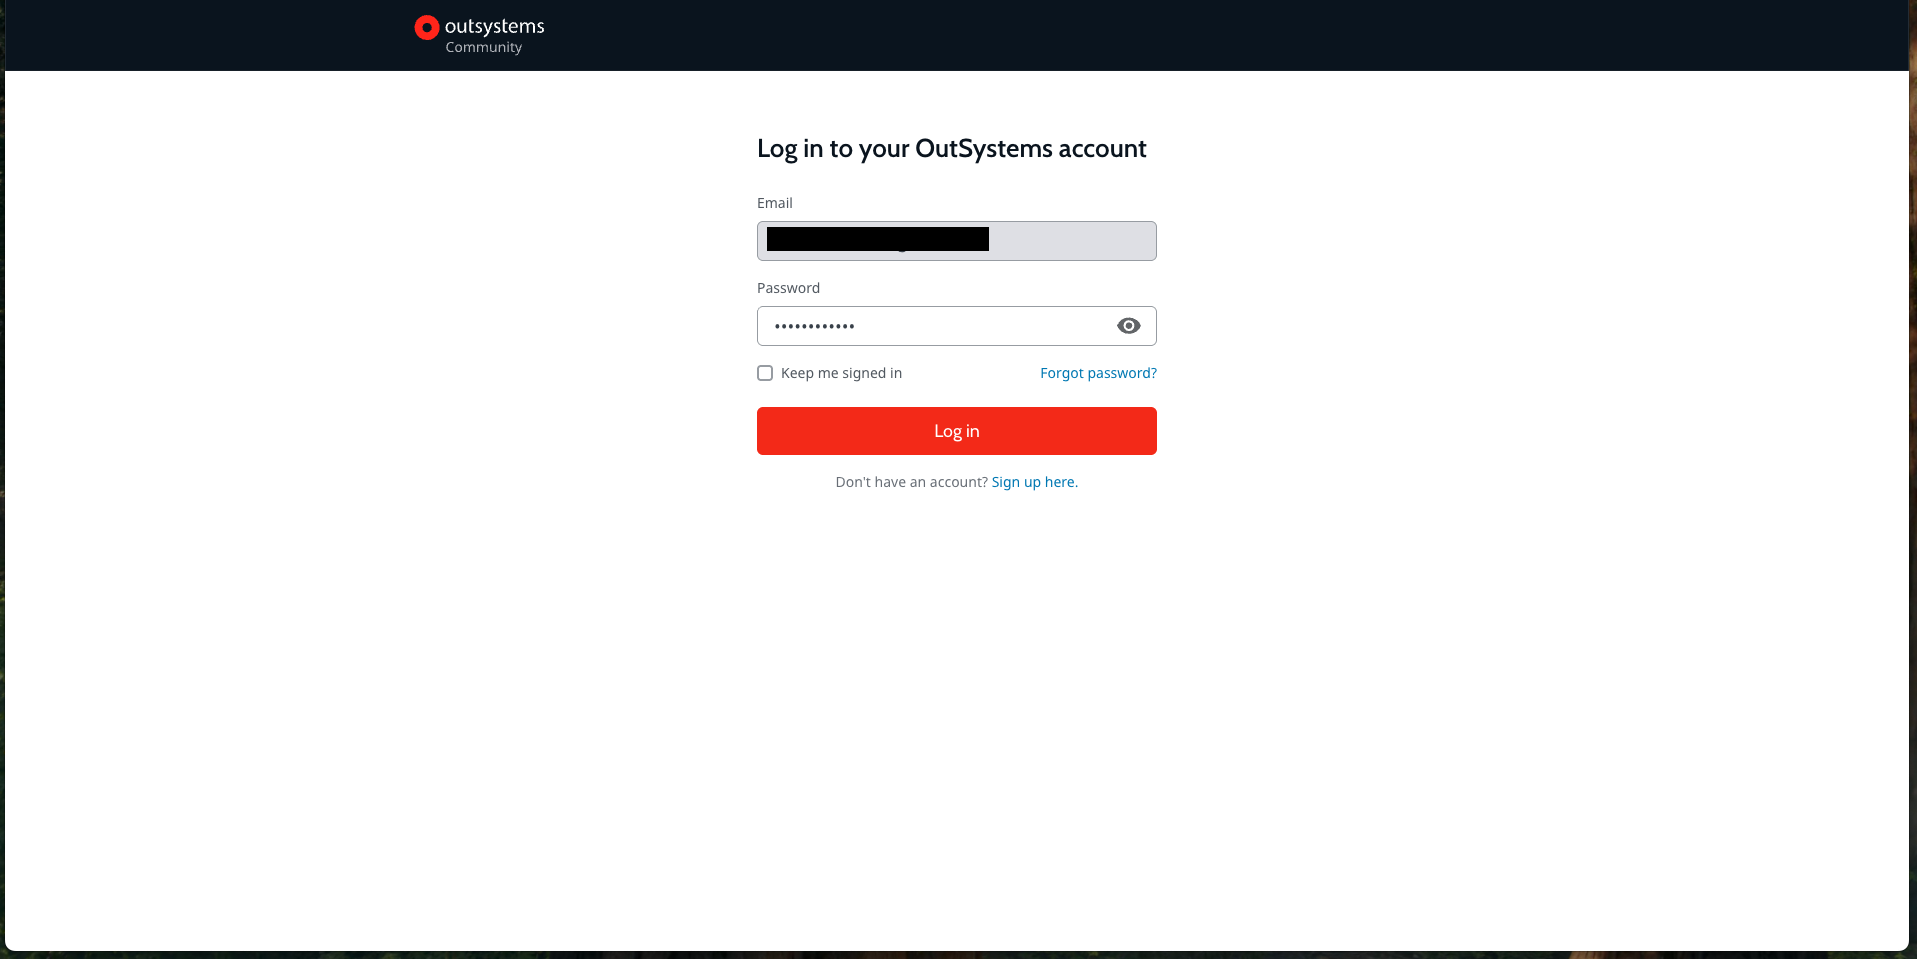
ログインに成功したら、アカウント作成は完了です。
2.環境の作成
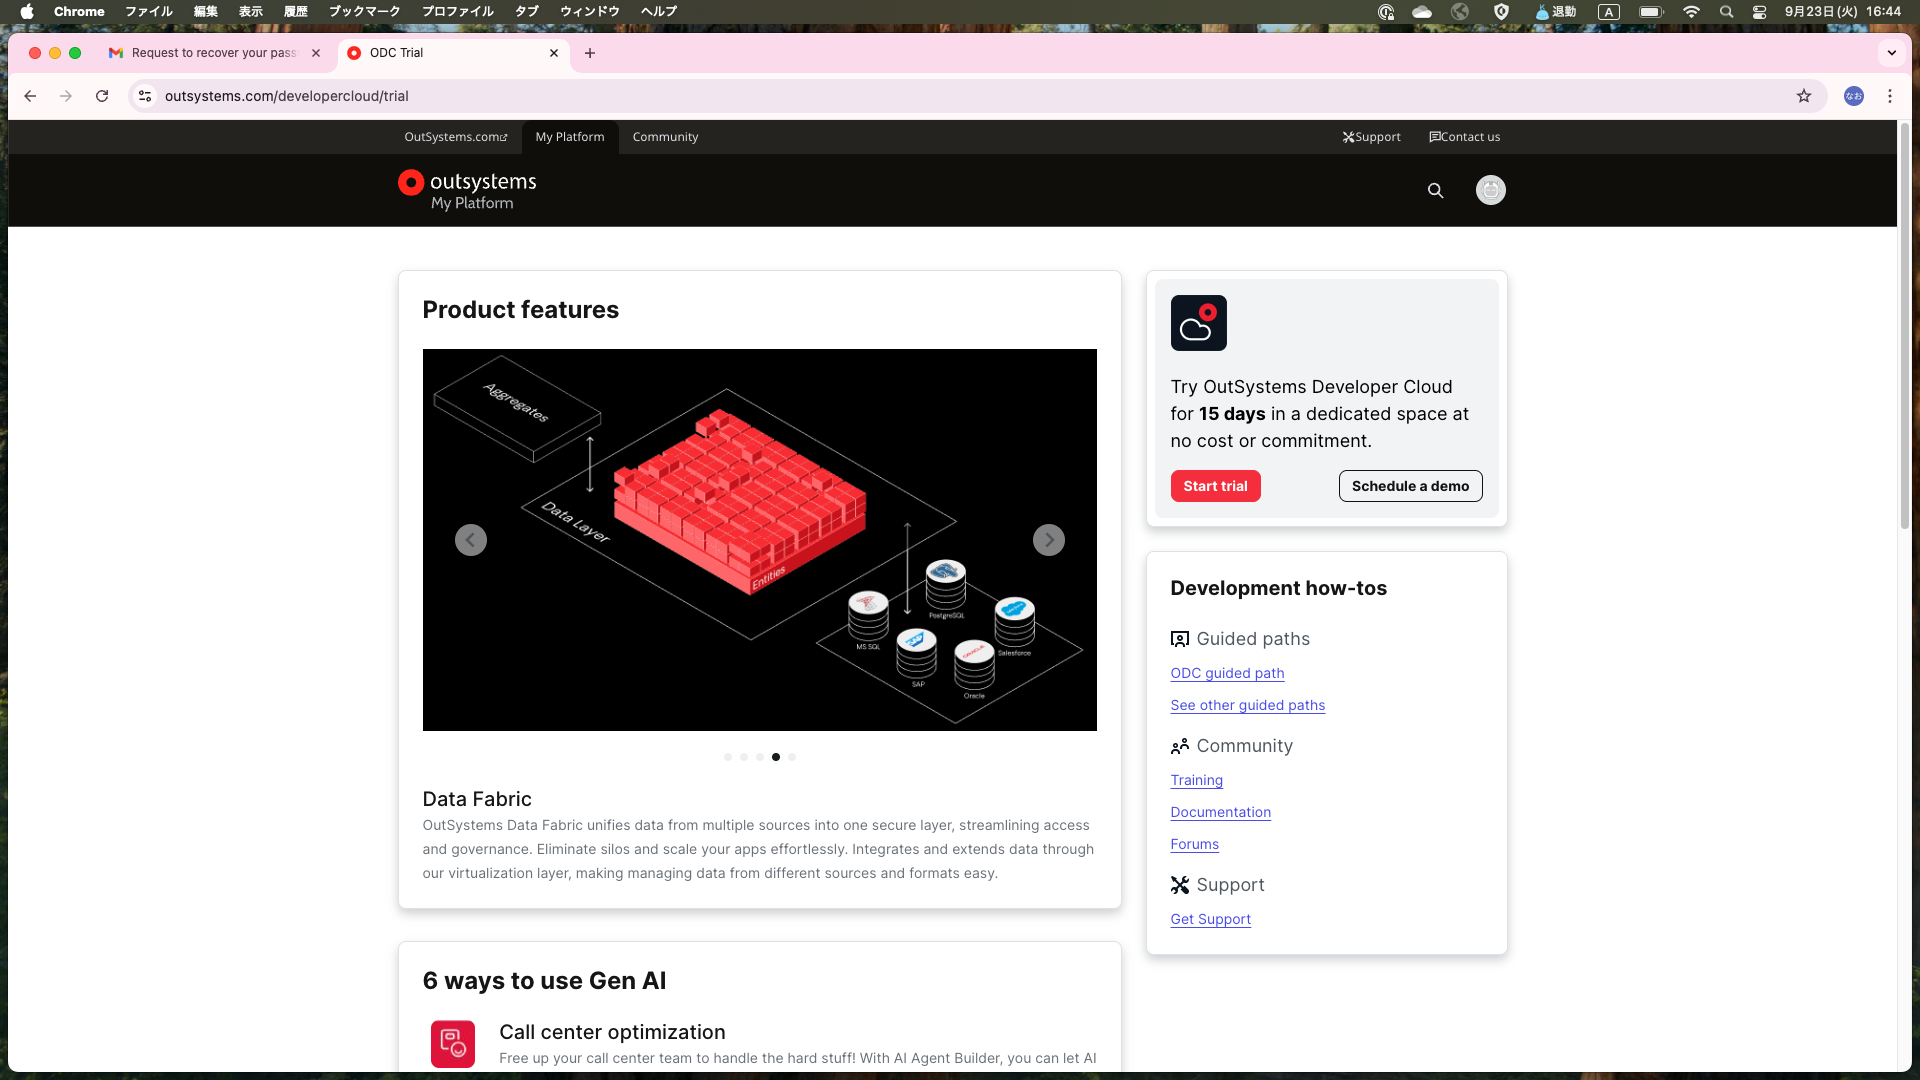
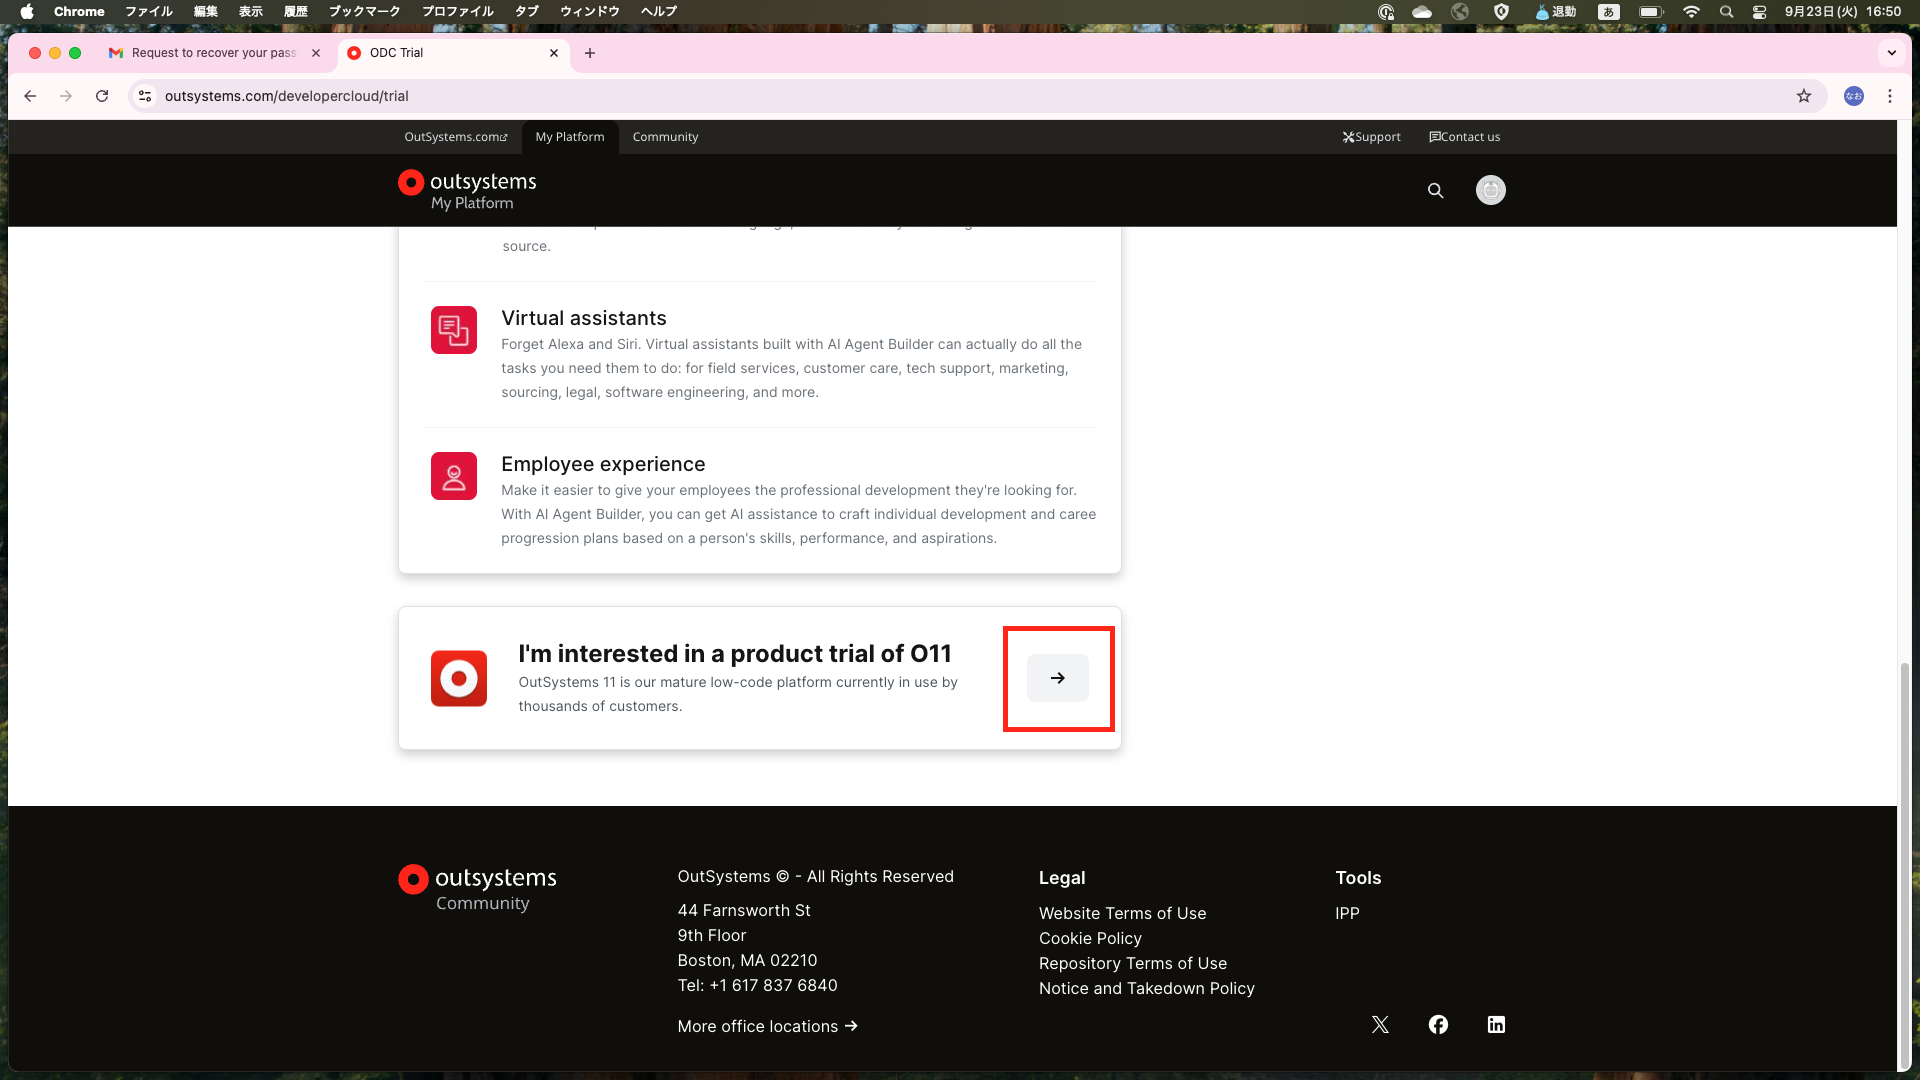
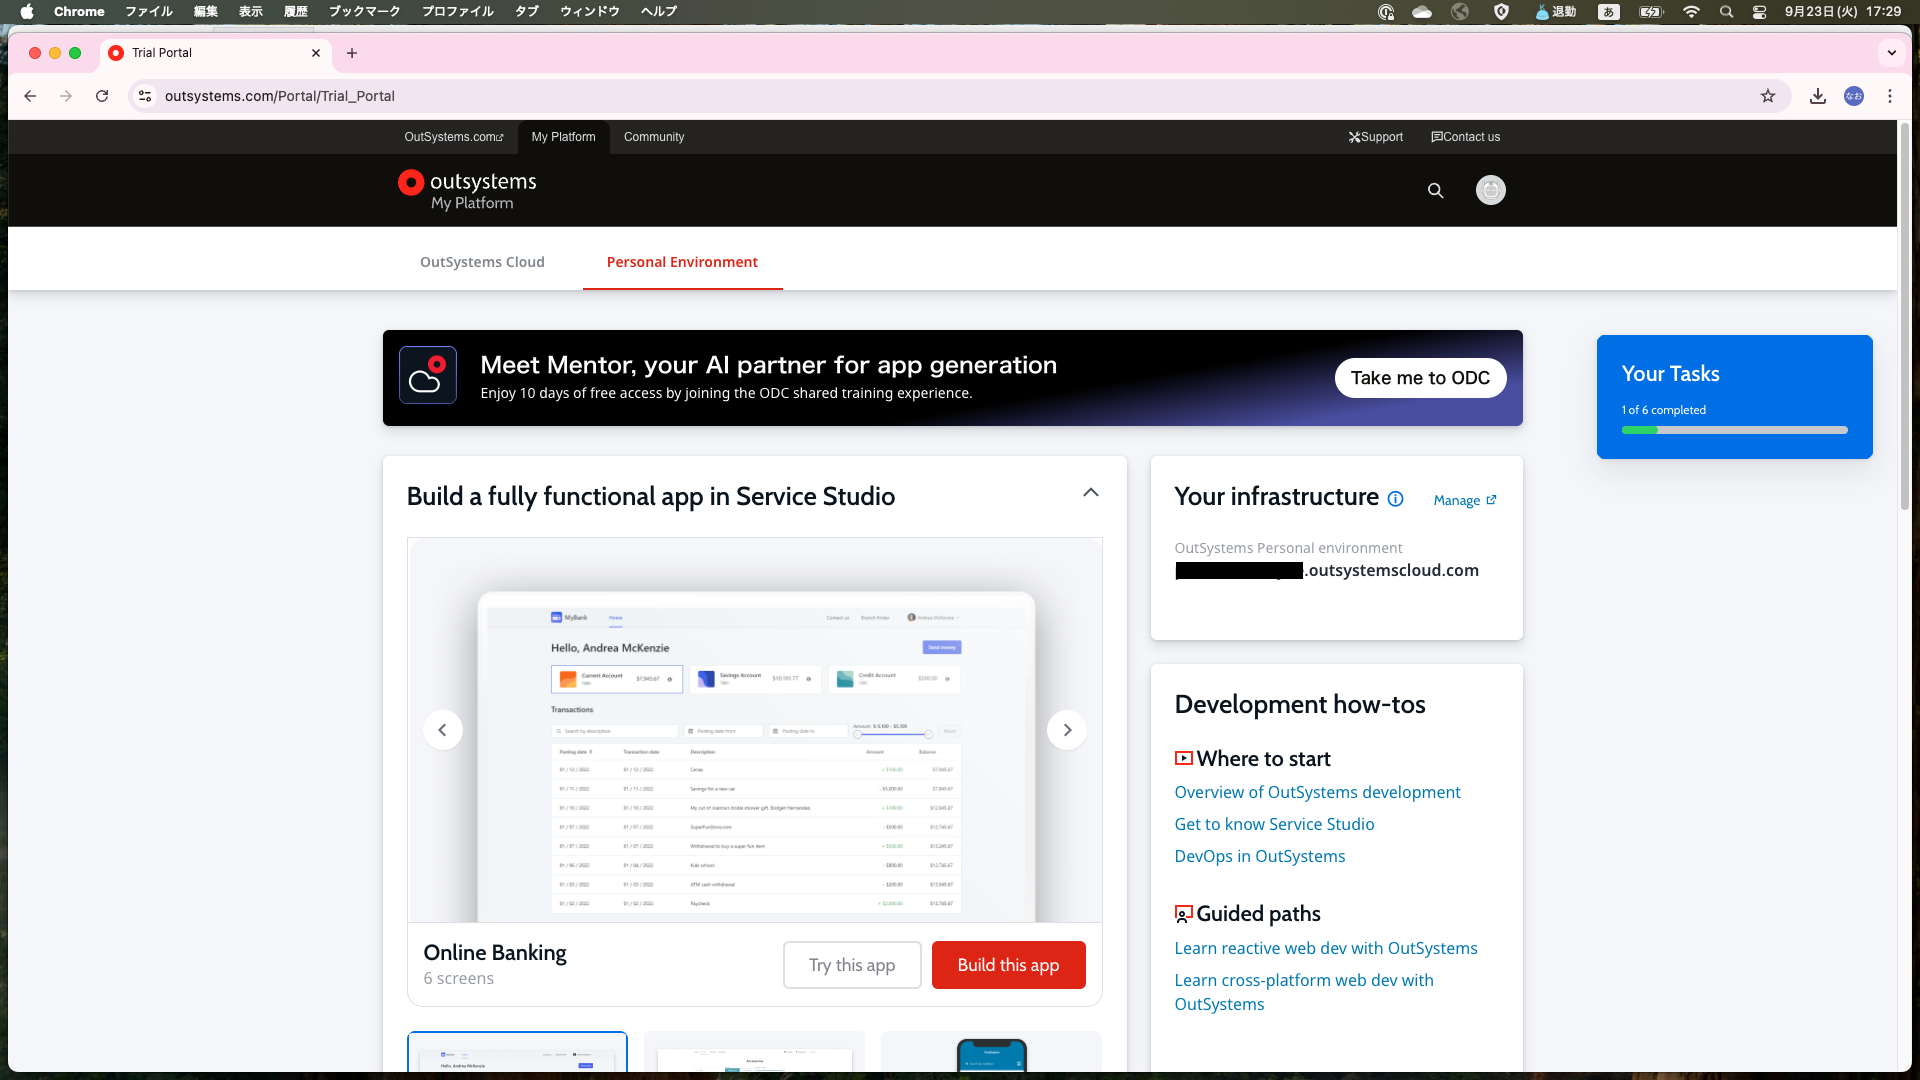
こちらのページの下の方にあるリンクをクリックします
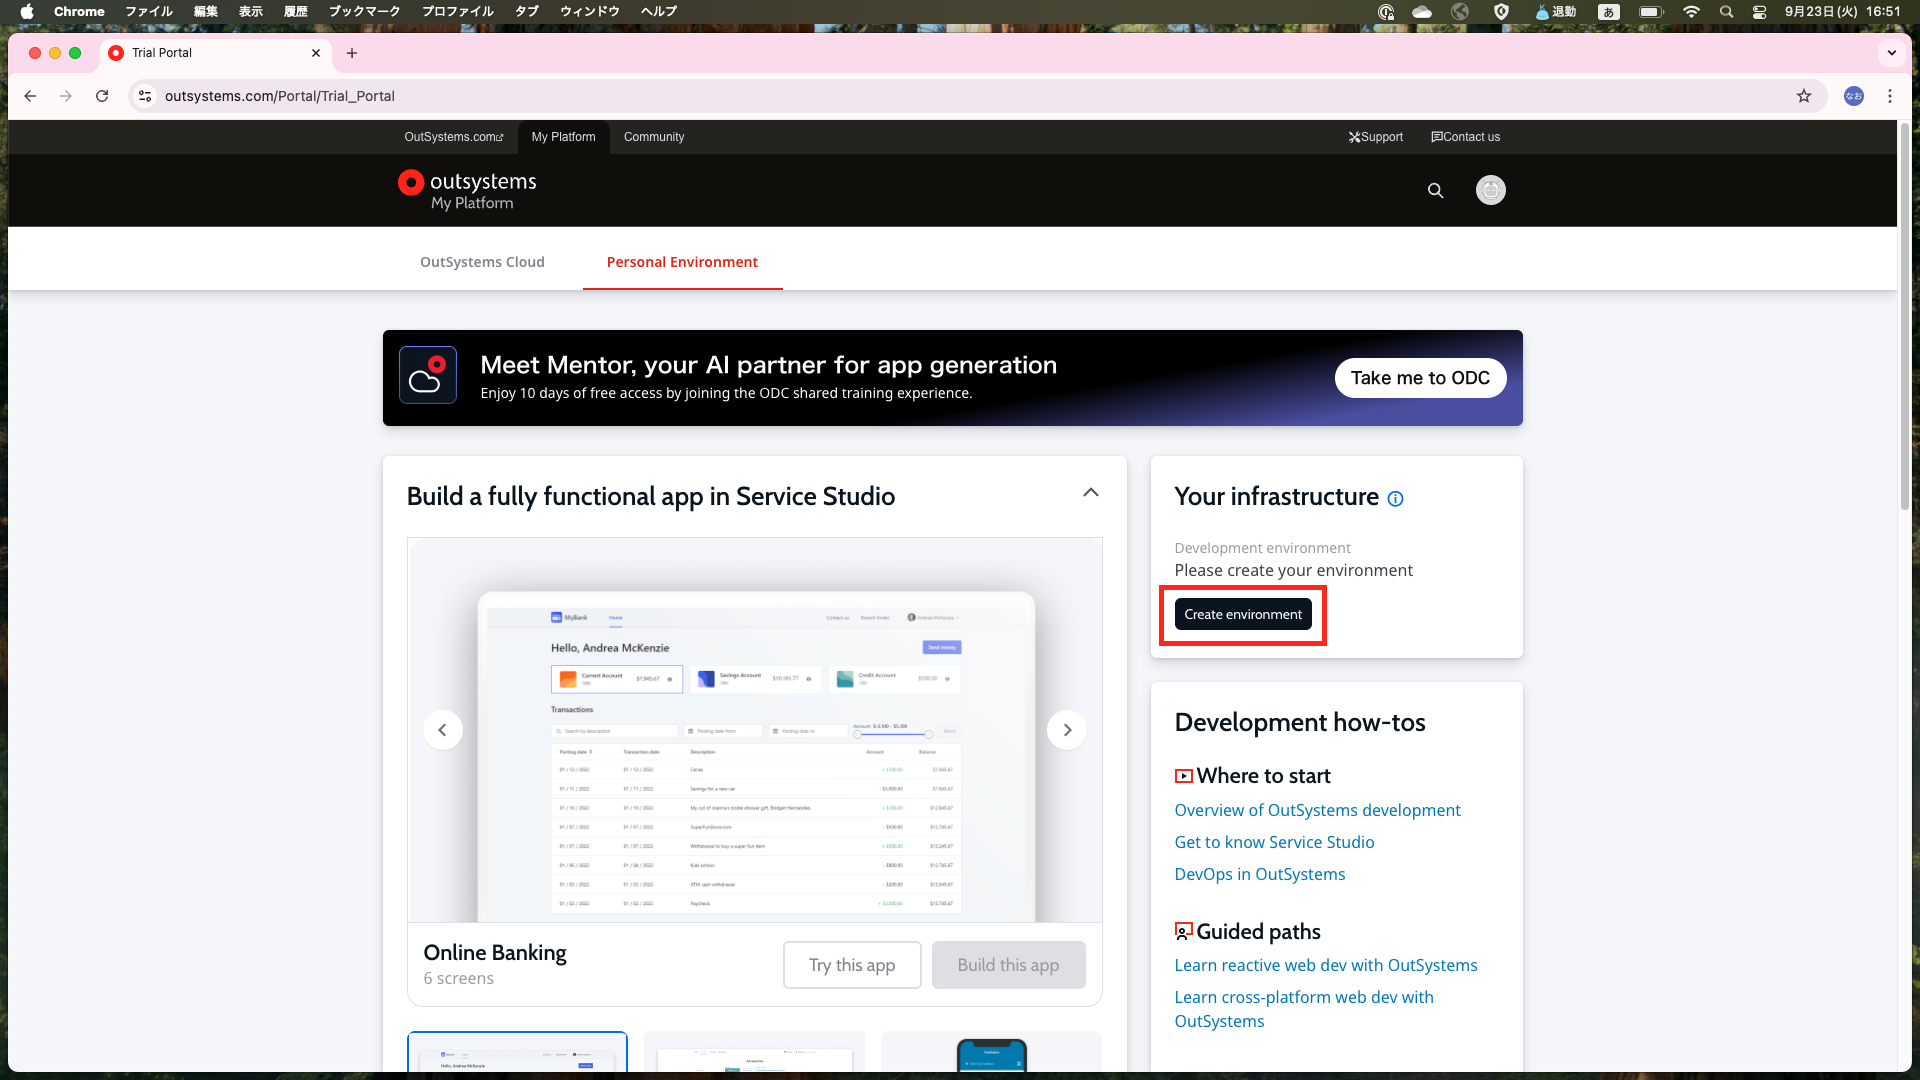
リンク先のページにあるCreate environmentボタンを押します。
いくつかの質問とパスワードの入力が求められるので全て入力します。
(ここスクショ撮り忘れました…)
以下の画面になったら完了です。
3.Service Studioのセットアップ
OutSystemsの開発にはService Studioというアプリを使用します。
以下のページの下の方のToolsからDownloadボタンを押します。

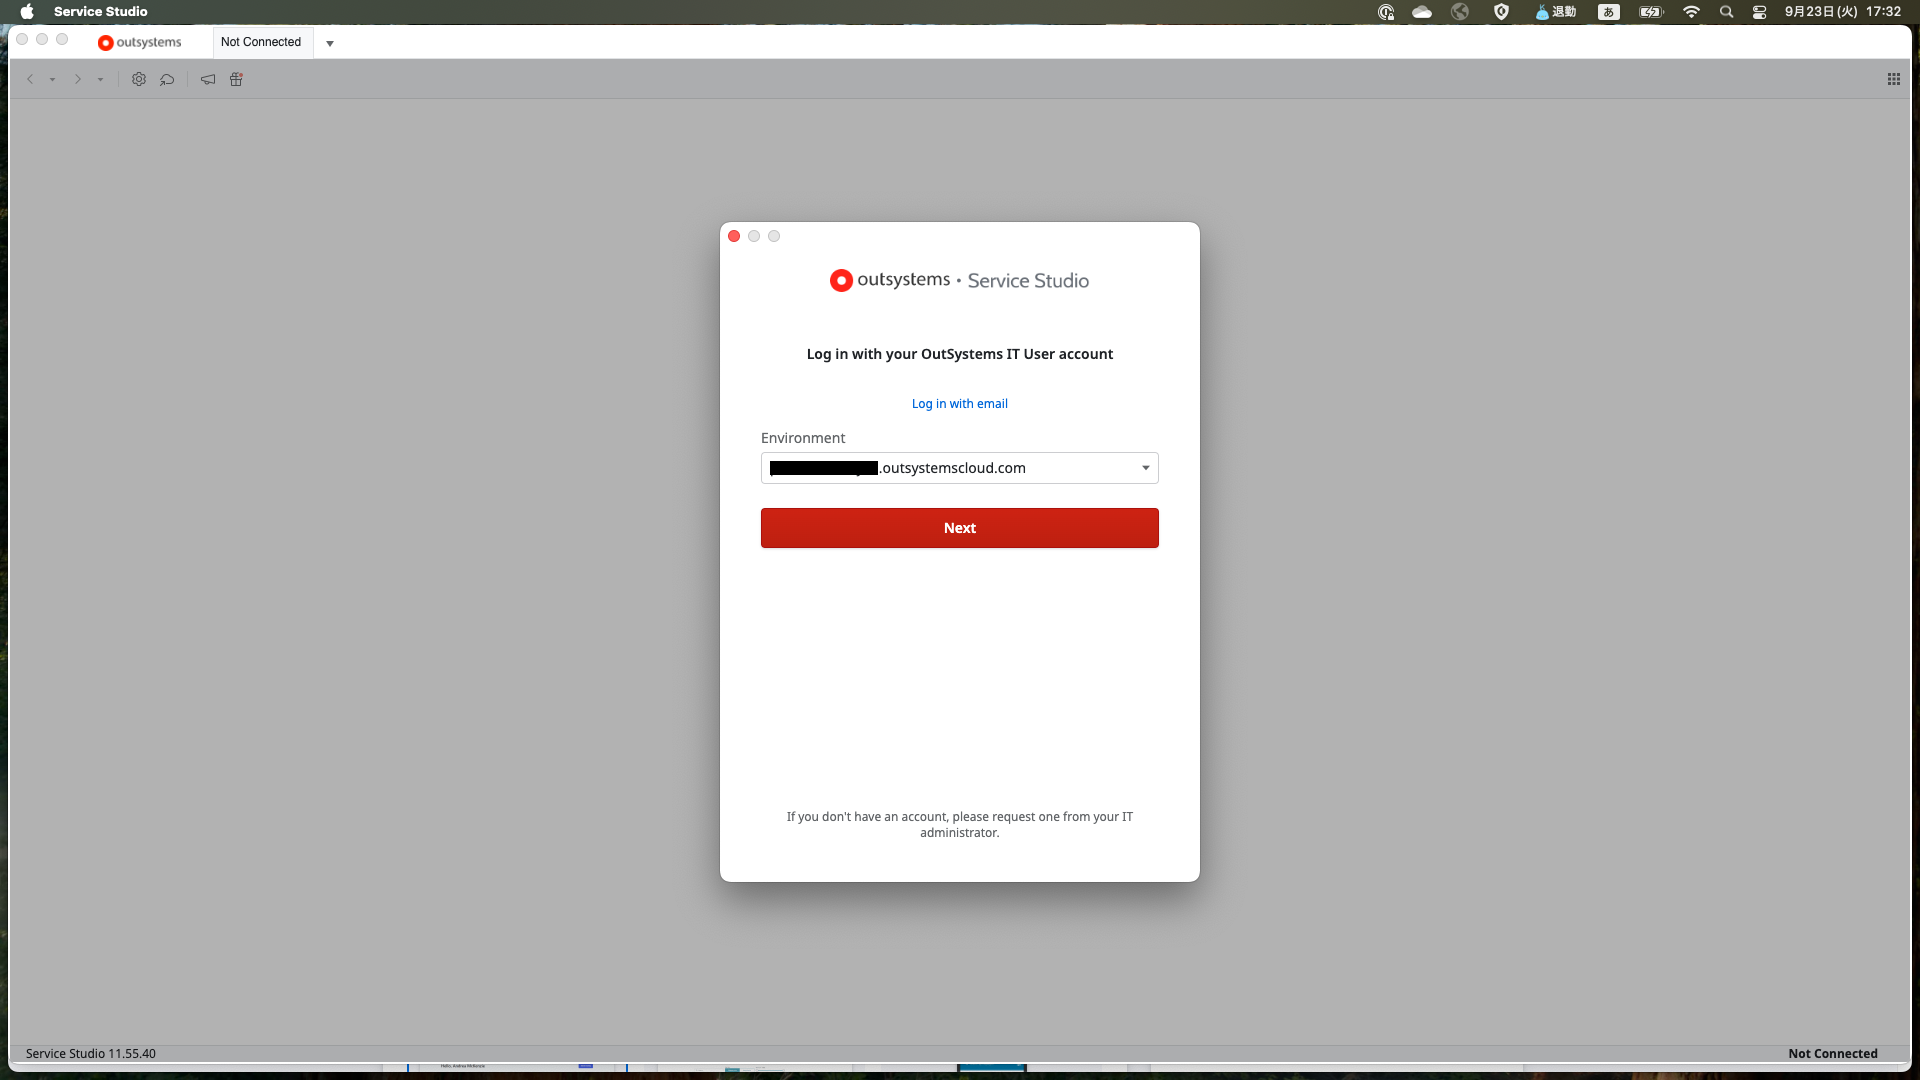
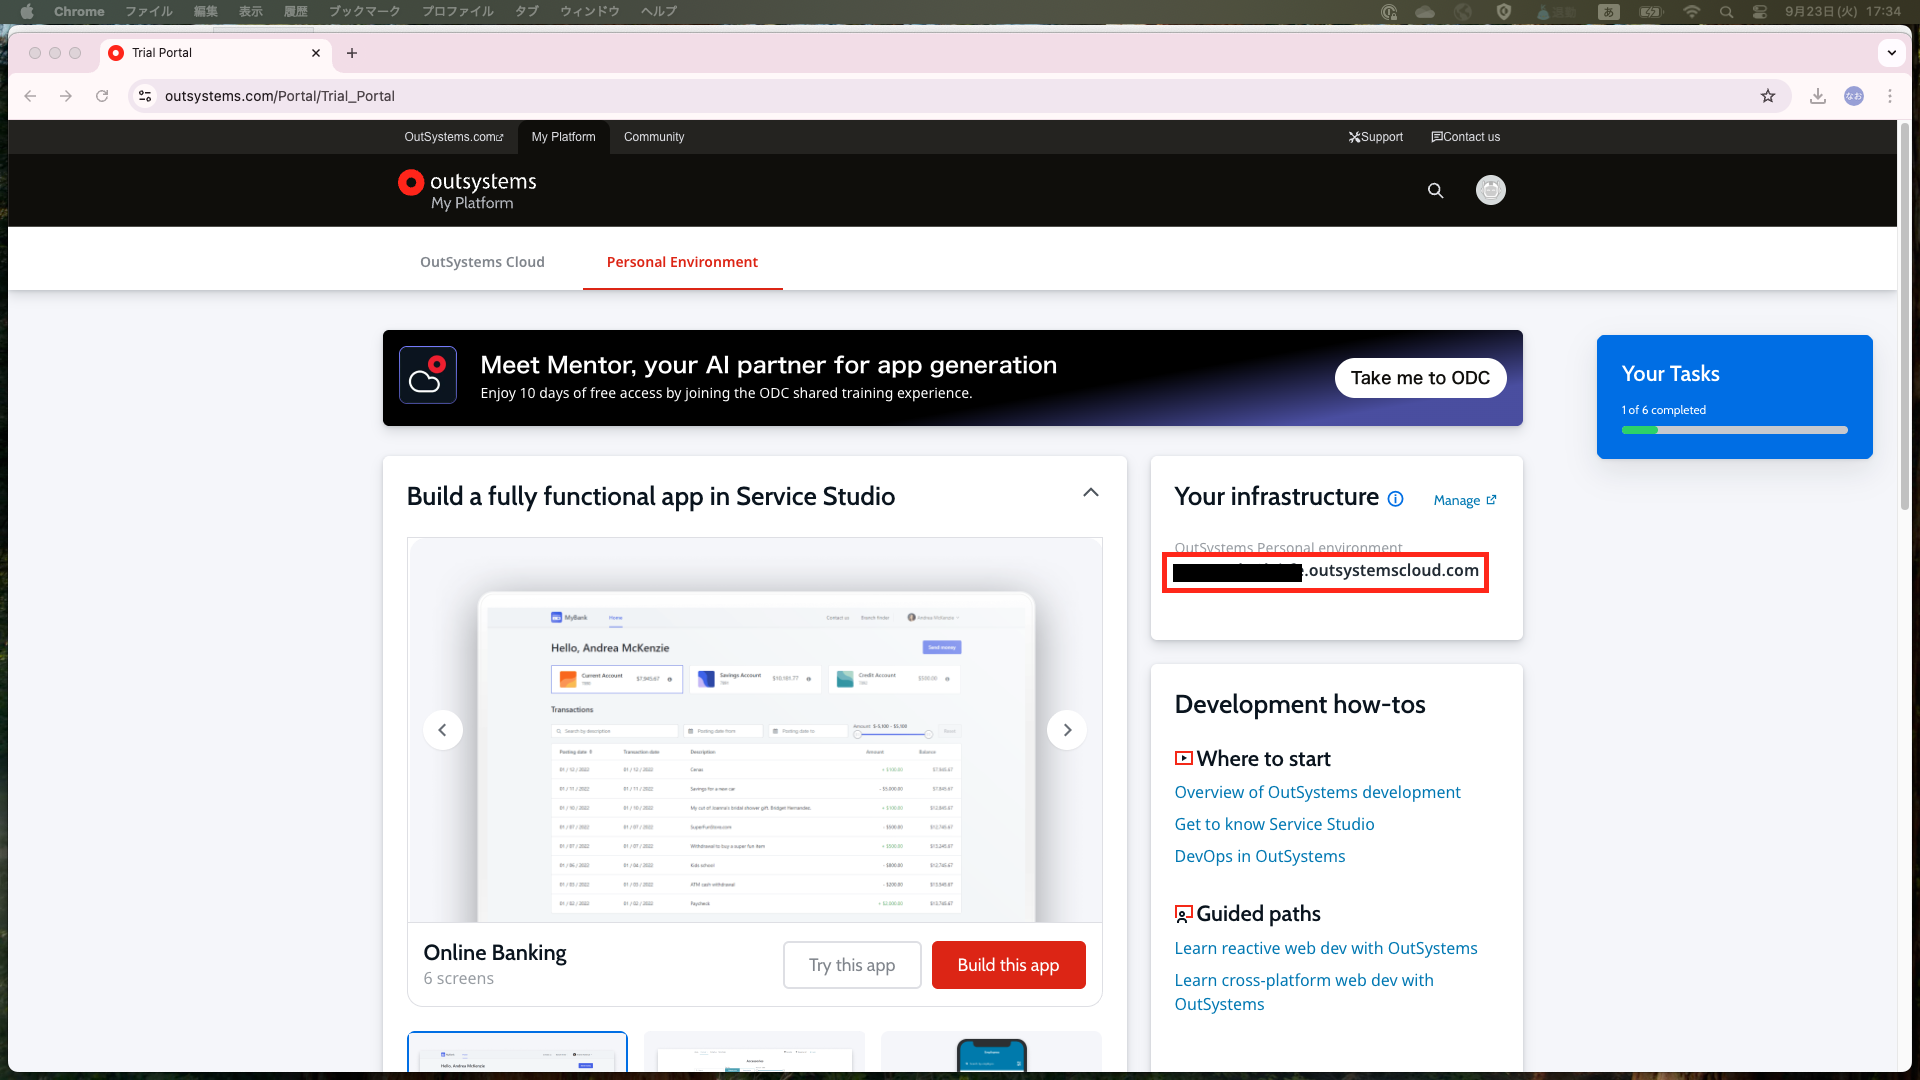
ダウンロードが完了したらService Studioを起動し、Environmentの入力欄に先ほど作成した環境のURLを入力します。
その後ユーザ名とパスワードの入力が求められるので入力してログインします。
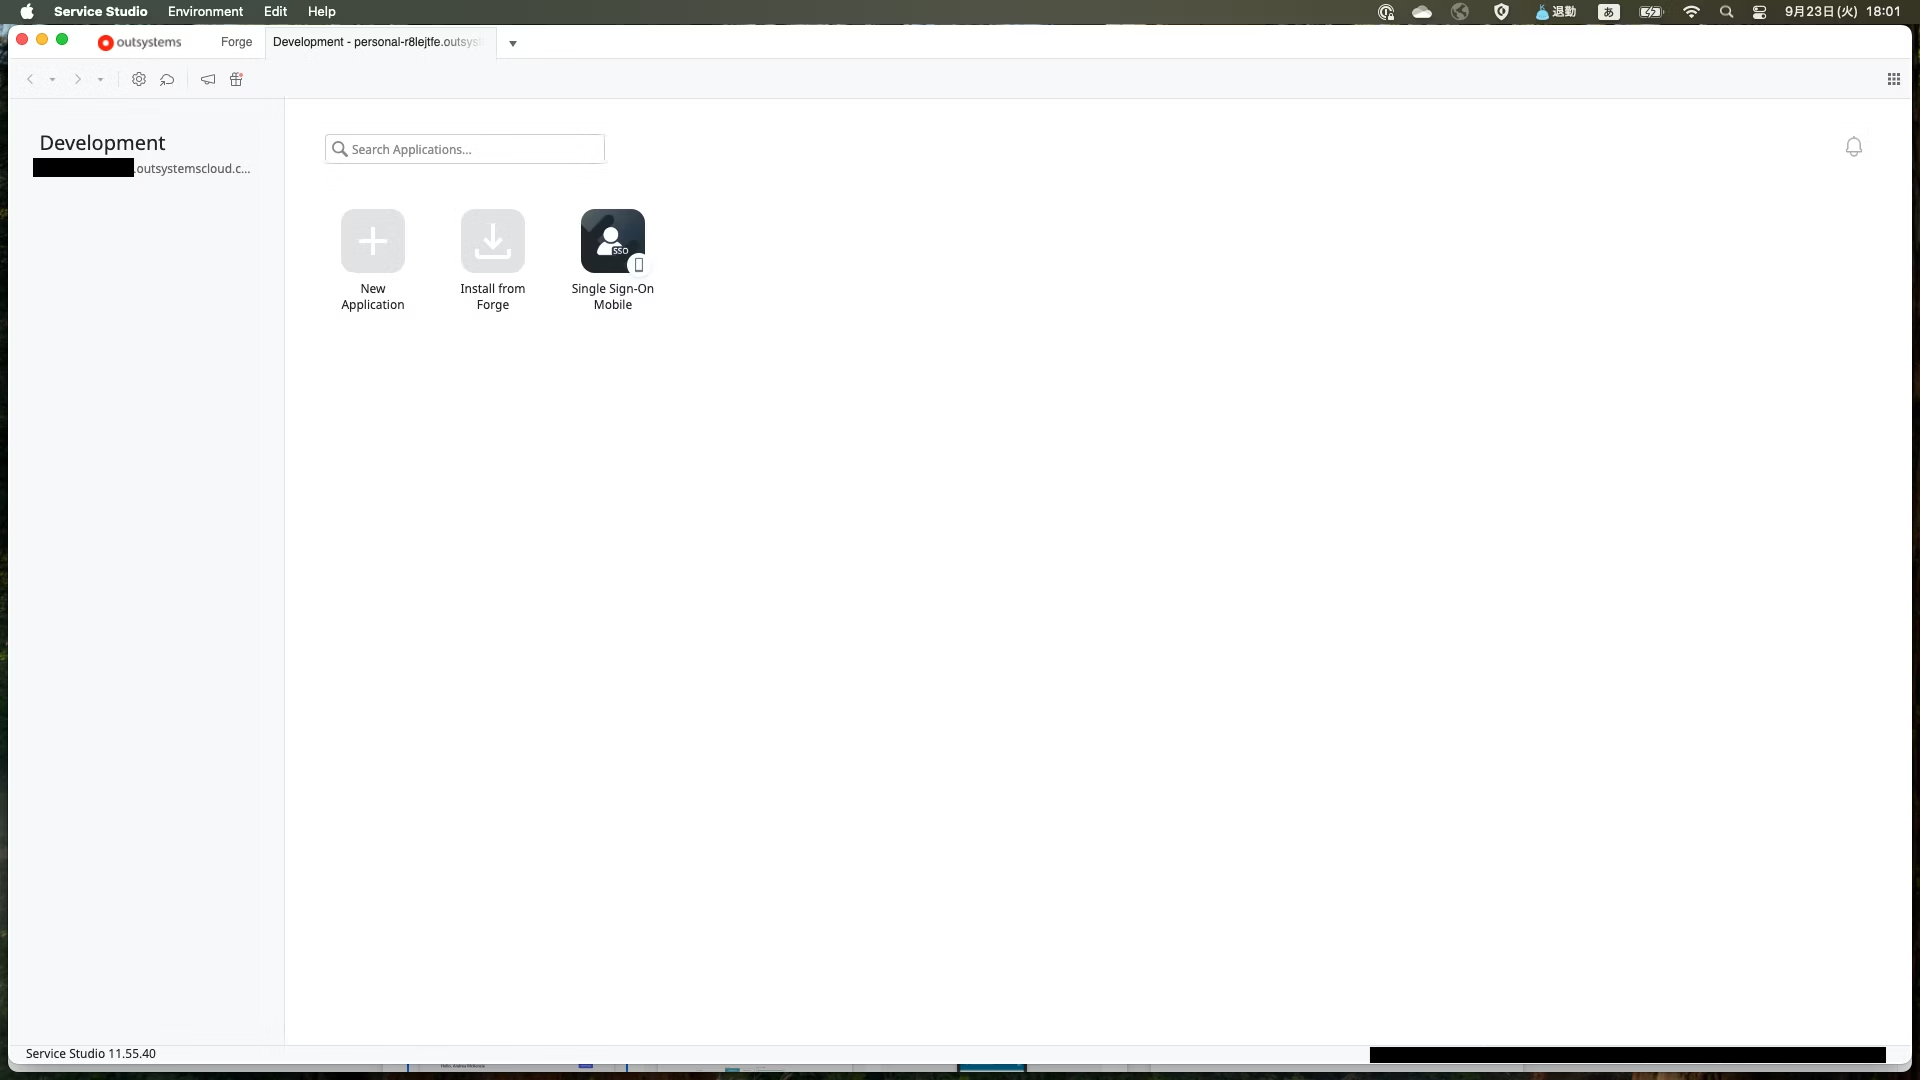
以下の画面になったら完了です。
最後に
以上、OutSystemsの環境構築手順でした。
次回からは実際にアプリの開発のやり方について紹介していきます。