はじめに
Cloudflare WorkersはCloudflare社が提供するCDN(コンテンツデリバリーネットワーク)のエッジでJavaScript(V8)を実行するサーバーレスのサービスです。
JavaScriptのコードを世界中の200以上の都市にデプロイし、ユーザーから数ミリ秒以内にコードが実行されるとのことです。

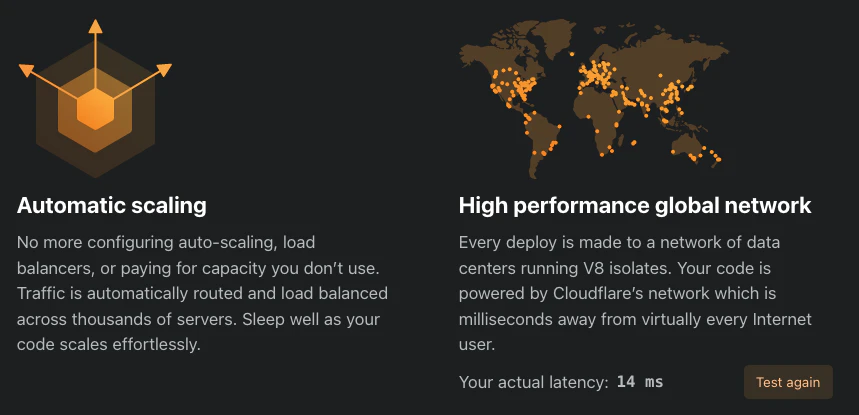
サーバーレスサービスのコールドスタート問題ですが、Cloudflare Workersでは0msコールドスタートが可能で、コールドスタート時の実行が遅い問題は発生しません。
無料枠で十分なリソースが利用でき、開発用のサブドメイン名(https://"アプリ名"."アカウント名".workers.dev)が使用可能です。

Cloudflare Workersを使用してLINE bot(おうむ返し)を動かしてみる
準備
1. Cloudflare Workersアカウントの作成
アカウントを作成してログインします。
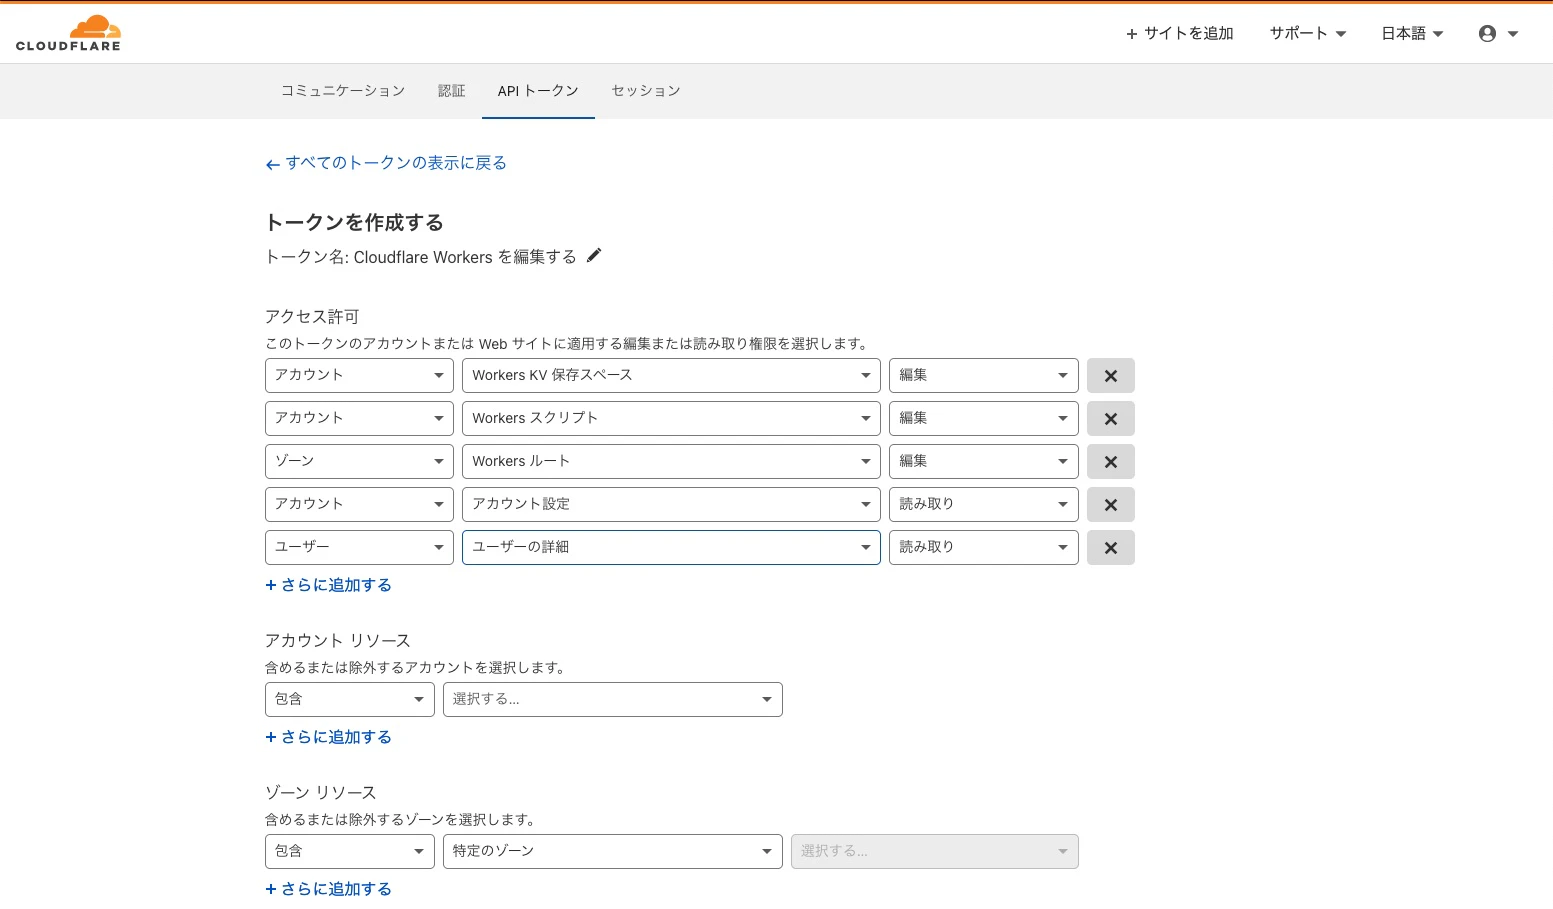
2. APIトークンの作成
APIトークンを作成します。

アクセス許可 →そのまま
アカウントリソース →すべてを選択
ゾーンリソース →すべてを選択
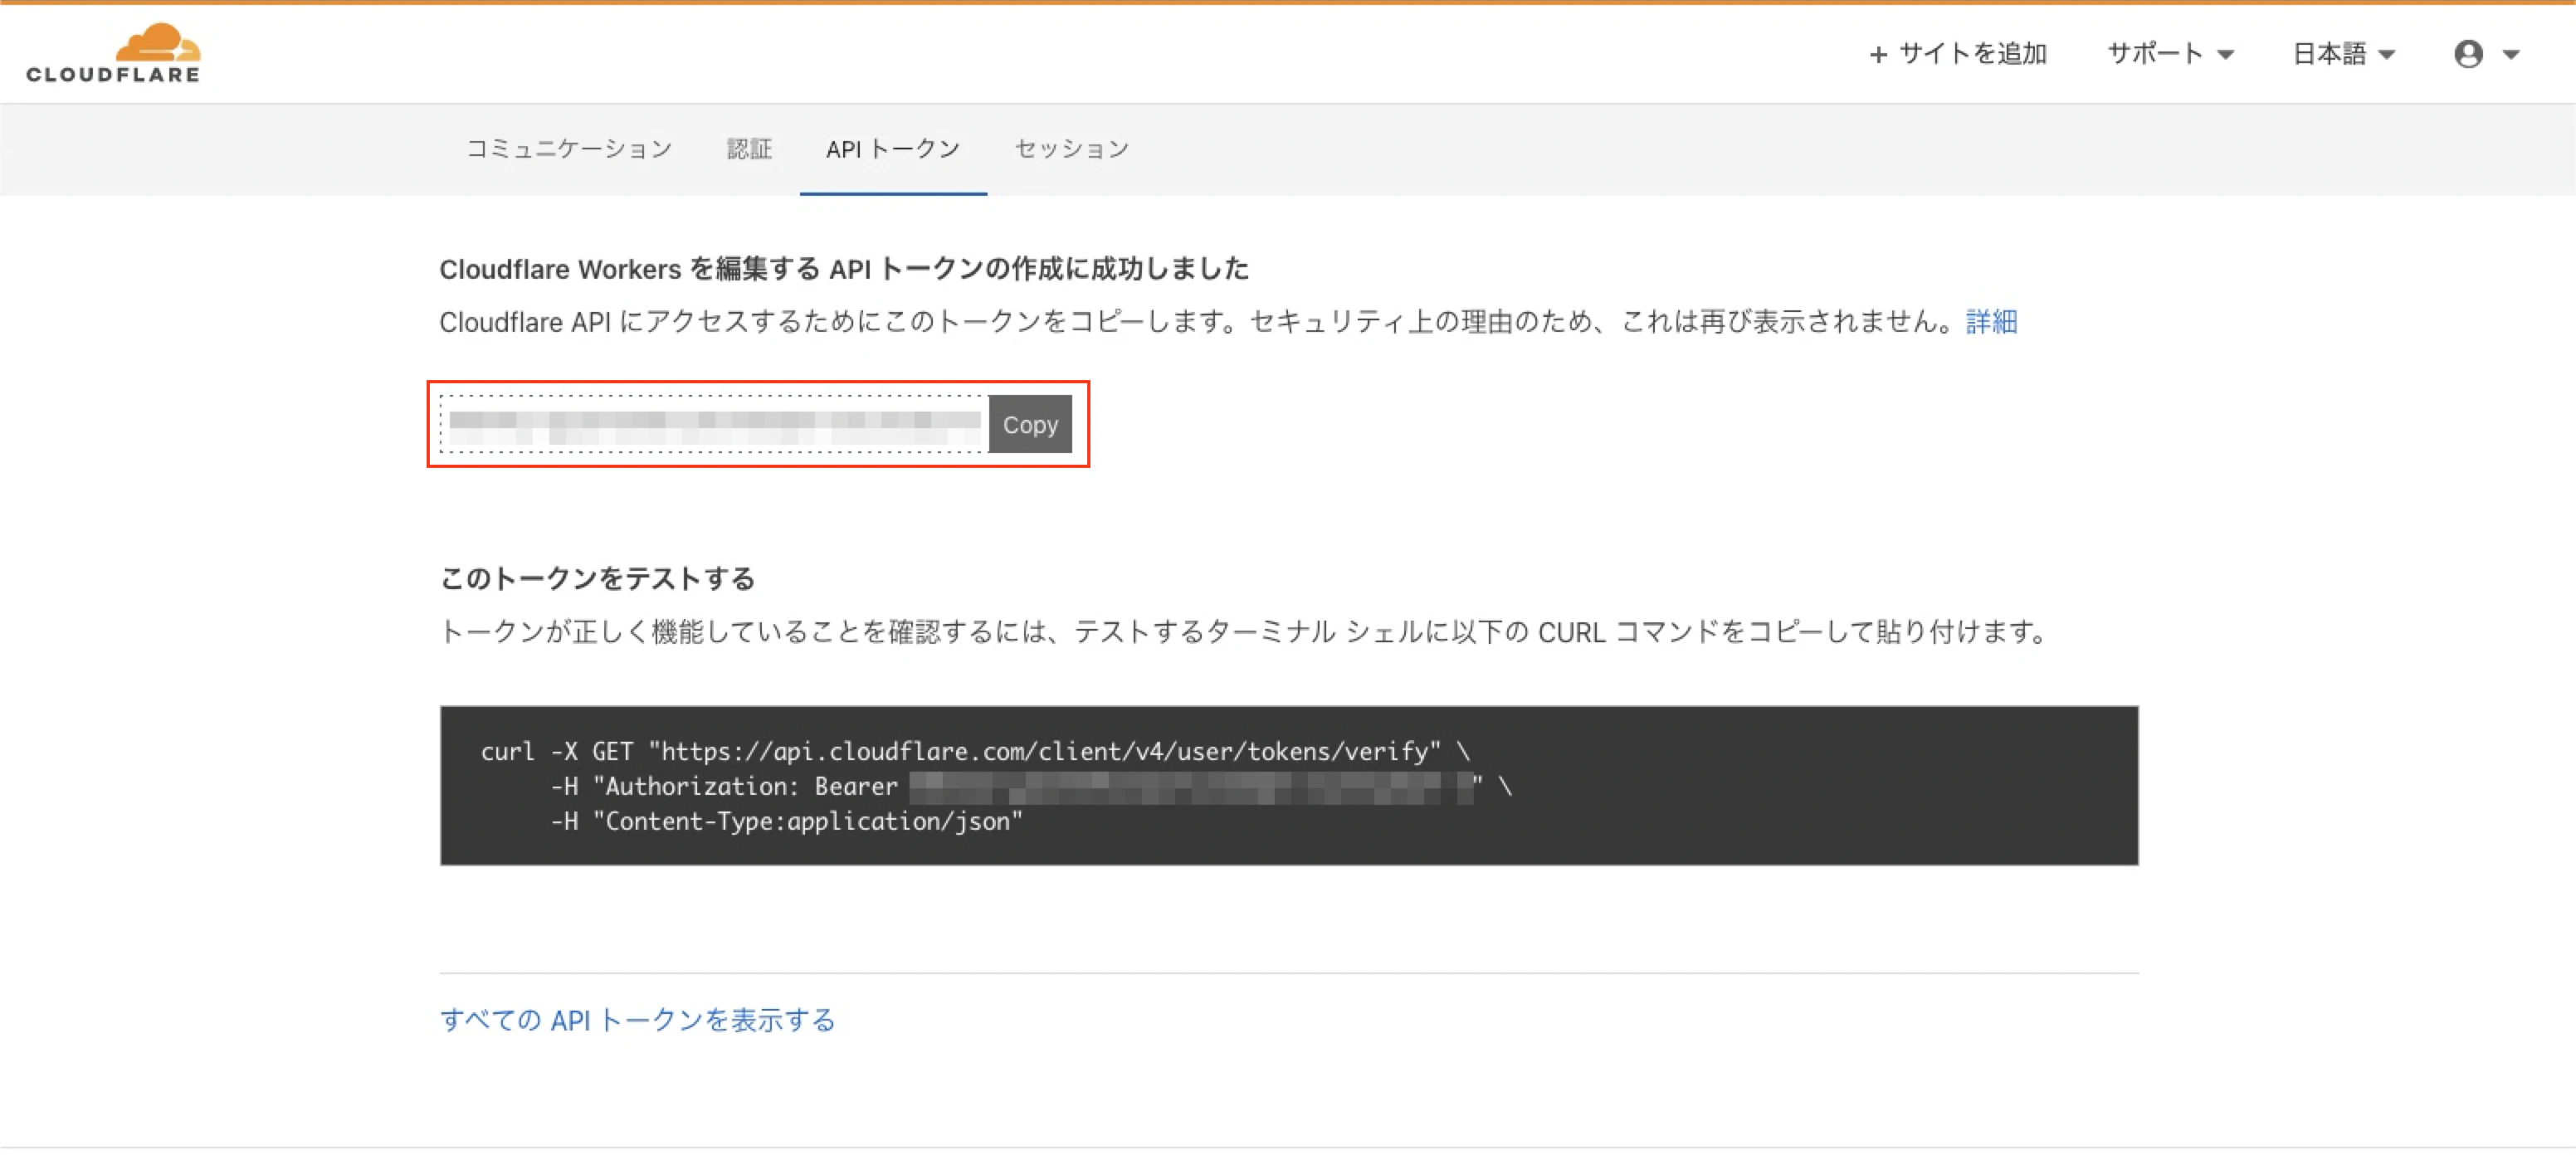
APIトークンは1度しか表示されないのでメモしておきます。
(もし、メモし忘れた場合は、APIトークンを削除して、もう一度作成します。)
2. Wrangler CLIのインストール
Rust製のWrangler CLIを使って開発・デプロイを行います。
$ npm install -g @cloudflare/wrangler
手順
1. ログイン
作成したアカウントでログインします。
$ wrangler login
2. APIトークンの設定
作成したAPIトークンを入力します。
$ wrangler config
3. プロジェクト作成(テンプレートを使用)
Routerテンプレートを使用してプロジェクト(line-bot)を作成します。
$ wrangler generate line-bot https://github.com/cloudflare/worker-template-router
4. アカウントIDの設定
アカウントIDを確認します。
$ wrangler whoami
Cloudflare Workersの管理画面でも確認できます。

wrangler.tomlファイルのaccount_idの項目にアカウントIDを設定します。
$ cd line-bot/
$ vi wrangler.toml
name = "line-bot"
type = "webpack"
account_id = "" ←ここ
workers_dev = true
route = ""
zone_id = ""
5. シークレット情報の設定
LINE botでMessaging APIを使用するために、チャンネルアクセストークンの情報が必要になります。

チャンネルアクセストークンなどのシークレット情報をプログラム内に含めるのはリスクがありますので、環境変数に設定します。
$ wrangler secret put ACCESS_TOKEN
シークレット情報が登録されたことを確認します。
$ wrangler secret list
6. プログラムを書く
プログラムはindex.jsに書きます。
$ vi index.js
サンプル(おうむ返し)のソースコードはこちらです。
ソースコード
const url = "https://api.line.me/v2/bot/message/reply"

function rawHtmlResponse(html) {
  const init = {
    headers: {
      "content-type": "text/html;charset=UTF-8",
    },
  }
  return new Response(html, init)
}

async function readRequestBody(request) {
  const { headers } = request
  const contentType = headers.get("content-type") || ""

  if (contentType.includes("application/json")) {
    const data = await request.json()

    if (data.events[0]) {
      const body = {
        replyToken: data.events[0].replyToken,
        messages: [
          {
             type: "text",
             text: data.events[0].message.text
          }
        ]
      }
      const init = {
        body: JSON.stringify(body),
        method: "POST",
        headers: {
          Authorization: "Bearer "+ACCESS_TOKEN,
          "content-type": "application/json"
          }
      }
      const res = await fetch(url, init)

      return JSON.stringify(data)
    }
    else {
      return JSON.stringify(data)
    }
  }
  else if (contentType.includes("application/text")) {
    return await request.text()
  }
  else if (contentType.includes("text/html")) {
    return await request.text()
  }
  else if (contentType.includes("form")) {
    const formData = await request.formData()
    const text = await formData.entries()
    const body = {}
    for (const entry of formData.entries()) {
      body[entry[0]] = entry[1]
    }
    return JSON.stringify(body)
  }
  else {
    const myBlob = await request.blob()
    const objectURL = URL.createObjectURL(myBlob)
    return objectURL
  }
}

async function handleRequest(request) {
  const reqBody = await readRequestBody(request)
  const retBody = `The request body sent in was ${reqBody}`
  //console.log(reqBody)
  return new Response(retBody)
}

addEventListener("fetch", event => {
  const { request } = event
  const { url } = request

  //console.log(JSON.stringify(request))

  if (request.method === "POST") {
    return event.respondWith(handleRequest(request))
  }
  else if (request.method === "GET") {
    return event.respondWith(new Response(`The request was a GET`))
  }
})
ソースコードを github にも置きました。
https://github.com/kitazaki/cloudflare_workers_line-bot/blob/main/index.js
7. プレビュー実行
プロジェクトをプレビュー実行します。http://127.0.0.1:8787 で起動します。
$ wrangler dev
Listening on http://127.0.0.1:8787
7-1. cloudflaredを使用して動作確認
cloudflaredをインストールします。サインアップの必要はありません。
$ brew install cloudflare/cloudflare/cloudflared
cloudflaredを起動します。
$ cloudflared tunnel --url localhost:8787
(参考)
https://qiita.com/kitazaki/items/b531c80b7d0c0411716e
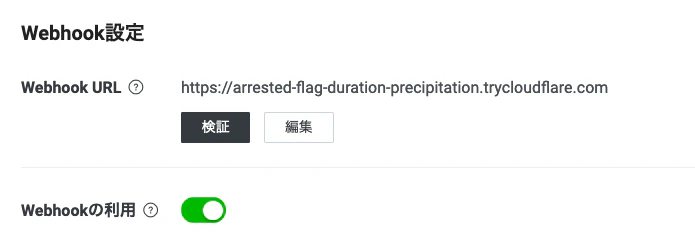
7-2. LINE DevelopersコンソールでWebhook設定
cloudflaredを実行した時に出力される一時的なURLをLINE DevelopersコンソールのWebhookに設定します。
動作に問題がなければプロジェクトを公開(本番環境へデプロイ)します。
8. プロジェクト公開(本番環境へデプロイ)
$ wrangler publish
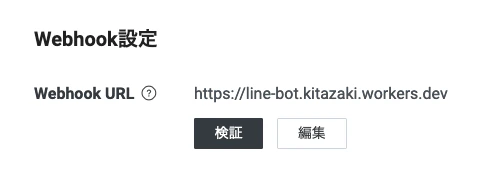
8-1. LINE DevelopersコンソールでWebhook設定
本番環境のURL(https://"アプリ名"."アカウント名".workers.dev)をLINE DevelopersコンソールのWebhookに設定します。
まとめ
Cloudflare WorkersでLINE公式のMessaging API対応SDKを使用することができず、SDKのソースコードとWorkersのサンプルコードやチュートリアルを見比べながらプログラムを書きました。
日本語の情報があまりなかったので、イメージを掴むまで時間がかかりましたが、サンプルコードやチュートリアルが理解の参考になりました。
みなさまも良き Cloudflare Workers ライフを!
参考情報
Examples - Read POST
Examples - Post JSON
Tutorials - Build a Slackbot