はじめに
CentOSからApacheのドキュメントルートを変更したときにハマったので、対処方法を備忘録として残します。
環境
・CentOS 7.7.1908
・Apache/2.4.6
1.httpd.confの編集
下記ファイルを編集していきます。
/etc/httpd/conf/httpd.conf
DocumentRoot "/var/www/html"
↑のパスを自分が公開したいドキュメントルートパスに書き換えます。
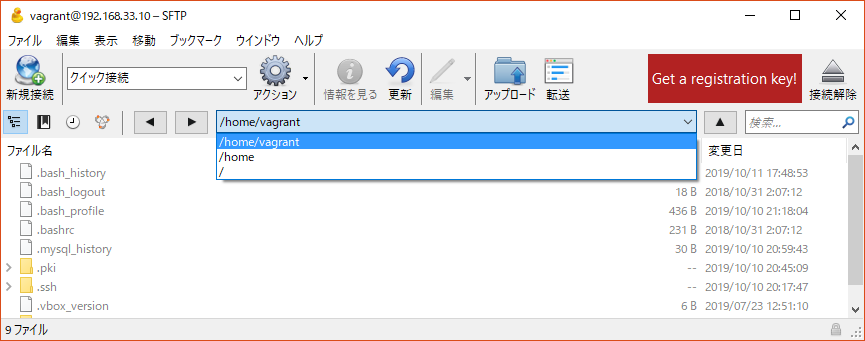
例として、下記のようなフォルダ階層で"/home/vagrant"をドキュメントルートにしたい場合は
DocumentRoot "/home/vagrant"
↑のように編集します。
次に、Directoryを修正します。
Directoryのパスを、編集したドキュメントルートに合わせて書き換えます。
<Directory "/var/www">  ←ここのパスを変更
    AllowOverride None
    # Allow open access:
    Require all granted
</Directory>
<Directory "/home/vagrant">
    AllowOverride None
    # Allow open access:
    Require all granted
</Directory>
ここまでできたら下記コマンドでApacheを再起動します。
$ systemctl restart httpd
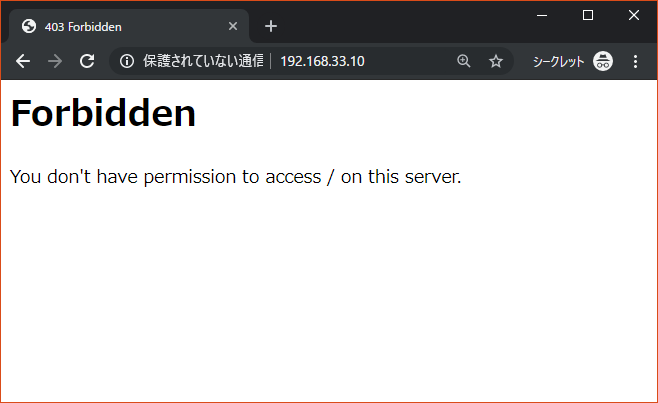
この状態でドキュメントルートにアクセスするとPermission deniedと言われます。
ブラウザには403 Forbiddenと出てくると思います。
Apacheからドキュメントルートフォルダに読み取り権限がないため、権限を与えなければなりません。
2.ドキュメントルートフォルダにパーミッション付与
例として、"/home/vagrant"をドキュメントルートにした場合、下記のコマンドで権限を付与します。
$ chmod 755 /home/vagrant
これで読み取り権限を付与できました。
もう一度ドキュメントルートにアクセスすると、ブラウザ上できちんと表示されていると思います。

