やりたいこと
画面に写真を表示したい。
写真は自分で撮影したものなどを使いたい。
画像ファイルを準備する
まず、自分のPCなどに保存されている任意の写真(画像ファイル)を、
res/drawable
に、コピーする。
Android Studioの左メニューに表示されている
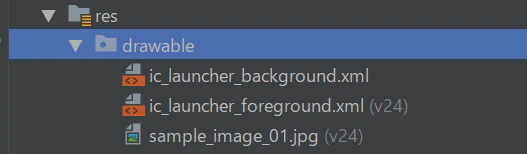
に直接D&Dすればよい。
(sample_image_01.jpg を保存した例。赤い車の写真。)
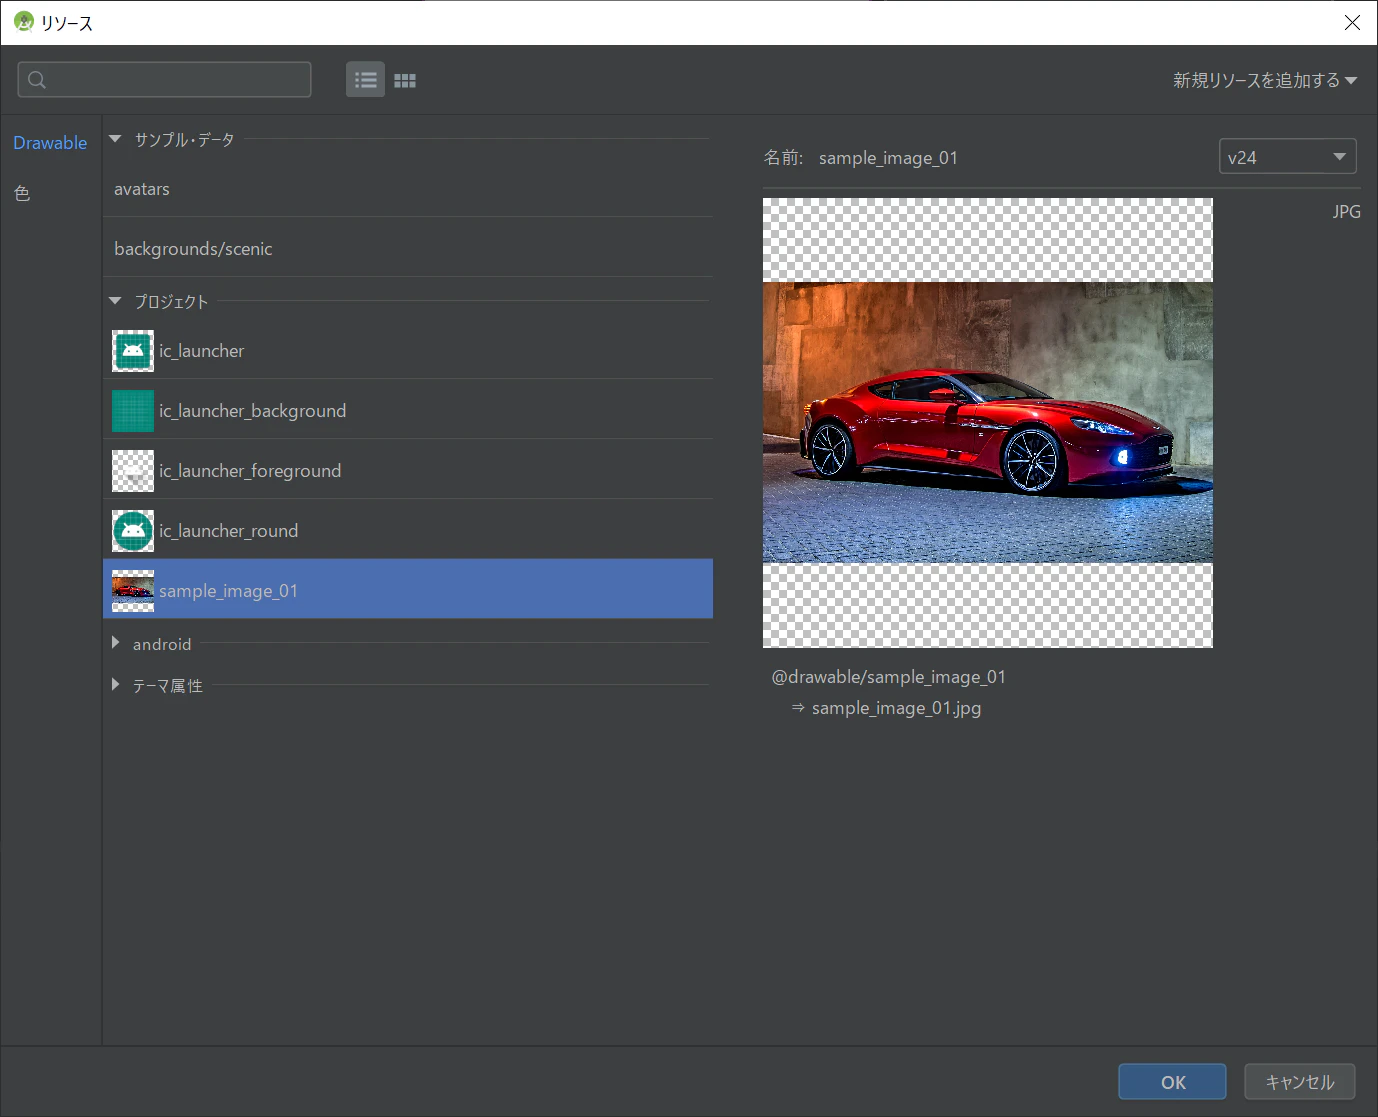
ImageViewを配置する
パレットからImageViewをD&Dすると、
つぎの画面が表示されるので、
「プロジェクト」を選び、
先ほどコピーした画像を選択してOKを押す。
位置を調整する
ImageViewを適切な位置に移動させる。
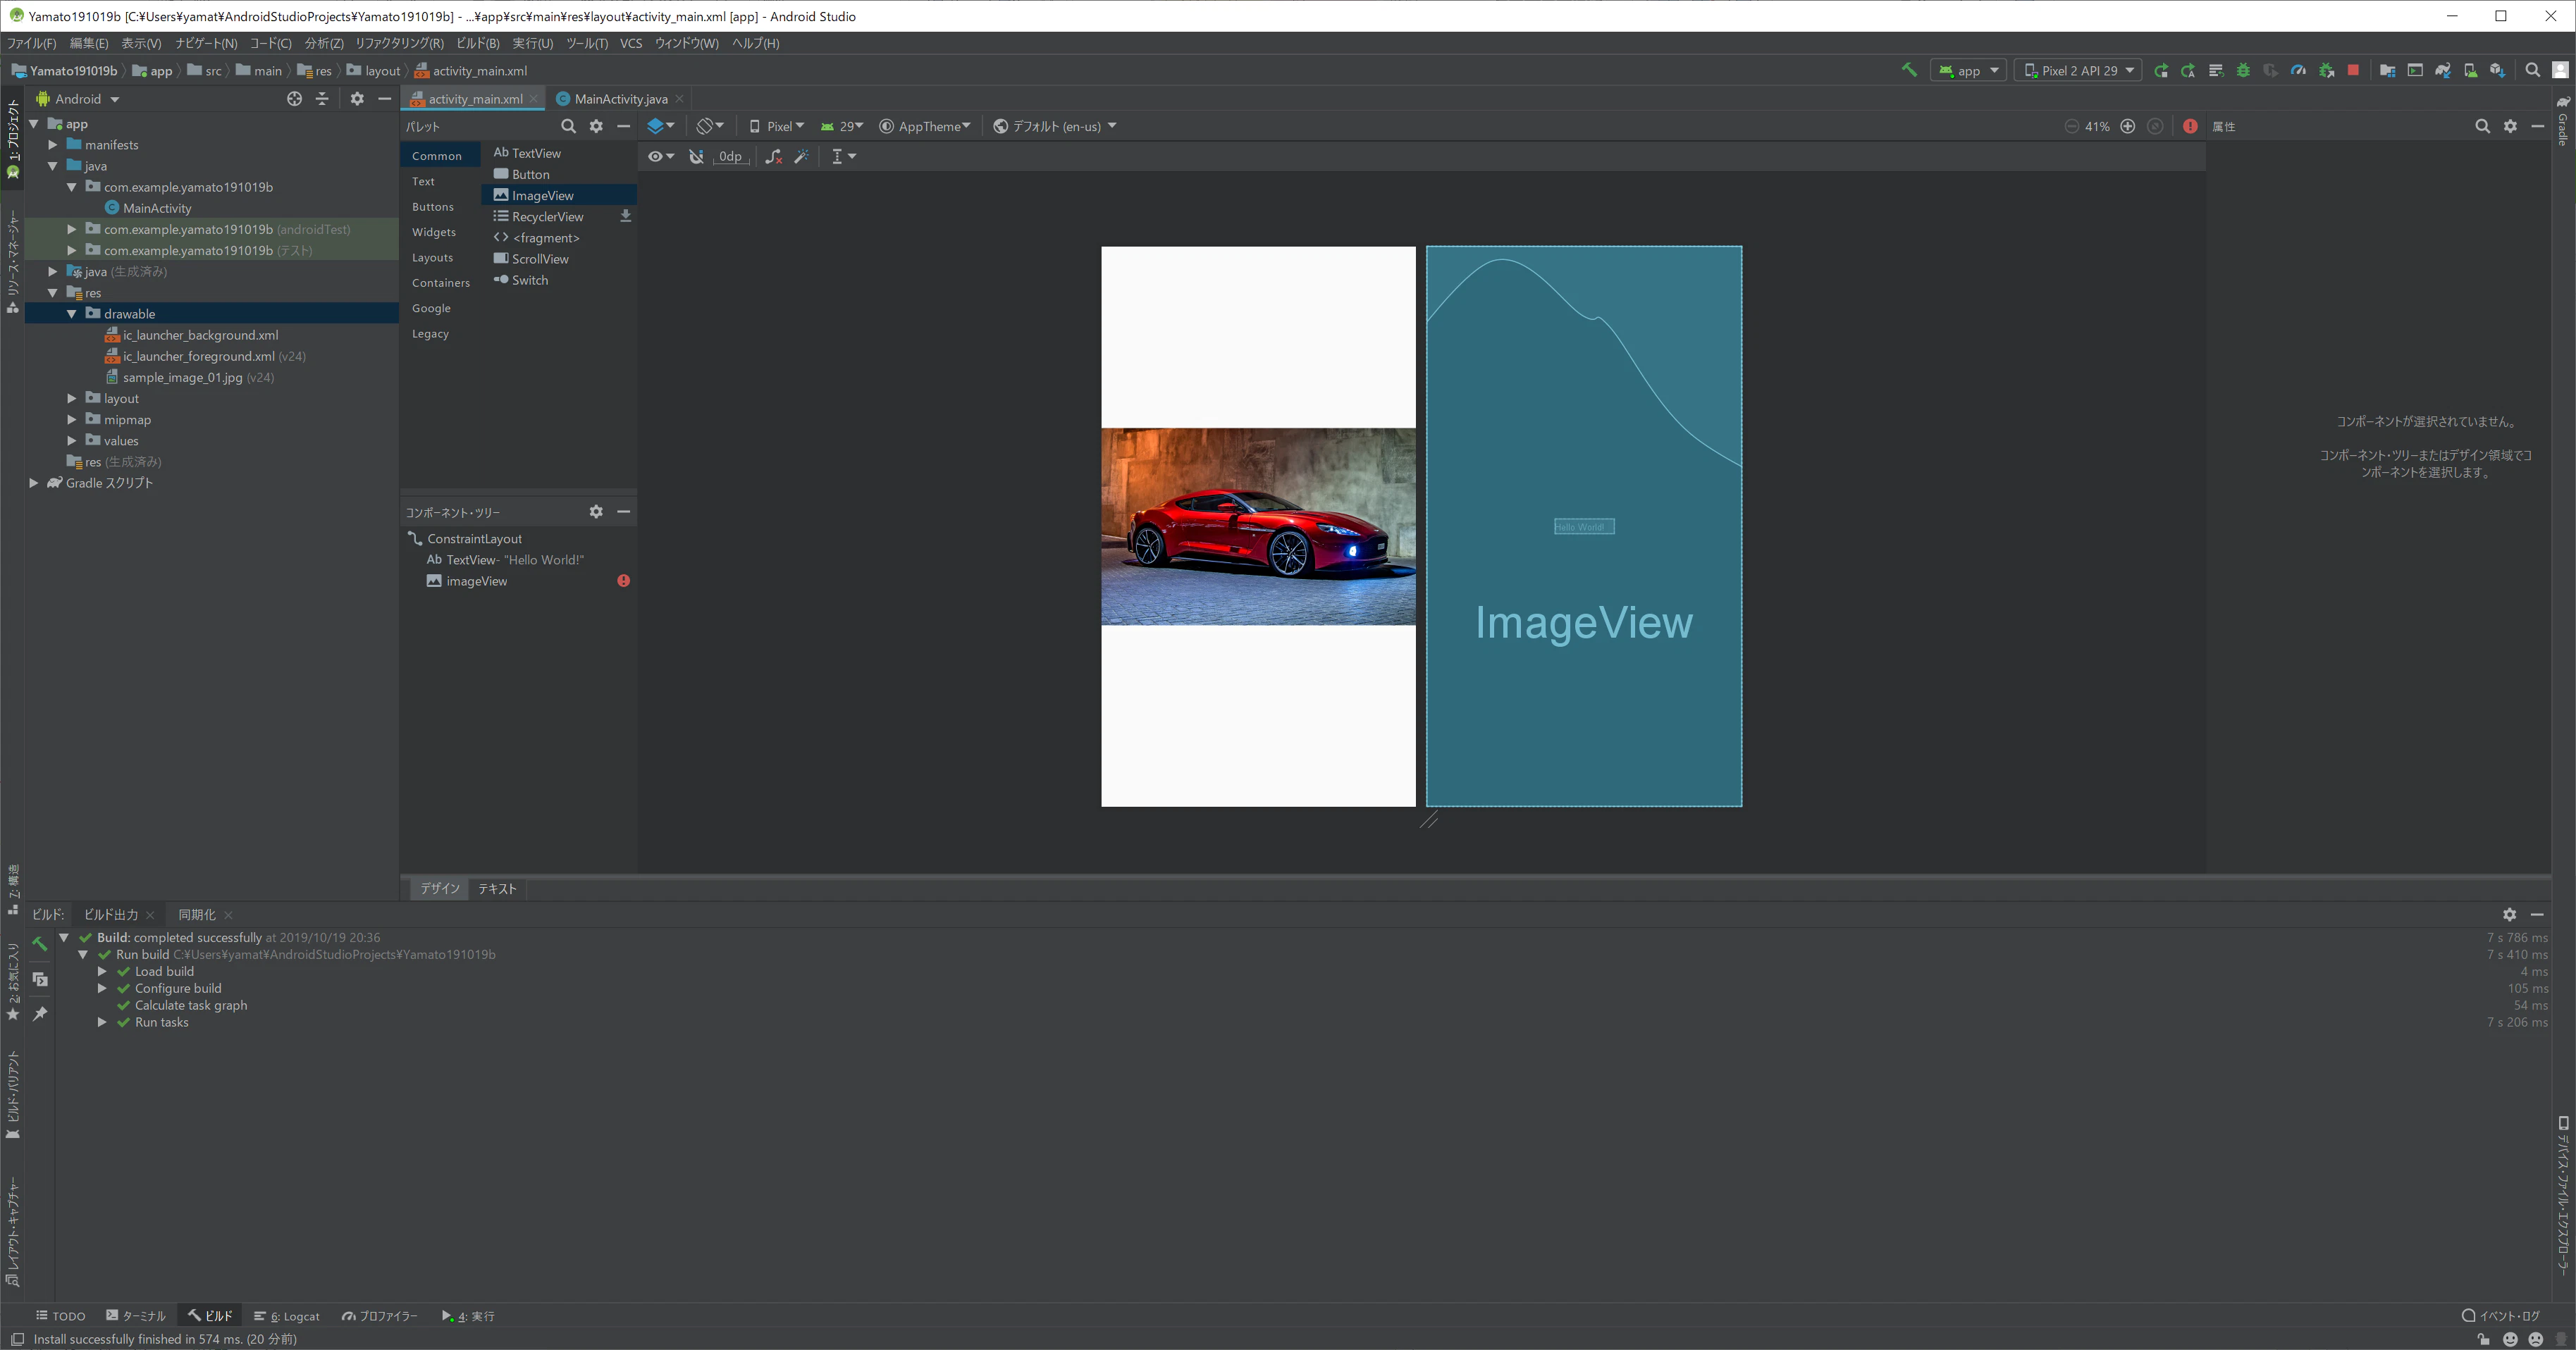
layout/activity_main.xml
<?xml version="1.0" encoding="utf-8"?>
<androidx.constraintlayout.widget.ConstraintLayout xmlns:android="http://schemas.android.com/apk/res/android"
    xmlns:app="http://schemas.android.com/apk/res-auto"
    xmlns:tools="http://schemas.android.com/tools"
    android:layout_width="match_parent"
    android:layout_height="match_parent"
    tools:context=".MainActivity">

    <TextView
        android:layout_width="wrap_content"
        android:layout_height="wrap_content"
        android:text="Hello World!"
        app:layout_constraintBottom_toBottomOf="parent"
        app:layout_constraintLeft_toLeftOf="parent"
        app:layout_constraintRight_toRightOf="parent"
        app:layout_constraintTop_toTopOf="parent" />

    <ImageView
        android:id="@+id/imageView"
        android:layout_width="wrap_content"
        android:layout_height="wrap_content"
        app:srcCompat="@drawable/sample_image_01"
        tools:layout_editor_absoluteX="0dp"
        tools:layout_editor_absoluteY="0dp" />

</androidx.constraintlayout.widget.ConstraintLayout>
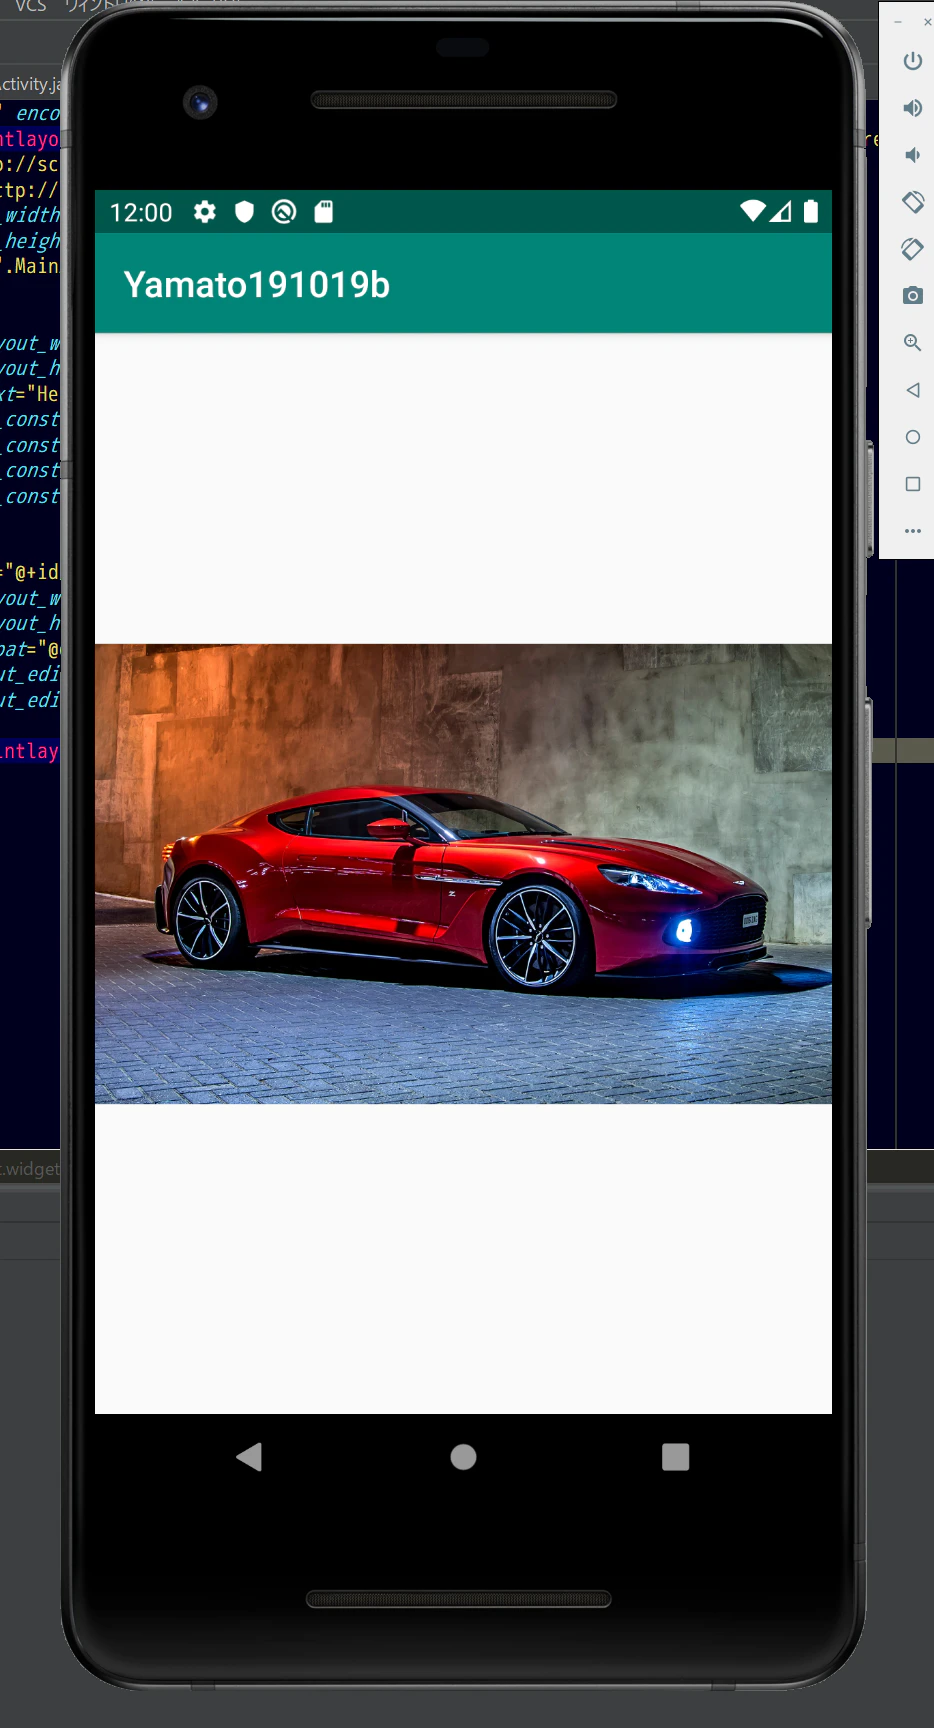
表示を確認する
ビルドすると、つぎのように表示される。