Moodleのインストール情報を参考に、Moodleをインストールする。
必要なパッケージのインストール
最初からこのパッケージが必要、と分かっているわけではない。ブラウザでのインストール手順中、必要なPHPのパッケージチェックの結果として分かるものもある。
$ sudo apt install -y apache2 php libapache2-mod-php php-curl php-zip php-mysqli php-xml php-gd php-intl php-mbstring php-soap php-xmlrpc

$ sudo apt install -y graphviz aspell ghostscript clamav php-pspell php-mysql php-ldap
ソースコードの取得
$ cd /opt
$ sudo git clone git://git.moodle.org/moodle.git
Cloning into 'moodle'...
remote: Counting objects: 1174897, done.
remote: Compressing objects: 100% (3234/3234), done.
remote: Total 1174897 (delta 5459), reused 6984 (delta 5021)
Receiving objects: 100% (1174897/1174897), 399.60 MiB | 385.00 KiB/s, done.
Resolving deltas: 100% (874153/874153), done.
Checking out files: 100% (21227/21227), done.
$ cd moodle
$ sudo git branch -a
* master
  remotes/origin/HEAD -> origin/master
  remotes/origin/MOODLE_13_STABLE
  remotes/origin/MOODLE_14_STABLE
  remotes/origin/MOODLE_15_STABLE
  remotes/origin/MOODLE_16_STABLE
  remotes/origin/MOODLE_17_STABLE
  remotes/origin/MOODLE_18_STABLE
  remotes/origin/MOODLE_19_STABLE
  remotes/origin/MOODLE_20_STABLE
  remotes/origin/MOODLE_21_STABLE
  remotes/origin/MOODLE_22_STABLE
  remotes/origin/MOODLE_23_STABLE
  remotes/origin/MOODLE_24_STABLE
  remotes/origin/MOODLE_25_STABLE
  remotes/origin/MOODLE_26_STABLE
  remotes/origin/MOODLE_27_STABLE
  remotes/origin/MOODLE_28_STABLE
  remotes/origin/MOODLE_29_STABLE
  remotes/origin/MOODLE_30_STABLE
  remotes/origin/MOODLE_310_STABLE
  remotes/origin/MOODLE_31_STABLE
  remotes/origin/MOODLE_32_STABLE
  remotes/origin/MOODLE_33_STABLE
  remotes/origin/MOODLE_34_STABLE
  remotes/origin/MOODLE_35_STABLE
  remotes/origin/MOODLE_36_STABLE
  remotes/origin/MOODLE_37_STABLE
  remotes/origin/MOODLE_38_STABLE
  remotes/origin/MOODLE_39_STABLE
  remotes/origin/master

$ sudo git branch --track MOODLE_39_STABLE origin/MOODLE_39_STABLE
Branch 'MOODLE_39_STABLE' set up to track remote branch 'MOODLE_39_STABLE' from 'origin'.

$ sudo git checkout MOODLE_39_STABLE
Switched to branch 'MOODLE_39_STABLE'
Your branch is up to date with 'origin/MOODLE_39_STABLE'.

$ sudo cp -R /opt/moodle /var/www/html/
$ sudo chown -R www-data /var/www/moodledata
$ sudo chmod -R 0755 /var/www/html/moodle
/var/www/moodledataは、後ほどブラウザからのインストールの際に指定することになるので、覚えておく。
MySQLの設定
mysql.cnfに以下の3行を追記する。
default_storage_engine = innodb
innodb_file_per_table = 1
innodb_file_format = Barracuda
MySQLを再起動する。
$ sudo service mysql restart
MySQL上でデータベースの作成とユーザの作成を行う。
$ sudo mysql -u root -p
パスワードはなし。エンターキーで進める。
以下のSQLのうち、usernameとpasswordは適切なものを設定する。
CREATE DATABASE moodle DEFAULT CHARACTER SET utf8mb4 COLLATE utf8mb4_unicode_ci;
create user 'username'@'localhost' IDENTIFIED BY 'password';
GRANT SELECT,INSERT,UPDATE,DELETE,CREATE,CREATE TEMPORARY TABLES,DROP,INDEX,ALTER ON moodle.* TO 'username'@'localhost';
quit;
ここまで出来たら、次はブラウザ上での操作となる。
Moodle
ブラウザからMoodleにアクセス。
Step1 言語の選択
Step2 パスの確認
パスは、インストールした場所と合わせて確認する。
Step3 データベースドライバの選択
データベースドライバはmysqliを選択する。
Step4 データベース設定
MySQLの設定にて設定した値を適用する。
Step5 config.php
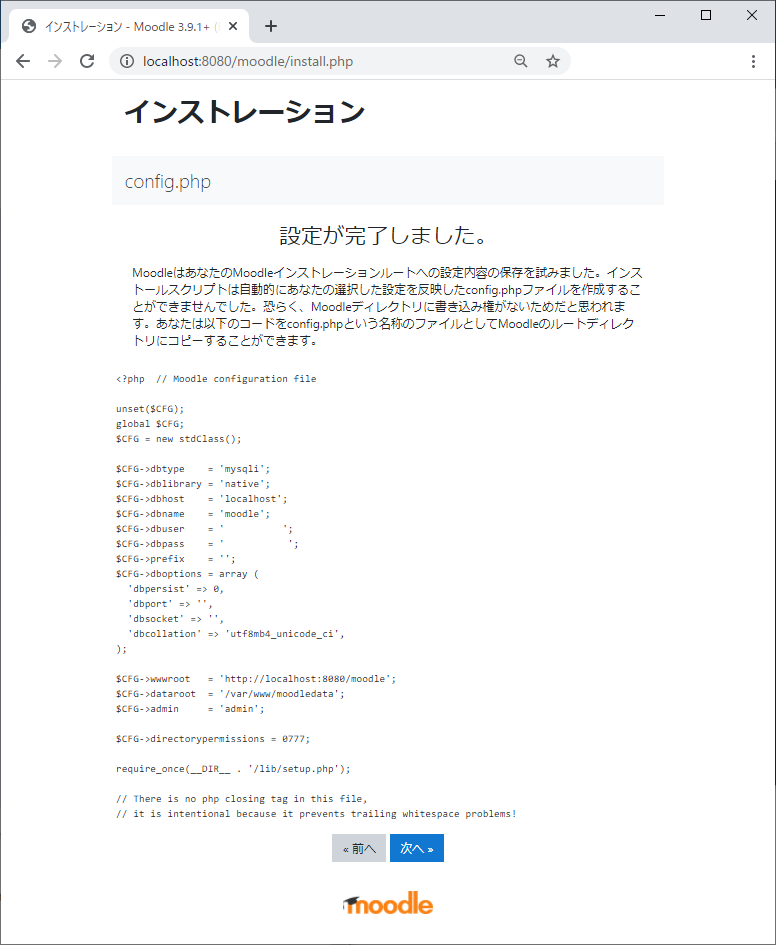
この画面に表示されているPHPコードを、/var/www/html/moodle/config.phpというファイルに記述する。
Step6 著作権表示
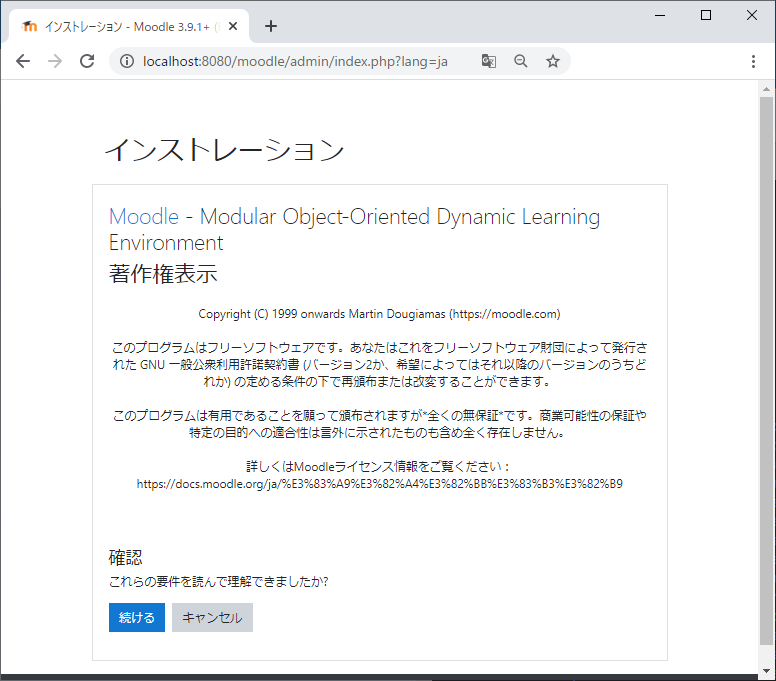
著作権表示。そのまま続ける。
Step7 PHPパッケージのチェック
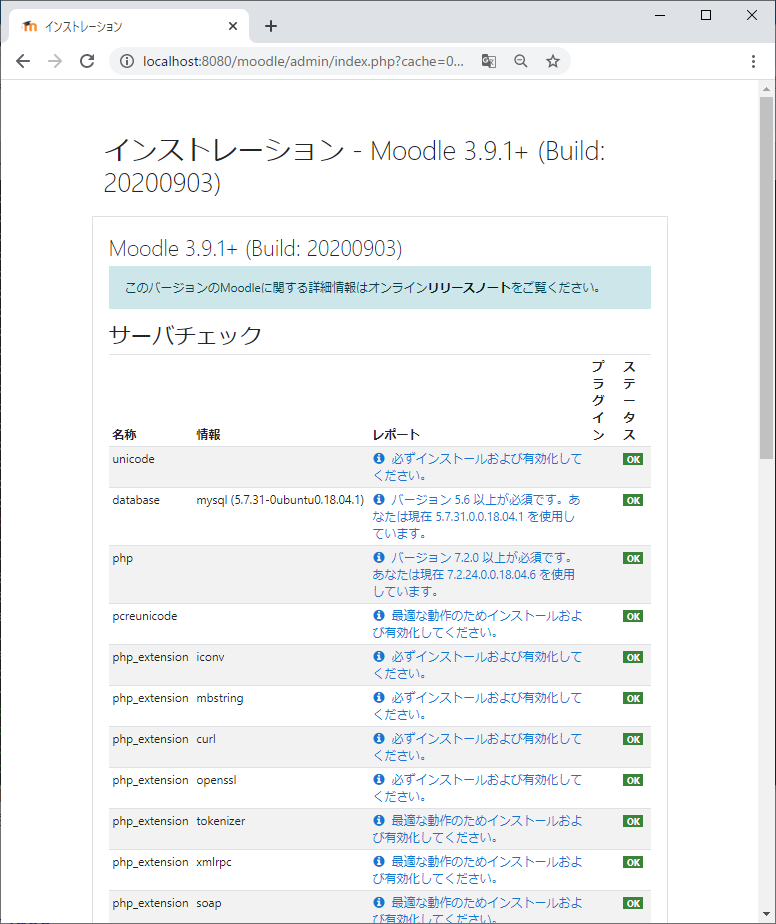
以下の追加パッケージのうちチェックとなっているものは、sudo apt-get installでのインストールを行ったのち、 "Apache2の再起動をした上で" もう一度この画面でチェックする。httpsは、今回はそのまま。
Step8 Moodleモジュールのインストール
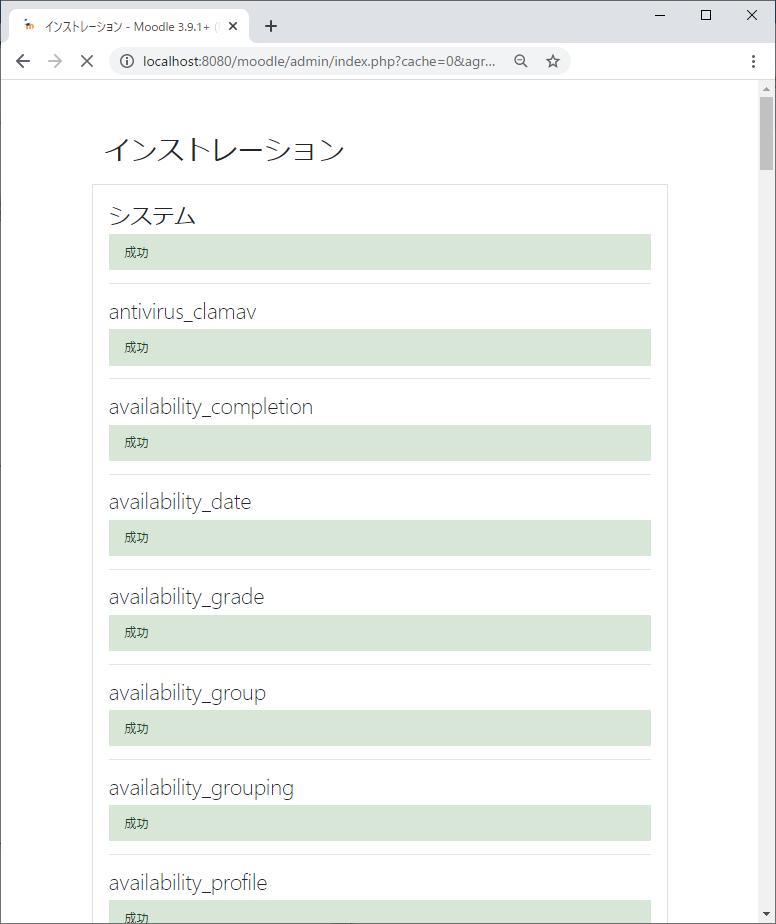
それなりの時間がかかるので、状況を確認しながら待つ。
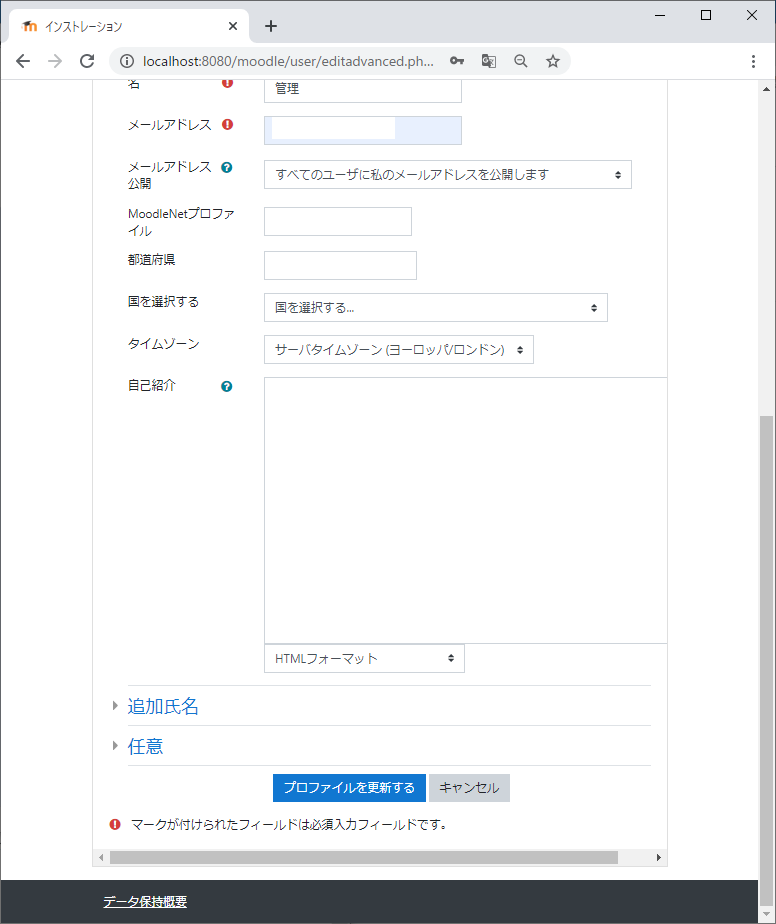
Step9 最高管理者アカウントの作成
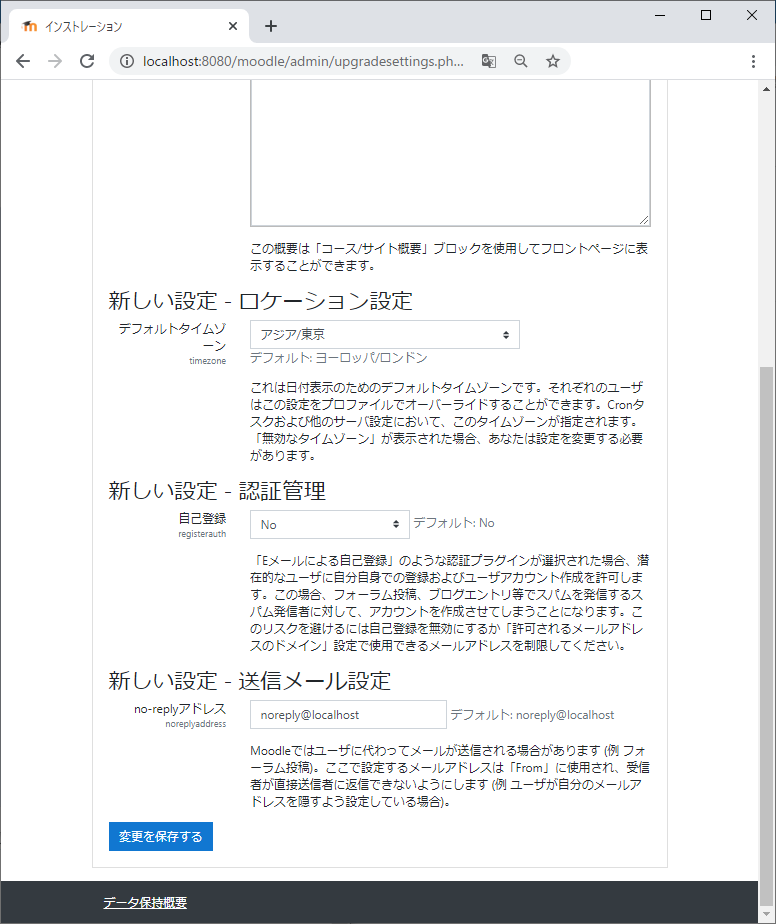
Step10 フロントページ設定など、基本設定
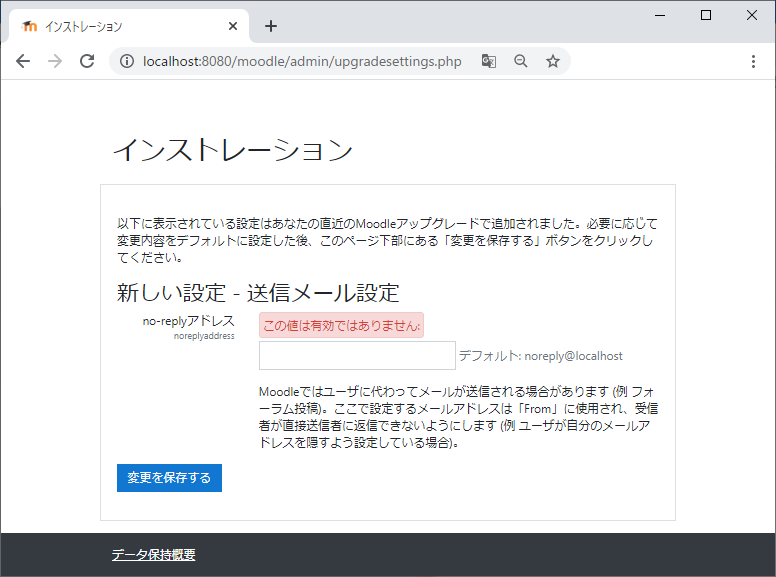
noreply@localhostをそのままにしておいたら怒られた。適切なメールアドレスを設定する。
Step11 終了
ダッシュボードが表示されて、インストール完了。
振り返り
- 全部コマンドラインでインストールできるなら楽なのだが、そういうものは無い様子。
- 依存PHPパッケージのチェックは事前にコマンドラインでやりたい・・・


