今回はカスタムビジュアルのユニットテストを見ていきます。内容が多いので数回に分けて書きます。
こちらの記事ではユニットテストを行うための環境構築と最低限のテストを実施します。
TestUtils
TestUtils はカスタムビジュアルでユニットテストを行う機能を提供します。ユニットテストには多くのライブラリを活用します。
使用するライブラリ
まずは今回紹介するユニットテストに使う主なライブラリを簡単に紹介します。karma のプラグインをはじめ他にも多くのライブラリを使いますが、それぞれの詳細は割愛します。
karma: ユニットテストの実行ライブラリ
jasmine: JavaScript のテストライブラリ
puppeteer: 自動テストで使えるヘッドレスブラウザーや API を提供するライブラリ
Istanbul: テストのコードカバレッジを計測するライブラリ
karma junit reporter: Karma でのテスト結果を JUNIT 形式でレポートするライブラリ
webpack: スクリプトや HTML、LESS などを管理、コンパイルするライブラリ
typescript: JavaScript で型を提供するライブラリ
ユニットテストで行う事
Power BI カスタムビジュアルのユニットテストは主に以下の 2 つのテストを行います。
- 初期状態やデータバインド時に DOM 上にレンダリングされる要素の確認
- 処理で使う独自の関数
利用するビジュアル
既に手元にビジュアルがある場合はそちらを利用できますが、今回は以下のサンプルを使います。
[PowerBIVisualWithUnitTest](clone https://github.com/kenakamu/PowerBIVisualWithUnitTest)
また今回試した pbiviz のバージョンは 3.1.10 です。
内容はこちらの記事が終わった段階のビジュアルです。
ビジュアルのダウンロードとテスト
1. git clone とチェックアウトを実行。
git clone https://github.com/kenakamu/PowerBIVisualWithUnitTest
cd PowerBIVisualWithUnitTest
git checkout visual-only
2. パッケージをインストール。
npm install
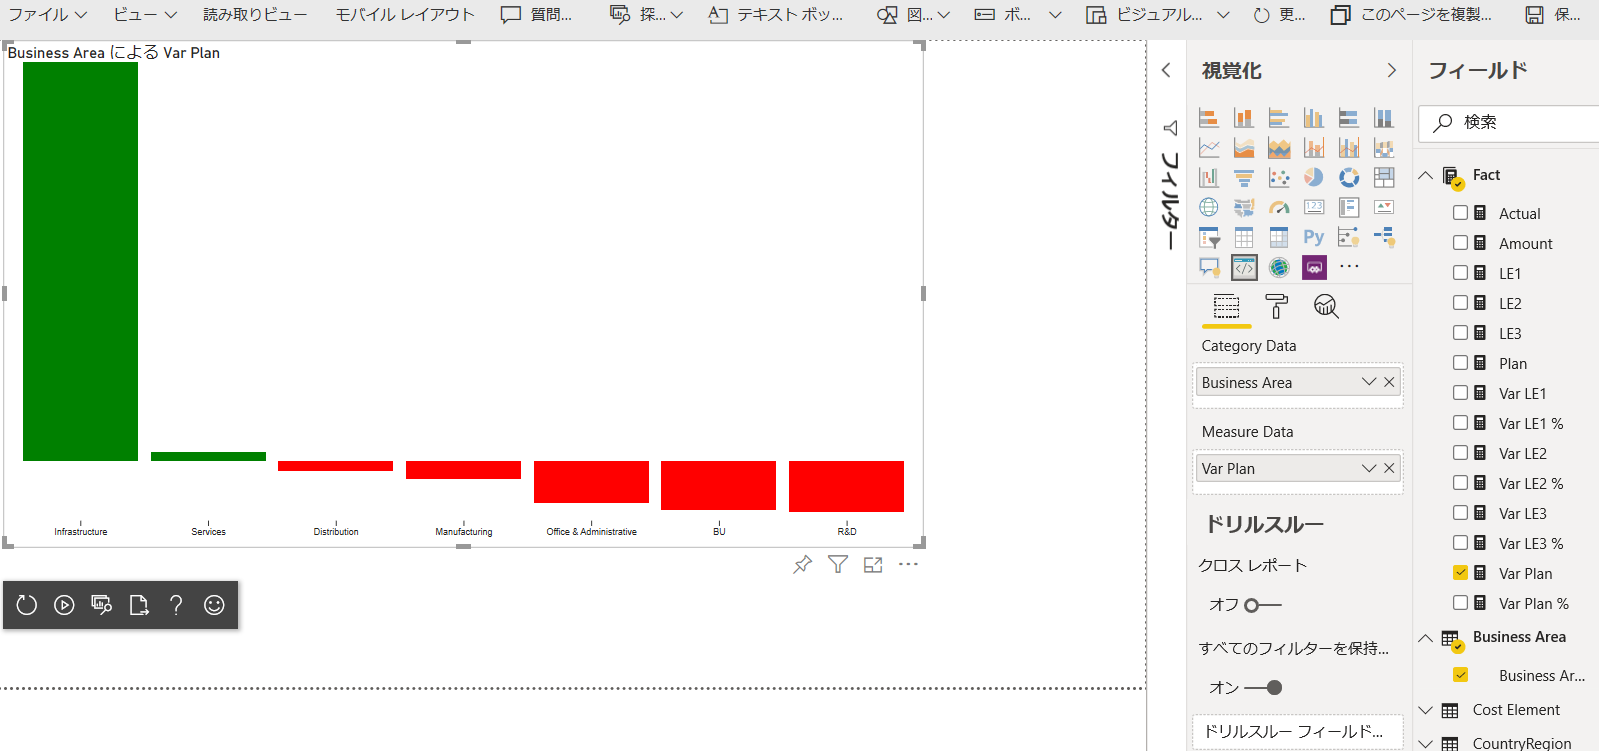
3. ビジュアルを実行。
npm start
4. 適当にデータをバインドして結果を確認。
visual-only ブランチにはユニットテストを追加する前のものが入っています。master に完成形があります。
ユニットテストの準備
1. 必要なライブラリを追加でインストール。puppeteer が特にサイズが大きいため時間がかかる。
npm install --save-dev coveralls css-loader istanbul-instrumenter-loader jasmine jasmine-core jasmine-jquery jquery karma karma-chrome-launcher karma-coverage karma-coverage-istanbul-reporter karma-jasmine karma-junit-reporter karma-sourcemap-loader karma-typescript karma-typescript-preprocessor karma-webpack less less-loader lodash.isequal puppeteer style-loader ts-node webpack @types/jasmine @types/jasmine-jquery @types/jquery @types/karma @types/lodash @types/webpack @babel/polyfill powerbi-visuals-utils-testutils powerbi-visuals-utils-typeutils
2. webpack の構成ファイルとして test.webpack.config.js をルートに追加。
const path = require('path');
const webpack = require("webpack");

module.exports = {
    devtool: 'source-map',
    mode: 'development',
    module: {
        rules: [
            {
                test: /\.tsx?$/,
                use: 'ts-loader',
                exclude: /node_modules/
            },
            {
                test: /\.json$/,
                loader: 'json-loader'
            },
            {
                test: /\.tsx?$/i,
                enforce: 'post',
                include: /(src)/,
                exclude: /(node_modules|resources\/js\/vendor)/,
                loader: 'istanbul-instrumenter-loader',
                options: { esModules: true }
            },
            {
                test: /\.less$/,
                use: [
                    {
                        loader: 'style-loader'
                    },
                    {
                        loader: 'css-loader'
                    },
                    {
                        loader: 'less-loader',
                        options: {
                            paths: [path.resolve(__dirname, 'node_modules')]
                        }
                    }
                ]
            }
        ]
    },
    externals: {
        "powerbi-visuals-api": '{}'
    },
    resolve: {
        extensions: ['.tsx', '.ts', '.js', '.css']
    },
    output: {
        path: path.resolve(__dirname, ".tmp/test")
    },
    plugins: [
        new webpack.ProvidePlugin({
            'powerbi-visuals-api': null
        })
    ]
};
3. テスト時に利用する TypeScript 用構成ファイルとして、test.tsconfig.json をルートに作成。
{
  "compilerOptions": {
    "allowJs": false,
    "emitDecoratorMetadata": true,
    "experimentalDecorators": true,
    "module": "es6",
    "target": "es6",
    "sourceMap": true,
    "outDir": "./.tmp/build/",
    "sourceRoot": "../../src/",
    "moduleResolution": "node",
    "declaration": true,
    "lib": [
        "es2015",
        "dom"
    ]
  },
  "files": [
    "./test/visualTest.ts"
  ],
  "include": [
      "src/*.ts"
  ]
}
4. karma 用の構成ファイルとして karma.conf.ts をルートに作成。
- 作成済の webpack、TypeScript 構成ファイルを読み込み
- テストファイルやソースの場所を指定
- 利用するブラウザ (ChromeHeadless)、テストフレームワーク (Jasmine) など各種連携情報を指定
構成ファイルの詳細は Karma Configuration 参照。
"use strict";

const webpackConfig = require("./test.webpack.config.js");
const tsconfig = require("./test.tsconfig.json");
const path = require("path");

const testRecursivePath = "test/visualTest.ts";
const srcOriginalRecursivePath = "src/**/*.ts";
const coverageFolder = "coverage";

process.env.CHROME_BIN = require("puppeteer").executablePath();

import { Config, ConfigOptions } from "karma";

module.exports = (config: Config) => {
    config.set(<ConfigOptions>{
        mode: "development",
        browserNoActivityTimeout: 100000,
        browsers: ["ChromeHeadless"],
        colors: true,
        frameworks: ["jasmine"],
        reporters: [
            "progress",
            "junit",
            "coverage-istanbul"
        ],
        junitReporter: {
            outputDir: path.join(__dirname, coverageFolder),
            outputFile: "TESTS-report.xml",
            useBrowserName: false
        },
        singleRun: true,
        plugins: [
            "karma-coverage",
            "karma-typescript",
            "karma-webpack",
            "karma-jasmine",
            "karma-sourcemap-loader",
            "karma-chrome-launcher",
            "karma-junit-reporter",
            "karma-coverage-istanbul-reporter"
        ],
        files: [
            "node_modules/jquery/dist/jquery.min.js",
            "node_modules/jasmine-jquery/lib/jasmine-jquery.js",
            testRecursivePath,
            {
                pattern: srcOriginalRecursivePath,
                included: false,
                served: true
            }
        ],
        preprocessors: {
            [testRecursivePath]: ["webpack", "coverage"]
        },
        typescriptPreprocessor: {
            options: tsconfig.compilerOptions
        },
        coverageIstanbulReporter: {
            reports: ["html", "lcovonly", "text-summary", "cobertura"],
            dir: path.join(__dirname, coverageFolder),
            'report-config': {
                html: {
                    subdir: 'html-report'
                }
            },
            combineBrowserReports: true,
            fixWebpackSourcePaths: true,
            verbose: false
        },
        coverageReporter: {
            dir: path.join(__dirname, coverageFolder),
            reporters: [
                // reporters not supporting the `file` property
                { type: 'html', subdir: 'html-report' },
                { type: 'lcov', subdir: 'lcov' },
                // reporters supporting the `file` property, use `subdir` to directly
                // output them in the `dir` directory
                { type: 'cobertura', subdir: '.', file: 'cobertura-coverage.xml' },
                { type: 'lcovonly', subdir: '.', file: 'report-lcovonly.txt' },
                { type: 'text-summary', subdir: '.', file: 'text-summary.txt' },
            ]
        },
        mime: {
            "text/x-typescript": ["ts", "tsx"]
        },
        webpack: webpackConfig,
        webpackMiddleware: {
            stats: "errors-only"
        }
    });
};
5. 上記で指定した通り、test フォルダを作成し、visualBuilder.ts を追加。
- Visual をテスト用にインスタンス化
- JQuery を使って要素を取得しテストで利用
import powerbi from "powerbi-visuals-api";
import VisualConstructorOptions = powerbi.extensibility.visual.VisualConstructorOptions;
import { VisualBuilderBase } from "powerbi-visuals-utils-testutils";
import { Visual } from "./../src/visual";
export class VisualBuilder extends VisualBuilderBase<Visual> {
    constructor(width: number, height: number) {
        super(width, height);
    }

    protected build(options: VisualConstructorOptions) {
        return new Visual(options);
    }

    public get rootElement(): JQuery {
        return this.element.find("svg");
    }

    public get barElement(): JQuery {
        return this.element.find(".bar");
    }
}
6. 同様に test フォルダに visualData.ts を追加。
- テストで使うダミーデータの作成
- ここでは 7 つのカテゴリと値をそれぞれ作成
import powerbi from "powerbi-visuals-api";
import DataView = powerbi.DataView;
import { valueType } from "powerbi-visuals-utils-typeutils";
import ValueType = valueType.ValueType;
import {
    testDataViewBuilder
} from "powerbi-visuals-utils-testutils";
import TestDataViewBuilder = testDataViewBuilder.TestDataViewBuilder;

export class VisualData extends TestDataViewBuilder {
    public valuesCategory: string[] = [
        "Infrastructure",
        "Services",
        "Distribution",
        "Manufacturing",
        "Office & Administrative",
        "BU",
        "R&D"];
    public valuesMeasure: number[] = [
        23536681.479000024,
        572443.5630000085,
        -561203.5199999921,
        -1061897.1090000793,
        -2429005.238999985,
        -2846388.948000014,
        -2970340.0979999974];

    public constructor() {
        super();
    }

    public getDataView(columnNames?: string[]): DataView {
        let dataView: any = this.createCategoricalDataViewBuilder(
            [{
                source: {
                    displayName: "Business Area",
                    queryName: "Business Area.Business Area",
                    type: ValueType.fromDescriptor({ text: true }),
                    roles: {
                        category: true
                    },
                },
                values: this.valuesCategory
            }],
            [{
                source: {
                    displayName: "Var Plan",
                    queryName: "Fact.Var Plan",
                    isMeasure: true,
                    roles: {
                        measure: true
                    },
                    type: ValueType.fromDescriptor({ numeric: true })
                },
                values: this.valuesMeasure
            }],
            columnNames).build();

        let maxLocal = 0;
        this.valuesMeasure.forEach((item) => {
            if (item > maxLocal) {
                maxLocal = item;
            }
        });
        (<any> dataView).categorical.values[0].maxLocal = maxLocal;

        let minLocal = 0;
        this.valuesMeasure.forEach((item) => {
            if (item < minLocal) {
                minLocal = item;
            }
        });
        (<any> dataView).categorical.values[0].minLocal = minLocal;
        return dataView;
    }
}
7. 最後に test フォルダに visualTest.ts を追加。
- 実際のユニットテストコード
import powerbi from "powerbi-visuals-api";
import { VisualBuilder } from "./VisualBuilder";
import DataView = powerbi.DataView;
import {
    Visual as VisualClass
} from "../src/visual";
import { VisualData } from "./visualData";

describe("Test Visual", () => {
    let visualBuilder: VisualBuilder;
    let dataView: DataView;
    let visualData: VisualData;

    // テストの準備
    beforeEach(() => {
        // ビジュアルの作成とデータの取得
        visualBuilder = new VisualBuilder(500, 500);
        visualData = new VisualData()
        dataView = visualData.getDataView();
    });

    it("should main element in DOM", () => {
        // SVC が存在するか確認
        expect(visualBuilder.mainElement).toBeInDOM();
    });

    it("should render 7 bars", (done) => {
        // DataView をバインドする
        visualBuilder.updateRenderTimeout(dataView, () => {
            // バインドが完了したらバーの数を確認
            expect(visualBuilder.barElement.length).toEqual(7);
            done();
        });
    });
});
8. package.json の scripts にテスト用スクリプトを入れます。
"test": "karma start"
ユニットテストの実行
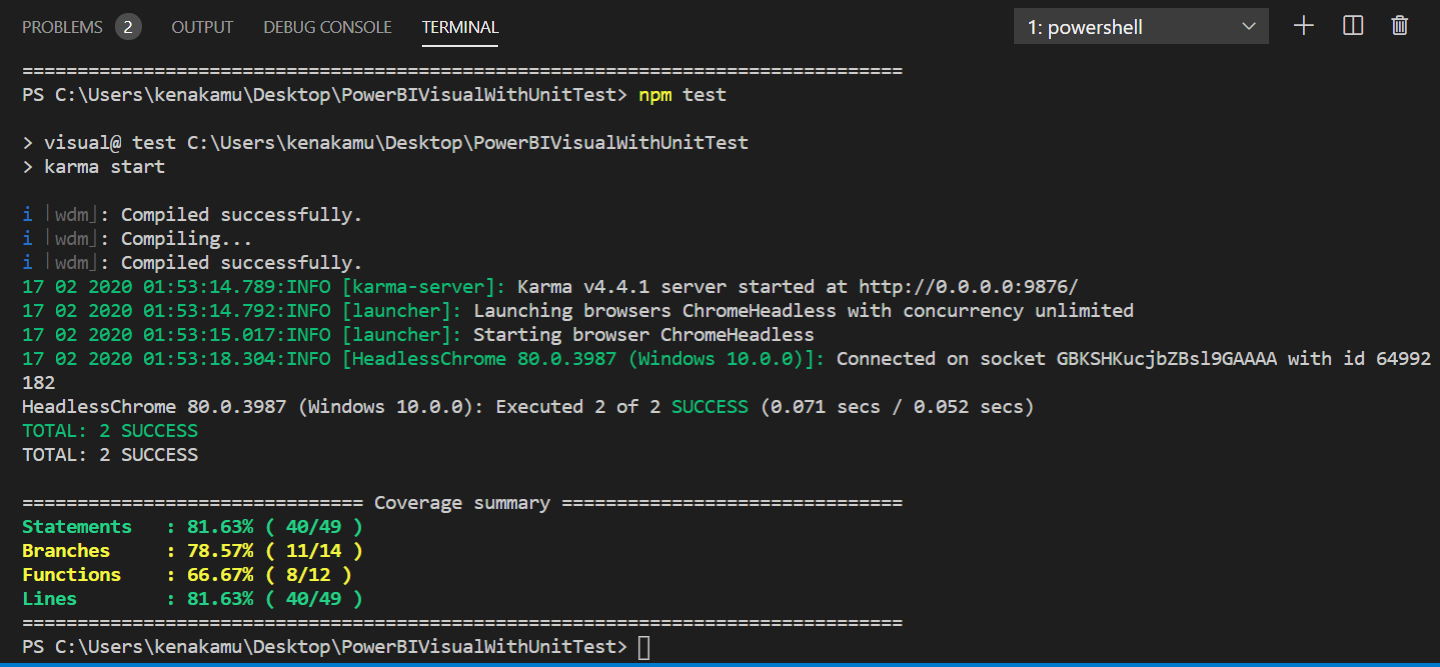
早速一度テストを実行してみましょう。追加したスクリプトを実行します。
npm test
結果として、各ユニットテストの結果とコードカバレッジが以下のように表示されます。
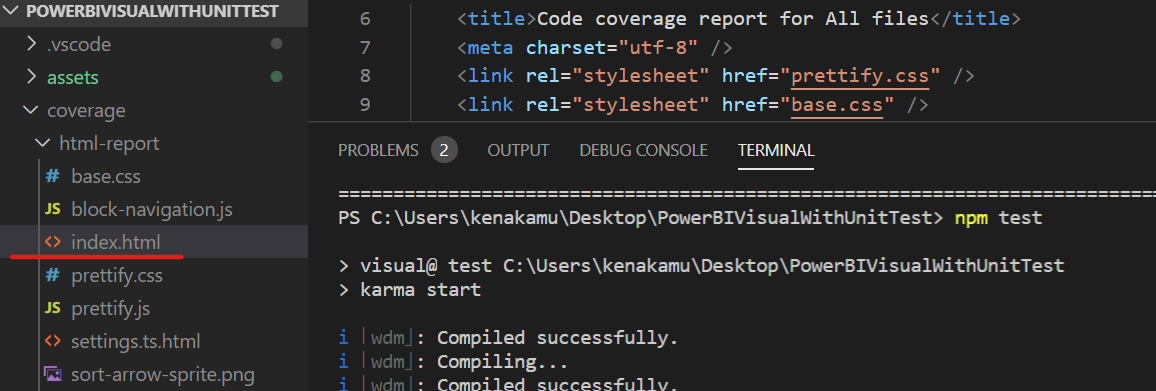
coverage フォルダには HTML でコードカバレッジの結果が出力されているため、ブラウザでも確認できます。

まとめ
今回はまずユニットテストを実行できる環境のセットアップと、簡単なテストを行いまいした。次回は追加したそれぞれのテストファイルの詳細や、テストのデバッグなどについて見ていきます。
参考
Mekko chart: サンプルビジュアルでユニットテスト完備
Tutorial: Add unit tests for Power BI visual projects: 情報が一部不足しているため参考程度