0
0

Delete article

Deleted articles cannot be recovered.

Draft of this article would be also deleted.

Are you sure you want to delete this article?

WindowsServerでファイルサーバを構築する

Posted at

こんにちは!
今回は、先日構築した Windows Server に対して、ファイルサーバ機能(SMB共有) を追加し、実際に共有フォルダを作成するところまでまとめました。
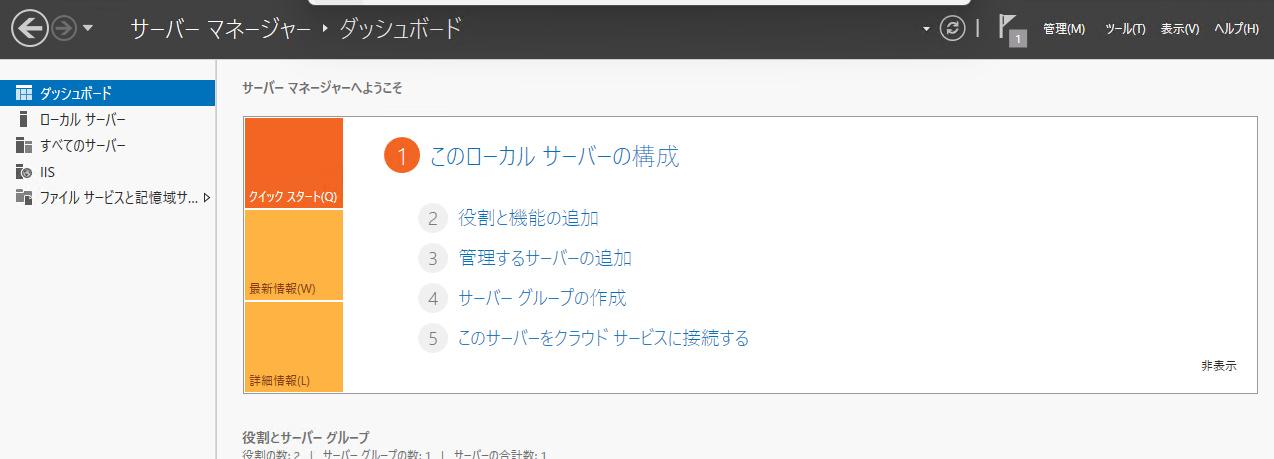
1. 「役割と機能の追加」を開く

Server Manager を開き、右上の 「管理」 → 「役割と機能の追加」 を選択します。

image.png

2. ファイルサーバ用の役割を追加する

「ファイルサービスと記憶域サービス」内の
「ファイルサーバ」 にチェックを入れて進みます。

image.png

そのまま「次へ」で進み、インストールを完了します。

3. 共有フォルダを作成する

インストールが終わったら、Server Manager の左メニューから
「ファイルと記憶域サービス」 → 「共有」 を開きます。

image.png

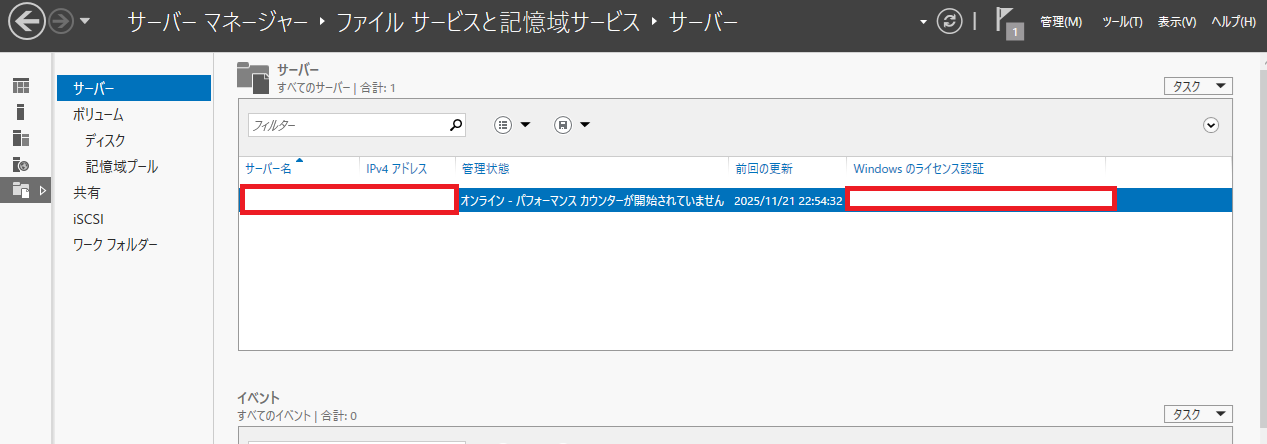
右側の 「タスク」 → 「新しい共有」 を選択します。
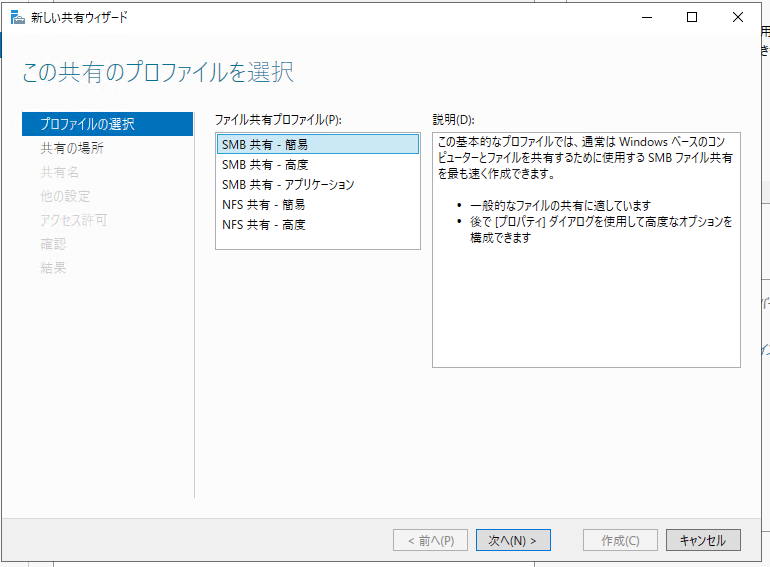
image.png

4. 共有の種類を選ぶ(SMB 共有)

今回はもっともシンプルな
「SMB 共有 - 簡易」 を選択します。

次に、共有フォルダのパスを指定します。

今回は例として
C:\Share
というフォルダを作成し、それを共有対象にしています。

image.png

5. ローカルから実際に共有フォルダへアクセスしてみる

作成した共有フォルダにアクセスできるか確認します。

\\サーバのPC名\Share

で、問題なく開けるか確認します。

image.png

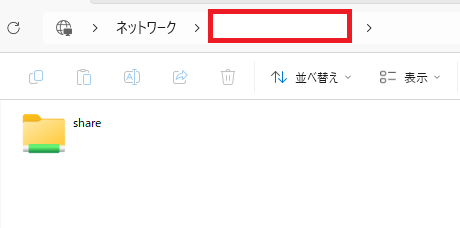
共有フォルダとして認識されていればOKです!

0
0
0

Register as a new user and use Qiita more conveniently

  1. You get articles that match your needs
  2. You can efficiently read back useful information
  3. You can use dark theme
What you can do with signing up
0
0

Delete article

Deleted articles cannot be recovered.

Draft of this article would be also deleted.

Are you sure you want to delete this article?