Javaとjavascriptを使用します(jQuery使用)
1.Javaでサーバーサイドを記述します。
内容の説明はコード内のコメントを読んでいただくと、だいたい分かるかと思います。
WebSocketServer.java
package main.java;

import java.io.IOException;
import java.util.HashMap;
import java.util.Map;

import javax.websocket.CloseReason;
import javax.websocket.EndpointConfig;
import javax.websocket.OnClose;
import javax.websocket.OnError;
import javax.websocket.OnMessage;
import javax.websocket.OnOpen;
import javax.websocket.Session;
import javax.websocket.server.ServerEndpoint;

//これをつけるとWebSocketServer
//URLはワイルドカード可能
@ServerEndpoint("/WebSocketServer")
public class WebSocketServer {

	//Session(通信)を保存しておくためのMap
	private static Map<String, Session> session = new HashMap<>();

	//自分のIDを保存しておく変数
	 String myId = "";

	 //自分の名前を保存しておく変数
	 String myName = "";

	/**
	 * 接続時に呼ばれるメソッド
	 */
	@OnOpen
	public void onOpen(final Session client, final EndpointConfig config) {
		/* セッション確立時の処理 */
		String log = client.getId() + " Was connected.";
		System.out.println(log);

	}

	/**
	 * エラー時に呼ばれるメソッド
	 */
	@OnError
	public void onError(final Session client, final Throwable error) {
		/* エラー発生時の処理 */
		String log = client.getId() + " was error. [" + error.getMessage() + "]";
		System.out.println(log);
	}

	/**
	 * 切断時に呼ばれるメソッド
	 */
	@OnClose
	public void onClose(final Session client, final CloseReason reason) throws IOException {
		/* セッション解放時の処理 */
		String log = client.getId() + " was closed by " + reason.getCloseCode() + "[" + reason.getCloseCode().getCode()
				+ "]";
		System.out.println(log);
	}

	/**
	 * メッセージが呼ばれた時に呼ばれるメソッド
	 */
	@OnMessage
	public void onMessage(final String text, final Session client) throws IOException {
		/* メッセージ受信時の処理 */
		System.out.println("WebSocket受信:" + text);

		//メッセージの内容は、改行区切りで操作、idが記述されているものとする
		String[] t = text.split("\n");
		String event = t[0];
		String id = t[1];

		System.out.println("EVENT:" + event);
		System.out.println("ID:" + id);
		switch (event) {

		case "login":
			//HashMapにSessionを保存しておく
			session.put(id, client);
			//変数にIDを保存する。
			myId = id;

			//名前の切り出し
			int strSize = id.length();
			int cutLength = 4;
			int nameCut = strSize - cutLength;
			//変数に名前だけを保存
			myName = id.substring(0,nameCut);
			System.out.println("切り出した名前:" + myName);

			//idで保存したセッションに文字列を送信
			Session mySession = session.get(id);
			mySession.getBasicRemote().sendText("Welcom to " + myName + " !!");
			System.out.println("login:" + id);
			break;

		case "commit":
			//ブロードキャスト
			for (Session s : session.values()) {
				s.getBasicRemote().sendText(myName + ": " + t[1]);
			}
			System.out.println("commit:" + t[1]);
			break;

		case "close":
			//セッション一覧から削除
			System.out.println("削除するID:" + myId);
			//保存したセッションを削除
			session.remove(myId);
			System.out.println("close:セッション削除");
			break;
		}
	}
}
2.クライアント側のjavascriptを記述します。
こちらもコメントを読み取っていただくと幸いです。
script.js
$(function() {
var url = 'ws://' + window.location.host + '/SampleServer/WebSocketServer';
var ws = null;
var inputId;
console.log('ロケーション:' + window.location.host);
//4桁のランダムな数を生成するための変数
var min = 1000;
var max = 9999;
//名前に添付してID化するためのソルトコード
var saltCode;
//initButtonを押すとここが走るよ
$('#login').on("click",function() {
if (ws == null) {
inputId = $('#box1').find('input').val();
//IDがが空なら登録させない
if(inputId != "") {
//Websocketを初期化
ws = new WebSocket(url);
//イベントハンドラの登録
ws.onopen = onOpen;
ws.onmessage = onMessage;
ws.onclose = onClose;
ws.onerror = onError;
console.log("ID:" + inputId);
} else {
alert("ID名を入力してください!!");
}
}
});
//WebSocket open
function onOpen(event) {
$("#log").prepend("<onopen> " + "<br/>");
console.log("WebSocket接続確立");
//4桁のランダムな整数を生成
saltCode = Math.floor(Math.random() * (max + 1 - min)) + min;
//明示的に文字列へのキャスト
String(saltCode);
//ソルトコードをくっつけてID作成
inputId = inputId + saltCode;
console.log('ソルトコード付きID:' + inputId);
ws.send("login\n" + inputId);
};
//WebSocket message
function onMessage(receive) {
$("#log").prepend(receive.data + "<br/><br/>");
console.log("レスポンスメッセージ:" + receive.data);
};
//WebSocket error
function onError() {
$("#log").prepend("<onerror> " + "<br/>");
console.log("エラー処理");
alert("error");
};
//WebSocket close
function onClose() {
$("#log").prepend("<onclose> " + "<br/>");
ws.send("close\ndelete")
ws = null;
console.log("WebSocket切断");
};
//windowが閉じられた(例:ブラウザを閉じた)時のイベントを設定
$(window).on("beforeunload",function() {
ws.onclose(); //WebSocket close
});
//WebSocketを使ってメッセージをサーバに送信
$('#send').on('click',function() {
var sendMessage = $('#message').val();
console.log("メッセージ:" + sendMessage);
if(sendMessage != "") {
ws.send("commit\n" + sendMessage);
$('#message').val("");
} else {
console.log("空なので送信しません");
}
});
});
3.簡単なhtmlを用意します。
index.html
<!DOCTYPE html>

<html>
<head>
    <title>WebSocket Server Sample</title>
    <meta charset="utf-8"/>
    <script src="js/lib/jquery-3.4.1.min.js"></script>


    </head>
<body>
    <div id="box1">
    <input type="text" id="id" placeholder="inputID" />
    <button id="login">login</button>
        </div>
    <br/>
    <div id="box2">
    <input type="text" id="message" placeholder="inputMessage" />
        <button id="send">send</button>
        </div>
    <br/>
    <div id="log"></div>
    <script src="js/script.js"></script>
    </body>
</html>
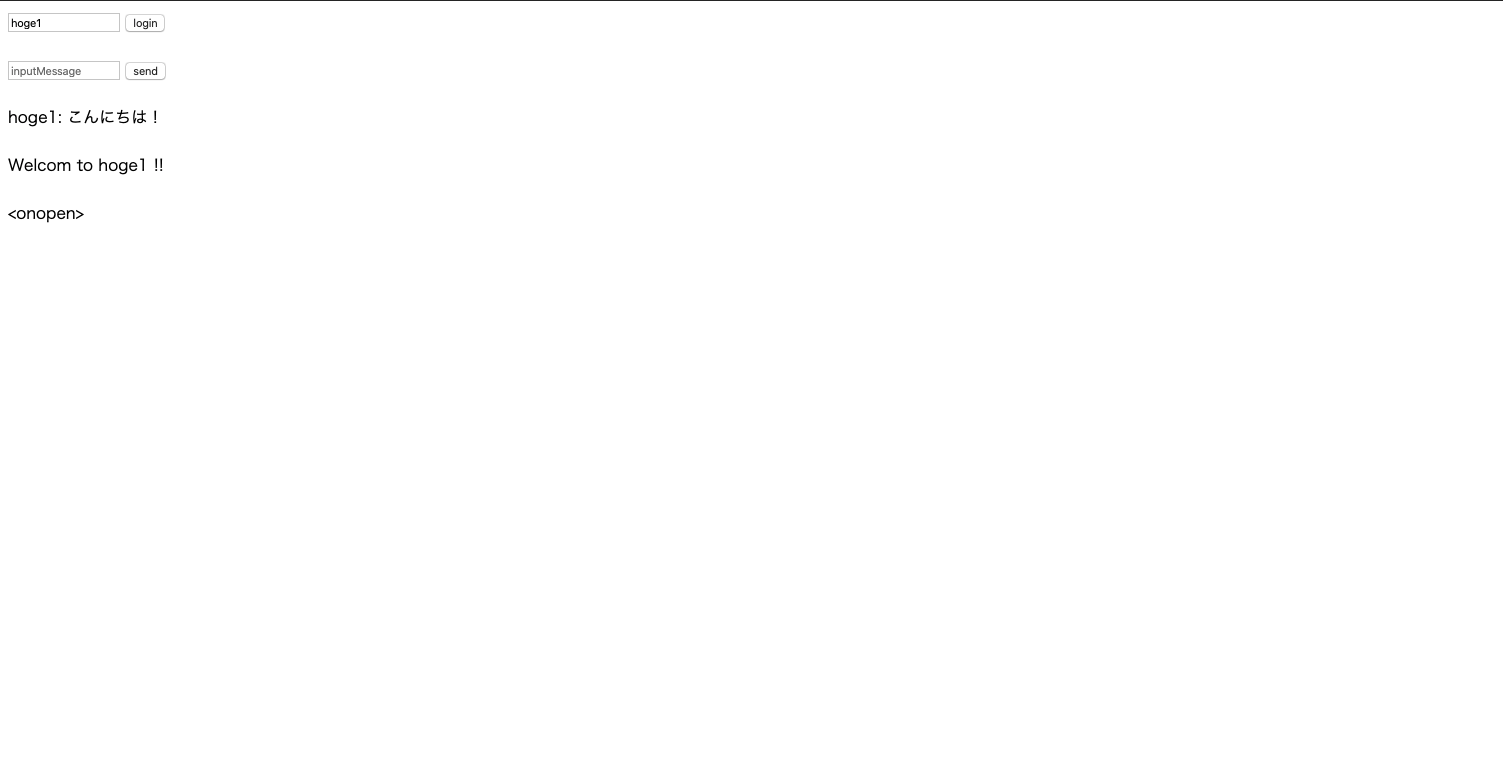
このように動作するかと思います。
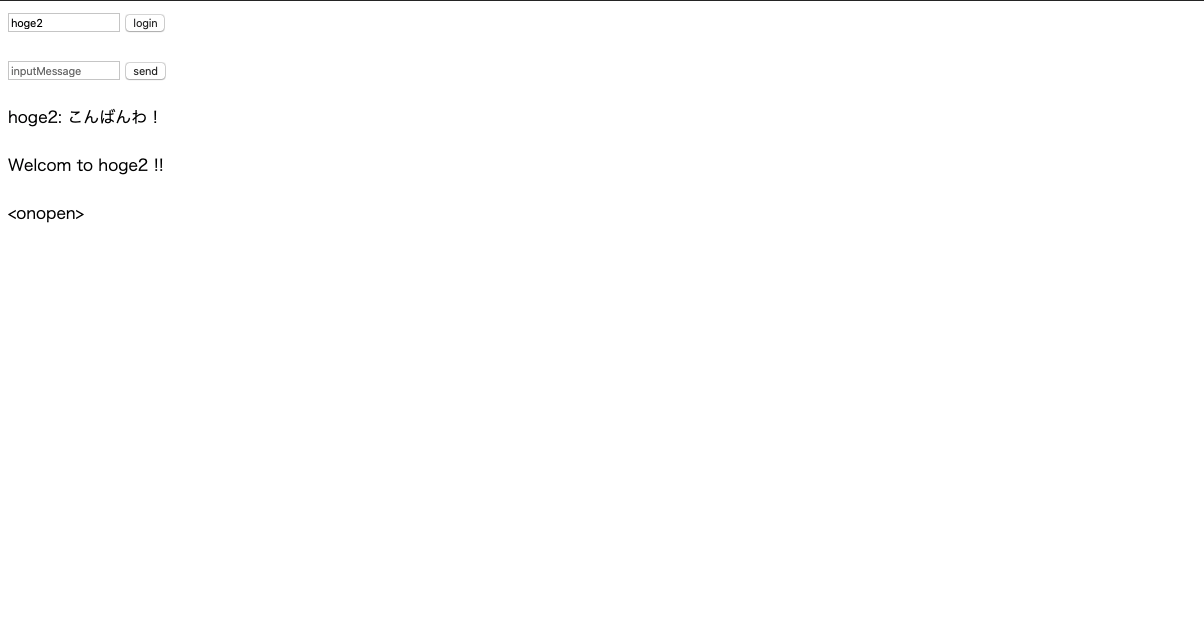
別のユーザーでログインしてメセージを送信します。
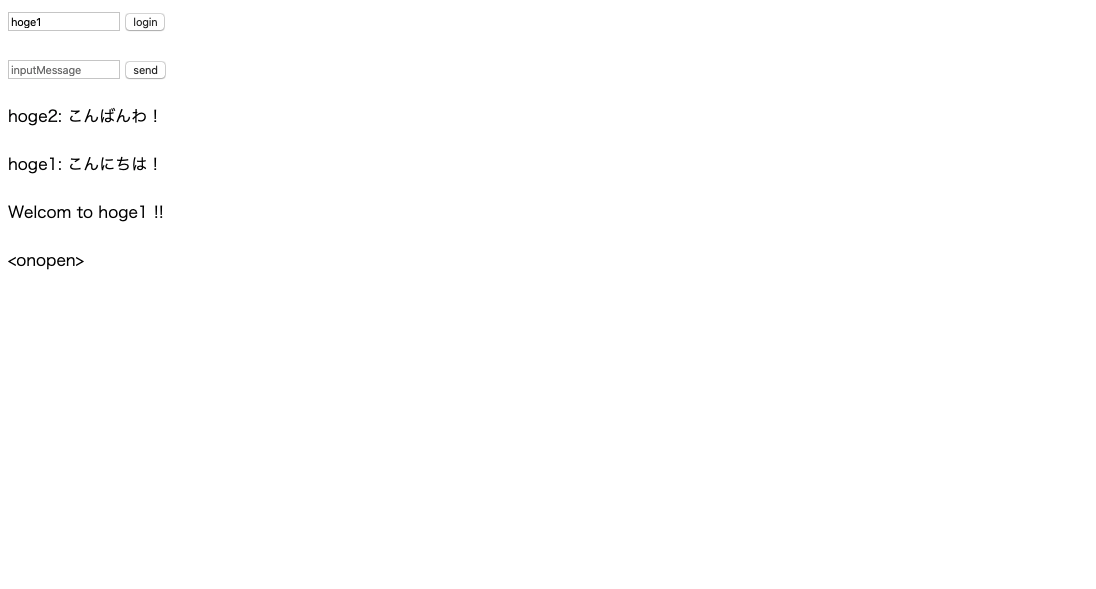
メッセージが送られてきます。!!
ちゃんとメッセージが読めます。
このようにwebSocketを使用すると簡単なチャットのシステムを作成することができました。
データベースと連携させたりシステムを作り込んでいくと面白いものがつくれそうですね。
以上が簡単なwebsocket実装でした。
最後まで読んでくれてありがとうございます。


