ちょっと詰まってしまったので備忘録。サンプルコードはこちら。
kecbigmt/vue-storybook-ts
筆者の環境
- OS: MacOS High Sierra 10.13.6
- Node: v10.16.3
- npm: 6.9.0
手順
- いろいろインストール (1 min)
- 必要なファイルを追加 (3 min)
- 起動 (1 min)
1. いろいろインストール
まずはvue-cliを使ってVue.js + TypeScript
のプロジェクトをセットアップします。
$ npm install -g @vue/cli #インストール済みの場合はskip
$ vue create vue-storybook-ts

Vue CLI v3.11.0
? Please pick a preset: Manually select features
? Check the features needed for your project: Babel, TS, Linter
# 以下略。TSを忘れずに選んでください
そして、Storybookをインストール。2019年9月現在は5系がインストールされるはずです。
babel-preset-vue と fork-ts-checker-webpack-plugin も必要になるのでまとめて入れます。
$ cd vue-storybook-ts
$ npm install -D @storybook/vue babel-preset-vue fork-ts-checker-webpack-plugin
2. 必要なファイルを追加
Storybookを動かすために、以下のファイルを追加していきます。
.
├── .storybook
│   └── config.js
│   └── weboack.config.js
├── stories
│   └── index.stories.ts
...
まず、プロジェクト直下に .storybook ディレクトリを作って config.js と webpack.config.js を配置します。
import { configure } from '@storybook/vue';

// automatically import all files ending in *.stories.ts
const req = require.context('../stories', true, /.stories.ts$/);
function loadStories() {
  req.keys().forEach((filename) => req(filename));
}

configure(loadStories, module);
const ForkTsCheckerWebpackPlugin = require('fork-ts-checker-webpack-plugin');

module.exports = async ({ config, mode }) => {
  config.resolve.extensions.push('.ts', '.tsx', '.vue', '.css', '.less', '.scss', '.sass', '.html');
  config.module.rules.push({
    test: /\.ts$/,
    exclude: /node_modules/,
    use: [
      {
        loader: 'ts-loader',
        options: {
          appendTsSuffixTo: [/\.vue$/],
          transpileOnly: true // used with ForkTsCheckerWebpackPlugin
        },
      }
    ],
  });

  //scssを使う場合に必要
  //config.module.rules.push({ test: /\.scss$/, loaders: ['style-loader', 'css-loader', 'sass-loader'] });

  config.plugins.push(new ForkTsCheckerWebpackPlugin());

  return config;
};
さらに、プロジェクト直下に stories というディレクトリを作り、 index.stories.ts というファイルを作成して、以下を記述します。
今回は、vue create コマンドで自動生成される HelloWorld というコンポーネントをそのまま使うことにします。
import { storiesOf } from '@storybook/vue';

import HelloWorld from '../src/components/HelloWorld.vue';

storiesOf('HelloWorld', module)
  .add('simple', () => ({
    components: { HelloWorld },
    template: `<HelloWorld msg="Welcome to Your Vue.js + TypeScript + Storybook App"/>`,
  }));
3. 起動
最後にStorybookを起動しますが、その前に起動用のコマンドを package.json に追記します。
{
  "scripts": {
    "storybook": "start-storybook"
  }
}
そして、起動。
$ npm run storybook
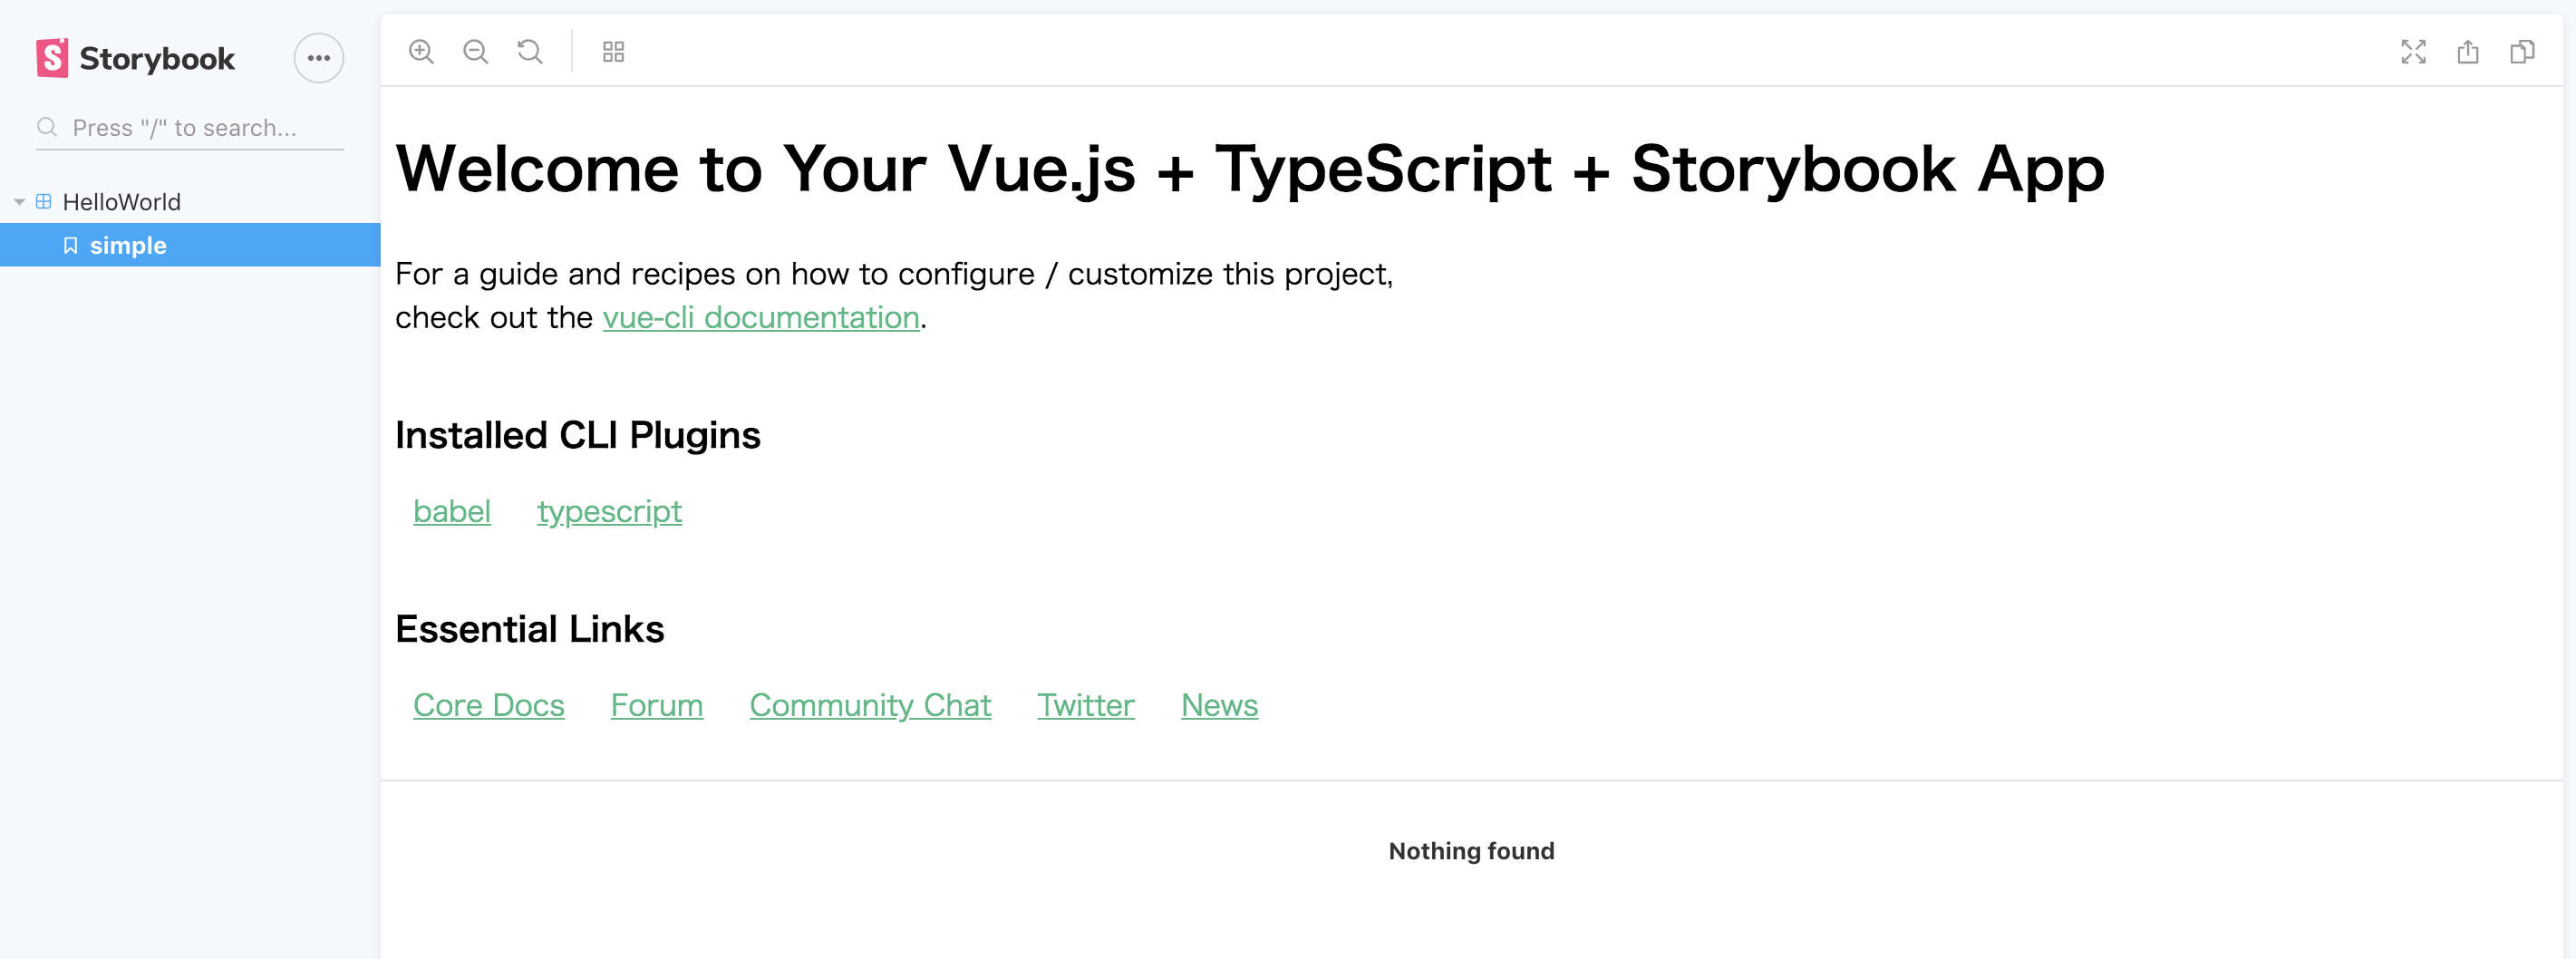
自動でブラウザが開きます。
動きました。 HelloWorld を使ったのでコンポーネントっぽくないですが、これを応用して自前のコンポーネントを管理できます。
参考
- Storybook for Vue 入門 - Qiita : TS無しパターンの参考に
- francoisle/vue-storybook-ts : サンプルプロジェクト。Storybookの4系を使っているので最新の5系では動かない(webpack.config.jsが古い)
- Custom Webpack Config : 公式ドキュメント。これを見ながらfrancoisle/vue-storybook-tsを修正
