 Flutterの記事を整理し本にしました
- 本稿の記事を含む様々な記事を体系的に整理し本にまとめました
- 今後はこちらを最新化するため、最新情報はこちらをご確認ください
- 20万文字を超える超大作になっています!!
まとめ記事
画像編(兄弟記事)
はじめに
- 少し大げさかもしれないけれど、Flutterで一瞬でカメラを使った動画の制御ができて、嬉しくなったので、記事にしました。
動画
本質的な5行
imagePicker.getVideo(source: ImageSource.camera); //カメラを起動して動画を撮影
VideoPlayerController.file(File(pickedFile.path); // 撮影したデータをコントローラに設定
_controller!.initialize().then() // コントローラの初期化
_controller!.play(); // 撮影した動画の再生
VideoPlayer(_controller!)) // 動画表示用のWidget
動画と音楽は同じ方法で実現できます。
動画のほうが画面に表示が必要な分手間がかかるので、動画の例を解説していきます。
事前準備
パッケージインストール
pubspec.yml
image_picker: ^0.7.4
video_player: ^2.1.1
iOS
info.plist
<key>NSPhotoLibraryUsageDescription</key>
<string>ライブラリ用権限</string>
<key>NSCameraUsageDescription</key>
<string>カメラ用権限</string>
<key>NSMicrophoneUsageDescription</key>
<string>マイク用権限</string>
Android
Android 10(API レベル 29)以上の場合は対応は必要ありません。
AndroidManifest.xml
android:requestLegacyExternalStorage="true"
実装
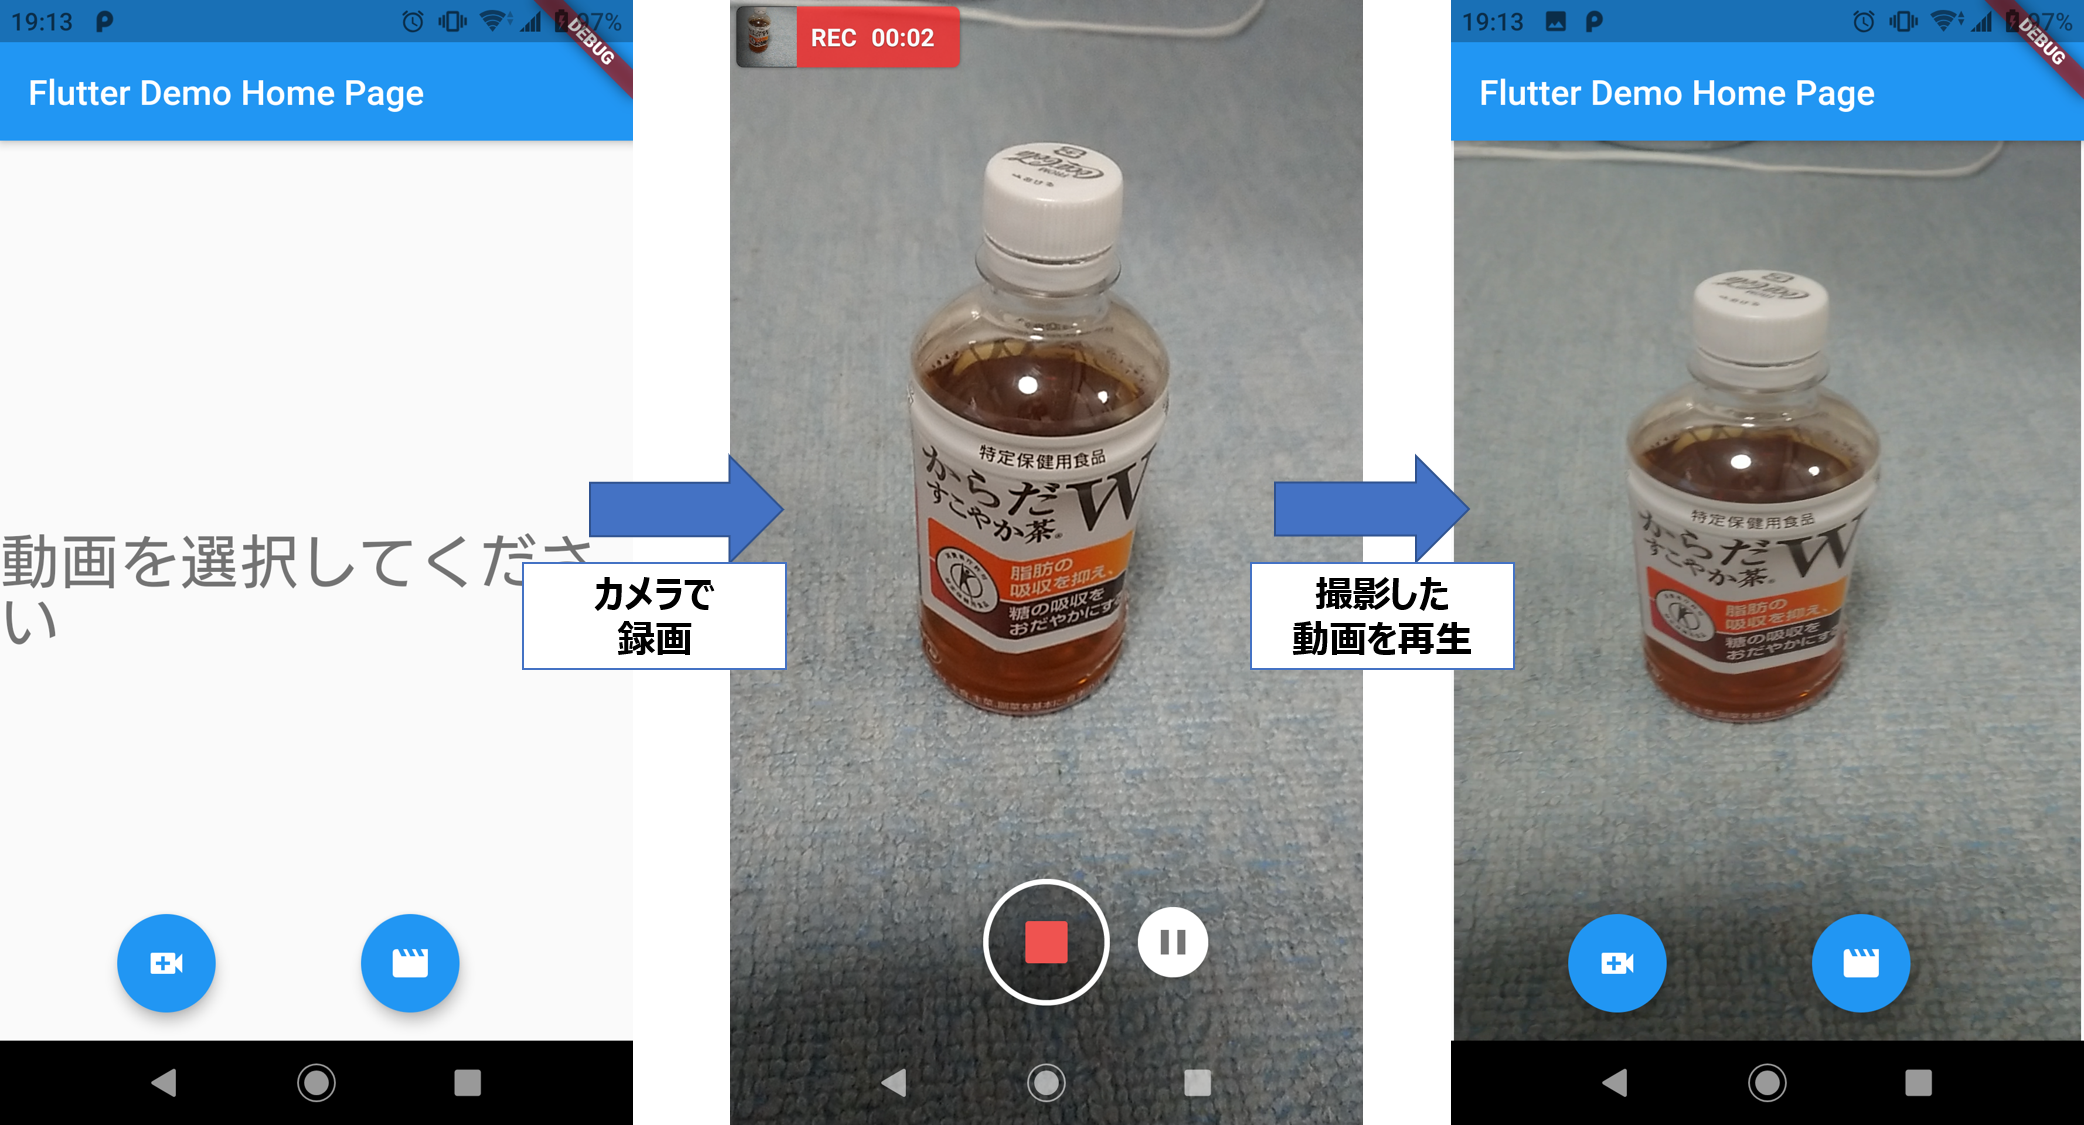
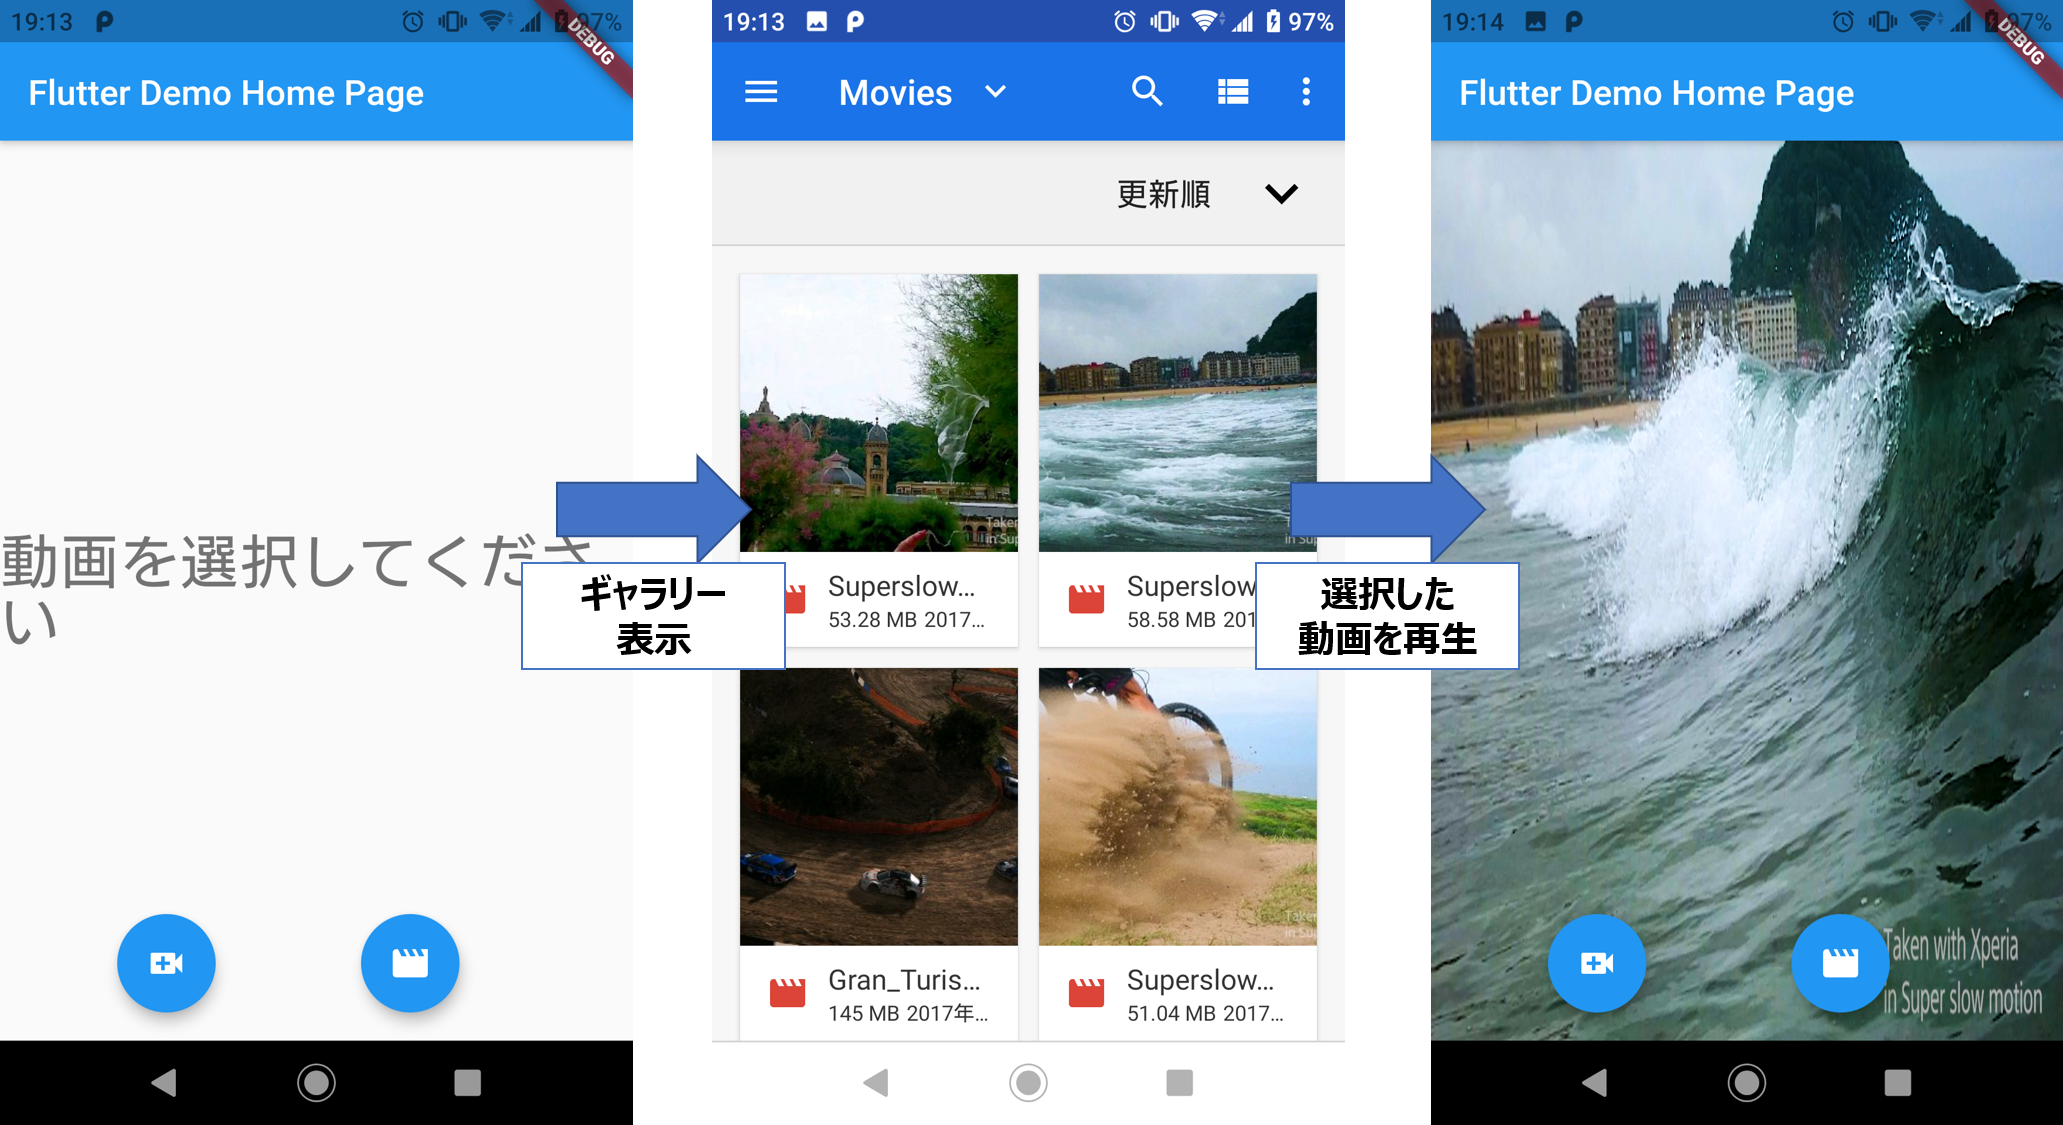
カメラとギャラリーの2つの方法で、動画を取得して画面に表示するサンプルアプリです。
main.dart
import 'dart:io';
import 'package:flutter/material.dart';
import 'package:image_picker/image_picker.dart';
import 'package:video_player/video_player.dart';
void main() {
  runApp(MyApp());
}
class MyApp extends StatelessWidget {
  @override
  Widget build(BuildContext context) {
    return MaterialApp(
      title: 'Flutter Demo',
      theme: ThemeData(
        primarySwatch: Colors.blue,
      ),
      home: MyHomePage(title: 'Flutter Demo Home Page'),
    );
  }
}
class MyHomePage extends StatefulWidget {
  MyHomePage({Key? key, this.title}) : super(key: key);
  final String? title;
  @override
  _MyHomePageState createState() => _MyHomePageState();
}
class _MyHomePageState extends State<MyHomePage> {
  VideoPlayerController? _controller;
  final imagePicker = ImagePicker();
  Future getVideoFromCamera() async {
    final pickedFile = await imagePicker.getVideo(source: ImageSource.camera);
    _controller = VideoPlayerController.file(File(pickedFile!.path));
    _controller!.initialize().then((_) {
      setState(() {
        _controller!.play();
      });
    });
  }
  Future getVideoFromGarally() async {
    PickedFile pickedFile =
        (await imagePicker.getVideo(source: ImageSource.gallery))!;
    _controller = VideoPlayerController.file(File(pickedFile.path));
    _controller!.initialize().then((_) {
      setState(() {
        _controller!.play();
      });
    });
  }
  @override
  Widget build(BuildContext context) {
    return Scaffold(
        appBar: AppBar(
          title: Text(widget.title!),
        ),
        body: Center(
            // ignore: unnecessary_null_comparison
            child: _controller == null
                ? Text(
                    '動画を選択してください',
                    style: Theme.of(context).textTheme.headline4,
                  )
                : VideoPlayer(_controller!)),
        floatingActionButton:
            Row(mainAxisAlignment: MainAxisAlignment.spaceEvenly, children: [
          FloatingActionButton(
              onPressed: getVideoFromCamera, child: Icon(Icons.video_call)),
          FloatingActionButton(
              onPressed: getVideoFromGarally, child: Icon(Icons.movie_creation))
        ]));
  }
}
カメラ/ギャラリーから動画を取得する部分は
imagePicker.getVideo(source: ImageSource.camera);
imagePicker.getVideo(source: ImageSource.gallery)
の部分です。
その後、再生をするためにVideoPlayerController.fileを使ってそのファイルを取得し、コントローラーに渡します。
最後に、コントローラーの準備ができたら、playを呼び出します。
main.dart(抜粋)
_controller!.initialize().then((_) {
  setState(() {
    _controller!.play();
  });
});
表示をする部分は、VideoPlayer(_controller!)だけです。
動作確認
エミュレータではカメラは動きません。実機で動作を確認してください。
初回のみカメラやギャラリーのアクセス許可のポップアップが出ることがあります。

