概要
- バックエンド: Rails(APIモード)
- フロントエンド: React(もしくはVue)
最近、こんな感じで役割分担しつつ開発する人が増えていると思います。(特に未経験からのエンジニア転職を目指している人の多くは大体そんな感じでポートフォリオを作られている印象)
自分自身も上記の構成が好きでシコシコ個人開発してたりするわけですが、画像アップロード機能を実装しようと思った際に少し手こずったのでメモ書きとして残しておきます。
※「チュートリアル」と銘打ってはいるものの、細かいコードの説明などはあまりありません。一応、手順通りに進めれば同じものは作れるはずなのでまずは自分の手を動かした後に各コードを読み込んでみてください。
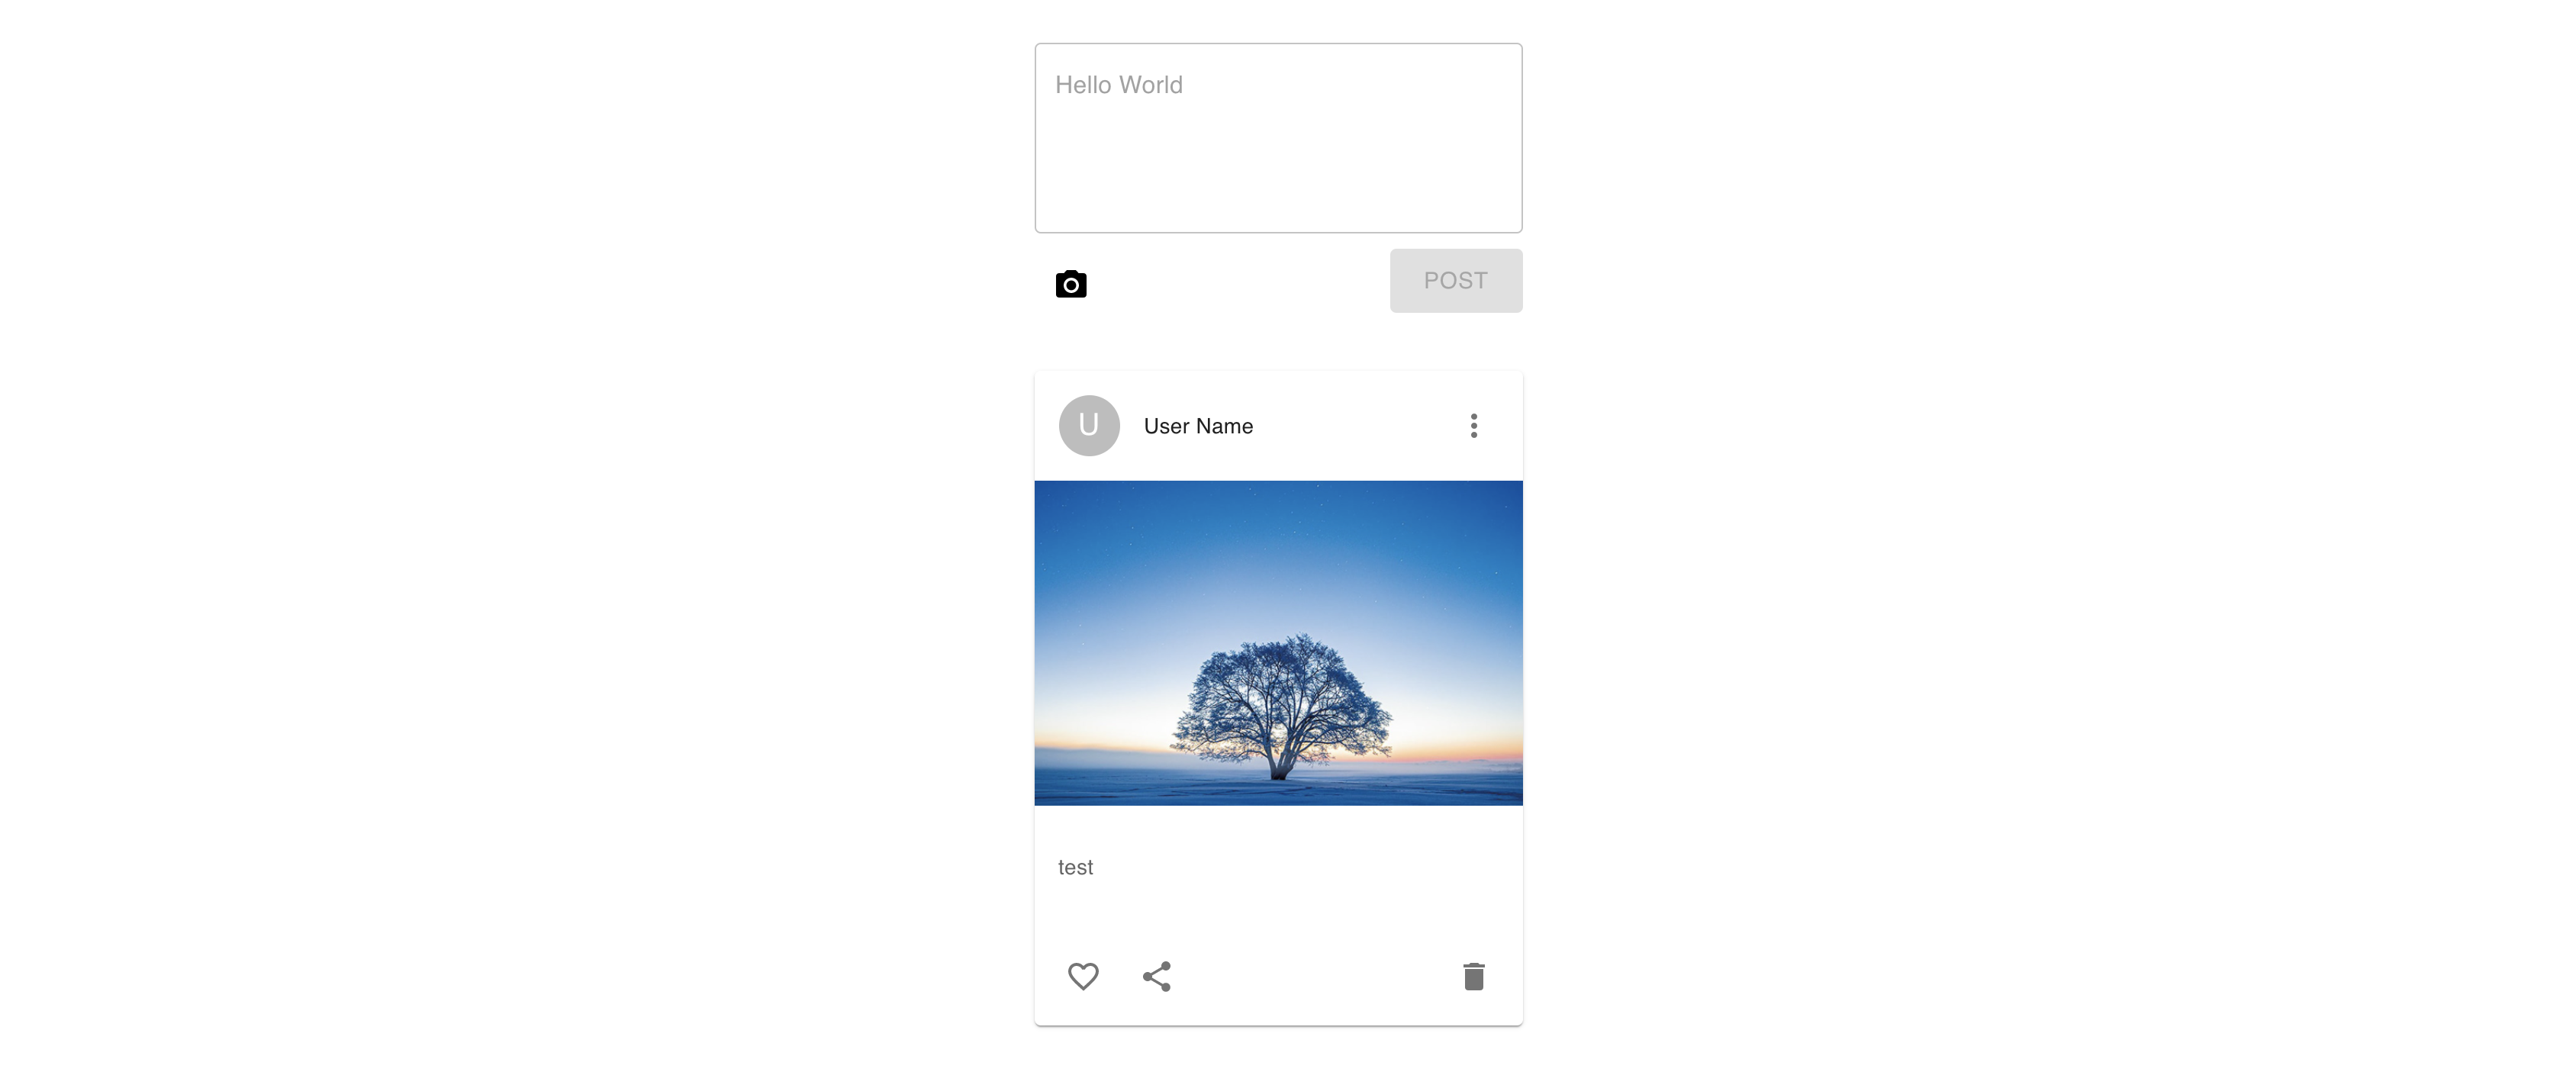
完成イメージ
画像プレビュー機能なども付けてそれっぽく仕上げてみました。
使用技術
- Rails6(APIモード)
- React
- TypeScript
バックエンド
まず最初にバックエンド側から作っていきましょう。
ディレクトリ&各種ファイルを作成
$ mkdir rails-react-carrierwave-backend && cd rails-react-carrierwave-backend
$ touch Dockerfile
$ touch docker-compose.yml
$ touch entrypoint.sh
$ touch Gemfile
$ touch Gemfile.lock
FROM ruby:3.0

RUN apt-get update -qq && apt-get install -y build-essential libpq-dev nodejs

ENV APP_PATH /myapp

RUN mkdir $APP_PATH
WORKDIR $APP_PATH

COPY Gemfile $APP_PATH/Gemfile
COPY Gemfile.lock $APP_PATH/Gemfile.lock
RUN bundle install

COPY . $APP_PATH

COPY entrypoint.sh /usr/bin/
RUN chmod +x /usr/bin/entrypoint.sh
ENTRYPOINT ["entrypoint.sh"]
EXPOSE 3000

CMD ["rails", "server", "-b", "0.0.0.0"]
version: "3"
services:
  db:
    image: mysql:8.0
    environment:
      MYSQL_ROOT_PASSWORD: password
    command: --default-authentication-plugin=mysql_native_password
    volumes:
      - mysql-data:/var/lib/mysql
      - /tmp/dockerdir:/etc/mysql/conf.d/
    ports:
      - 3306:3306
  api:
    build:
      context: .
      dockerfile: Dockerfile
    command: bash -c "rm -f tmp/pids/server.pid && bundle exec rails s -p 3000 -b '0.0.0.0'"
    volumes:
      - .:/myapp
      - ./vendor/bundle:/myapp/vendor/bundle
    environment:
      TZ: Asia/Tokyo
      RAILS_ENV: development
    ports:
      - "3001:3000"
    depends_on:
      - db
volumes:
  mysql-data:
# !/bin/bash
set -e

# Remove a potentially pre-existing server.pid for Rails.
rm -f /myapp/tmp/pids/server.pid

# Then exec the container's main process (what's set as CMD in the Dockerfile).
exec "$@"
# frozen_string_literal: true

source "https://rubygems.org"

git_source(:github) {|repo_name| "https://github.com/#{repo_name}" }

gem "rails", "~> 6"
# 空欄でOK
rails new
おなじみのコマンドでプロジェクトを作成します。
$ docker-compose run api rails new . --force --no-deps -d mysql --api
Gemfileが更新されたので再ビルド。
$ docker-compose build
「.config/database.yml」を編集
default: &default
  adapter: mysql2
  encoding: utf8mb4
  pool: <%= ENV.fetch("RAILS_MAX_THREADS") { 5 } %>
  username: root
  password: password # デフォルトだと空欄になっているはずなので変更
  host: db # デフォルトだとlocalhostになっているはずなので変更

development:
  <<: *default
  database: myapp_development

test:
  <<: *default
  database: myapp_test

production:
  <<: *default
  database: <%= ENV["DATABASE_NAME"] %>
  username: <%= ENV["DATABASE_USERNAME"] %>
  password: <%= ENV["DATABASE_PASSWORD"] %>
  host: <%= ENV["DATABASE_HOST"] %>
データベースを作成
$ docker-compose run api rails db:create
動作確認
$ docker-compose up -d
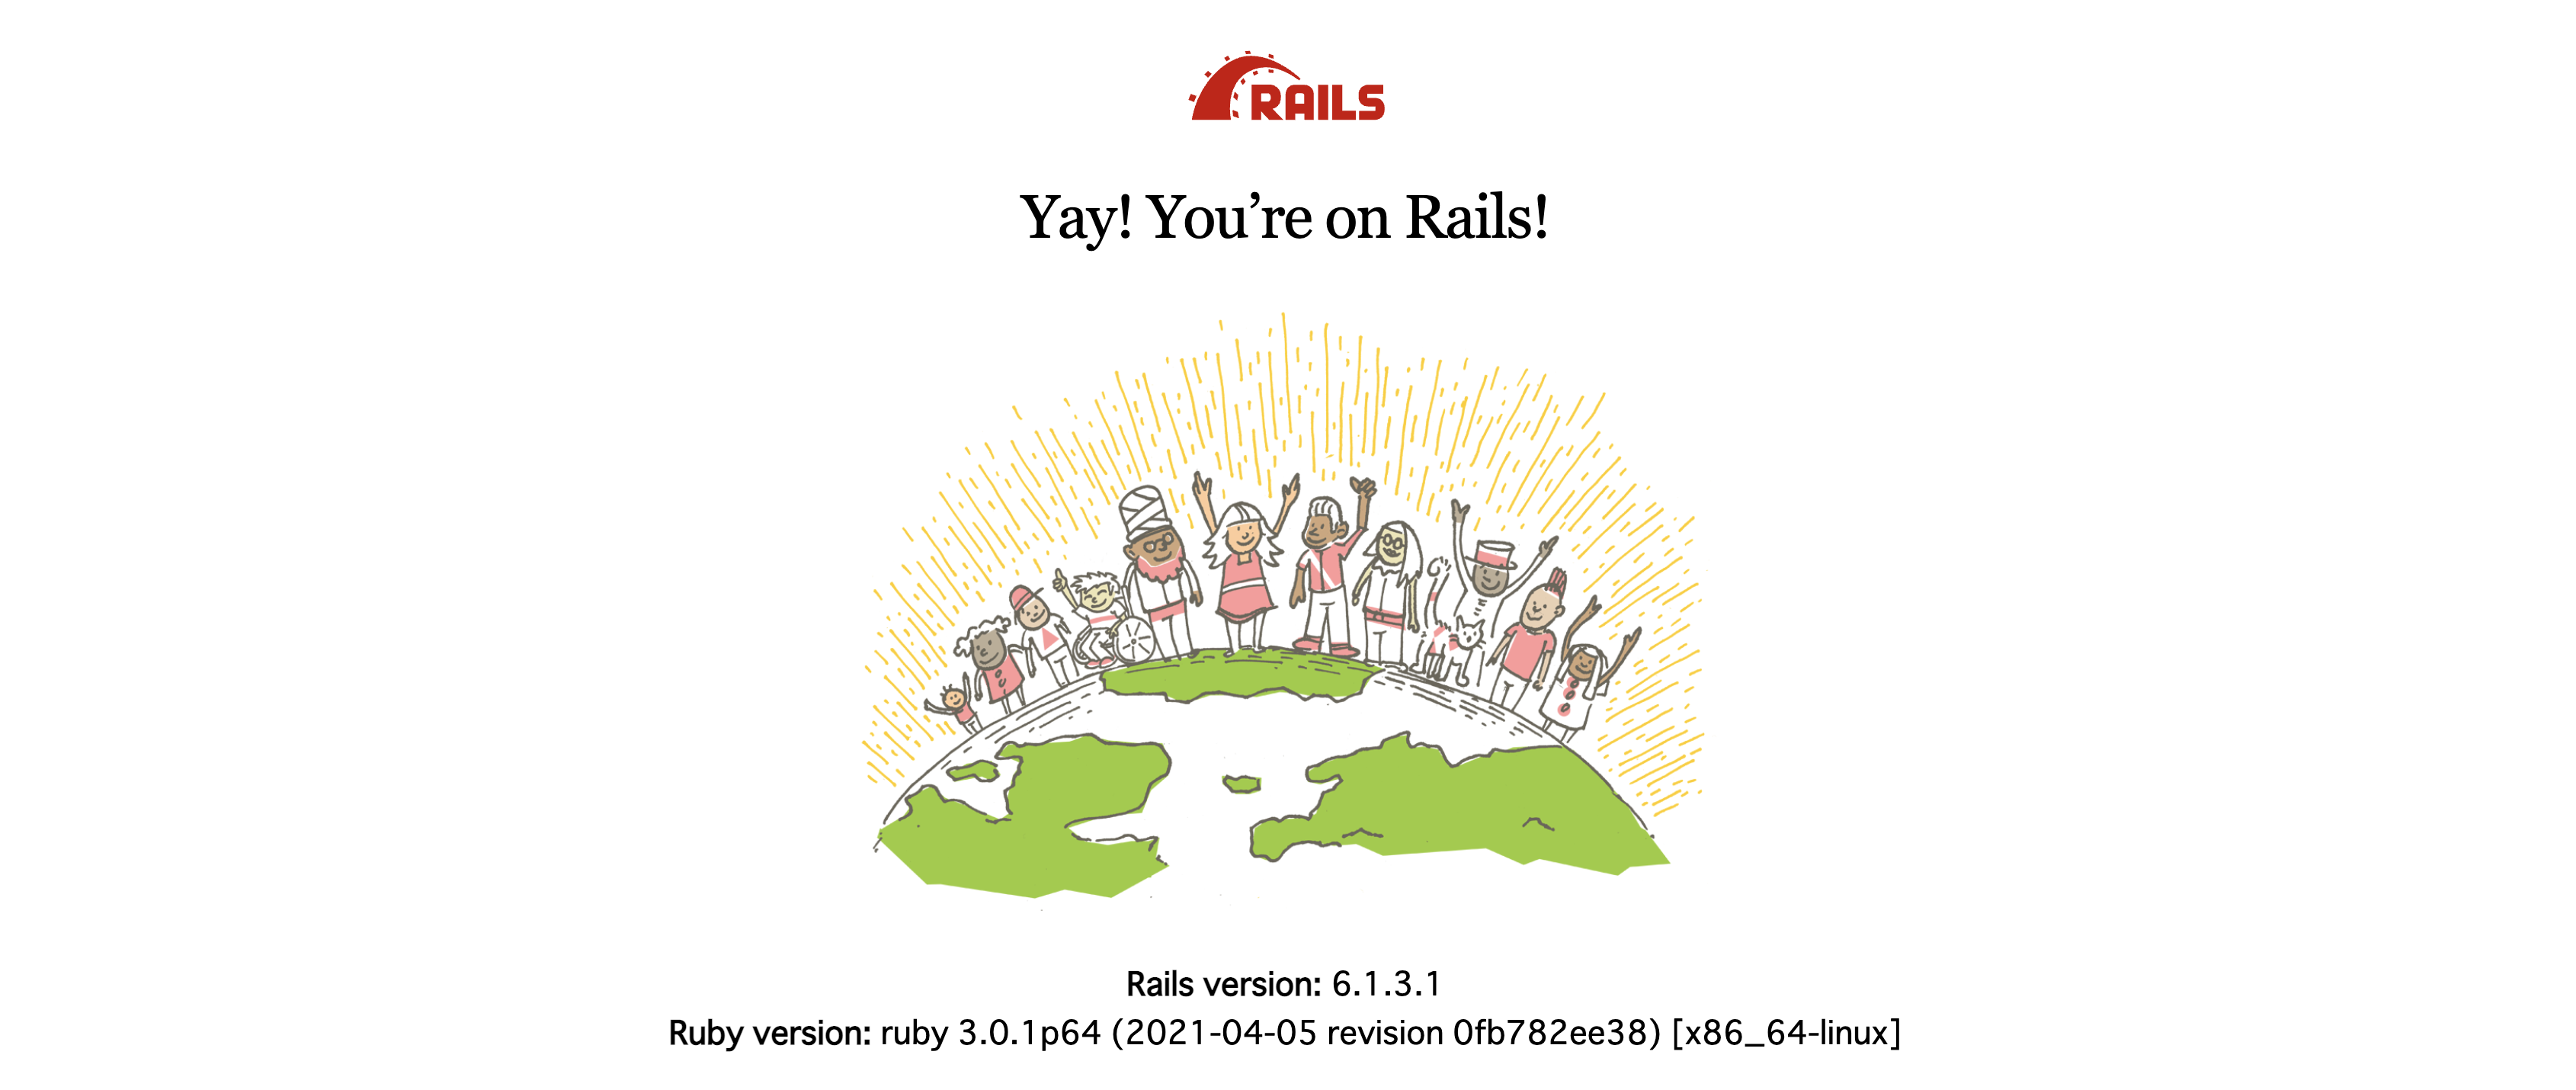
localhost:3001 にアクセスしていつもの画面が表示されればOK。
APIを作成
carrierwaveをインストール。
gem 'carrierwave'
Gemfileを更新したので再ビルド。
$ docker-compose build
アップローダーを作成。
$ docker-compose run api rails g uploader Image
すると「./app/uploaders/image_uploader.rb」が自動生成されるので次のように変更します。
class ImageUploader < CarrierWave::Uploader::Base
  storage :file

  def store_dir
    "uploads/#{model.class.to_s.underscore}/#{mounted_as}/#{model.id}"
  end

  # 受け付け可能なファイルの拡張子を指定
  def extension_allowlist
    %w(jpg jpeg png)
  end
end
また、「./config/initializers/」配下にcarrierwave設定用のファイルを作成。
$ touch config/initializers/carrierwave.rb
CarrierWave.configure do |config|
  config.asset_host = "http://localhost:3001"
  config.storage = :file
  config.cache_storage = :file
end
Postモデルを作成。
$ docker-compose run api rails g model Post content:text image:string
$ docker-compose run api rails db:migrate
先ほど作成したアップローダーをマウントします。(ついでにバリデーションもやっておきましょう。)
class Post < ApplicationRecord
  mount_uploader :image, ImageUploader

  validates :content, presence: true, length: { maximum: 140 }
end
コントローラーを作成。
$ docker-compose run api rails g controller api::v1::posts
class Api::V1::PostsController < ApplicationController
  before_action :set_post, only: %i[destroy]

  def index
    render json: { posts: Post.all.order("created_at DESC") }
  end

  def create
    post = Post.new(post_params)
    post.save
  end

  def destroy
    post = Post.find(params[:id])
    post.destroy
  end

  private

    def set_post
      @post = Post.find(params[:id])
    end

    def post_params
      params.permit(:content, :image)
    end
end
ルーティングを記述。
Rails.application.routes.draw do
  namespace :api do
    namespace :v1 do
     resources :posts, only: %i[index create destroy]
    end
  end
end
これで準備は完了です。
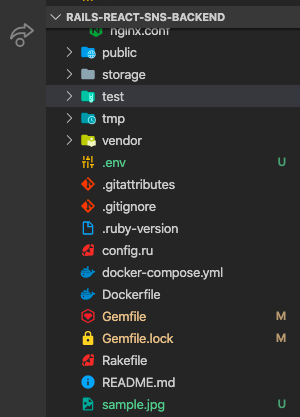
あとは動作確認のためルートディレクトリに適当な画像を「sample.jpg」という名前配置し、次のcurlコマンドを実行しましょう。
$ curl -F "content=test" -F "image=@sample.jpg" http://localhost:3001/api/v1/posts
特にエラーっぽいレスポンスが返ってこなければ上手くいっているはずなので、次のcurlコマンドで確認します。
$ curl -X GET http://localhost:3001/api/v1/posts
{
    "posts": [
        {
            "id": 1,
            "content": "test",
            "image": {
                "url": "http://localhost:3001/uploads/post/image/1/sample.jpg"
            },
            "created_at": "2021-05-03T17:36:33.147Z",
            "updated_at": "2021-05-03T17:36:33.147Z"
        }
    ]
}
こんな感じで画像のパスが保存されていればOK。
CORSの設定
これでAPIは完成ですが、今の状態のままReact側から呼び出そうとするとセキュリティ的な問題でエラーが生じます。
そこで、CORSの設定を行わなければなりません。
参照: CORS とは?
RailsにはCORSの設定を簡単に行えるgemが存在するのでインストールしましょう。
gem 'rack-cors'
APIモードで作成している場合、すでにGemfile内に記載されているのでそちらのコメントアウトを外せばOKです。
Gemfileを更新したので再度ビルド。
$ docker-compose build
あとは「./config/initializers/」配下にある設定ファイルをいじくり外部からアクセス可能なようにしておきます。
Rails.application.config.middleware.insert_before 0, Rack::Cors do
  allow do
    origins "localhost:3000" # React側はポート番号3000で作るので「localhost:3000」を指定

    resource "*",
      headers: :any,
      methods: [:get, :post, :put, :patch, :delete, :options, :head]
  end
end
これで設定は完了。
フロントエンド
フロントエンド側は別リポジトリで作成します。(その方がコードの見通しも良くなるので)
create-react-app
$ mkdir rails-react-carrierwave-frontend && cd rails-react-carrierwave-frontend
$ npx create-react-app . --template typescript
不要なファイルを整理
$ rm src/App.css src/App.test.tsx src/logo.svg src/reportWebVitals.ts src/setupTests.ts
「./src/index.tsx」と「./src/App.tsx」を次のように変更します。
import React from "react"
import ReactDOM from "react-dom"
import "./index.css"
import App from "./App"

ReactDOM.render(
  <React.StrictMode>
    <App />
  </React.StrictMode>,
  document.getElementById("root")
)
import React from "react"

const App: React.FC = () => {
  return (
    <h1>Hello World!</h1>
  )
}

export default App
一旦、動作確認してみましょう。
$ yarn start
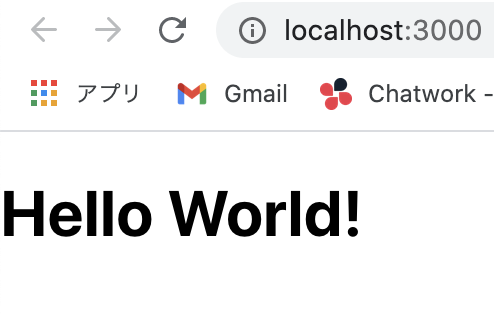
localhost:3000 にアクセスして「Hello World!」と返ってくればOK。
各種ディレクトリ・ファイルを準備
$ mkdir components
$ mkdir components/post
$ mkdir interfaces
$ mkdir lib
$ mkdir lib/api
$ touch components/post/PostForm.tsx
$ touch components/post/PostItem.tsx
$ touch components/post/PostList.tsx
$ touch interfaces/index.ts
$ touch lib/api/client.ts
$ touch lib/api/posts.ts
$ mv components interfaces lib src
最終的に次のような構成になっていればOK。
rails-react-carrierwave-frontend
├── node_modules
├── public
│   ├── favicon.ico
│   ├── index.html
│   ├── logo192.png
│   ├── logo512.png
│   ├── manifest.json
│   └── robots.txt
├── src
│   ├── components
│   │   └── post
│   │       ├── PostForm.tsx
│   │       ├── PostItem.tsx
│   │       └── PostList.tsx
│   ├── interfaces
│   │   └── index.ts
│   ├── lib
│   │   └── api
│   │       ├── client.ts
│   │       └── posts.ts
│   ├── App.tsx
│   ├── index.css
│   ├── index.tsx
│   ├── react-app-env.d.ts
├── .gitignore
├── package.json
├── README.md
├── tsconfig.json
└── yarn.lock
各種ライブラリをインストール
$ yarn add @material-ui/core@next @material-ui/icons@next @material-ui/lab@next @material-ui/styled-engine @emotion/react @emotion/styled axios react-router-dom @types/react-router-dom react-router-dom
- material-ui
- UIを整える用のライブラリ。(ついこの前最新バージョンv5が発表されたので試しにそちらを使用)
- emotion
- material-uiの最新バージョンを使う際に追加で必要なライブラリ。
- axios
- APIリクエスト用のライブラリ。
- react-router-dom
- ルーティング設定用のライブラリ。
型定義
export interface Post {
  id: string
  content: string
  image?: {
    url: string
  }
}

export interface PostApiJson {
  posts: Post[]
}
APIクライアントを作成
import axios, { AxiosInstance, AxiosResponse }  from "axios"

let client: AxiosInstance

export default client =  axios.create({
  baseURL: "http://localhost:3001/api/v1",
  headers: {
    "Content-Type": "multipart/form-data" // 画像ファイルを取り扱うのでform-dataで送信
  }
})

client.interceptors.response.use(
  (response: AxiosResponse): AxiosResponse => {
      const data = response.data
      return { ...response.data, data }
  }
)
import { AxiosPromise } from "axios"

import client from "./client"
import { PostApiJson } from "../../interfaces/index"

// post取得
export const getPosts = (): AxiosPromise<PostApiJson> => {
  return client.get("/posts")
}

// post作成
export const createPost = (data: FormData): AxiosPromise => {
  return client.post("/posts", data)
}

// post削除
export const deletePost = (id: string): AxiosPromise => {
  return client.delete(`/posts/${id}`)
}
ビュー部分を作成
import React, { useEffect, useState } from "react"

import { Container, Grid } from "@material-ui/core"
import { makeStyles } from "@material-ui/core/styles"

import PostForm from "./PostForm"
import PostItem from "./PostItem"

import { getPosts } from "../../lib/api/posts"
import { Post } from "../../interfaces/index"

const useStyles = makeStyles(() => ({
  container: {
    marginTop: "3rem"
  }
}))

const PostList: React.FC = () => {
  const classes = useStyles()
  const [posts, setPosts] = useState<Post[]>([])

  const handleGetPosts = async () => {
    const { data }  = await getPosts()
    setPosts(data.posts)
  }

  useEffect(() => {
    handleGetPosts()
  }, [])

  return (
    <Container maxWidth="lg" className={classes.container}>
      <Grid container direction="row" justifyContent="center">
        <Grid item>
          <PostForm
            handleGetPosts={handleGetPosts}
          />
          { posts?.map((post: Post) => {
            return (
              <PostItem
                key={post.id}
                post={post}
                handleGetPosts={handleGetPosts}
              />
            )}
          )}
        </Grid>
      </Grid>
    </Container>
  )
}

export default PostList
import React, { useState } from "react"

import { makeStyles } from "@material-ui/core/styles"
import Card from "@material-ui/core/Card"
import CardHeader from "@material-ui/core/CardHeader"
import CardMedia from "@material-ui/core/CardMedia"
import CardContent from "@material-ui/core/CardContent"
import CardActions from "@material-ui/core/CardActions"
import Avatar from "@material-ui/core/Avatar"
import IconButton from "@material-ui/core/IconButton"
import Typography from "@material-ui/core/Typography"
import FavoriteBorderIcon from "@material-ui/icons/FavoriteBorder"
import FavoriteIcon from "@material-ui/icons/Favorite"
import ShareIcon from "@material-ui/icons/Share"
import DeleteIcon from "@material-ui/icons/Delete"
import MoreVertIcon from "@material-ui/icons/MoreVert"

import { Post } from "../../interfaces/index"
import { deletePost } from "../../lib/api/posts"

const useStyles = makeStyles(() => ({
  card: {
    width: 320,
    marginTop: "2rem",
    transition: "all 0.3s",
    "&:hover": {
      boxShadow:
        "1px 0px 20px -1px rgba(0,0,0,0.2), 0px 0px 20px 5px rgba(0,0,0,0.14), 0px 1px 10px 0px rgba(0,0,0,0.12)",
      transform: "translateY(-3px)"
    }
  },
  delete: {
    marginLeft: "auto"
  }
}))

interface PostItemProps {
  post: Post
  handleGetPosts: Function
}

const PostItem = ({ post, handleGetPosts }: PostItemProps) => {
  const classes = useStyles()
  const [like, setLike] = useState<boolean>(false)

  const handleDeletePost = async (id: string) => {
    await deletePost(id)
    .then(() => {
      handleGetPosts()
    })
  }

  return (
    <>
      <Card className={classes.card}>
        <CardHeader
          avatar={
            <Avatar>
              U
            </Avatar>
          }
          action={
            <IconButton>
              <MoreVertIcon />
            </IconButton>
          }
          title="User Name"
        />
        { post.image?.url ?
          <CardMedia
            component="img"
            src={post.image.url}
            alt="post image"
          /> : null
        }
        <CardContent>
          <Typography variant="body2" color="textSecondary" component="span">
            { post.content.split("\n").map((content: string, index: number) => {
                return (
                  <p key={index}>{content}</p>
                )
              })
            }
          </Typography>
        </CardContent>
        <CardActions disableSpacing>
          <IconButton onClick={() => like ? setLike(false) : setLike(true)}>
            { like ? <FavoriteIcon /> : <FavoriteBorderIcon /> }
          </IconButton>
          <IconButton>
            <ShareIcon />
          </IconButton>
          <div className={classes.delete}>
            <IconButton
              onClick={() => handleDeletePost(post.id)}
            >
              <DeleteIcon />
            </IconButton>
          </div>
        </CardActions>
      </Card>
    </>
  )
}

export default PostItem
import React, { useCallback, useState } from "react"

import { experimentalStyled as styled } from '@material-ui/core/styles';
import { makeStyles, Theme } from "@material-ui/core/styles"
import TextField from "@material-ui/core/TextField"
import Button from "@material-ui/core/Button"
import Box from "@material-ui/core/Box"
import IconButton from "@material-ui/core/IconButton"
import PhotoCameraIcon from "@material-ui/icons/PhotoCamera"
import CancelIcon from "@material-ui/icons/Cancel"

import { createPost } from "../../lib/api/posts"

const useStyles = makeStyles((theme: Theme) => ({
  form: {
    display: "flex",
    flexWrap: "wrap",
    width: 320
  },
  inputFileBtn: {
    marginTop: "10px"
  },
  submitBtn: {
    marginTop: "10px",
    marginLeft: "auto"
  },
  box: {
    margin: "2rem 0 4rem",
    width: 320
  },
  preview: {
    width: "100%"
  }
}))

const Input = styled("input")({
  display: "none"
})

const borderStyles = {
  bgcolor: "background.paper",
  border: 1,
}

interface PostFormProps {
  handleGetPosts: Function
}

const PostForm = ({ handleGetPosts }: PostFormProps) => {
  const classes = useStyles()

  const [content, setContent] = useState<string>("")
  const [image, setImage] = useState<File>()
  const [preview, setPreview] = useState<string>("")

  const uploadImage = useCallback((e) => {
    const file = e.target.files[0]
    setImage(file)
  }, [])

  // プレビュー機能
  const previewImage = useCallback((e) => {
    const file = e.target.files[0]
    setPreview(window.URL.createObjectURL(file))
  }, [])

  // FormData形式でデータを作成
  const createFormData = (): FormData => {
    const formData = new FormData()

    formData.append("content", content)
    if (image) formData.append("image", image)

    return formData
  }

  const handleCreatePost  = async (e: React.FormEvent<HTMLFormElement>) => {
    e.preventDefault()

    const data = createFormData()

    await createPost(data)
    .then(() => {
      setContent("")
      setPreview("")
      setImage(undefined)
      handleGetPosts()
    })
  }

  return (
    <>
      <form className={classes.form} noValidate onSubmit={handleCreatePost}>
        <TextField
          placeholder="Hello World"
          variant="outlined"
          multiline
          fullWidth
          rows="4"
          value={content}
          onChange={(e: React.ChangeEvent<HTMLInputElement>) => {
            setContent(e.target.value)
          }}
        />
        <div className={classes.inputFileBtn}>
          <label htmlFor="icon-button-file">
            <Input
              accept="image/*"
              id="icon-button-file"
              type="file"
              onChange={(e: React.ChangeEvent<HTMLInputElement>) => {
                uploadImage(e)
                previewImage(e)
              }}
            />
            <IconButton color="inherit" component="span">
              <PhotoCameraIcon />
            </IconButton>
          </label>
        </div>
        <div className={classes.submitBtn}>
          <Button
            type="submit"
            variant="contained"
            size="large"
            color="inherit"
            disabled={!content || content.length > 140}
            className={classes.submitBtn}
          >
            Post
          </Button>
        </div>
      </form>
      { preview ?
        <Box
          sx={{ ...borderStyles, borderRadius: 1, borderColor: "grey.400" }}
          className={classes.box}
        >
          <IconButton
            color="inherit"
            onClick={() => setPreview("")}
          >
            <CancelIcon />
          </IconButton>
          <img
            src={preview}
            alt="preview img"
            className={classes.preview}
          />
        </Box> : null
      }
    </>
  )
}

export default PostForm
import React from "react"
import { BrowserRouter as Router, Switch, Route } from "react-router-dom"

import PostList from "./components/post/PostList"

const App: React.FC = () => {
  return (
    <Router>
      <Switch>
        <Route exact path="/" component={PostList} />
      </Switch>
    </Router>
  )
}

export default App
http://localhost:3000 にアクセスしてこんな感じになっていればOKです。
投稿を作成できるか、画像プレビュー機能が動いているか、投稿を削除できるかなど一通り確認してください。
あとがき
お疲れ様でした。もし手順通りに進めて不具合などありましたらコメント欄にて指摘していただけると幸いです。
今回作成したコード


