はじめに
天気APIを例に、自分が理解しにくかったVuex・テスト(jest)をメインに解説したいと思います。
単体の記事(Vuexだけとか)は良いものがたくさんあるので、一通り実装すると、こんなコードになるよー。というサンプル感を意識しました👍
環境
- nuxt : 2.0.0
- @vue/test-utils: 1.0.0-beta.26
- vue-jest : 3.0.0
- vuex-map-fields : 1.3.1
- lodash : 4.17.11
- axios : 0.18.0
目指すところ
-
livedoorのお天気WebサービスAPI「Weather Hacks」を使って天気を取得
(http://weather.livedoor.com/weather_hacks/webservice ) -
取得したデータをストア(Vuex)で管理
-
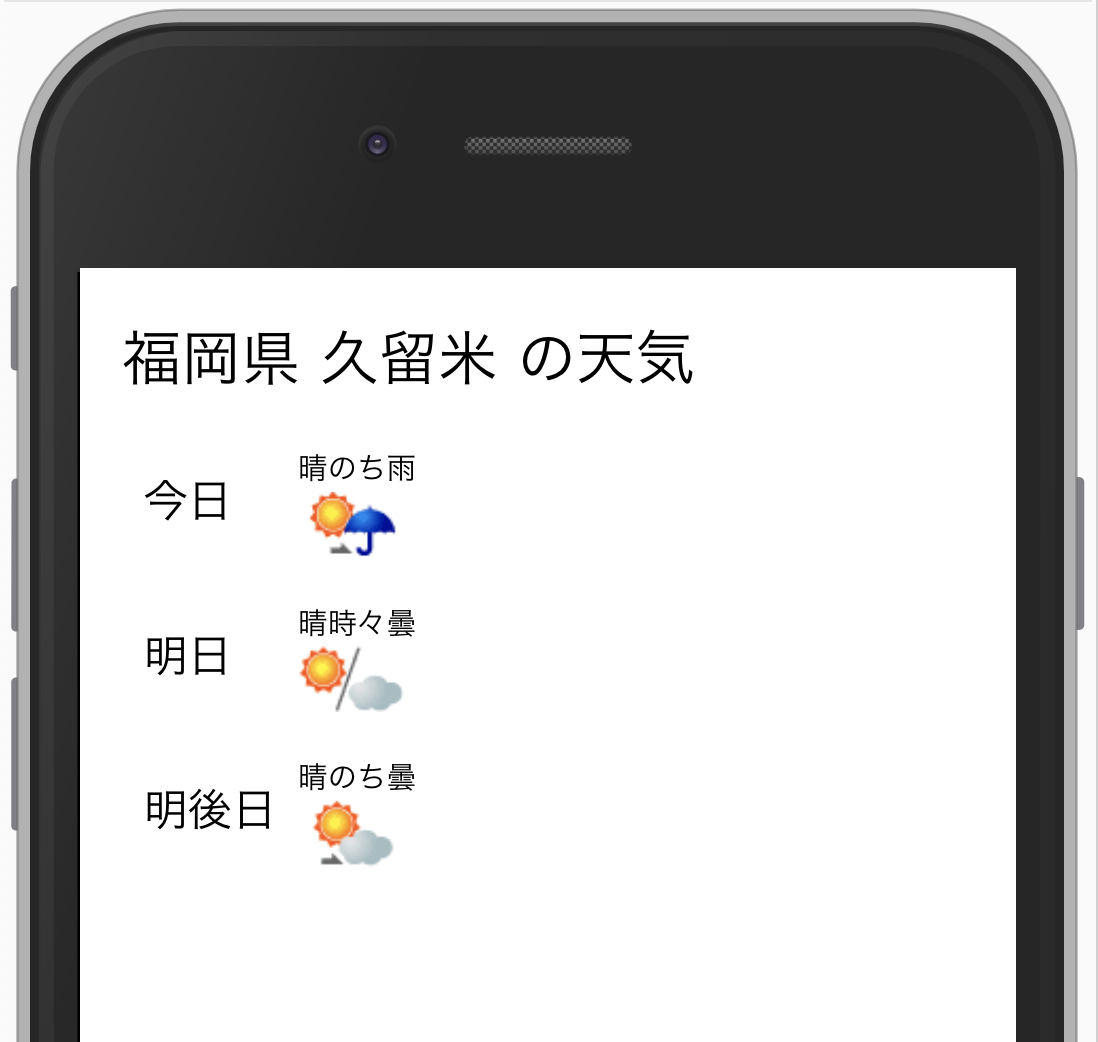
「今日」「晴れのち雨」「画像」部分をコンポーネント化する
-
コンポーネントとストアのテストを書く
見た目はこんな感じ
①天気APIのレスポンスをコンソールに出す
まずは画面を構成するレスポンスをコンソールに出し、
そこから画面を作っていくのが個人的に好きなので、ストアを書きます!
天気データを管理するストアを作成
import Vue from 'vue';
import { getField } from 'vuex-map-fields';
import axios from 'axios';

const actionsPayload = {};
const mutationsPayload = {};
const actions = {};
const mutations = {};

const getters = {
  getField
};

const state = () => ({
  weather: null
});

actionsPayload.fetchWeather = {
  weather: {
    type: Object
  }
};
actions.fetchWeather = async (store) => {
  const res = await axios.get(`http://weather.livedoor.com/forecast/webservice/json/v1?city=400040`).catch((err) => {
    throw new Error(err);
  });

  // レスポンスがコンソールに表示されるかなドキドキ
  console.log(res);

  store.commit('updateWeather', { weather: res });
};
mutationsPayload.updateWeather = {
  weather: {
    type: Object,
    required: true
  }
};
mutations.updateWeather = (state, payload) => {
  Vue.set(state, 'weather', payload.weather);
};

export default {
  state,
  getters,
  actions,
  mutations,
  actionsPayload,
  mutationsPayload,
  namespaced: true
};
Vuexまだ理解しきれてない人は、この記事がおすすめなので見て🙌
vuexをまだ理解していない全人類に捧ぐvuexを利用したコードの図解
実際にデータを取得しているのは axios.get('http://weather.livedoor.com/forecast/webservice/json/v1?city=400040') の部分。
(city=400040はWeather Hacksの福岡県久留米のID)
定数 res に代入し、console.logしています。
actionsを実行するには、Vueインスタンス側からストアを参照してdispatchをしないといけないので、ファイルを作りましょう〜
Pagesにファイルを作る
<template>
  <section class="weather">
    天気
  </section>
</template>

<script>
import { mapFields } from 'vuex-map-fields';

export default {
  computed: {
    ...mapFields('weatherApp', ['weather'])
  },
  async asyncData({ store, params }) {
    await store.dispatch('weatherApp/fetchWeather');
  }
};
</script>
大事なのは store.dispatch('weatherApp/fetchWeather'); !!
weatherAppストアのfetchWeatherを実行してね、という意味。
ちなみに、mapFieldsを使うと、weatherAppストアのweatherだけを取ってこれるので便利です🎉
参考:maoberlehner/vuex-map-fields: Enable two-way data binding for form fields saved in a Vuex store
これでブラウザを確認してみると。。
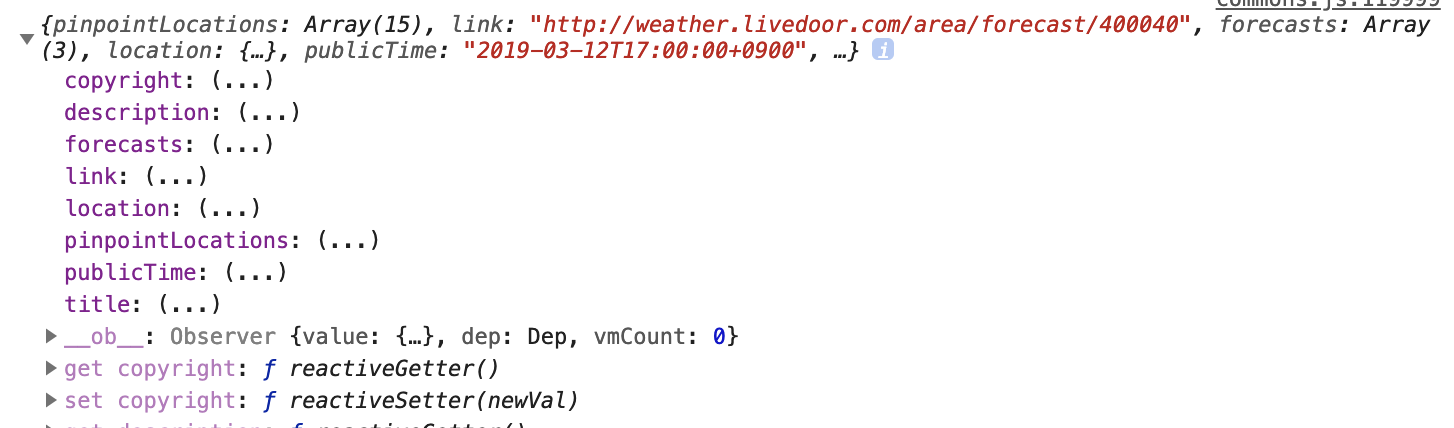 **キタ!!ちゃんとレスポンスが取れました**
次の記事ではレスポンスを表示させていきます〜
【Vue/Nuxt】-コンポーネント編- 天気APIを使って一通りフロントを実装してみる