目的
Spring FrameworkのMVCを使った新規プロジェクトの作成にちょっとだけ苦労したので、覚書に残します。
なお、大人の事情で、Spring Bootは使いません。
環境
| ツールなど | バージョンなど |
|---|---|
| MacbookPro | macOS Mojave 10.14.5 |
| IntelliJ IDEA | Ultimate 2019.3.3 |
| Java | AdoptOpenJDK 11 |
| apache maven | 3.6.3 |
| Spring Framework | 5.2.4.RELEASE |
| JUnit | 5.6.0 |
| Tomcat | apache-tomcat-8.5.51 |
jdkやmaven、Tomcatのインストールは済んでいるものとします。
※コマンドラインでmavenコマンドを使わない場合は、mavenのインストールは不要です。(IntelliJにバンドルされています)
ゴール
Tomcat起動してブラウザで"Hello world"表示。
手順
基本的には、下記のページの**[With Maven]**のままです。
- Configure a Spring MVC Project with Intellij IDEA
https://iamsaurabh.wordpress.com/2017/02/11/configure-a-spring-mvc-project-with-intellij-idea/
キャプチャを最新版のIntelliJのにして日本語訳していきます。
それとページからコードをコピペすると、"(ダブルクォート)がおかしなことになるので、それも直しています。
プロジェクトの新規作成
- 起動画面で[+ Create New Project]
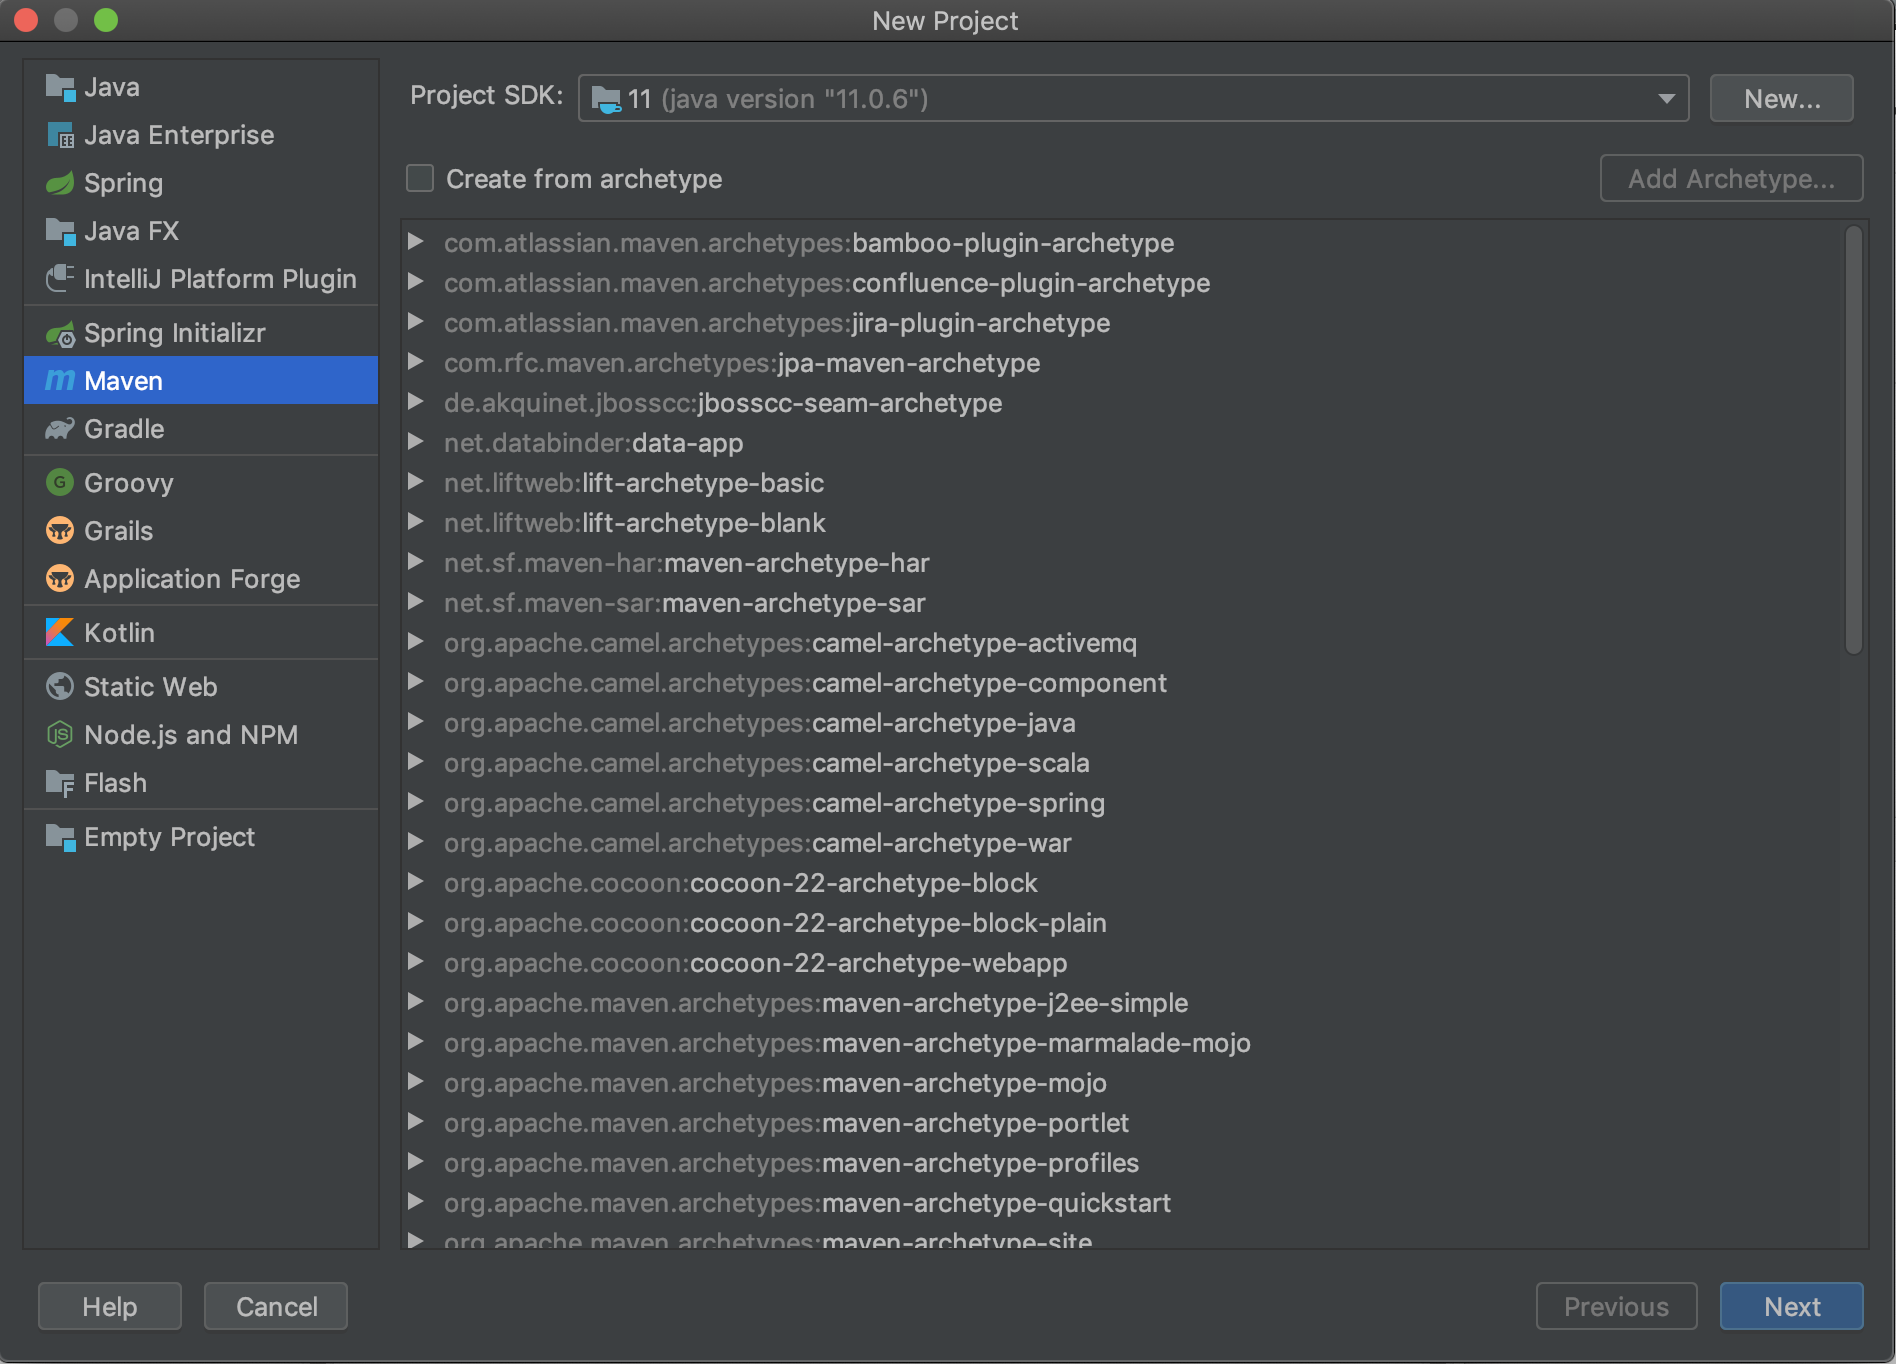
mavenプロジェクトを作成
- 左側のパネルから、mavenを選択
- [Next]をクリック
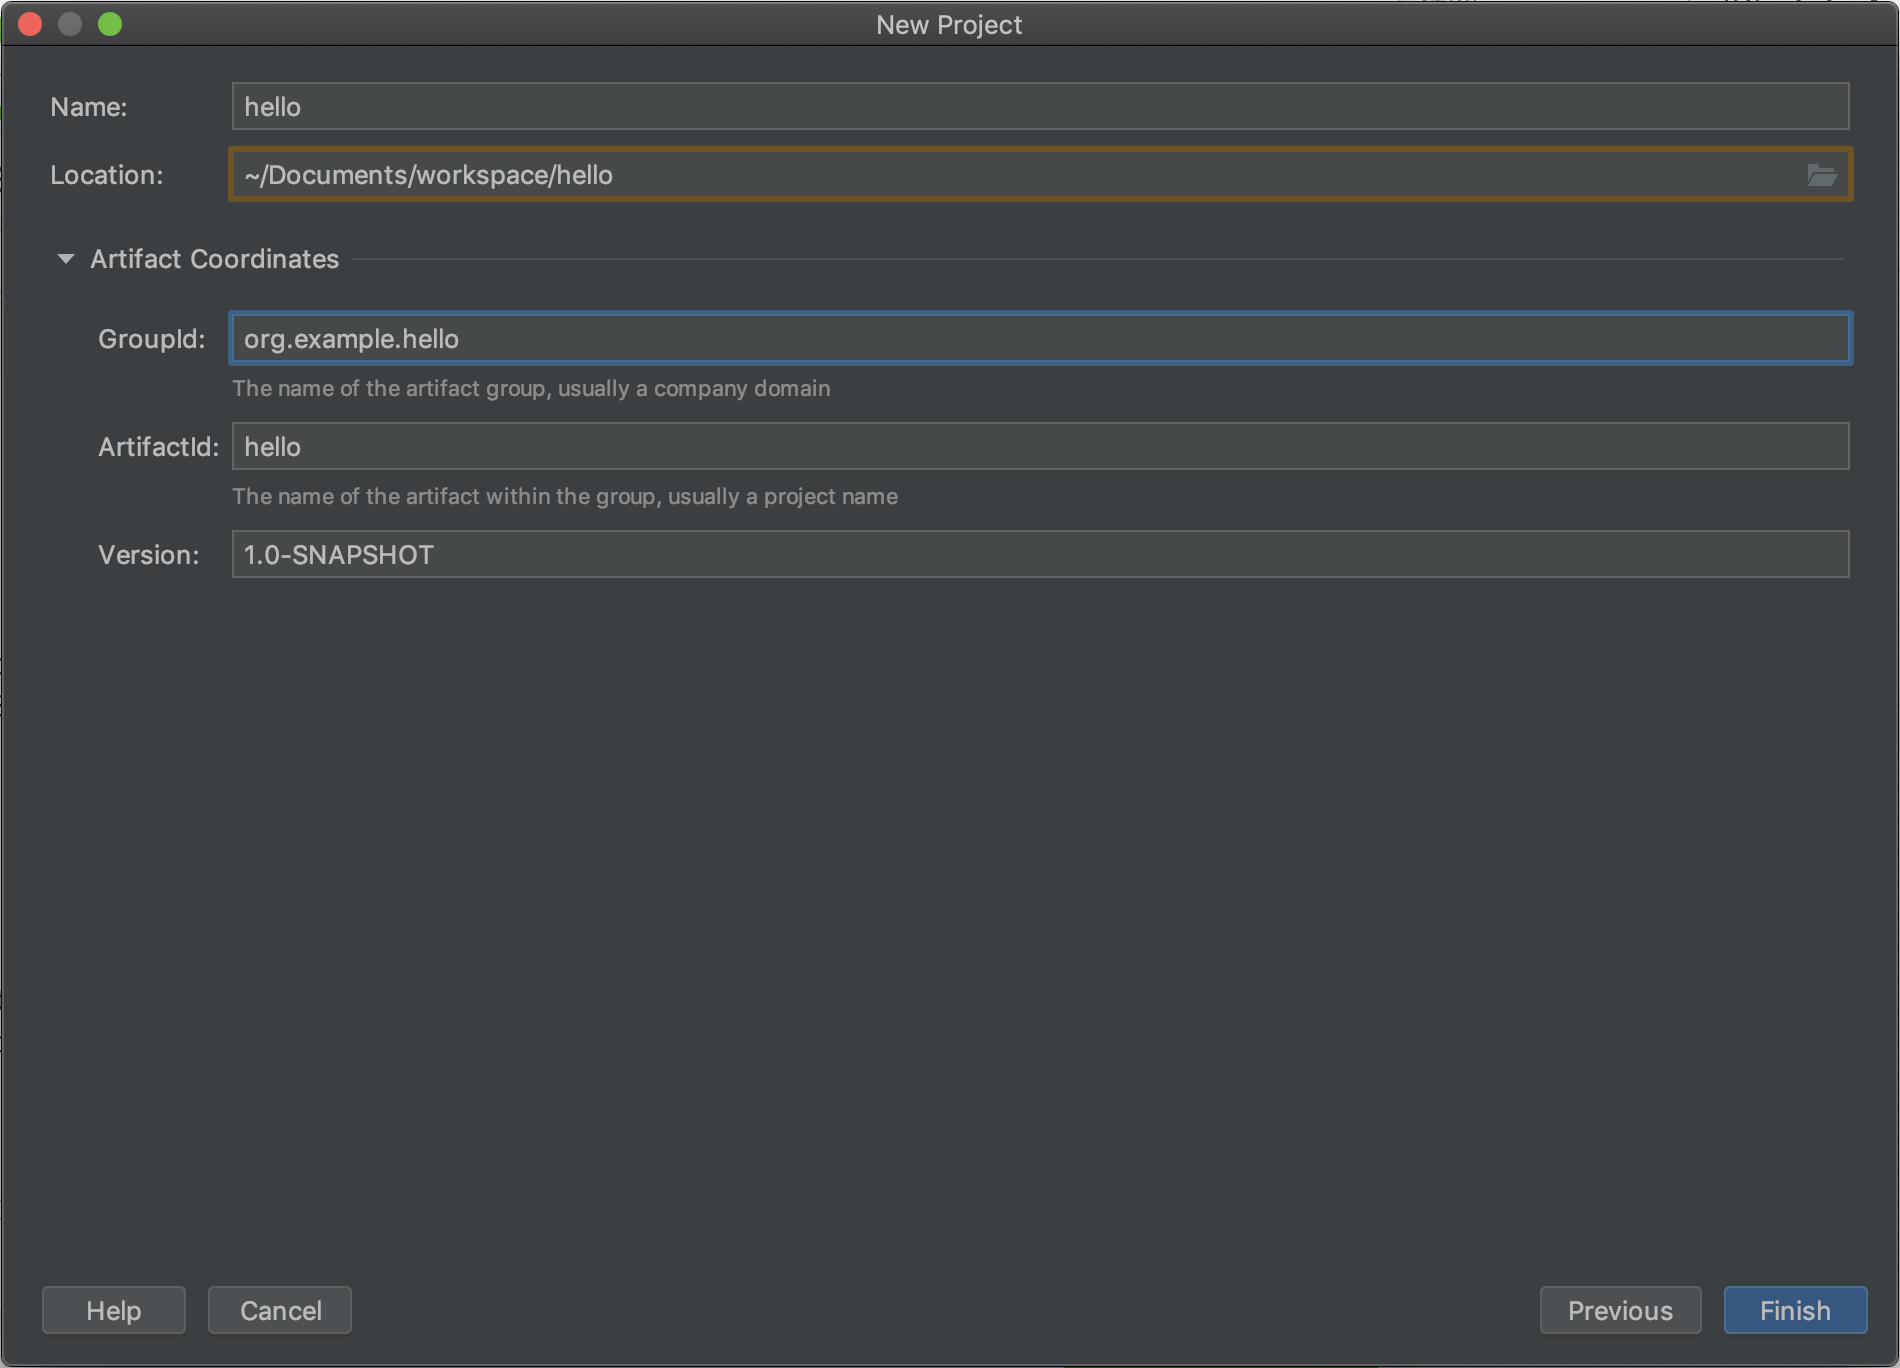
- [Name]と[Location]を入力/選択
- [Artifact Coordinates]をクリックして項目を開き、グループID,アーティファクトIDを入力
- [Finish]をクリック
プロジェクトが開くので、右下に以下のようなポップアップが表示されたら、[Enable Auto-import]しておくと便利です。

依存関係設定
pom.xml(自動で開いたはず)にの<project>タグ下に下記を追記します。
2020/03/09追記
<packaging>war</packaging>の行を追加しました。
pom.xml
    <packaging>war</packaging>

    <properties>
        <project.build.sourceEncoding>UTF-8</project.build.sourceEncoding>
        <project.reporting.outputEncoding>UTF-8</project.reporting.outputEncoding>

        <!-- Java version -->
        <java.version>11</java.version>
        <maven.compiler.source>${java.version}</maven.compiler.source>
        <maven.compiler.target>${java.version}</maven.compiler.target>

        <!-- Spring -->
        <spring.version>5.2.4.RELEASE</spring.version>

        <!-- Test -->
        <junit.version>5.6.0</junit.version>
    </properties>

    <dependencies>
        <dependency>
            <groupId>org.springframework</groupId>
            <artifactId>spring-core</artifactId>
            <version>${spring.version}</version>
        </dependency>

        <dependency>
            <groupId>org.springframework</groupId>
            <artifactId>spring-web</artifactId>
            <version>${spring.version}</version>
        </dependency>

        <dependency>
            <groupId>org.springframework</groupId>
            <artifactId>spring-webmvc</artifactId>
            <version>${spring.version}</version>
        </dependency>

        <!-- https://mvnrepository.com/artifact/org.junit.jupiter/junit-jupiter-api -->
        <dependency>
            <groupId>org.junit.jupiter</groupId>
            <artifactId>junit-jupiter-api</artifactId>
            <version>${junit.version}</version>
            <scope>test</scope>
        </dependency>

    </dependencies>
gradleで書きたい・・・(こちらも大人の事情でmavenに![]() )
)
Spring WebMVCの設定
-
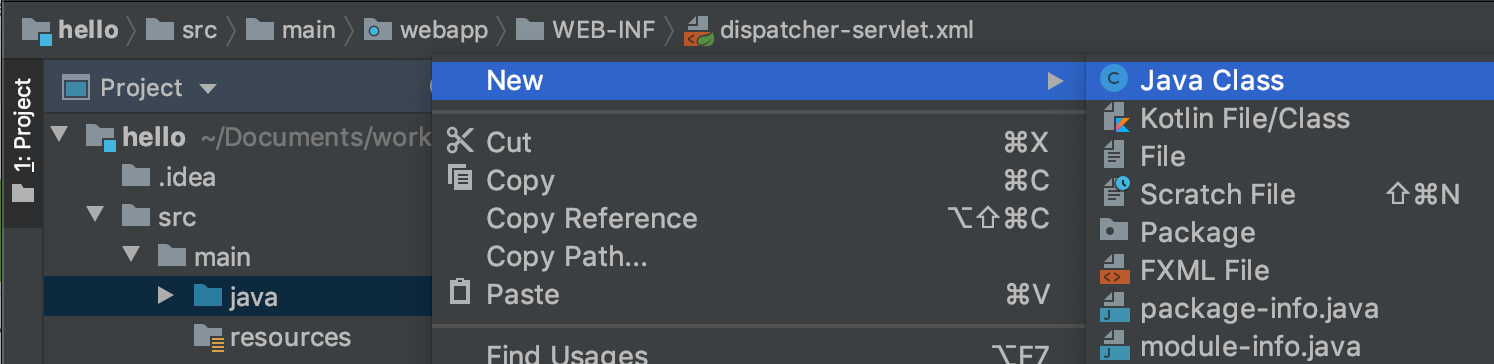
src/main下に、webapp/WEB-INFディレクトリを作成


- 作成した
WEB-INFディレクトリ下に、web.xmlファイルを作成する


-
web.xmlの中身を以下のようにする
web.xml
<?xml version="1.0" encoding="UTF8"?>

<web-app xmlns="http://java.sun.com/xml/ns/j2ee"
         xmlns:xsi="http://www.w3.org/2001/XMLSchema-instance"
         xsi:schemaLocation="http://java.sun.com/xml/ns/j2ee http://java.sun.com/xml/ns/j2ee/web-app_2_4.xsd"
         version="2.4">

    <display-name>HelloWorld Application</display-name>
    <description>
        This is a simple web application with a source code organization
        based on the recommendations of the Application Developer’s Guide.
    </description>

    <context-param>
        <param-name>contextConfigLocation</param-name>
        <param-value>/WEB-INF/dispatcher-servlet.xml</param-value>
    </context-param>
    <listener>
        <listener-class>org.springframework.web.context.ContextLoaderListener</listener-class>
    </listener>
    <servlet>
        <servlet-name>dispatcher</servlet-name>
        <servlet-class>org.springframework.web.servlet.DispatcherServlet</servlet-class>
        <load-on-startup>1</load-on-startup>
    </servlet>
    <servlet-mapping>
        <servlet-name>dispatcher</servlet-name>
        <url-pattern>/</url-pattern>
    </servlet-mapping>

</web-app>
-
WEB-INFフォルダ下に、dispatcher-servlet.xmlを作成し、以下の内容にする
dispatcher-servlet.xml
<?xml version="1.0" encoding="UTF-8"?>
<beans xmlns="http://www.springframework.org/schema/beans"
       xmlns:xsi="http://www.w3.org/2001/XMLSchema-instance"
       xmlns:context="http://www.springframework.org/schema/context"
       xmlns:mvc="http://www.springframework.org/schema/mvc"
       xsi:schemaLocation="http://www.springframework.org/schema/beans http://www.springframework.org/schema/beans/spring-beans.xsd http://www.springframework.org/schema/context http://www.springframework.org/schema/context/spring-context.xsd http://www.springframework.org/schema/mvc http://www.springframework.org/schema/mvc/spring-mvc.xsd">

    <mvc:annotation-driven/>
    <context:component-scan base-package="org.example.controllers"/>

    <bean class="org.springframework.web.servlet.view.InternalResourceViewResolver">
        <property name="prefix" value="/WEB-INF/views/"/>
        <property name="suffix" value=".jsp"/>
    </bean>

</beans>
base-package属性は、自分が作成する構成に合わせること
コントローラーの作成
-
dispatcher-servlet.xmlのbase-package属性に指定したパッケージに、コントローラークラスを作成する。
例)IndexController
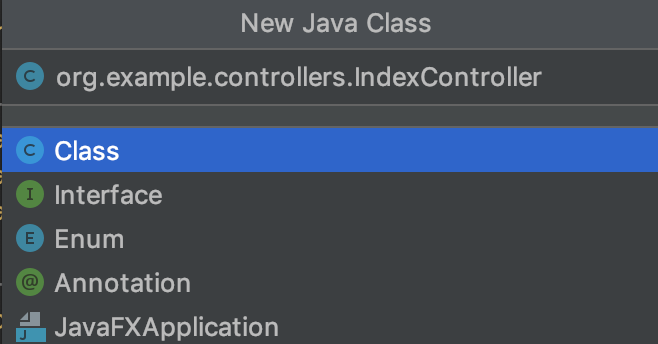
- 下記のように実装する
IndexController.java
package org.example.controllers;

import org.springframework.stereotype.Controller;
import org.springframework.web.bind.annotation.GetMapping;
import org.springframework.ui.Model;

@Controller
public class IndexController {

    @GetMapping("/")
    public String index(Model m) {
        m.addAttribute("someAttribute", "Hello world!");
        return "index";
    }
}
Viewの作成
-
WEB-INFフォルダ下に、viewsフォルダを作成する - その下に、
index.jspというファイルを作成する


-
<body>タグ下に、下記の内容を追加する
indx.jsp
<body>
<p>${someAttribute}</p>
</body>
Tomcatの設定
1. Tomcatディレクトリの設定
- メニューの[IntelliJ IDEA]-[Preference]を開く
- Build, Execution, Deploymentを開く
- [Application Servers]を選ぶ
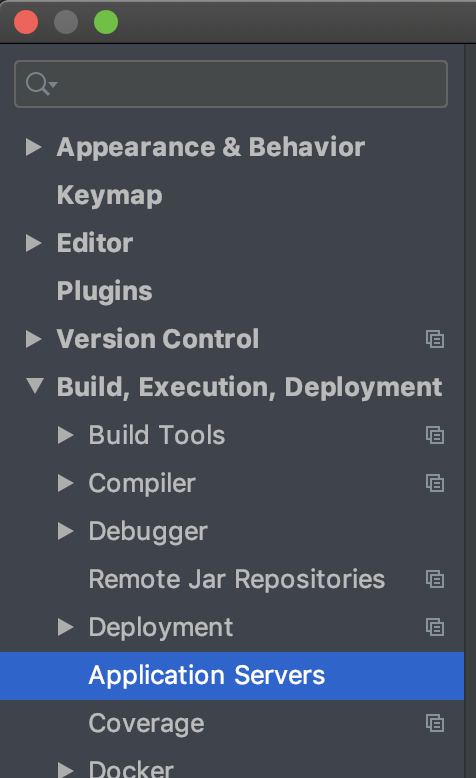
- [+]を押して、[Tomcat Server]を選ぶ

- Tomcatを置いたフォルダを指定し、OKをクリック
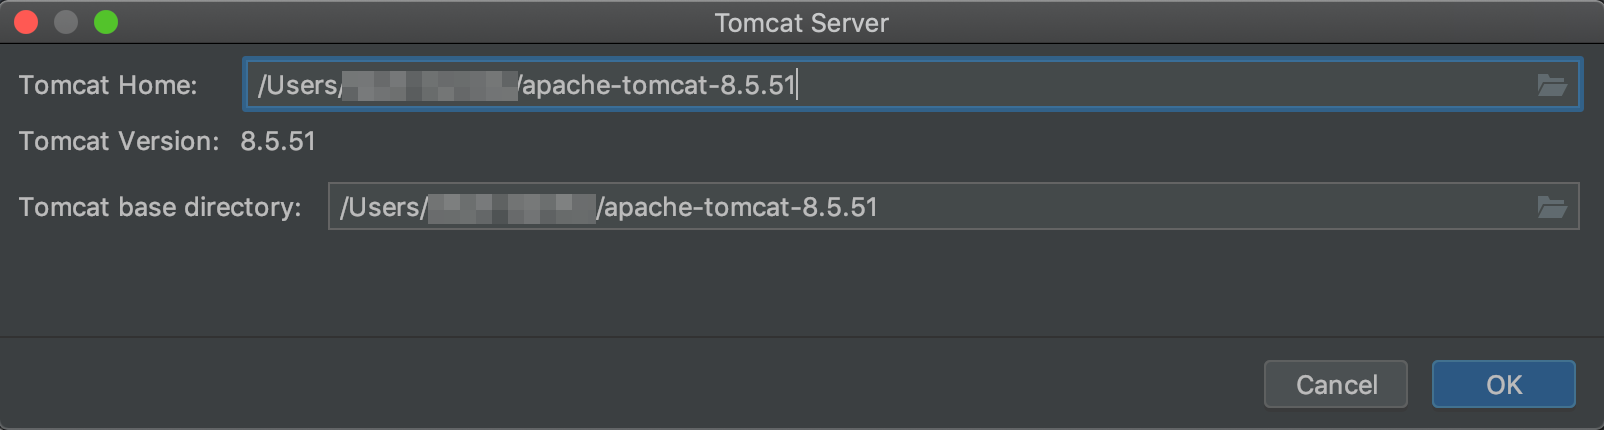
- OKをクリック
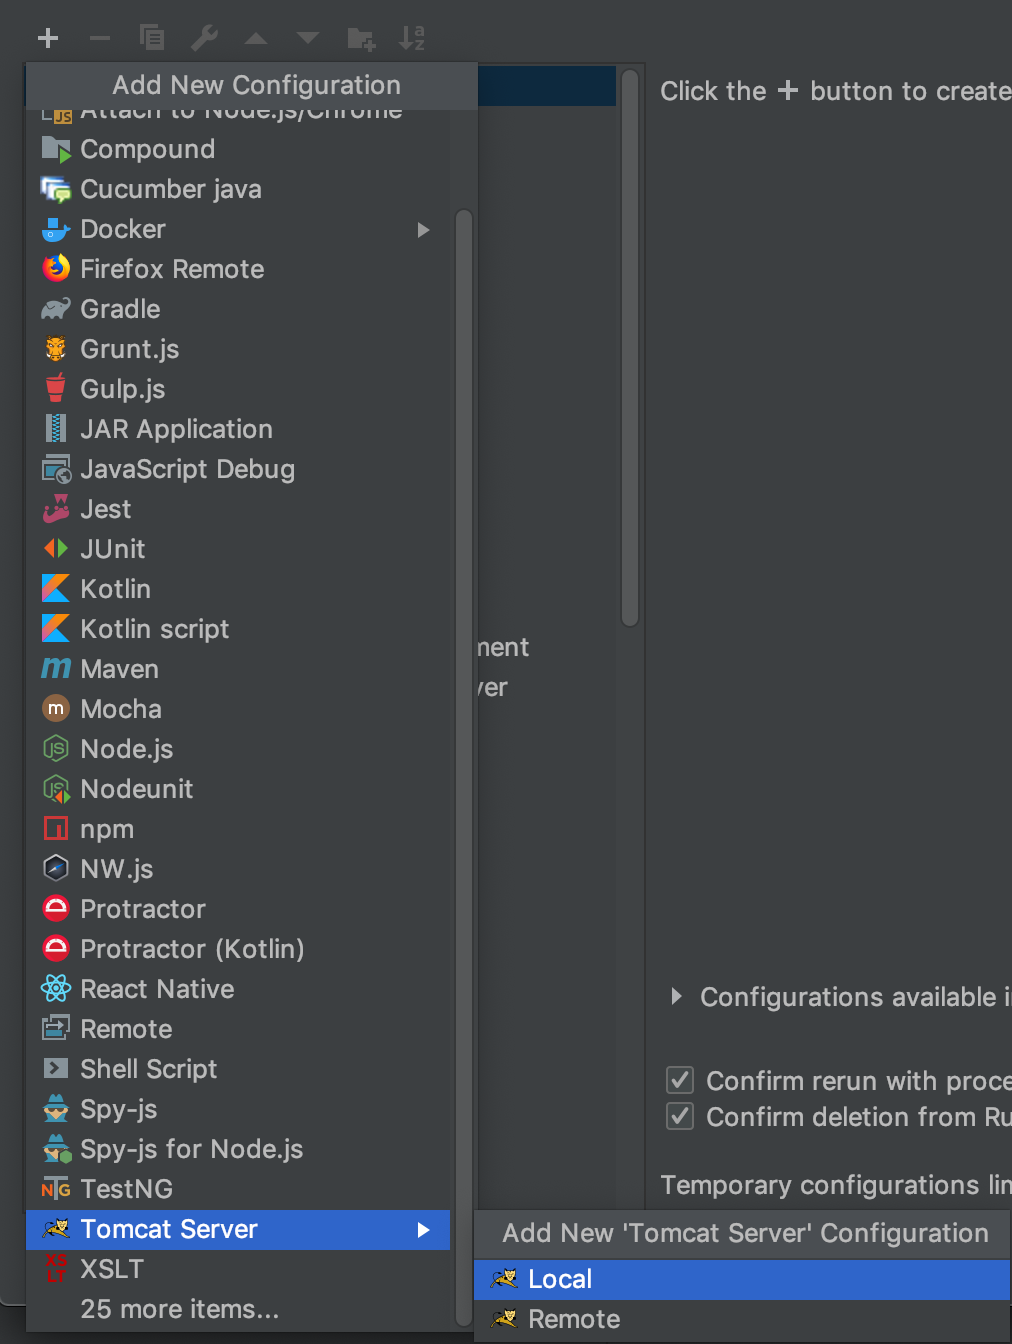
2. Configurationを追加する
- ツールバーにある[Add Configuration...]をクリックする

- [+]を押して、[Tomcat Server]-[Local]を選ぶ
- [Tomcar Server]が見えない場合は、リストを下にスクロール
- それでも見えない場合は、[25 more items...]をクリックしてみてください
- [Name]に任意の名称を入力
- 右下の[Fix]アイコンをクリック

- [hello:war_exploded]を選択

- OKをクリック
実行
ツールバーの実行ボタン、またはデバッグボタンをクリック

ブラウザに表示されたら成功!

感想
Kotlin書きたい(こちらも大人の事情で)
参考