はじめに
.NET 5 が公開されましたが、LTSがついていないしインストールするのはどうしようかなぁと思っている方、DockerとVisual Studio Codeがあれば試せますよ。
今回はVisualStudio Codeの[Remote Development](https://marketplace.visualstudio.com/items?itemName=ms-VisualStudio Code-remote.VisualStudio Code-remote-extensionpack)拡張を利用して、Dockerで起動した.NET5のコンテナに接続してプログラムを実行・デバックできるか確認してみます。
テストアプリのビルドと実行
まずは、テストアプリのコンテナを立ち上げ、ASP.NET Core MVCプロジェクトを作成して動作確認をしていきます。
.NET5 SDKイメージの起動
Docker 内部に作成したファイルをホストOS側に保存しておくために、ボリュームマウント用のディレクトリを作り.NET 5のSDKイメージを起動します。また、ASP.NET Core MVCプロジェクトは標準でhttpが5000番ポートで、httpsが5001番ポートで提供されるのでそれぞれのポートマッピングをしておきます。
mkdir src
docker run -it -p 5000:5000 -p 5001:5001 -v c:¥src:/src mcr.microsoft.com/dotnet/sdk:5.0
ASP.NET Core MVCプロジェクトの作成と実行
コンテナに接続できたら、先ほどマウントした/srcディレクトリに移動して、新しいMVCプロジェクトを作成します。
cd /src
mkdir WebSite1
cd WebSite1/
dotnet new mvc
The template "ASP.NET Core Web App (Model-View-Controller)" was created successfully.
This template contains technologies from parties other than Microsoft, see https://aka.ms/aspnetcore/5.0-third-party-notices for details.

Processing post-creation actions...
Running 'dotnet restore' on /src/WebSite1/WebSite1.csproj...
  Determining projects to restore...
  Restored /src/WebSite1/WebSite1.csproj (in 67 ms).
Restore succeeded.
dotnet runでプログラムを実行すると、次のようなエラ〜メッセージが表示されlocalhost:5000がIPV6でバインドできないよ、と言われてしまいます。
root@cc0ff91bfc60:/src/WebSite1# dotnet run
Building...
warn: Microsoft.AspNetCore.DataProtection.Repositories.FileSystemXmlRepository[60]
      Storing keys in a directory '/root/.aspnet/DataProtection-Keys' that may not be persisted outside of the container. Protected data will be unavailable when container is destroyed.
warn: Microsoft.AspNetCore.Server.Kestrel[0]
      Unable to bind to https://localhost:5001 on the IPv6 loopback interface: 'Cannot assign requested address'.
warn: Microsoft.AspNetCore.Server.Kestrel[0]
      Unable to bind to http://localhost:5000 on the IPv6 loopback interface: 'Cannot assign requested address'.
--urls パラメーターで http://0.0.0.0:5000もしくはワイルドカードを使ってhttp://*:5000を指定して実行すると無事起動できます。
root@cc0ff91bfc60:/src/WebSite1# dotnet run --urls http://*:5000
Building...
warn: Microsoft.AspNetCore.DataProtection.Repositories.FileSystemXmlRepository[60]
      Storing keys in a directory '/root/.aspnet/DataProtection-Keys' that may not be persisted outside of the container. Protected data will be unavailable when container is destroyed.
info: Microsoft.Hosting.Lifetime[0]
      Now listening on: http://0.0.0.0:5000
info: Microsoft.Hosting.Lifetime[0]
      Application started. Press Ctrl+C to shut down.
info: Microsoft.Hosting.Lifetime[0]
      Hosting environment: Development
info: Microsoft.Hosting.Lifetime[0]
      Content root path: /src/WebSite1
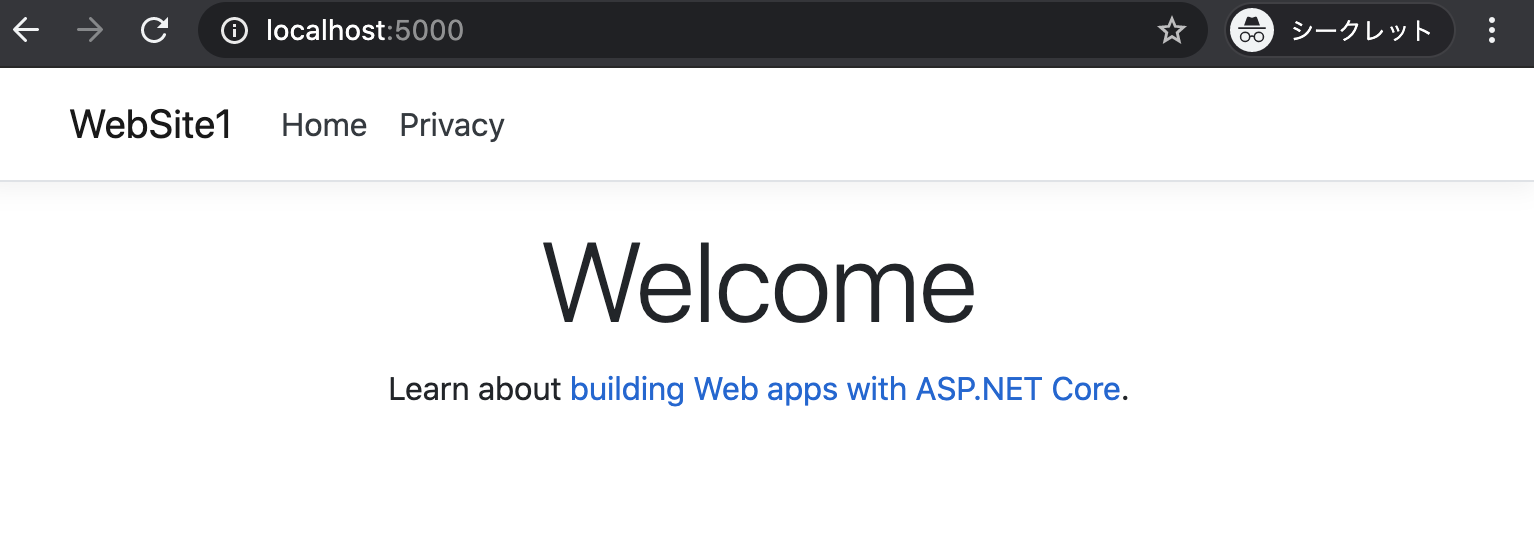
Webブラウザーでアクセスすると、表示できることが確認できます。
ホストPCのVisualStudio Codeで確認
前項で作成したDocker内のインスタンスにVisualStudio Codeで接続し、作成したプロジェクトの内容を確認してデバック機能が利用できるかを確認していきます。
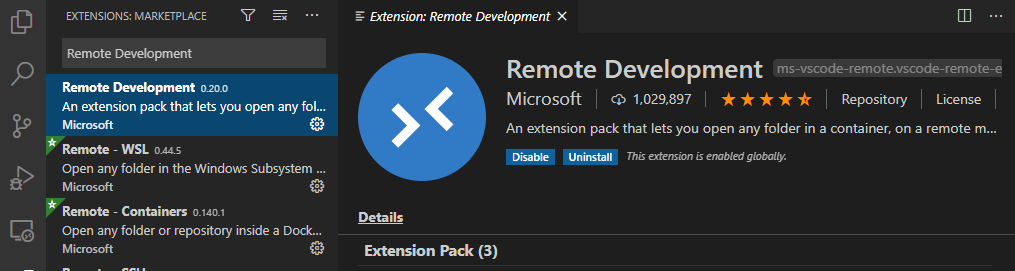
VisualStudio Codeの拡張機能のインストール
VisualStudio Code の [Remote Development](https://marketplace.visualstudio.com/items?itemName=ms-VisualStudio Code-remote.VisualStudio Code-remote-extensionpack)拡張をインストールします。
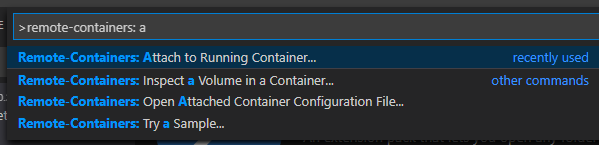
コンテナへのアタッチ
コマンドパレットからRemote-Containers: Attach to Running Container...を実行して稼働中のコンテナに接続することができます。
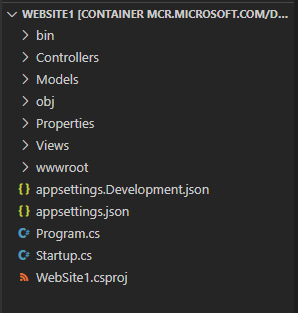
VisualStudio Codeで/src/WebSite1ディレクトリを開くと、コンテナ内のプロジェクトが表示されます。
デバックの実行
コマンドパレットから.NET: Generate Assets for Build and Debugを実行してデバックに必要なファイル(lanunch.jsonとtasks.json)をプロジェクトに追加します。

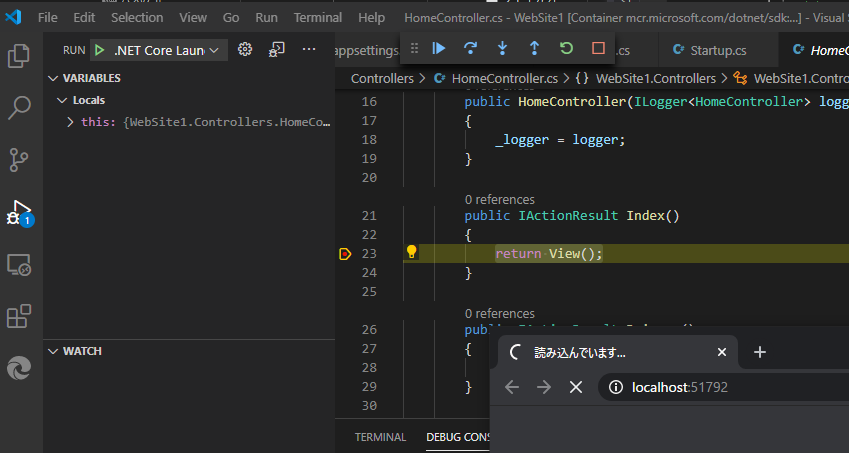
デバック用のファイルを追加後にF5もしくはCtrl+Shift+Dでデバックを開始すると、ビルド後にWebサイトが起動しデバック用のWebブラウザーが起動します。その後はローカルで開発している時と同じようにVisualStudio Codeのデバック機能を利用して開発することができます。
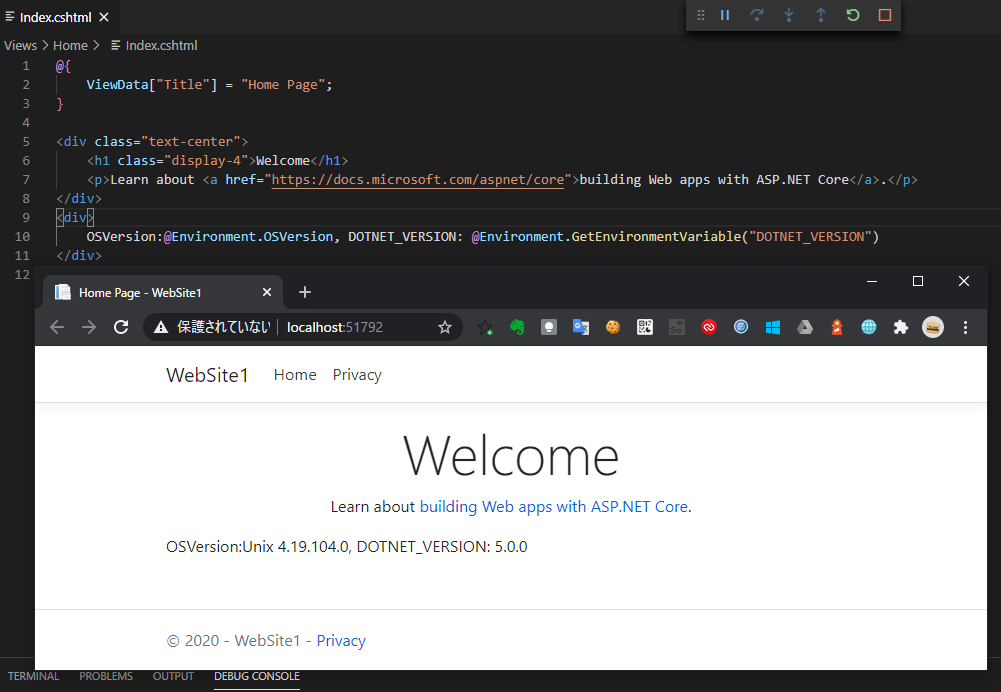
Index.cshtmlで環境変数を表示してあげると、コンテナ側の.NETが動作していることがわかります。
まとめ
なんとなく開発環境にはまだ入れたくないなぁと思っている方、結構簡単に試せるのでやってみてください。