備忘録も兼ねて
今回やること
- ConoHaにVPSを設置
- ユーザの作成
- SSH鍵の作成、クライアント側の設定
- SSH接続
ConoHaにVPS設置
まずはVPSの設置から行います。
ConoHaアカウント未取得の方は先に取得してください。
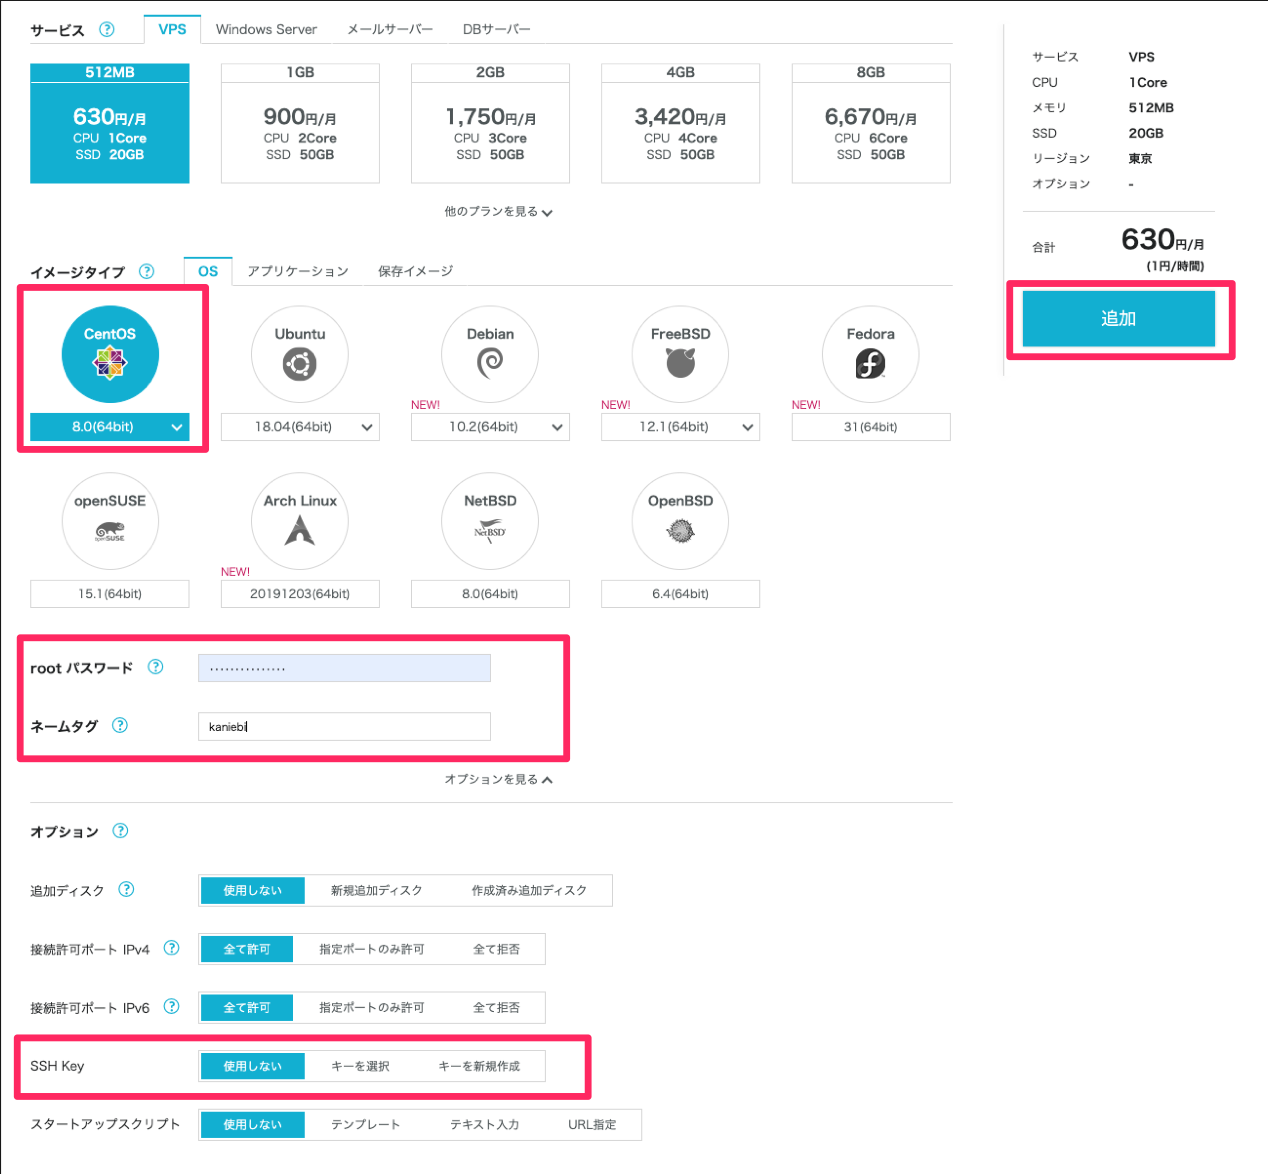
コントロールパネルにログインし、下記を選択します。
- OSはCentOS(8.0)を選択
- プランを選択
- rootパスワード、ネームタグを入力
- オプションのSSH Keyは「使用しない」
プランは要件にあったものを選択してください。
問題なければ追加を押すとVPSが設置されます。

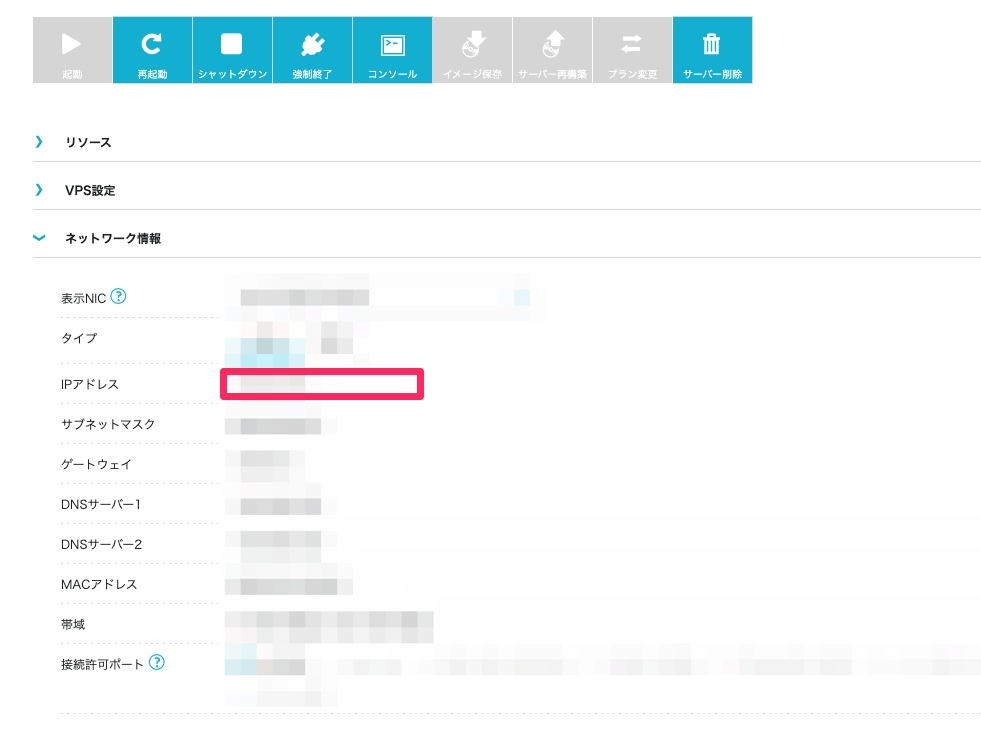
設置が完了したら、IPアドレスをメモしてください。事項で使用します。

ユーザの作成
前項でメモしたIPアドレスとパスワードを使ってサーバにログインします。
$ ssh root@xxx.xxx.xxx.xxx -p 22
# パスワード入力
[root@xxx.xxx.xxx.xxx ~]#
サーバにログインできたらユーザを作成します。
$ adduser hogeuser           # ユーザ作成
$ passwd hogeuser            # 作成したユーザにパスワードを設定
$ gpasswd -a hogeuser wheel  # wheelグループに追加
$ su hogeuser                # ログイン確認
SSH鍵の作成、クライアント側の設定
ユーザが作成できたら、クライアントからSSH接続できるようにします。
sshd_confを編集
$ sudo vim /etc/ssh/sshd_config
RSAAuthentication yes                         # 追加
PubkeyAuthentication yes                      # コメントアウトされてたら外す
AuthorizedKeysFile      .ssh/authorized_keys  # コメントアウトされてたら外す
設定後、サービスを再起動します。
$ sudo service sshd restart
SSH鍵の作成
サーバで作成し、クライアントに設定します。
サーバ側
# まずSSH鍵を設置するディレクトリを作成
$ cd ~
$ mkdir .ssh
$ chmod 700 .ssh
$ cd .ssh

# SSH鍵の作成
$ ssh-keygen -t rsa -b 4096
Enter file in which to save the key:  # 秘密鍵の名前(任意)
Enter passphrase:                     # パスフレーズ
Enter same passphrase again:          # パスフレーズの確認

# 作成した公開鍵をリネーム
$ mv id_rsa.pub authorized_keys
$ chmod 600 authorized_keys
$ cat id_rsa  # 秘密鍵の内容をコピーしておく
クライアント側
# 秘密鍵を作成
$ cd ~/.ssh
$ vim id_rsa  # サーバでコピーした秘密鍵の内容を貼り付ける
$ chmod 600 id_rsa
ついでにconfigに接続情報を設定しておきます。
~/.ssh/config
conoha
  Host xxx.xxx.xxx.xxx
  User hogeuser
  Port 22
  IdentityFile ~/.ssh/id_rsa
SSH接続
$ ssh conoha
Enter passphrase for key '/Users/xxxxx/.ssh/conoha': # パスフレーズ入力
[hogeuser@xxx-xxx-xxx-xxx ~]$                        # 接続成功