Cloudinaryの変換パラメータをひたすら使って解説する
Cloudinaryとは
画像を保存して変換・配信できるクラウドサービス
ここらへんに書いた
フリープランでもそこそこ使えます。機能制限はありますが商用にも使ってよいです。
このへんに書いた
画像の変換について
CloudinaryのMedia Liblaryに保存した画像は、Cloudinary経由で配信することが可能です。配信するときにいろいろなパラメータを付けてあげると、画像を変換したものや画像同士の合成したものを配信できます。今回の記事では変換部分を中心に書きます。
公式マニュアル以上のことは出てきませんので、英語が読める方はこちらを読めばすっきりします。
https://cloudinary.com/documentation/image_transformations
パラメータ一覧
https://cloudinary.com/documentation/image_transformation_reference
CloudinaryでサポートされているURLパラメータ
2019年3月22日時点。そのうちこっそり増えてるかもしれません。
| パラメータ名 | 機能名 | 説明 |
|---|---|---|
| w | width | 横幅を指定のpxにする |
| h | height | 画像の縦を指定のpxにする |
| c | crop | 画像を切り抜く |
| ar | aspect ratio | アスペクト比を変更する |
| g | gravity | 重心位置の指定する |
| z | zoom | 画像をズームする |
| x | x position | 横の位置を指定する。切り出すときや合成するときに使う |
| y | y position | 縦の位置を指定する。切り出すときや合成するときに使う |
| q | quality | 画質(圧縮によるクオリティ)を指定する |
| r | radius | 画像の角を丸める |
| a | angle | 画像を回転させる |
| e | effect | 画像を様々なエフェクトを効かせる |
| o | opacity | 透明にする |
| bo | border | 画像の周囲を線で囲う |
| b | background | 背景色を変える |
| l | overlay | 画像を重ねる。指定した画像が上になる |
| u | underlay | 画像を重ねる。指定した画像が下になる |
| d | default image | 画像が存在しないときに出す代替画像の指定する |
| dl | delay | アニメーション画像の遅延再生 |
| co | color | 色の指定。テキストオーバーレイのときの文字色 |
| cs | color space | ? |
| dpr | device pixel ratio | DPRを指定する。 |
| pg | page | PDFやgif画像のページ番号を指定 |
| dn | destiny | ? |
| fl | flags | フラグ。いっぱいありすぎて書けない |
| t | transformation | Consoleで作っておいた名前付きの変換を呼び出す |
| if | 条件判定 | |
| fn | custom function | よくわからん。こちらへどうぞ |
| $ | 変数 | URL上で変数に値を代入する |
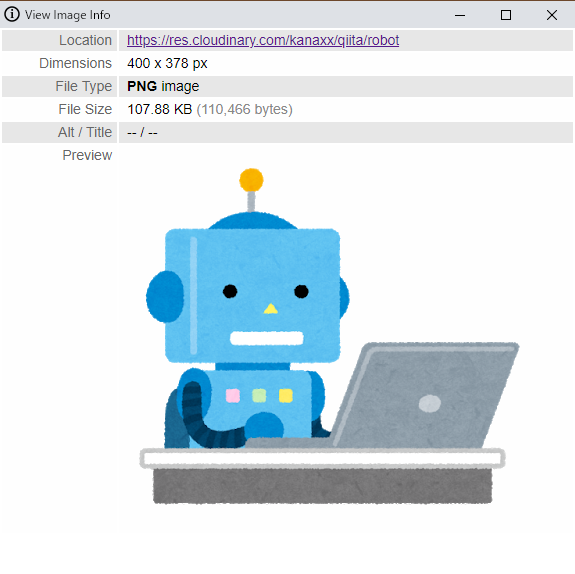
今回もイラストやさんから画像をお借りしました。w400 x h378の透過なPNG画像です。
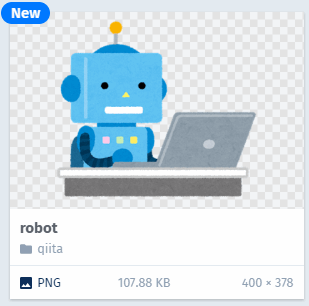
このページ内ではimage/upload/versionを省き拡張子も省いた短いURLを使います。
https://res.cloudinary.com/kanaxx/qiita/robot
透過画像だと分からないことがあるので、背景白のJPG画像もアップロードしました。(最後がjのファイル)
https://res.cloudinary.com/kanaxx/qiita/robotj

さて、いこう
w (width)
- 機能
- 画像の横幅を変更するときに使います。crop機能と同時に使います。
- 指定方法
- w_100|ピクセル単位で指定
w_0.5|元画像の比率で指定
w_auto:50|一番近い50px単位に切り上げる
■横幅をピクセル指定
w100 x h95の画像に変換される。縦を指定しない場合は自動計算
https://res.cloudinary.com/kanaxx/w_100/qiita/robot.png

■横幅を比率で指定
小数を指定するとその割合で縮小される。横幅50%に縮小。w200xh189の画像になる。こちらも縦横比はキープ。
https://res.cloudinary.com/kanaxx/w_0.5/qiita/robot.png

■拡大する
数値を大きくすれば拡大画像も作れる。横幅を2倍(縦は指定していないので同じく2倍)にする例。
https://res.cloudinary.com/kanaxx/w_2.0/qiita/robot.png

h (height)
- 機能
- 画像の縦を指定をするパラメータ。cropするときの高さ指定に使う
- 指定方法
- h_100|具体的なピクセルを指定
h_0.5|小数で縮小率(拡大率)を指定
h_name|定義済みの名前を指定(auto)
■縦を100pxで指定
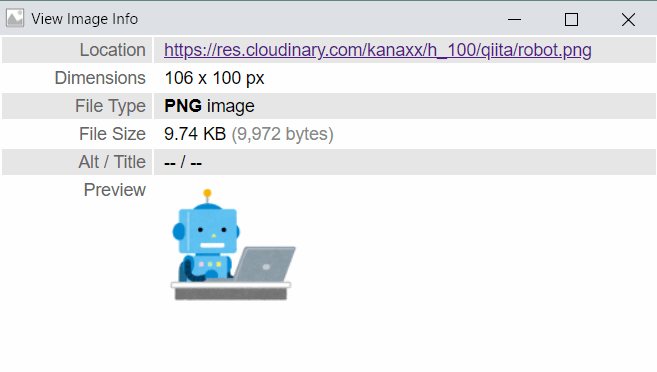
wパラメータと同じく、指定したサイズの画像に変換する。縦だけ指定した場合は横サイズが自動計算されるため、w106 x h100の画像に変換される。
https://res.cloudinary.com/kanaxx/h_100/qiita/robot.png
■縦を比率で指定
横幅60%に縮小。w240xh226の画像になる。こちらも縦横比はキープ
https://res.cloudinary.com/kanaxx/h_0.5/qiita/robot.png

■拡大
縦を1.5倍に拡大する
https://res.cloudinary.com/kanaxx/h_1.5/qiita/robot.png

wh同時指定
縦横両方を指定した場合は、パラメータで指定したとおりのサイズの画像(w200xh1000)が取得できます。縦横比を意識せずに値を指定すると歪んでしまいます。このあと出てきますが、cropの指定がないときは、crop=scaleがデフォルトとなり、このような動作になります。
https://res.cloudinary.com/kanaxx/w_200,h_100/qiita/robot.png

c (crop)
- 機能
- 画像サイズを変更するときの切り抜き、余白の埋め方を指定する。何も指定していないときはscaleモードで動作する。14種類のモードが定義済み
- 指定方法
- c_name|name部分はcloudinaryが決めたモード名
cropモードはたくさんあるので1つずつ説明します。
scale
Change the size of the image exactly to the given width and height without necessarily retaining the original aspect ratio: all original image parts are visible but might be stretched or shrunk. If only the width or height is given, then the image is scaled to the new dimension while retaining the original aspect ratio, unless you also include the ignore_aspect_ratio flag).
オリジナルのアスペクト比を気にせずに、与えられたwとhにピッタリな画像を返す。たぶん、伸びたり縮んだりするよ。もしwかhの片方だけを指定したら、オリジナルのアスペクト比を保って新しい縦横の長さを決める。
今までのw,hの例のままです。cパラメータを省略したのでc=scaleで動作していたということですね。
例は省略します
fit
The image is resized so that it takes up as much space as possible within a bounding box defined by the given width and height parameters. The original aspect ratio is retained and all of the original image is visible.
与えられたwとhで決定される枠をできるだけ埋めるように画像をリサイズする。オリジナルのアスペクト比は保持するし、オリジナルの画像の全てを見える状態を保つ。
アスペクト比を保ちながら全体が見えるように縮小するので歪みはありません。つまりはw,hのどちらかに一致する画像が返ります。
400x378の元画像をc_fitしてみると
■w400 h200
https://res.cloudinary.com/kanaxx/c_fit,w_400,h_200/qiita/robotj

■w200 h400
https://res.cloudinary.com/kanaxx/c_fit,w_200,h_400/qiita/robotj

■w500 h500(拡大)
https://res.cloudinary.com/kanaxx/c_fit,w_500,h_500/qiita/robotj

limit
Same as the fit mode but only if the original image is larger than the given limit (width and height), in which case the image is scaled down so that it takes up as much space as possible within a bounding box defined by the given width and height parameters. The original aspect ratio is retained and all of the original image is visible. This mode doesn't scale up the image if your requested dimensions are larger than the original image's.
fitモードと同じ。オリジナル画像の縦横(両方)が指定したパラメータより大きいとき、その場合は与えられた縦と横で作られる枠をできるだけ埋めるように画像を縮小する。オリジナルのアスペクト比は保持するし、オリジナルの画像の全てを見える状態を保つ。このモードは拡大はしないよ。
■w500 h500(400x378より両方大きい)
https://res.cloudinary.com/kanaxx/c_limit,w_500,h_500/qiita/robotj

確かに拡大はせずに、元の画像と同じサイズのものが返ってきています
■w300 h500(hだけ両方大きい)
https://res.cloudinary.com/kanaxx/c_limit,w_300,h_500/qiita/robotj

w300に合わせて縮小画像が返ってきます。
mfit
Same as the fit mode but only if the original image is smaller than the given minimum (width and height), in which case the image is scaled up so that it takes up as much space as possible within a bounding box defined by the given width and height parameters. The original aspect ratio is retained and all of the original image is visible. This mode doesn't scale down the image if your requested dimensions are smaller than the original image's.
fitモードと同じです。オリジナル画像の縦横(両方)が指定したパラメータより小さいとき、その場合は与えられた縦と横で作られる枠をできるだけ埋めるように画像を拡大する。オリジナルのアスペクト比は保持するし、オリジナルの画像の全てを見える状態を保つ。このモードは縮小はしない。
ということです。limitの逆ですね。基本的にはfitモードのルールに従って大きくはするけど、小さくはしない。
■w500, h500(400x378より両方大きい)
https://res.cloudinary.com/kanaxx/c_mfit,w_500,h_500/qiita/robotj
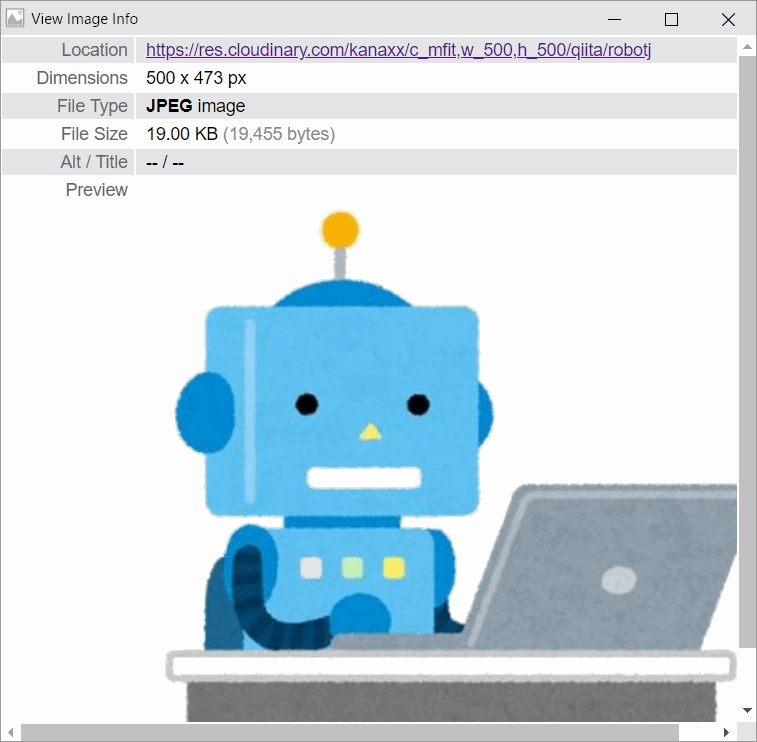
横が500になるように拡大しています
■w450, h300(横は大きい数字、縦は小さい数字)
https://res.cloudinary.com/kanaxx/c_mfit,w_450,h_300/qiita/robotj
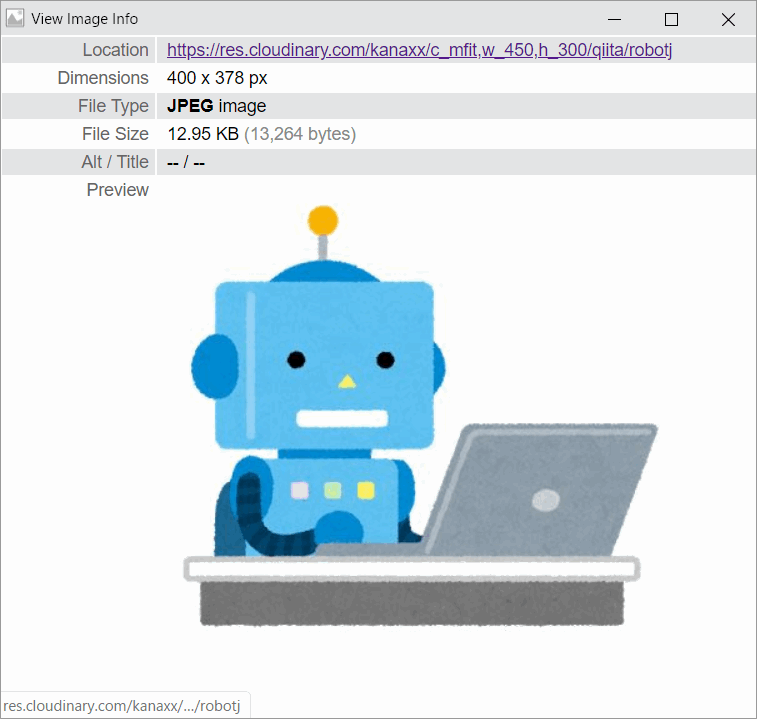
どちらかに小さい値を指定すると、オリジナルが返る
fill
Create an image with the exact given width and height while retaining the original aspect ratio, using only part of the image that fills the given dimensions if necessary (only part of the original image might be visible if the requested aspect ratio is different from the original aspect ratio). You can also specify which part of the original image to use for filling the required dimensions in case the proportions do not match by using the gravity parameter (set to center by default).
パラメータで与えられた縦と横の値にぴったり収まる画像を作成する。画像のアスペクト比は保つけど、そのかわり画像の一部しか見えないことがある。gravity(g)パラメータを使うとどの部分で使って画像の枠を埋めるのか決めることができる。
パラメータで指定した枠に対し、オリジナル画像の一部を使って埋めるという考え方ですね。アウトプットの画像のサイズ指定により、画像が見切れることはあり得ます。
■w700 h300
https://res.cloudinary.com/kanaxx/c_fill,w_700,h_300/qiita/robotj
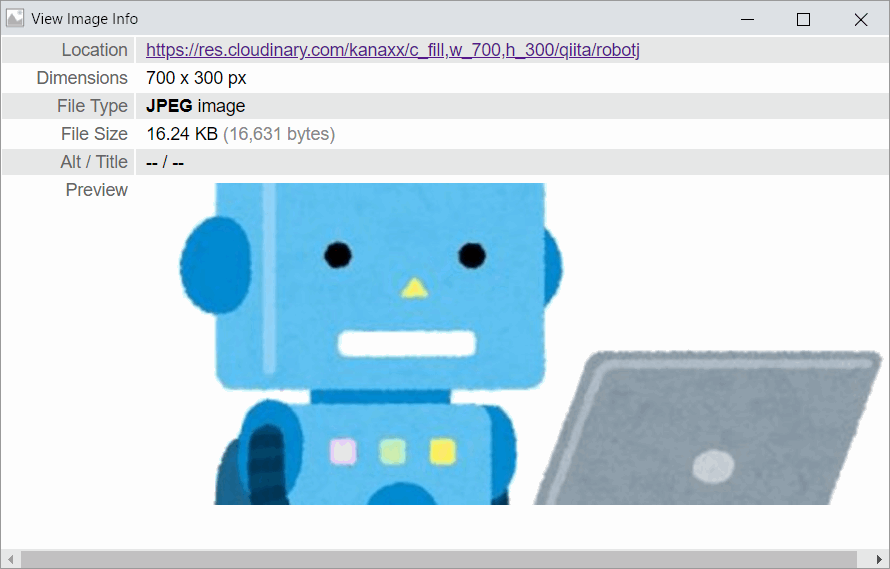
長辺(w700)指定でc_scaleした画像から、700x300を切り出しています。上下が切れてますね
■w200 h300
https://res.cloudinary.com/kanaxx/c_fill,w_200,h_300/qiita/robotj

こちらも長辺(h300)でc_scaleした画像から、200x300を切り出しています。今度は左右が切れました。
■w200 h300+g_left
https://res.cloudinary.com/kanaxx/c_fill,w_200,h_300,g_west/qiita/robotj

重心を左に寄せると見切れかたが変わります。
lfill
Same as the fill mode but only if the original image is larger than the given limit (width and height), in which case the image is scaled down to fill the given width and height while retaining the original aspect ratio, using only part of the image that fills the given dimensions if necessary (only part of the original image might be visible if the requested aspect ratio is different from the original aspect ratio). You can also specify which part of the original image to use for filling the required dimensions in case the proportions do not match by using the gravity parameter. This mode doesn't scale up the image if your requested dimensions are bigger than the original image's.
fillモードと同じ。オリジナルの画像のサイズがパラメータより大きいときは、パラメータで指定の枠を画像のアスペクト比を保ちながら埋める。gパラメータを使えば、画像のどの部分を使って枠を埋めるのかは決めることができる。このモードでは画像の拡大はしない。
■w200, h300(w400 h378より両方小さい)
https://res.cloudinary.com/kanaxx/c_lfill,w_200,h_300/qiita/robotj

fillと同じ結果です。パラメータで指定したwhと同じサイズの画像が手に入ります。
■w700, h300(横がオリジナルより大きい)
https://res.cloudinary.com/kanaxx/c_lfill,w_700,h_300/qiita/robotj
大きい数値を与えてしまうと、大きい方の数値は無視されて、元画像のサイズをパラメータに指定したのと同じ状態になります。元画像を拡大も縮小もせず、w400(元) x h300(パラメータ)の画像を切り出して返します。つまり縦に78px(上下に39pxずつ)見切れる。
■w200 h400(縦がオリジナルより大きい)
https://res.cloudinary.com/kanaxx/c_lfill,w_200,h_400/qiita/robotj
オーバーしたパラメータの値は元画像の数値に置き換わり、w200 h378を指定したのと同じになります。結果として横方向だけが指定のサイズになるように短く切られている。
pad
Resize the image to fill the given width and height while retaining the original aspect ratio and with all of the original image visible. If the proportions of the original image do not match the given width and height, padding is added to the image to reach the required size. You can also specify where the original image is placed by using the gravity parameter (set to center by default), and specify the color of the background in the case that padding is added.
パラメータで指定したwとhの枠を、アスペクト比を保ちつつオリジナル画像の全てが見えるようにリサイズして埋める。オリジナル画像の比率とマッチしない値を指定した場合、必要サイズに足りるまで埋める。gravityパラメータを使って画像を置く場所(余白の位置)をコントロールすることもできるし、余白の色も指定することができる。
■w450,h500 (縦も横も大きい値を指定)
https://res.cloudinary.com/kanaxx/c_pad,w_450,h_500,b_gray,g_south/qiita/robotj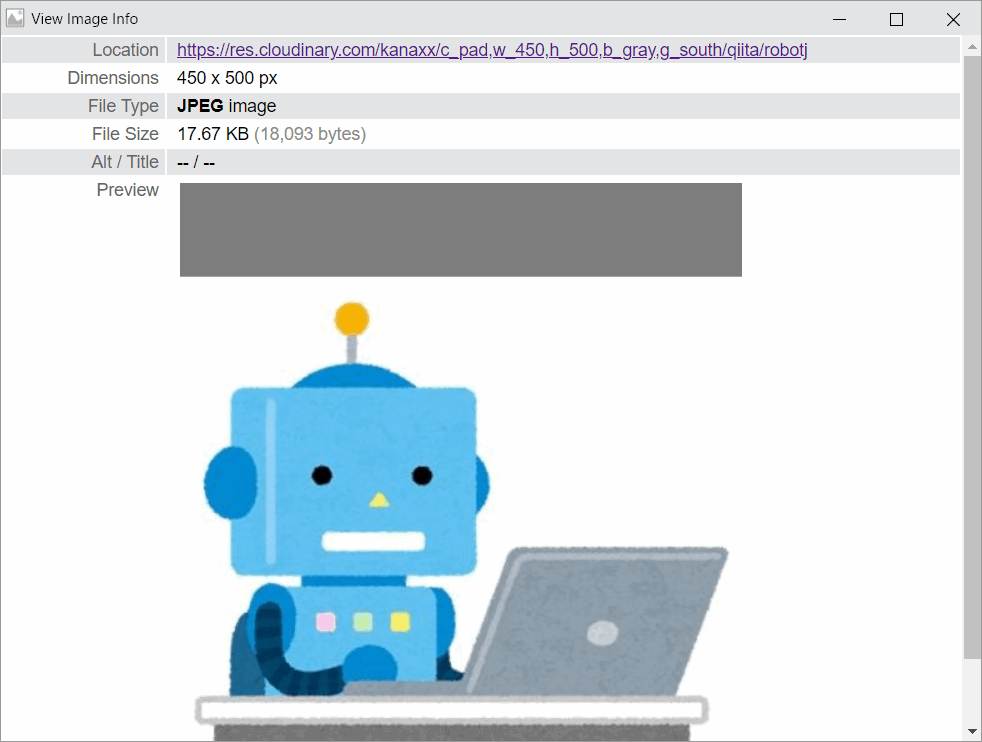
比率を変えずに横450の画像を作成し、縦方向に余白を入れて埋める。余白はグレーにし画像の重心を下する(上に余白が入る)
■w300, h300のpad(縦も横も両方とも小さい:画像が大きい)
https://res.cloudinary.com/kanaxx/c_pad,w_300,h_300,b_gray,g_south/qiita/robotj

比率を変えずに横300の画像を作成し、縦方向に余白を埋めて調整する。
■w600,h300のpad(縦が小さく、横が大きい値を指定)
https://res.cloudinary.com/kanaxx/c_pad,w_600,h_300,b_gray/qiita/robotj
縦300になるまで比率を維持しながら小さくし(このとき横は317)、そのあとに横が600になるまで余白で埋める(+283px)
pad の場合、縦と横の両方向に余白が入ることはなく、whのどちらかがピッタリになるように画像自体を加工(拡大、縮小)し、そのあとに余白が入る。
lpad
Same as the pad mode but only if the original image is larger than the given limit (width and height), in which case the image is scaled down to fill the given width and height while retaining the original aspect ratio and with all of the original image visible. This mode doesn't scale up the image if your requested dimensions are bigger than the original image's. If the proportions of the original image do not match the given width and height, padding is added to the image to reach the required size. You can also specify where the original image is placed by using the gravity parameter (set to center by default), and specify the color of the background in the case that padding is added.
padモードと同じ。オリジナル画像のサイズがパラメータより大きい場合、画像はパラメータで指定した縦横の大きさにアスペクト比を保ちながら画像の全てが見えるように縮小する。このモードは拡大はしない。padモードと同じくwhの比率がオリジナルと異なる場合には、パラメータのwhのサイズになるまで余白を埋める。padと同じくgravityとbackgroundが使える。
■w450, h500のlpad(縦横両方ともオリジナルより大きい)
https://res.cloudinary.com/kanaxx/c_lpad,w_450,h_500,b_gray/qiita/robotj

指定どおりの画像が手に入るが、縦方向にも横方向にも拡大はせず、余白での調整
■w300, h300のlpad(縦横両方ともオリジナルより小さい)
(https://res.cloudinary.com/kanaxx/c_lpad,w_300,h_300,b_gray,g_south/qiita/robotj)[https://res.cloudinary.com/kanaxx/c_lpad,w_300,h_300,b_gray,g_south/qiita/robotj]

指定サイズ通りの画像が手に入る。縦横の差分の縮小率の高いほう(w:400-300/400=25%, h:378-300/378=20%なので横優先)でアスペクト比を維持して画像を縮小し、足りない縦方向に余白が入る。
■w500, h300のlpad(wが大きく、hが小さい)
https://res.cloudinary.com/kanaxx/c_lpad,w_500,h_300,b_gray/qiita/robotj
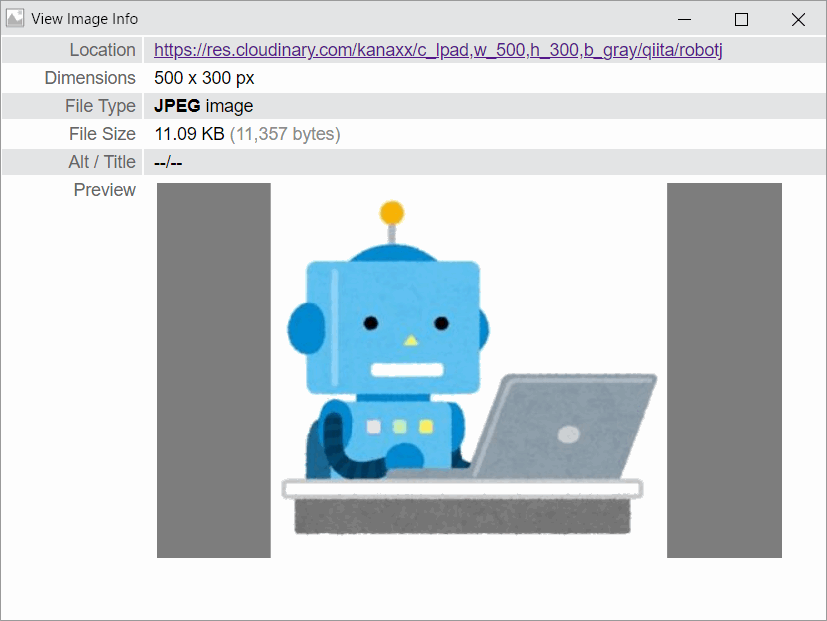
値がオーバーしていないほう(h:300)を基準にして画像を縮小し、wの方向に余白を追加してサイズ調整。
URLのパラメータが画像より大きいという考え方より、lpad変換ルールに対して小さすぎる画像を場合に、どういう動きをするか、というように考えたほうがいいかもしれません。基本的にはlpadは大きいものを小さくするためのものなので、小さいものを大きくはせず余白で調整をする。
mpad
Same as the pad mode but only if the original image is smaller than the given minimum (width and height), in which case the image is scaled up to fill the given width and height while retaining the original aspect ratio and with all of the original image visible. This mode doesn't scale down the image if your requested dimensions are smaller than the original image's. If the proportions of the original image do not match the given width and height, padding is added to the image to reach the required size. You can also specify where the original image is placed by using the gravity parameter (set to center by default), and specify the color of the background in the case that padding is added.
padモードと同じ。オリジナル画像のサイズがパラメータより小さいと、パラメータで与えた縦横を埋めるように、比率は変えず画像の全てが見えるように拡大する。このモードは画像の縮小はしない。padモードと同じくwhの比率がオリジナルと異なる場合には、パラメータのwhのサイズになるまで余白を埋める。padと同じくgravityとbackgroundが使える。
■w450, h500のlpad(縦横両方ともオリジナルより大きい)
https://res.cloudinary.com/kanaxx/c_mpad,w_450,h_500,b_gray/qiita/robotj
lpadと同じ動きです。画像自体は拡大はせず450x500になるまで余白で調整。
■w300, h300のlpad(縦横両方ともオリジナルより小さい)
https://res.cloudinary.com/kanaxx/c_mpad,w_300,h_300,b_gray,g_south/qiita/robotj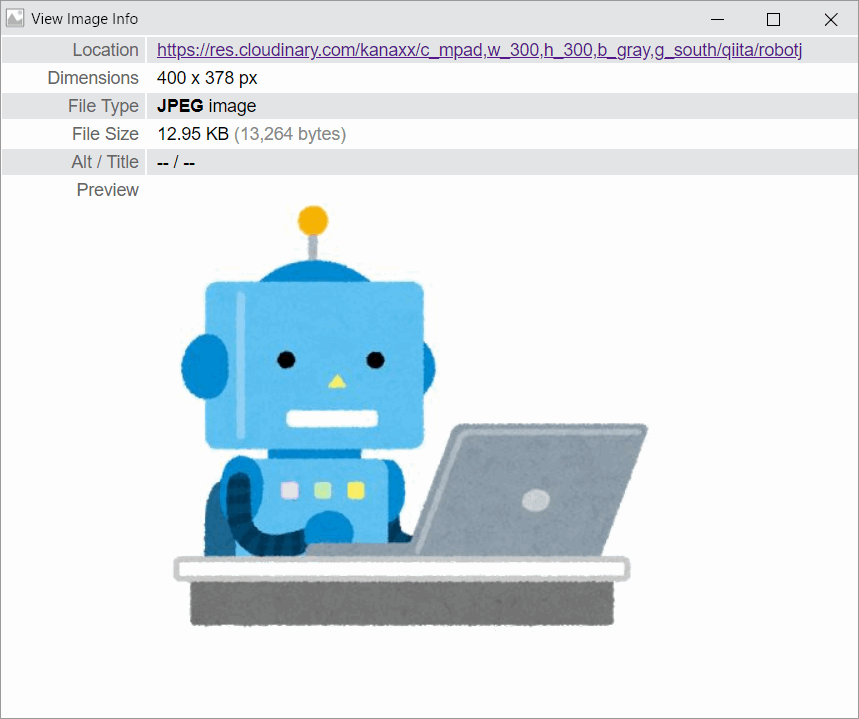
mapdで小さいサイズに変換しようとした場合mpadは縮小をしないため、オリジナルの画像がそのまま返ってきます。小さい変数を元画像の値に置き換えたc_mpad,w_400,h_378動きと同じです。
■w500, h300のlpad(wが大きく、hが小さい)
https://res.cloudinary.com/kanaxx/c_mpad,w_500,h_300,b_gray/qiita/robotj

オリジナルより小さいサイズ指定が無視されます。c_mpad,w_500,h_378と同じ動きをします。
URLのパラメータが画像サイズより小さいという考え方より、mpad変換ルールに対して大きすぎる画像を場合に、どういう動きをするか、というように考えたほうがいいかもしれません。基本的にはmpadは小さい画像を大きくするためのもの。だから、大きすぎる画像が来た場合には、小さくすることはせず、元の画像をそのまま返すようにしている。
fill_pad
省略
crop
Extract a region of the given width and height out of the original image. The original proportions are retained and so is the size of the graphics. You can specify the gravity parameter to select which part of the image to extract, or use fixed coordinates cropping.
元の画像から指定した縦横の範囲を切り取ります。gパラメータで方向を決めることもできるし、座標を使って切り抜くこともできる。
今までものと異なり、cropは完全な切り取りモード。
■w50%, h50%の大きさでcrop
https://res.cloudinary.com/kanaxx/c_crop,w_0.5,h_0.5/qiita/robotj

重心指定なし(center)で、元画像の縦横半分のサイズに切り取り
■左上からcrop
https://res.cloudinary.com/kanaxx/c_crop,w_0.5,h_0.5,g_north_west/qiita/robotj

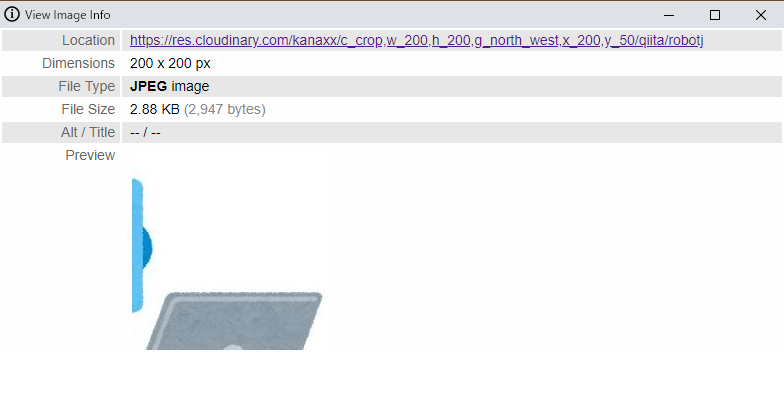
■座標を決めてcrop
https://res.cloudinary.com/kanaxx/c_crop,w_200,h_200,g_north_west,x_200,y_50/qiita/robotj
thumb
後で書くかも
imagga_crop
後で書くかも
imagga_scale
あとで書くかも
ar (Aspect Ratio)
- 機能
- Aspect Ratio略。画像の縦横比を比率で指定して変換するときに使う。単独で使うのではなくcropやoverlayと一緒に使います
- 指定方法
- ar_4:3|横縦比を指定
ar_1.5|横/縦のサイズの指定
■20:9の画像になるように、切り出す
https://res.cloudinary.com/kanaxx/c_crop,ar_20:9/qiita/robotj.jpg

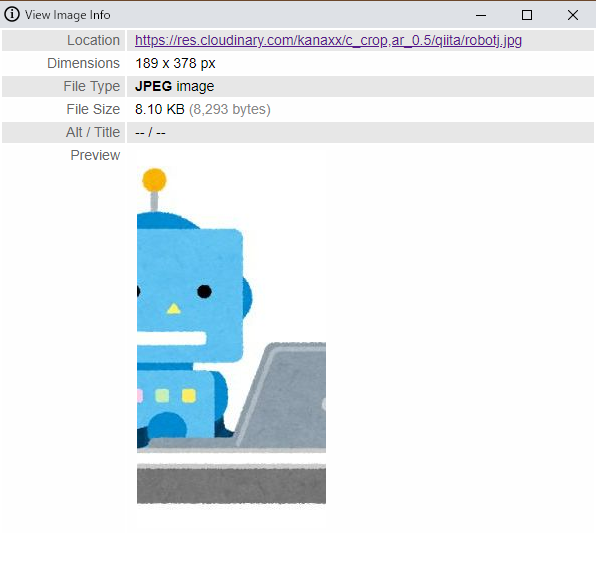
■1/2なので横1:縦2の比率で切り出す
https://res.cloudinary.com/kanaxx/c_crop,ar_0.5/qiita/robotj.jpg
g (Gravity)
- 機能
- 画像のcropやoverlayをするときに画像の重心をどこに置くか変えるときに使います。このあとで出てくるx,yパラメータの動作を変えることができます
- 指定方法
- g_name|north_east, north, north_west, west, south_west, south, south_east, east, center,xy_centerなど。
方角以外にもいくつかありますが、省略します。1
■重心を指定せずに、ar=16:9で切り出す。(centerがデフォルトなので上下左右中央寄り)
https://res.cloudinary.com/kanaxx/c_crop,ar_16:9/qiita/robotj.jpg

■重心を上(北と表現)にして、ar=16:9で切り出す。
https://res.cloudinary.com/kanaxx/c_crop,ar_16:9,g_north/qiita/robotj.jpg

z (Zoom)
- 機能
- 画像のズームを指定
- 指定方法
- z_0.2|20%縮小
z_120|120%拡大
zoomはc_thumbと一緒に使うので省略
x y
- 機能
- cropやoverlayをするときに、画像の起点を座標(pixel単位)で指定するときに使う。
- 指定方法
- x_100, y_100|左上を(0,0)として、x座標とy座標を数値で指定する
■w200 x h200の正方形でロボットを切り出す。位置基準は中央(xy指定なし)
https://res.cloudinary.com/kanaxx/g_center,c_crop,w_200,h_200/qiita/robotj.jpg

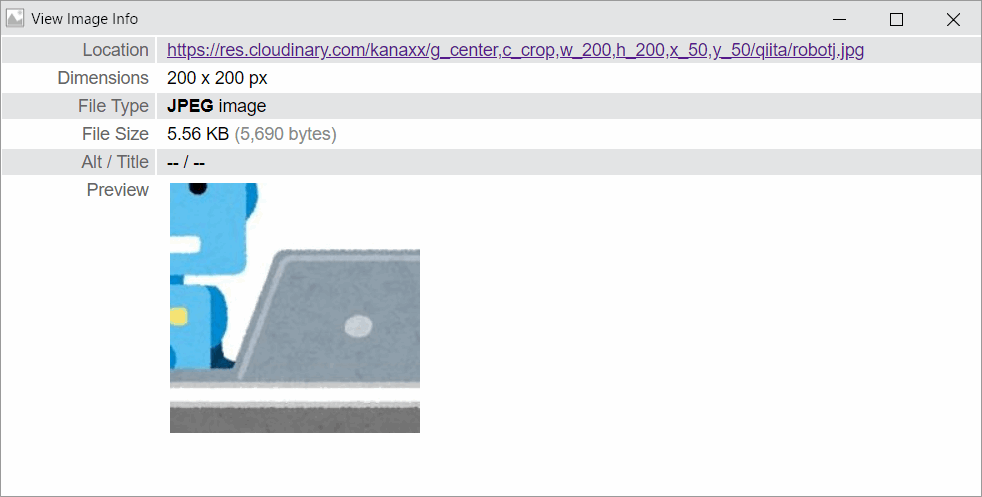
■w200 x h200の正方形でロボットを切り出す。横方向に50pxずらす
https://res.cloudinary.com/kanaxx/g_center,c_crop,w_200,h_200,x_50/qiita/robotj.jpg
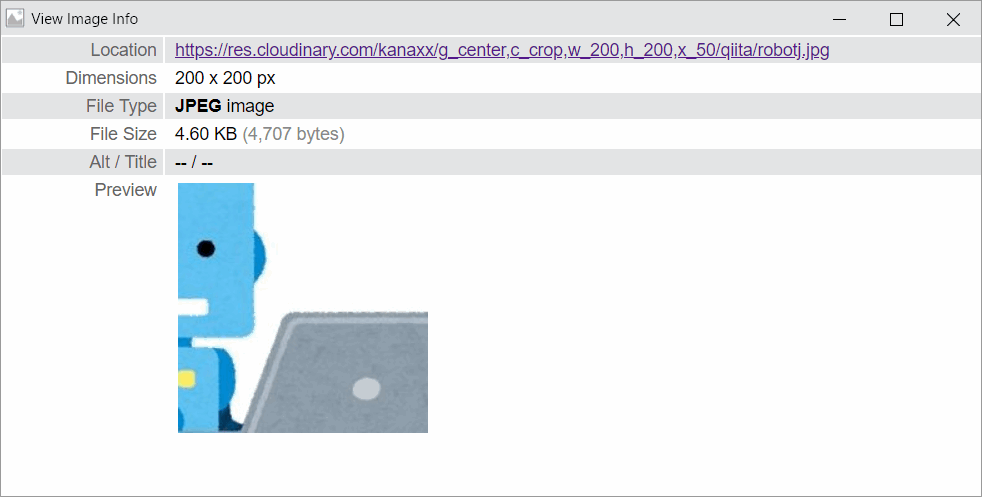
■w200 x h200の正方形でロボットを切り出す。縦方向に50pxずらす
https://res.cloudinary.com/kanaxx/g_center,c_crop,w_200,h_200,y_50/qiita/robotj.jpg
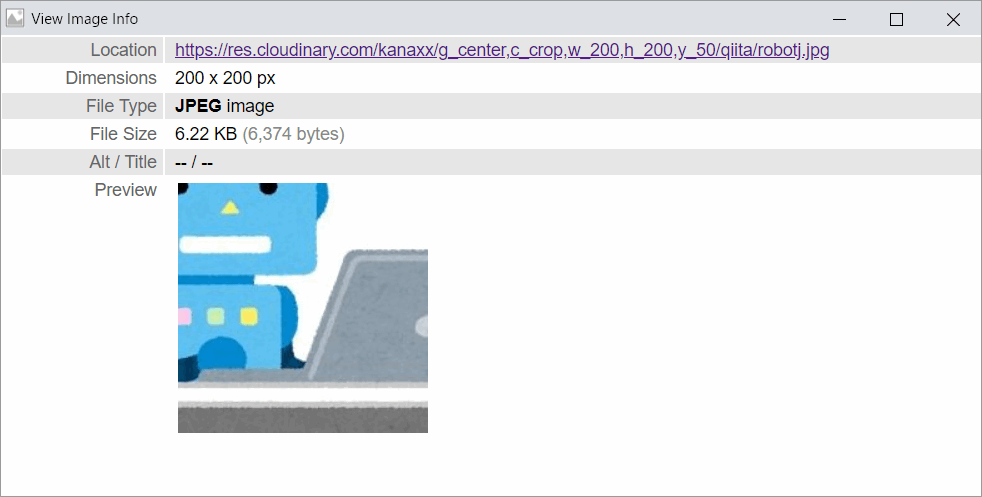
■w200 x h200の正方形でロボットを切り出す。縦と横方向に50pxずらす
https://res.cloudinary.com/kanaxx/g_center,c_crop,w_200,h_200,x_50,y_50/qiita/robotj.jpg
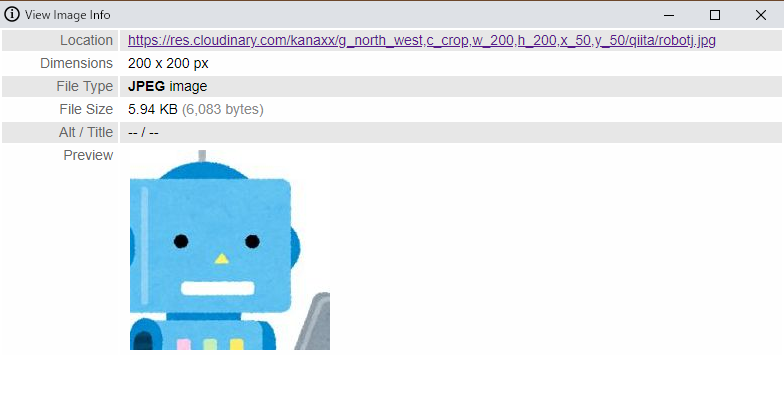
重心を変えることでとり方も変わります
■左上から50,50の位置から、200,200の切り出し
https://res.cloudinary.com/kanaxx/g_north_west,c_crop,w_200,h_200,x_50,y_50/qiita/robotj.jpg
■右下に50,50のスペースが空くように、200,200の切り出し
https://res.cloudinary.com/kanaxx/g_south_east,c_crop,w_200,h_200,x_50,y_50/qiita/robotj.jpg

f (format)
- 機能
- 画像のフォーマットを指定します。fパラメータを使わずに拡張子指定でも画像フォーマットは変換できます
- 指定方法
- f_jpg|画像フォーマット名を指定
f_auto|ブラウザのよって最適なフォーマットに自動変換する指定
画像のフォーマットは、最後の拡張子を変えるだけです。何もつけないとアップロードした画像のフォーマットのまま取得できます。2
■元画像がPNGだったので、拡張子指定なしの場合にはPNGが返る
https://res.cloudinary.com/kanaxx/qiita/robot
■拡張子を指定してGIFで取り出す
https://res.cloudinary.com/kanaxx/qiita/robot.gif

■半分のスケールにして、webpフォーマットで取り出す
https://res.cloudinary.com/kanaxx/w_0.5/qiita/robot.webp

■画像をPDFにもできます
https://res.cloudinary.com/kanaxx/w_0.5/qiita/robot.pdf
f_auto
後で書く
q (Quality)
- 機能
- 画像圧縮レベルをコントロールするときに使います。画像圧縮レベルが高いと画像サイズが大きくなることが多いので、適切なレベルを指定することで画像サイズを小さくすることができます。
- 指定方法
- q_80|エフェクト名を指定
q_auto:good|名前付きの呼び出し
見た目とファイルサイズのバランスでいうと、JPEGは85%がおすすめらしい。3
■元の画像のクオリティとサイズ
https://res.cloudinary.com/kanaxx/qiita/robotj

■85%
https://res.cloudinary.com/kanaxx/q_85/qiita/robotj

■50%
https://res.cloudinary.com/kanaxx/q_50/qiita/robotj

r (Radius)
- 機能
- 画像の角を丸めるときに使います
- 指定方法
- r_20|内側に食い込みたいピクセルを指定。大きいほど丸くなります
r_a : b :c :d|左上がa(px)、右上がb(px)、右下がc(px)、左下がd(px)丸めます
r_max|丸く(楕円)なります
■ロボットの顔だけ抜き出してからの~
https://res.cloudinary.com/kanaxx/w_180,h_130,c_crop,x_35,y_80/qiita/robot.jpg
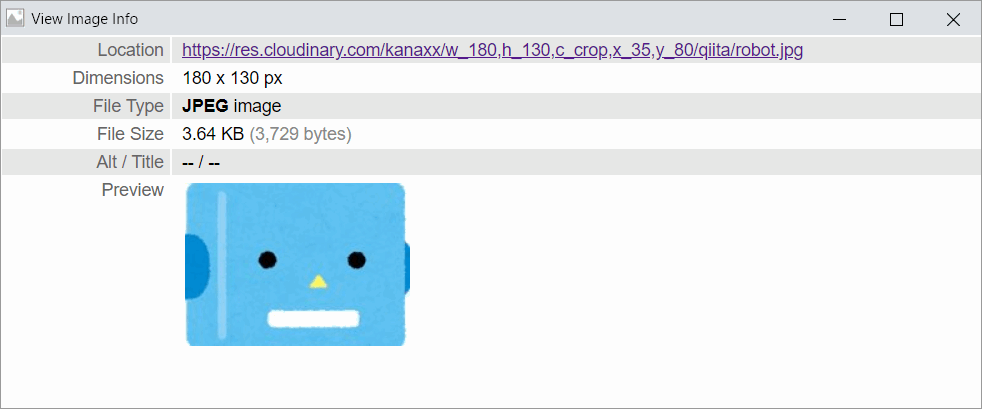
■角まるをmaxで、PNGの透過画像
https://res.cloudinary.com/kanaxx/w_180,h_130,c_crop,x_35,y_80/r_max/qiita/robot.jpg

■右上と左下だけ角まる(左上から時計回りに指定)
https://res.cloudinary.com/kanaxx/w_180,h_130,c_crop,x_35,y_80/r_0:130:0:130/qiita/robot.jpg

a (Angle)
- 機能
- 画像を回転させるときに使います。
- 指定方法
- a_90, a_-90|右方向に回転させる角度の指定。
a_name|エフェクト名を指定、vflip, hflip
■右に90度回転
https://res.cloudinary.com/kanaxx/a_90/qiita/robot.jpg

■180度回転(さかさま)
https://res.cloudinary.com/kanaxx/a_180/qiita/robot.jpg
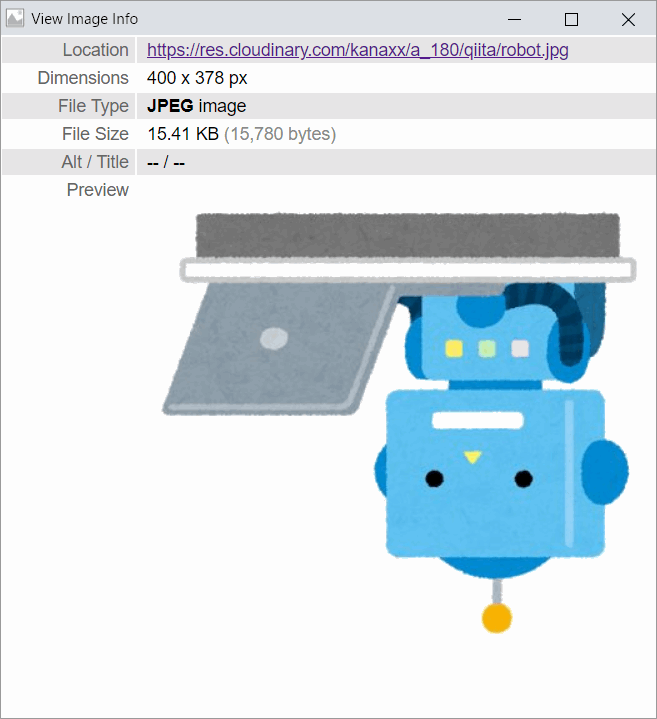
■左右の入れ替え(鏡写し)
https://res.cloudinary.com/kanaxx/a_hflip/qiita/robot.jpg

e (Effect)
- 機能
- Effect略。画像に様々な効果を足すことができます。エフェクトにはたくさんのモードが定義されていて、e_xxxの形式でモードを指定することで効果を発揮します。
- 指定方法
- e_name|エフェクト名を指定
エフェクトはかなりの数があるので実用性のありそうなものだけをピックアップします。
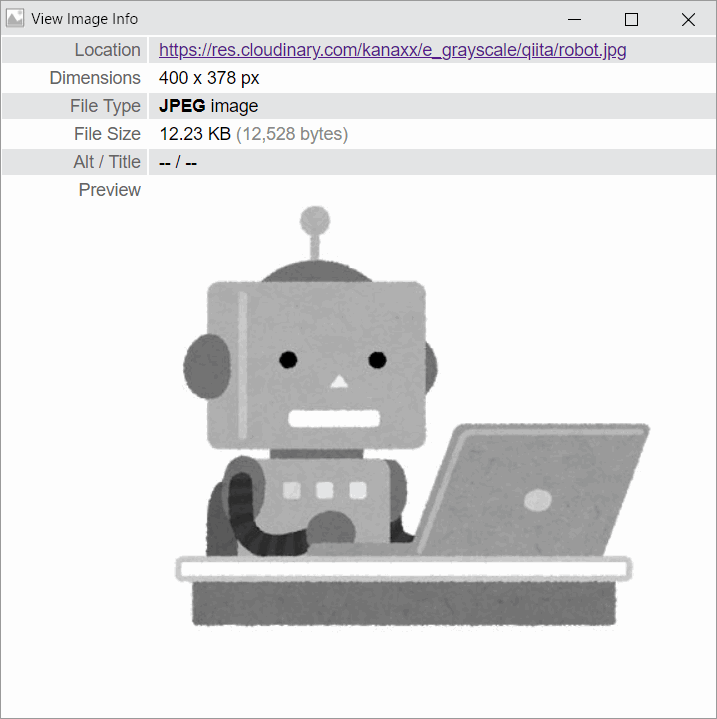
e_grayscale
グレースケール
https://res.cloudinary.com/kanaxx/e_grayscale/qiita/robot.jpg
e_sepia
セピア
https://res.cloudinary.com/kanaxx/e_sepia/qiita/robot.jpg

e_replace_color
カラーコードを指定して色を入れ替え
https://res.cloudinary.com/kanaxx/e_replace_color:EB666C:50:008CD3/qiita/robot.jpg

e_outline
アウトラインを追加
https://res.cloudinary.com/kanaxx/e_outline:outer:10:100/qiita/robot.jpg

e_blur
ぼかし
https://res.cloudinary.com/kanaxx/e_blur:500/qiita/robot.jpg

他にも立体的なオブジェクトに、画像を合わせるテクもあります。
https://cloudinary.com/blog/how_to_dynamically_distort_images_to_fit_your_graphic_design
o (Opacity)
- 機能
- 画像を透明にする。オーバーレイをするときに威力を発揮する
- 指定方法
- o_90|透明度を数値で指定する。数値が小さい方が透明度が高くなる。0で何も見えない
■50%
https://res.cloudinary.com/kanaxx/o_50/qiita/robot.jpg

■95%透明
https://res.cloudinary.com/kanaxx/o_5/qiita/robot.jpg

bo (Border)
- 機能
- 画像に枠を付ける。枠の色、太さを指定することができる。線を外側に追加するので、画像が線の太さの分(左右上下でx4)だけ大きくなる
- 指定方法
- bo_5px_solid_black|線の太さ、スタイル、色を順番に指定する。現在はstyleはsolidのみ
■画像全体を4pxの赤枠を追加する。元の画像はw400 h378で4pxを四辺に足すので出力される画像はw408 h386になります。
https://res.cloudinary.com/kanaxx/bo_4px_solid_red/qiita/robot.jpg

■角丸にしつつ周囲に線を足す
https://res.cloudinary.com/kanaxx/bo_10px_solid_gray,r_30/qiita/robot.jpg

b (Back Ground)
- 機能
- 背景色を指定する。padした時の余白の色か、透過処理された画像の背景色を指定することができる。透過していない画像の画像の背景色を変えることはできない。
- 指定方法
- b_red|色の名称を指定
b_rgb:55C500|色をカラーコードで指定
■透過PNG(robot(.png))の背景を黄色に塗ったjpg画像に変換
https://res.cloudinary.com/kanaxx/b_yellow/qiita/robot.jpg

■padするときの色をカラーコード指定で塗りつぶす
https://res.cloudinary.com/kanaxx/c_pad,w_500,h_300,b_rgb:55C500/qiita/robotj

l (Overlay)
- 機能
- 画像の上に画像や文字を重ねる
- 指定方法
- l_public_id|lの後ろに画像ファイル名(pubilc_id)を指定する。/を含むときは:に置き換える
l_text:style:string|指定したスタイルで文字を重ねる
■sample.pngにrobot画像を重ねる。
https://res.cloudinary.com/kanaxx/l_qiita:robot/sample.png

■robot画像のPCに斜めにmacbookとテキストを追加
https://res.cloudinary.com/kanaxx/l_text:Arial_20:macbook,x_320,y_210,g_north_west,a_-70/qiita/robotj

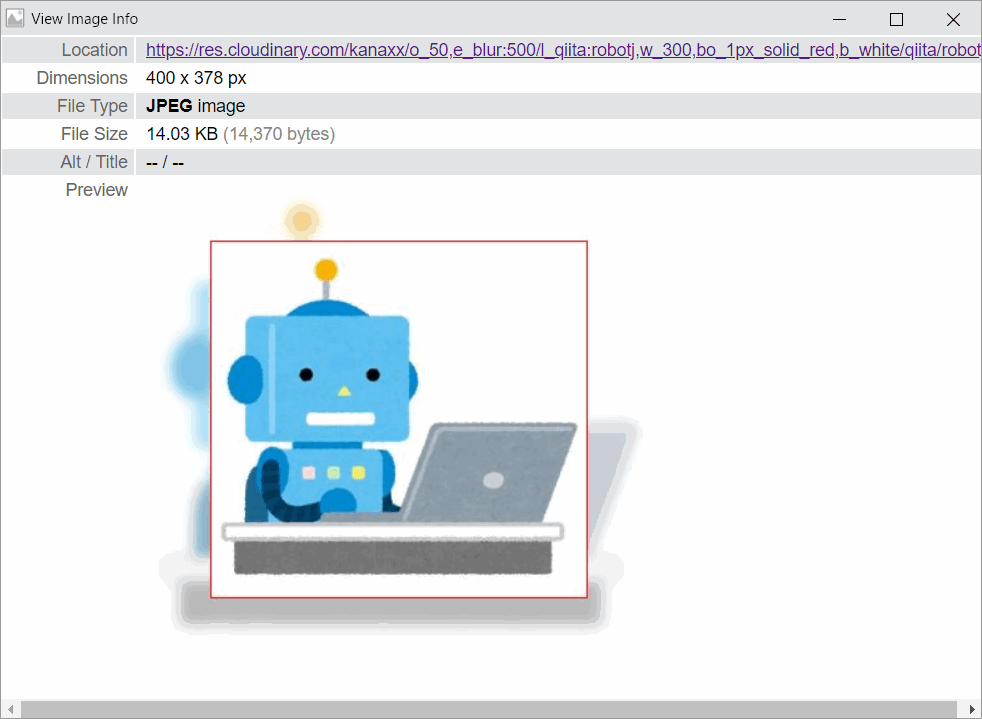
■ぼやかしたrobotjにrobotjを重ねる
https://res.cloudinary.com/kanaxx/o_50,e_blur:500/l_qiita:robotj,w_300,bo_1px_solid_red,b_white/qiita/robotj
u (Underlay)
- 機能
- 指定方法
- u_public_id|uの後ろに画像ファイル名(pubilc_id)を指定する。/を含むときは:に置き換える
あとで書く
d (Default)
- 機能
- 指定方法
- d_public_id|dの後ろに画像ファイル名(pubilc_id)を指定する。/を含むときは:に置き換える
■デフォルトの画像
https://res.cloudinary.com/kanaxx/no-image
■一番最後の部分で指定している画像があるので、ロボットが出る
https://res.cloudinary.com/kanaxx/d_no-image.png/qiita/robotj
■最後の部分で指定した画像がないので、no imageが出る
https://res.cloudinary.com/kanaxx/d_no-image.png/qiita/robotj222
dl (Delay)
- 機能
- gifのアニメをゆっくり表示する
- 指定方法
- dl_100|指定した数値のミリ秒遅く再生する
https://res.cloudinary.com/kanaxx/b_gray/qiita/rain1_animated_256
gifのフレーム間に500msの停止時間を入れる
https://res.cloudinary.com/kanaxx/b_gray,dl_500/qiita/rain1_animated_256
co (Color)
- 機能
- 画像の色を変える。テキストを追加するときの色を指定する
- 指定方法
- co_colorname|色の名前を指定する
■colorize30の赤にする
https://res.cloudinary.com/kanaxx/co_red,e_colorize:30/qiita/robotj

■colorize70の赤にする
https://res.cloudinary.com/kanaxx/co_red,e_colorize:70/qiita/robotj
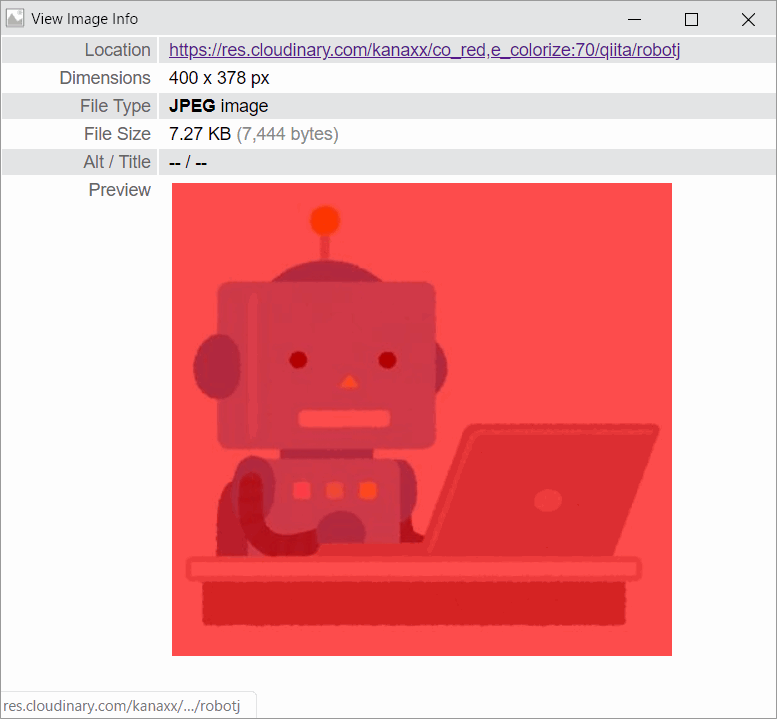
数値を変えると画像の色づき具合が変わる
■赤で文字入れする
https://res.cloudinary.com/kanaxx/l_text:Arial_30:%E7%A7%81%E3%81%AF%E3%83%AD%E3%83%9C%E3%83%83%E3%83%88,co_red,g_north_east,y_50,x_50/qiita/robotj

cs (Color Space)
- 機能
- カラースペースを指定する
- 指定方法
- cs_|
ちょっとよくわからない
dpr (DPR)
- 機能
- Device Pixel Ratioを変更する
- 指定方法
- dpr_2.0|DPR2.0の画像に変換する
あとで勉強する
dpr_autoでresponsiveな画面で自動で画像が返るらしいぞ
https://cloudinary.com/documentation/responsive_images
pg (Page)
- 機能
- 指定方法
- p_1|ページ番号を数値で指定
https://res.cloudinary.com/kanaxx/b_gray,pg_1/qiita/rain1_animated_256
https://res.cloudinary.com/kanaxx/b_gray,pg_3/qiita/rain1_animated_256
https://res.cloudinary.com/kanaxx/b_gray,pg_5/qiita/rain1_animated_256
dn (Destiny)
- 機能
- ?
- 指定方法
- dn_|
ちょっとよくわからない
fl (Flag)
- 機能
- 何とも言い難い機能です。
- 指定方法
- fl_name|flの後ろに定義済みのフラグ名を指定する。
attachment
f_attachment:filename
画像を参照するのではなくてダウンロードします。
■ロボットをそのままダウンロード
https://res.cloudinary.com/kanaxx/fl_attachment/qiita/robotj
getinfo
f_getinfo
画像の情報をjsonで取得できます
https://res.cloudinary.com/kanaxx/f_auto,q_auto,w_200,dn_1/fl_getinfo/qiita/robotj
{
  "input":{"width":400,"height":378,"bytes":15260},
  "resize":[{"x_factor":0.5,"y_factor":0.5}],
  "output":{"format":"webp","bytes":2910,"width":200,"height":189}
}
layer_apply
普通のoverlayはファイルとして存在する画像を重ねる。layer_applyを使うと画像を加工したものをファイルとして保存せずにそのまま重ねることができる。
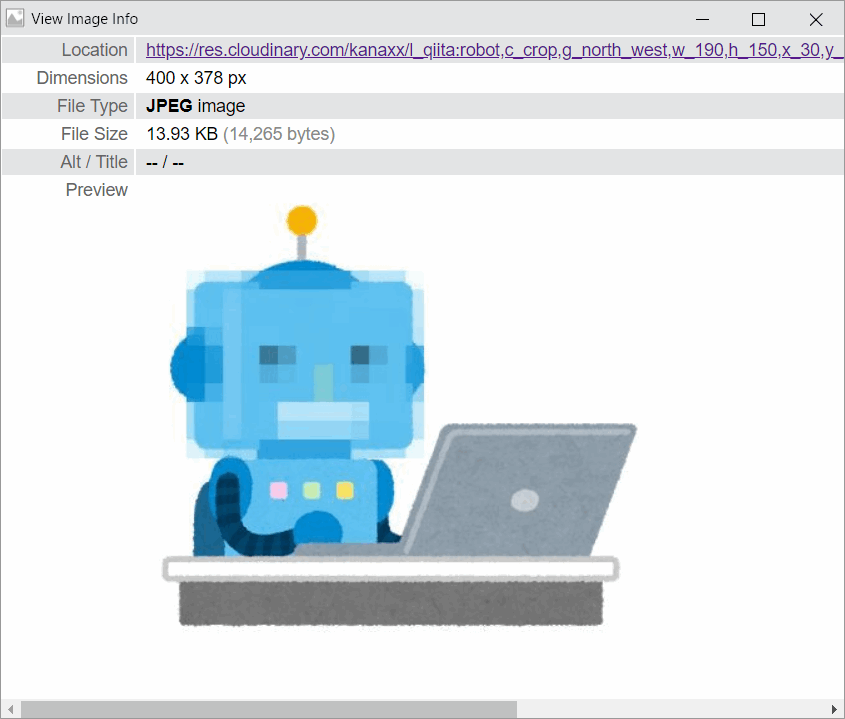
1.cropを駆使してロボットの顔部分を取り出す
https://res.cloudinary.com/kanaxx/c_crop,g_north_west,w_190,h_150,x_30,y_70/qiita/robotj
2.robotの顔にモザイク(pixelate)処理を掛ける
https://res.cloudinary.com/kanaxx/c_crop,g_north_west,w_190,h_150,x_30,y_70,e_pixelate:15/qiita/robotj
3.手順2のURLをl_filenameに書き換える(分かりにくいので重ね先はsampleにしておく)
https://res.cloudinary.com/kanaxx/l_qiita:robotj,c_crop,g_north_west,w_190,h_150,x_30,y_70,e_pixelate:15/sample.jpg
4.画像変換のパラメータの後にfl_apply_layerを付ける
https://res.cloudinary.com/kanaxx/l_qiita:robotj,c_crop,g_north_west,w_190,h_150,x_30,y_70,e_pixelate:15/fl_layer_apply/sample.jpg
5.fl_layer_applyに続けて重る位置を指定して完成
https://res.cloudinary.com/kanaxx/l_qiita:robot,c_crop,g_north_west,w_190,h_150,x_30,y_70,e_pixelate:15/fl_layer_apply,g_north_west,x_30,y_70/qiita/robotj
tiled
fl_tiledを指定すると、オーバーレイした画像が敷き詰められる。
fl_tiled指定なし(sampleの画像の上に横幅100にしたロボットが1つ)
https://res.cloudinary.com/kanaxx/l_qiita:robot,w_100/sample

tiled指定するとロボットいっぱい
https://res.cloudinary.com/kanaxx/l_qiita:robot,w_100,fl_tiled,o_70/sample

t (Transformation)
- 機能
- 指定方法
パラメータで画像変換を組み立てるのではなく、画像変換のルールを名前を付けて保存しておき、呼び出すことができる。
_operator_
- 機能
- 指定方法
if
- 機能
- 指定方法
$+name
- 機能
- 指定方法
とりあえず疲れたのでいったん公開。


