まえがき
Xcode12.4のSwiftを使ったiOSアプリ開発にて、以前のXcodeと異なることが多かったので記載
カメラロールを表示するためのボタンを設定する
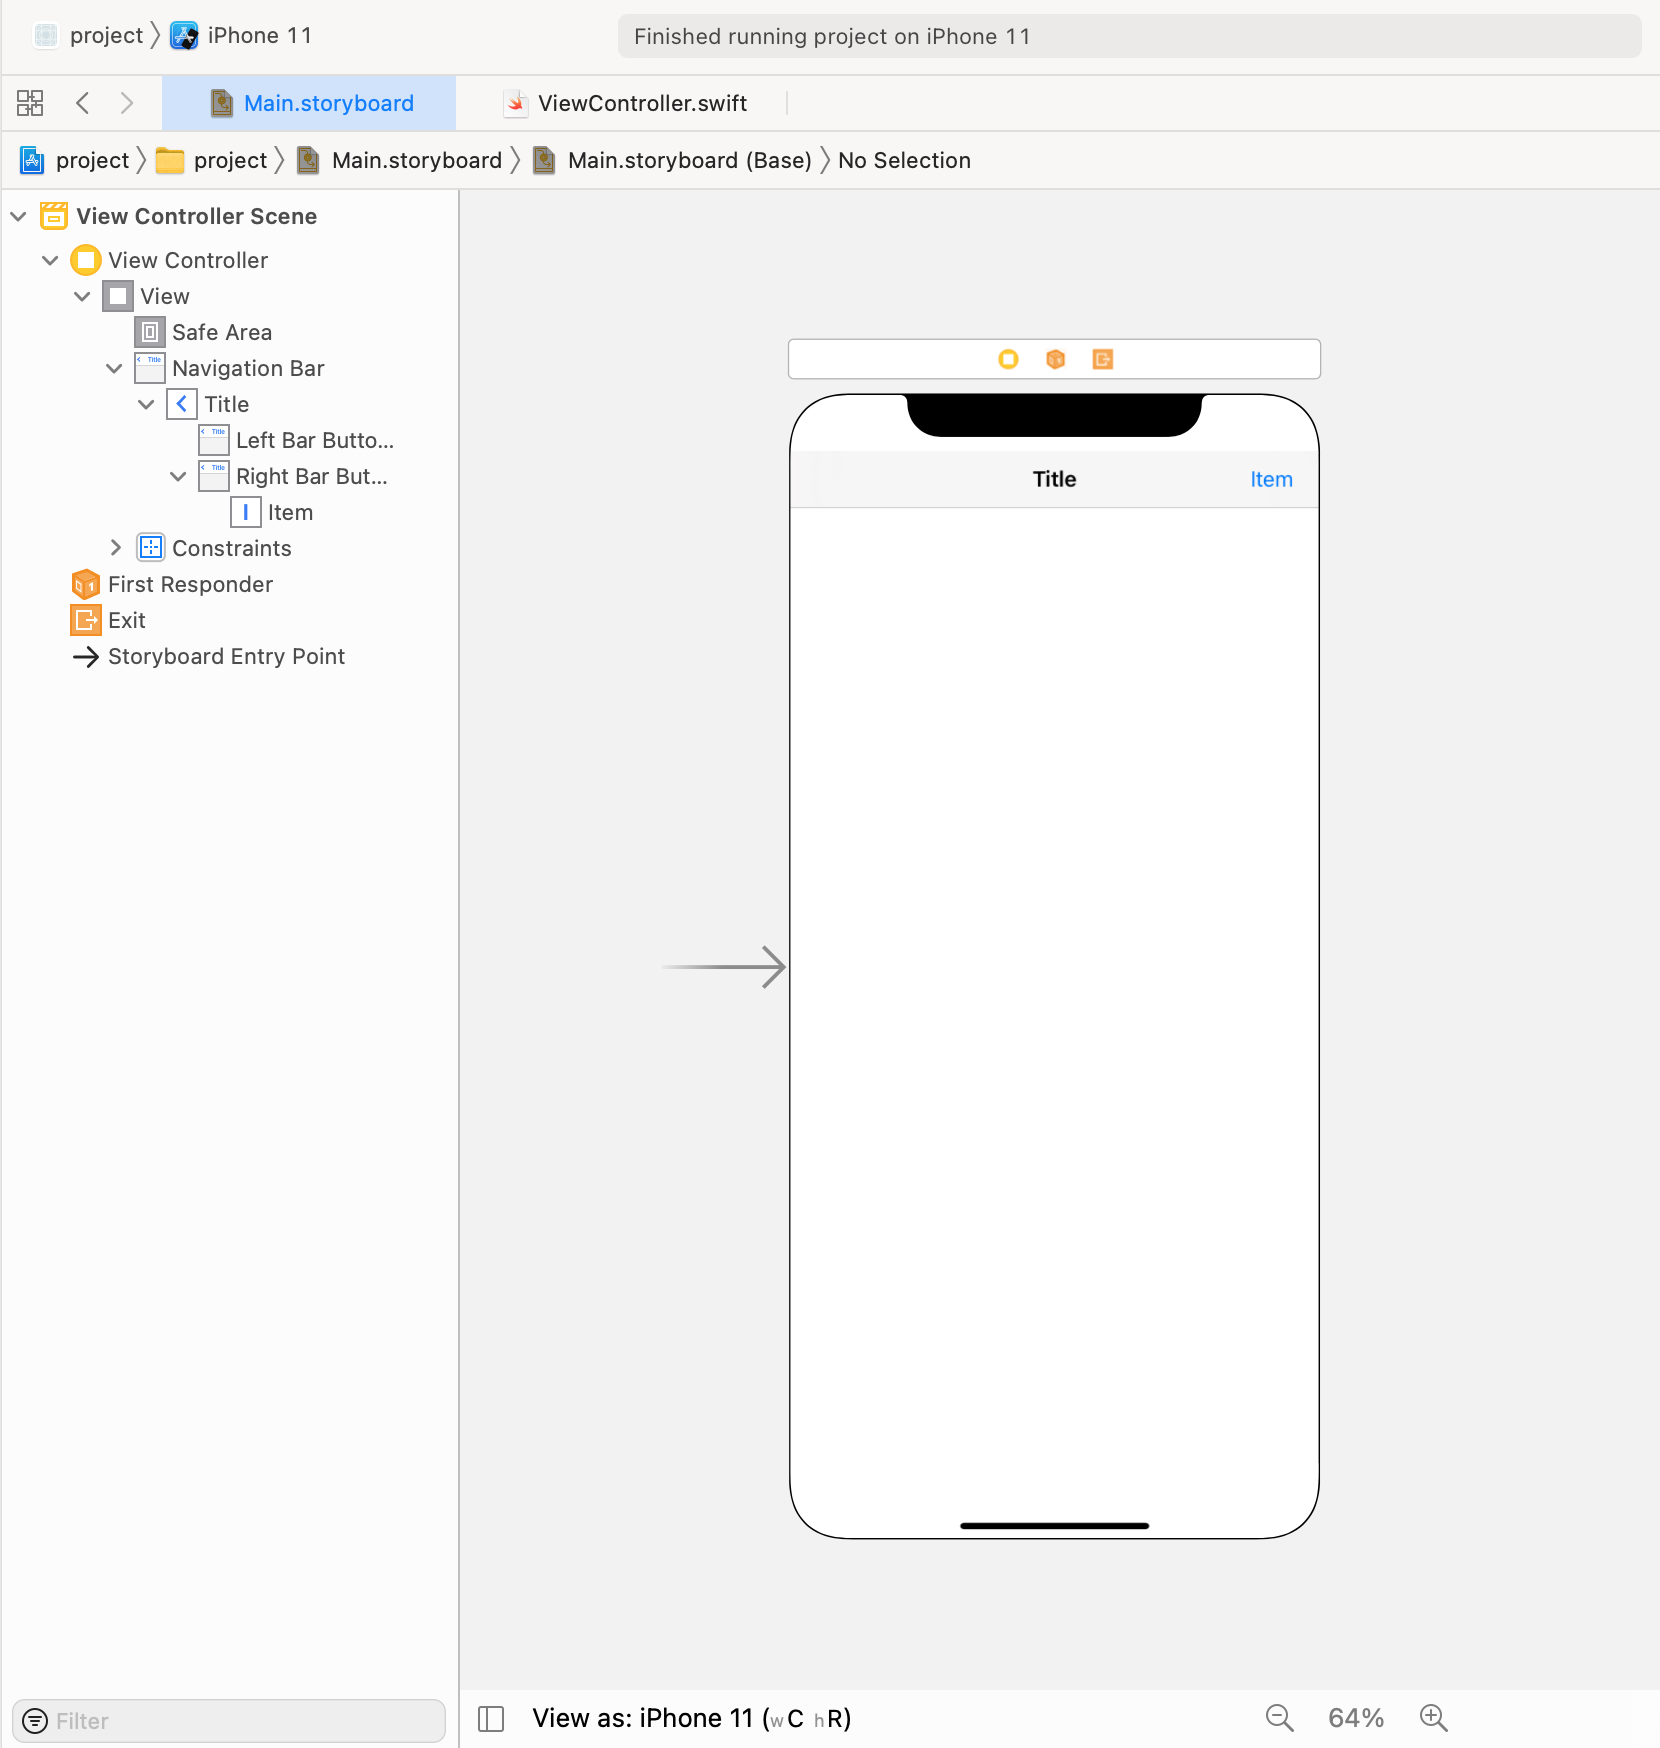
- 右上の+ボタンをクリックし、オブジェクトの一覧を表示する
- Navigation BarとBar Button Itemを選択し、Storyboardに追加する

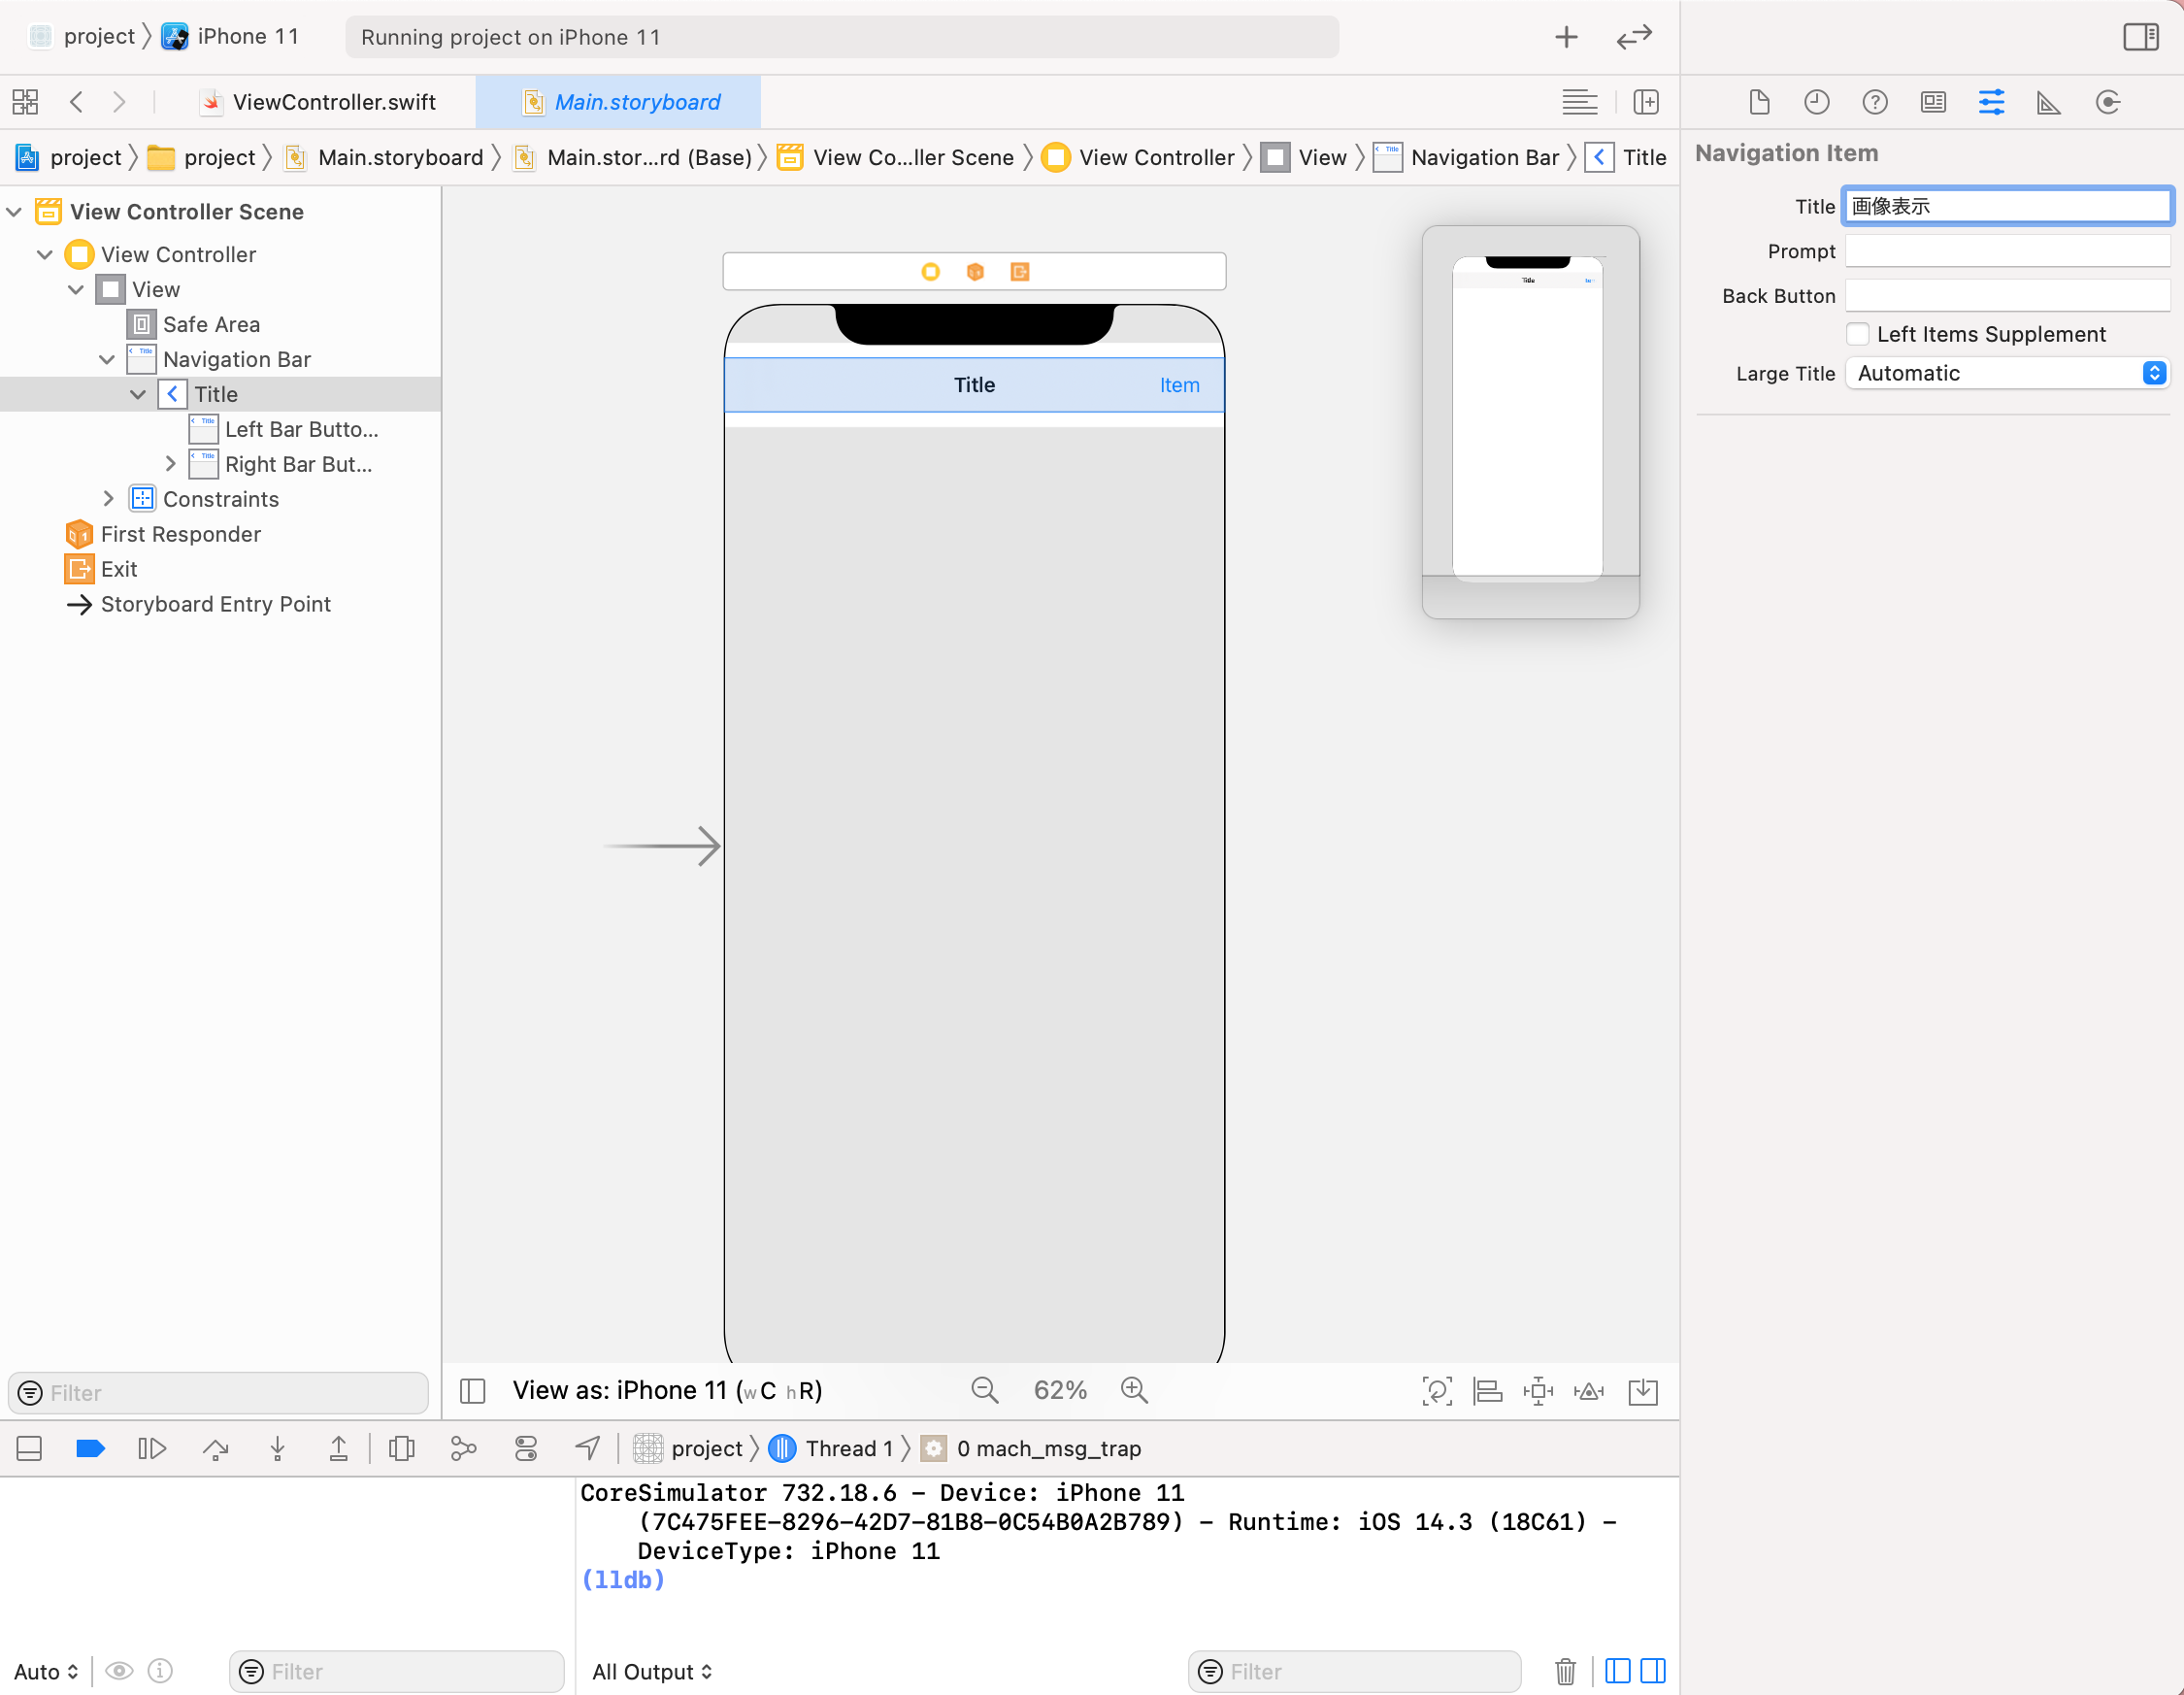
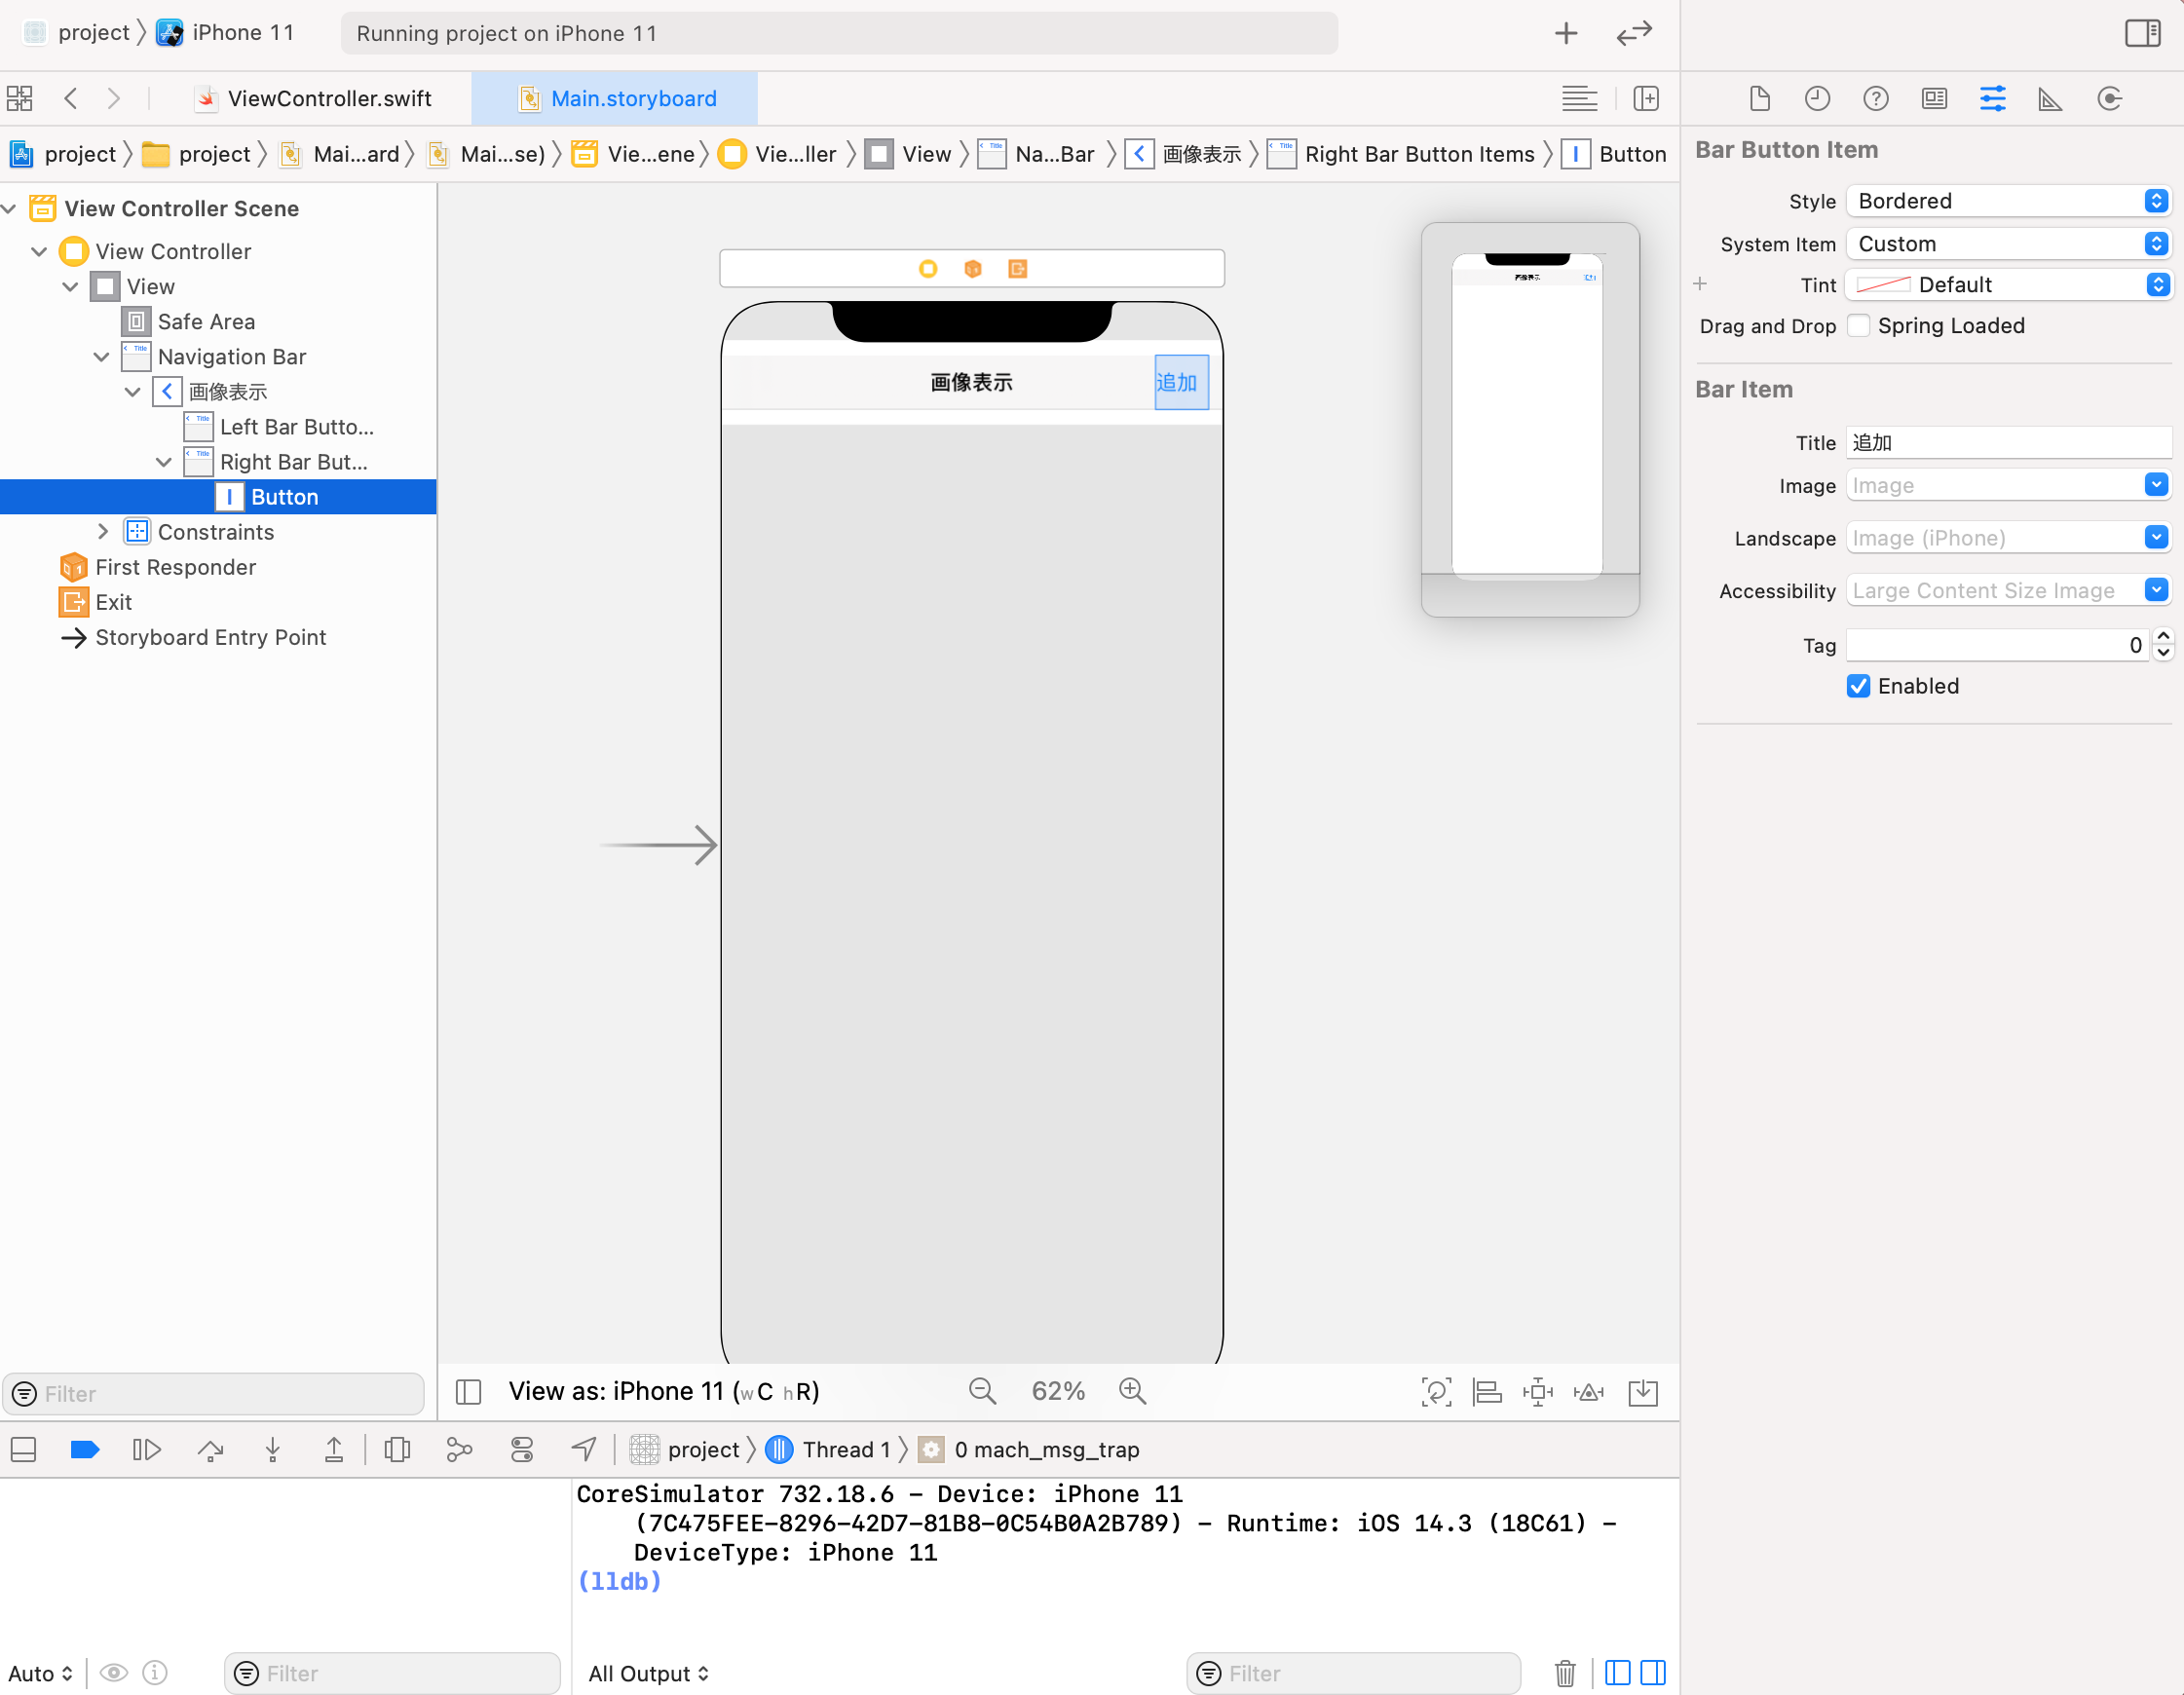
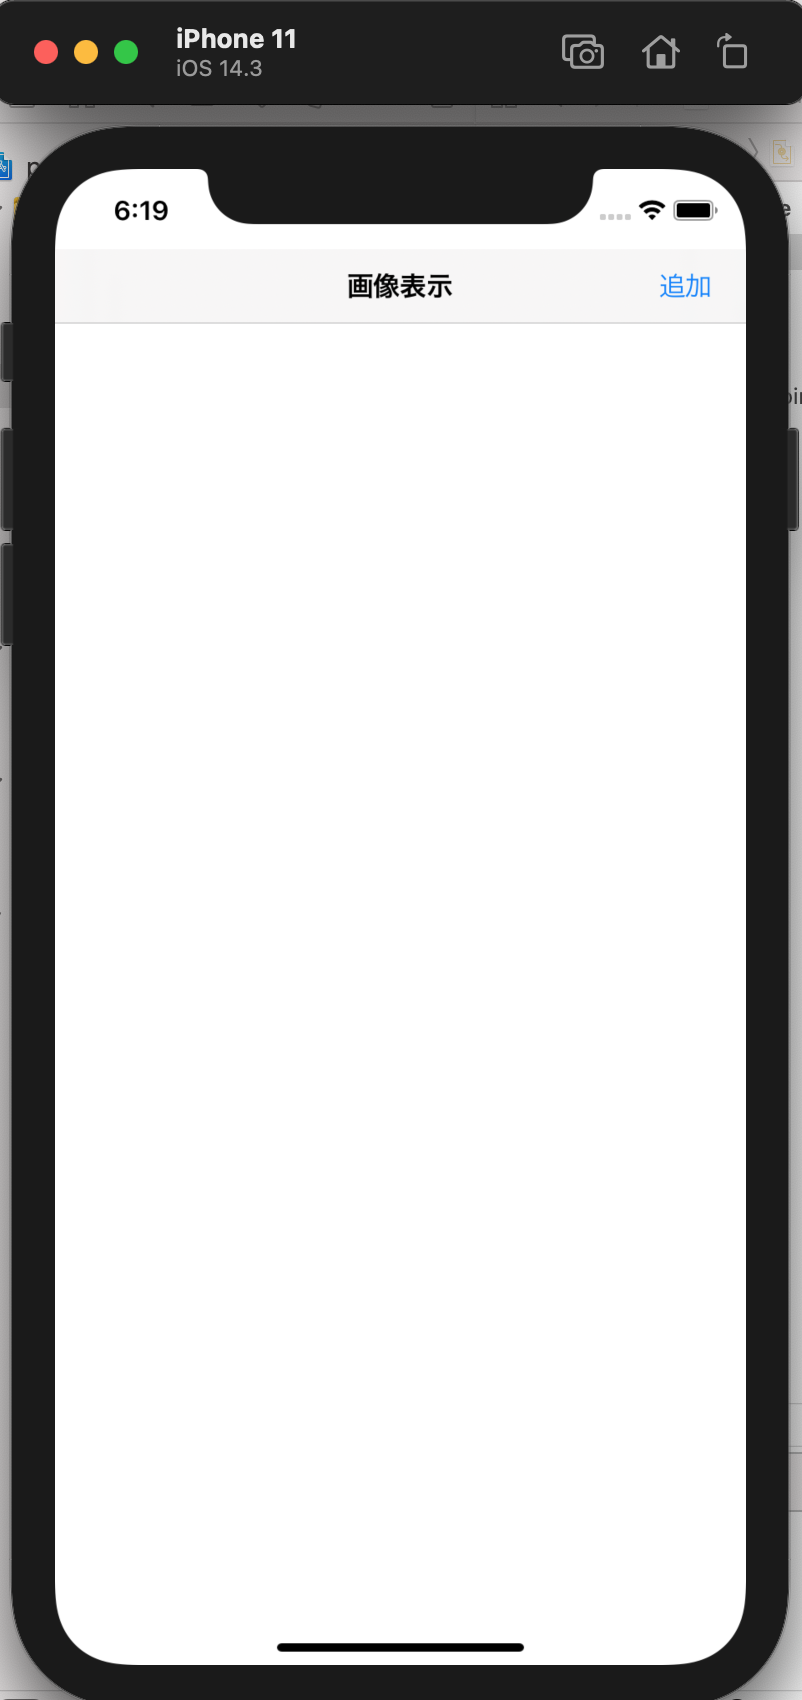
Storyboard上でナビゲーションバーのタイトルとボタンの名前を設定する
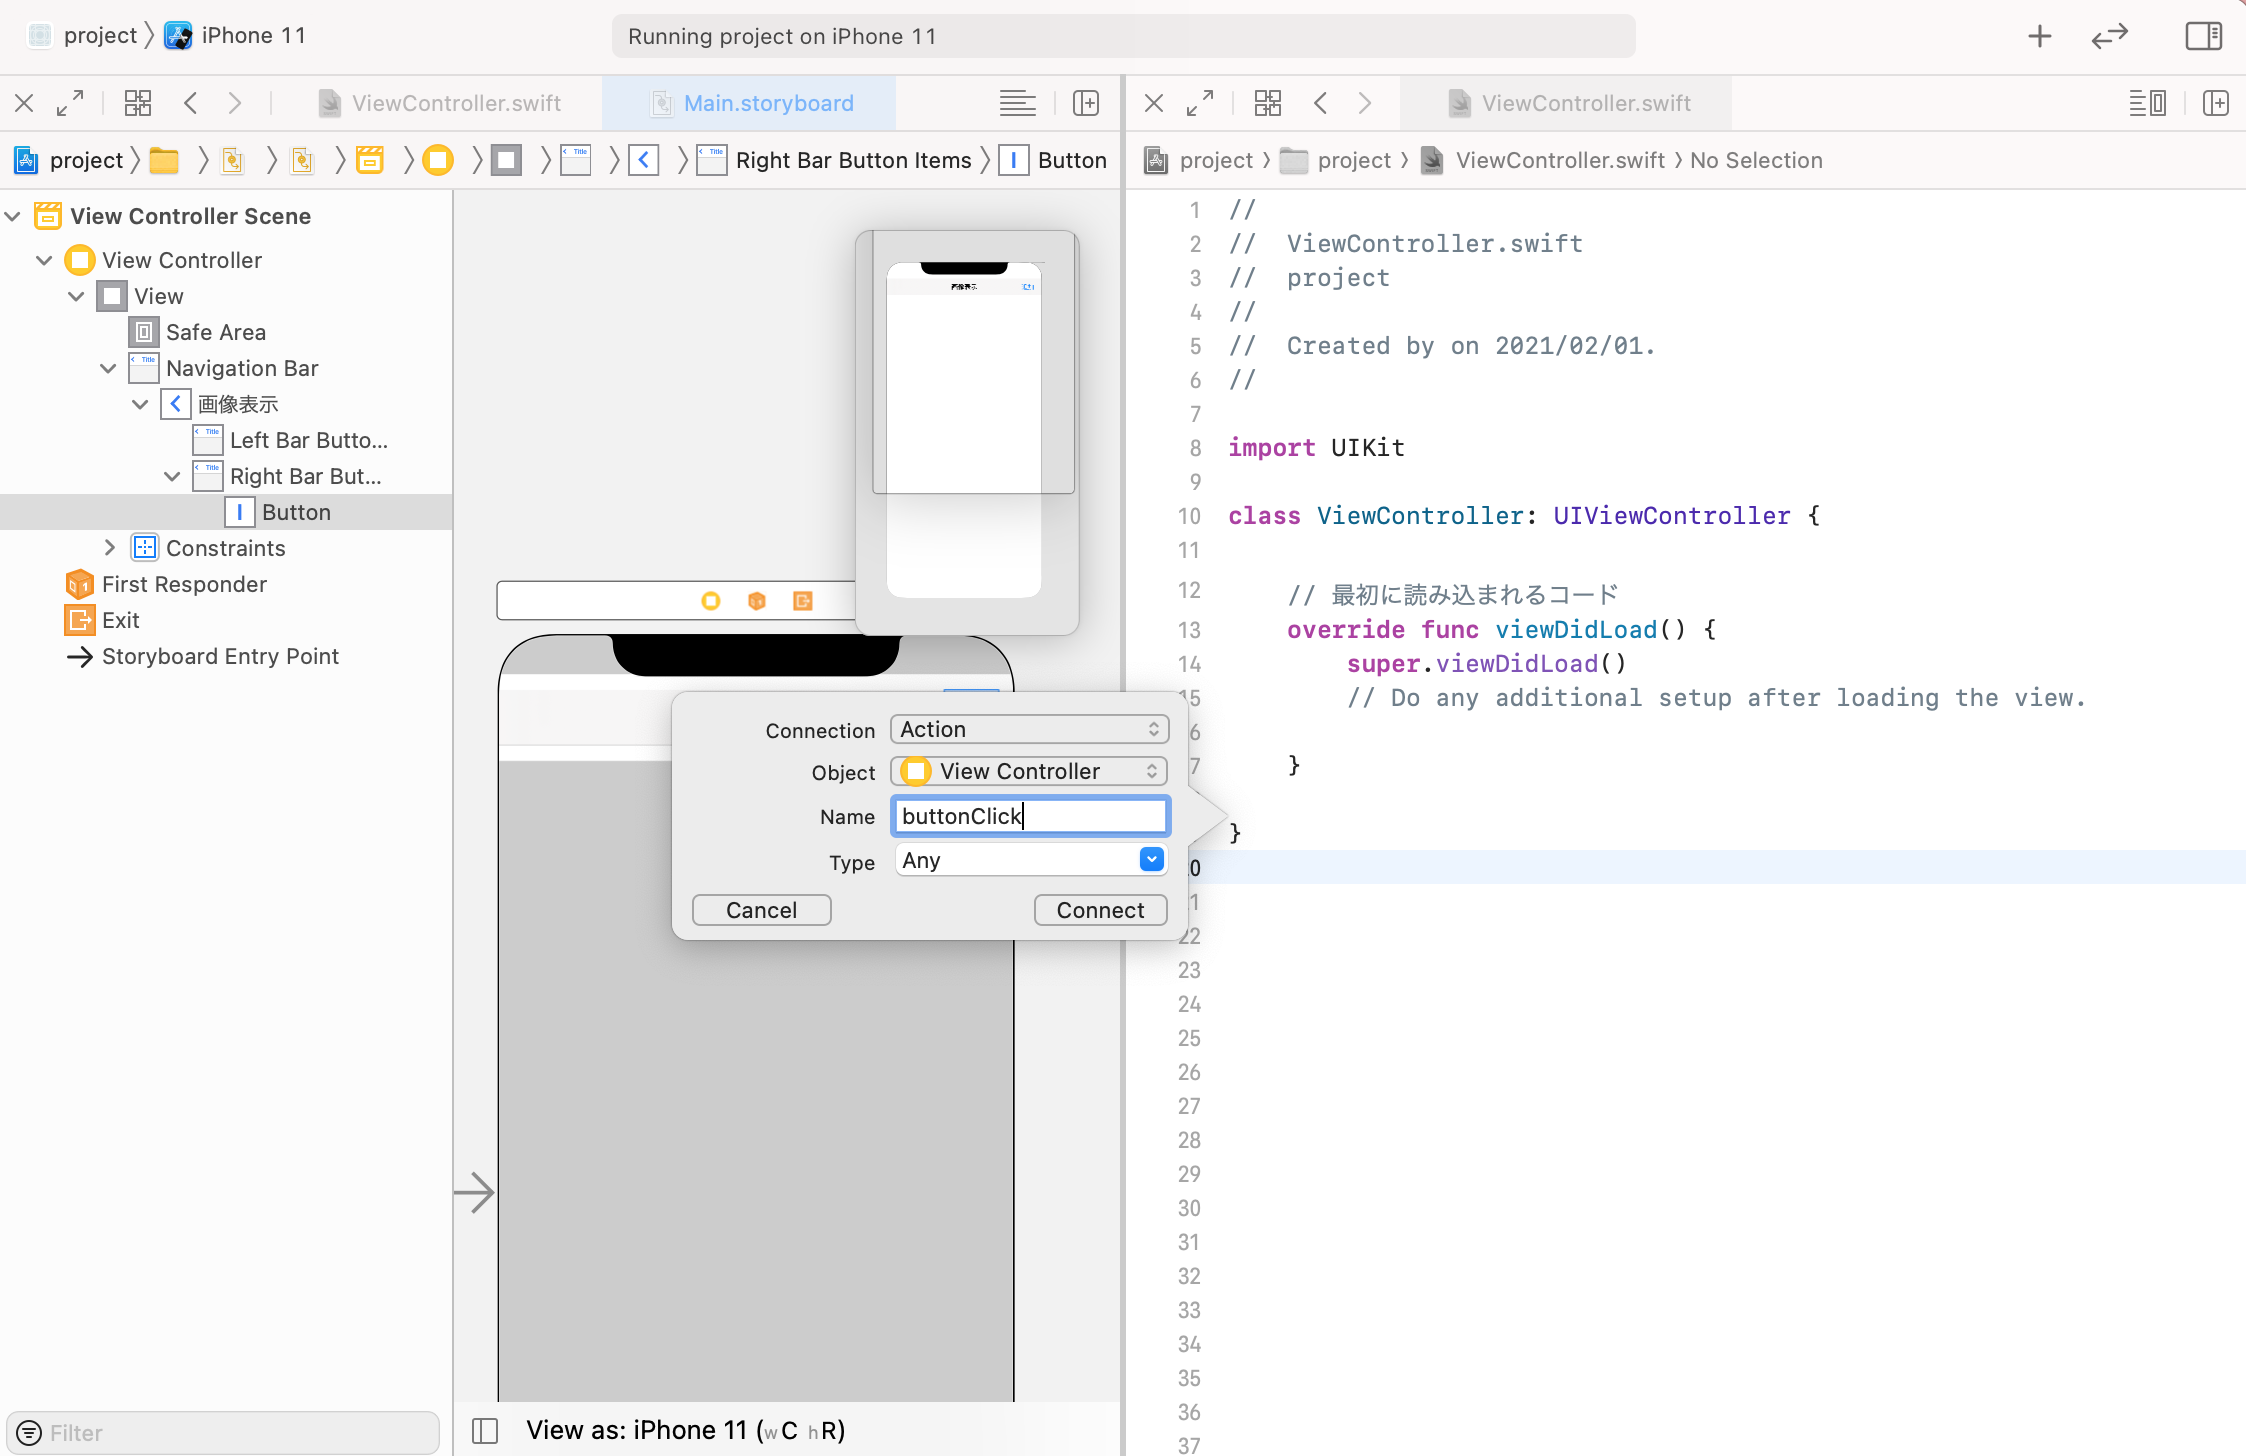
次にボタンのアクション接続を設定する
- ViewControllerを開く
- controlキーを押したままStoryboardのBar Button ItemをViewControllerの
viewDidLoadメソッドの下に追加する(Name: buttonClickに設定)
- クラスに UIImagePickerControllerDelegateとUINavigationControllerDelegateを追加する
class ViewController: UIViewController, UIImagePickerControllerDelegate, UINavigationControllerDelegate {
- ボタンをクリックした時の動きを設定する
- 以下、ViewControllerの
buttonClickメソッド
// ボタンをクリックした時
    @IBAction func buttonClick(_ sender: Any) {
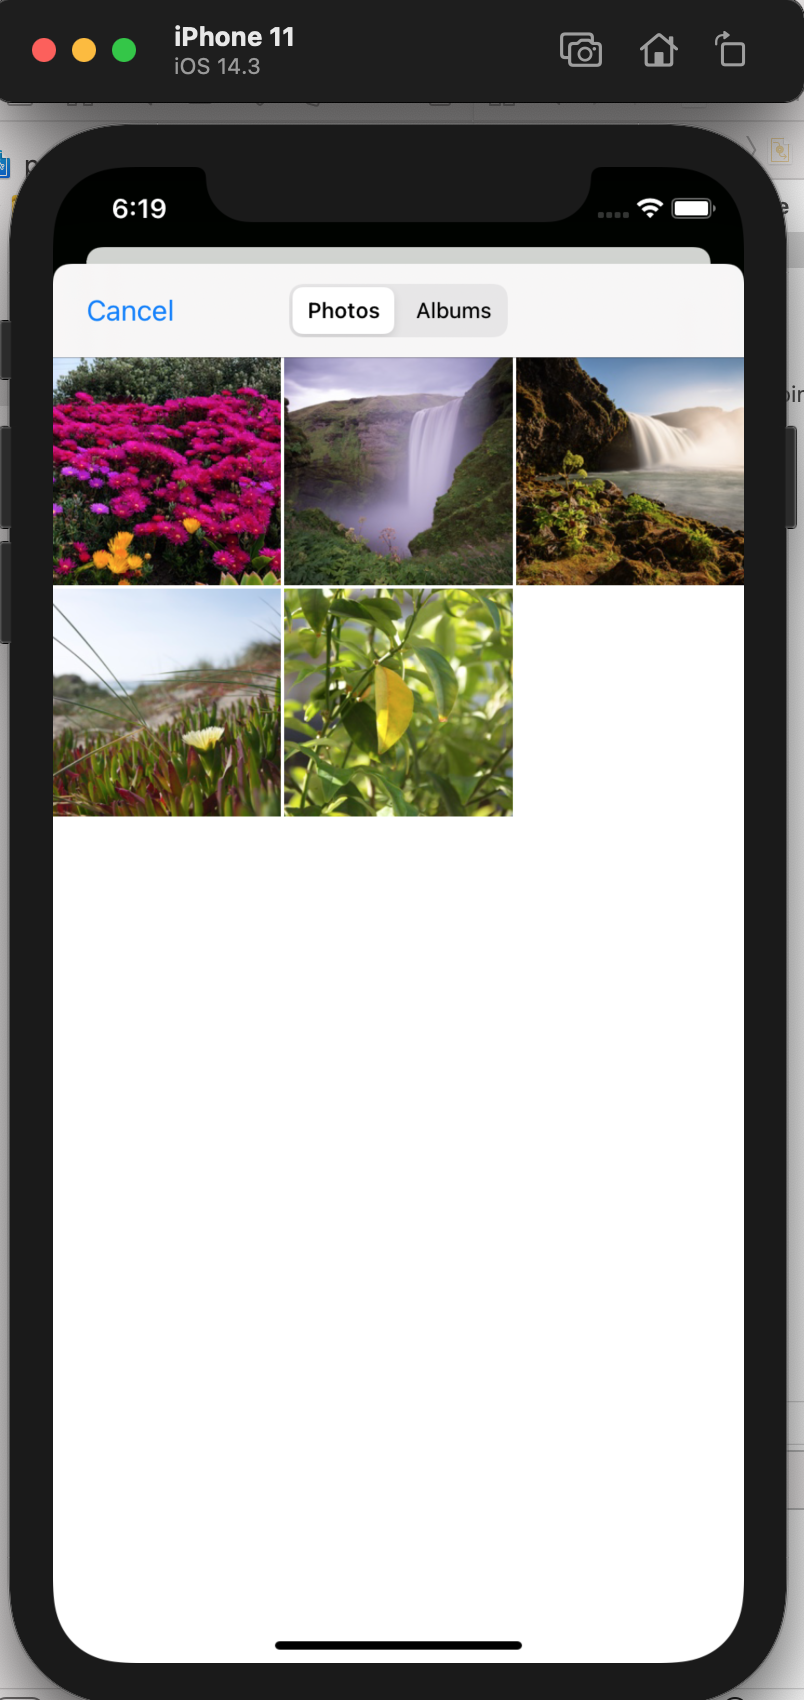
        // カメラロール表示
        let imagePickerController = UIImagePickerController()
        imagePickerController.sourceType = .photoLibrary
        imagePickerController.delegate = self
        imagePickerController.mediaTypes = ["public.image"]
        present(imagePickerController,animated: true,completion: nil)
    }
- 上記で追加した
imagePickerControllerを設定する -
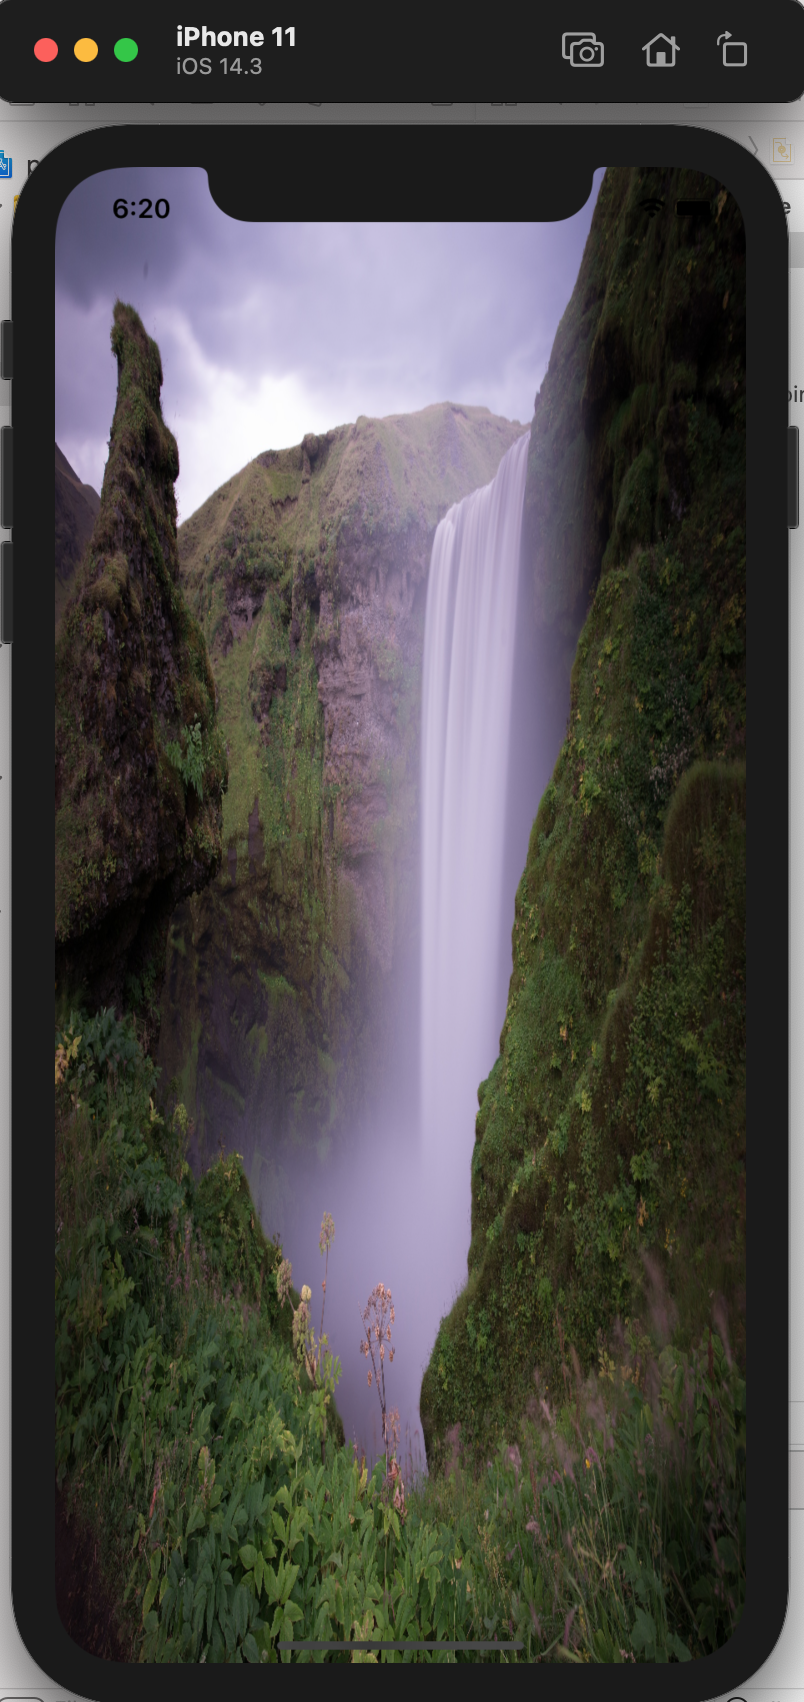
imagePickerControllerでカメラロールから受け取った画像を背景に設定する - 以下、ViewControllerの
imagePickerControllerメソッド
// カメラロール表示
    func imagePickerController(_ picker: UIImagePickerController, didFinishPickingMediaWithInfo info: [UIImagePickerController.InfoKey : Any]) {

        let widthSize = UIScreen.main.bounds.size.width // 画面の横の大きさを取得
        let heightSize = UIScreen.main.bounds.size.height // 画面の縦の大きさを取得
        let imageViewBackground = UIImageView(frame: CGRect(x: 0, y: 0, width: widthSize, height: heightSize)) // 背景画像の大きさを設定
        imageViewBackground.image = (info[.originalImage] as! UIImage) // カメラロールから受け取った画像を設定
        self.view.addSubview(imageViewBackground) // 背景画像を追加する

        picker.dismiss(animated: true)
    }
PHPickerを使用してカメラロール表示前に権限確認する
PHPickerを使用するため書き方が変わるためこちらに記載
PHPickerでカメラロールから写真を選択して表示する
今回はここまで !
関連記事
1. SwiftでStoryboardを扱う
2.StoryboardにUIパーツを設置する
3.画面遷移を行う
4.画面上に画像を表示する方法
5.ImagePickerでカメラロールから写真を選択して表示する(本記事)
6.PHPickerでカメラロールから写真を選択して表示する
