まえがき
Xcode12.4のSwiftを使ったiOSアプリ開発にて、以前のXcodeと異なることが多かったので記載
iOS14からimagePickerControllerの代わりとして、PHPickerViewControllerが使えるようになったので使ってみた
ボタンなどUIパーツの設定はこちら
カメラロール表示前に権限確認する
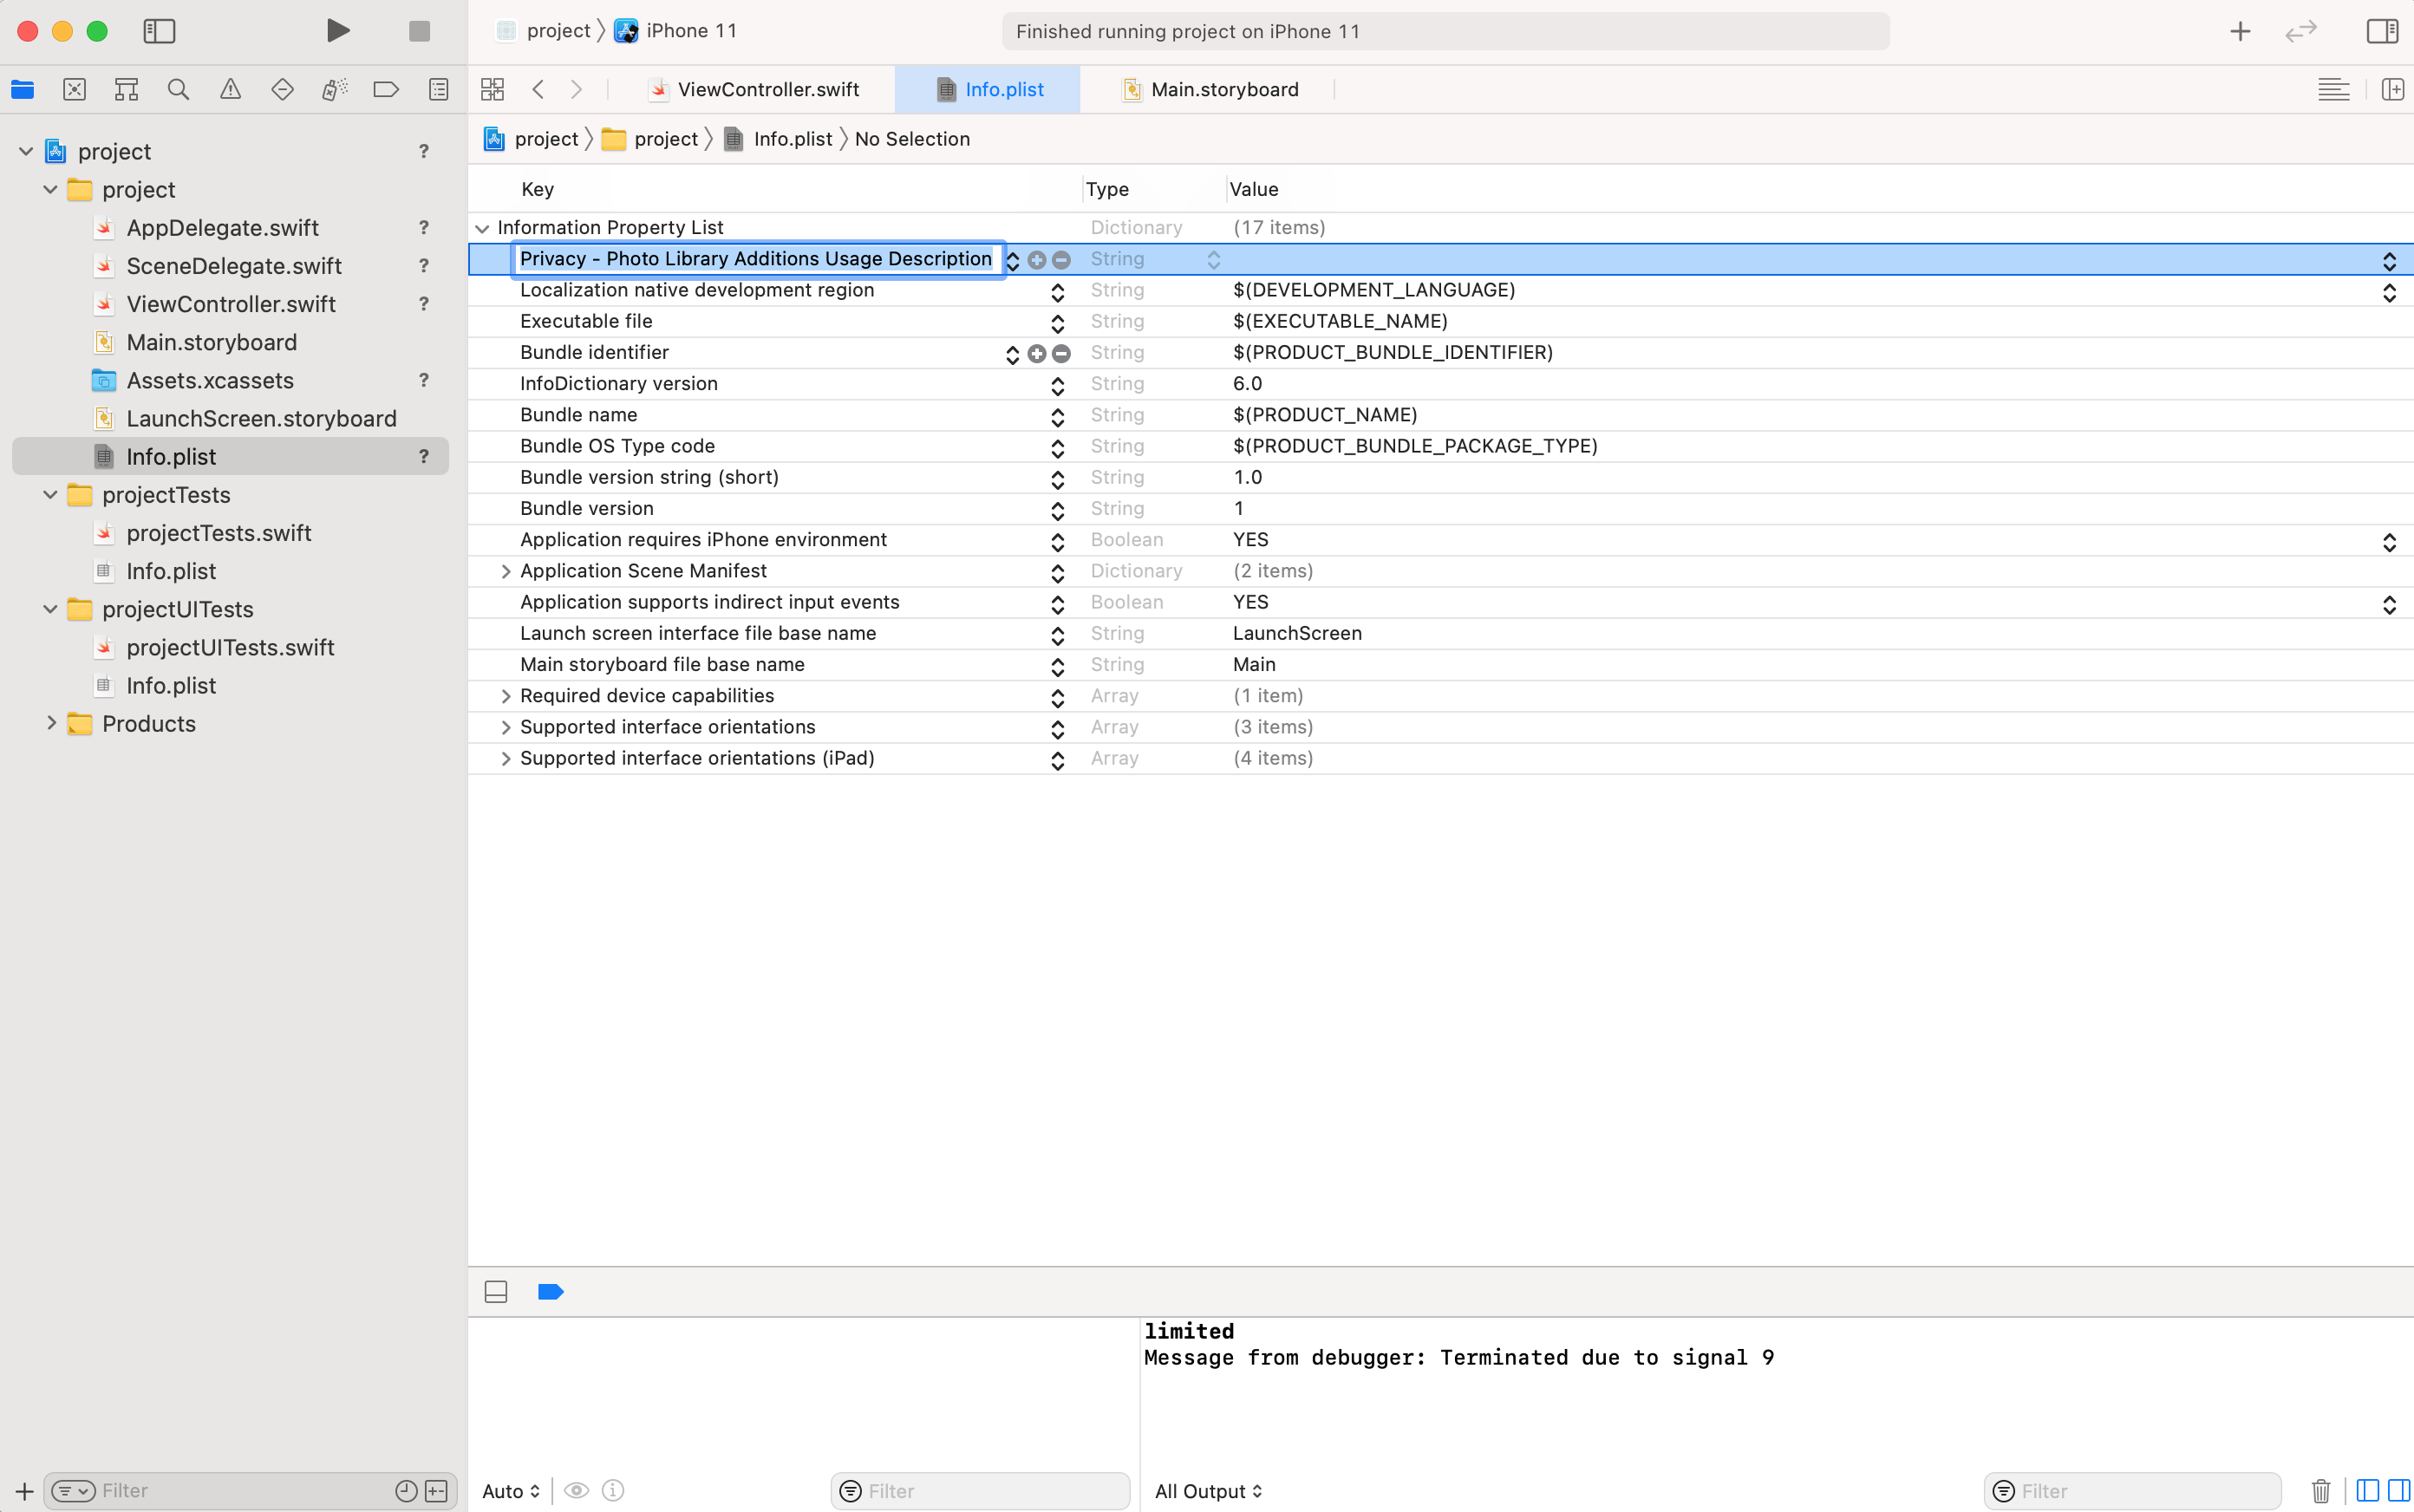
- Info.plistに
Privacy - Photo Library Additions Usage Descriptionを追加する
※最新を使う場合はPrivacy - Photo Library Usage Descriptionを追加する
- Photosをインポートする
import Photos
- ボタンをクリックした時に権限の確認画面を表示する
- 最初に表示するカメラロールの設定を
buttonClickメソッドに追加する
// カメラロール設定
        var configuration = PHPickerConfiguration()
        configuration.selectionLimit = 1 // 選択数
        configuration.filter = .images // 写真のみ
        configuration.preferredAssetRepresentationMode = .current // これがないとJPEGが選択できなかった
        let picker = PHPickerViewController(configuration: configuration)
        picker.delegate = self
- アクセス許可のステータスに応じて表示内容を設定する
- ステータスは選択した写真のみを表示する
limitedが新規に追加されたが、全写真にアクセスしたいのでiOS14以前のを採用する
ステータスは以下
- notDetermined: アクセス許可を設定していない状態。ここでさらにアクセス許可をリクエストをし、選択されたステータスに応じて表示内容を設定する。
- authorized: 全ての写真にアクセスする。
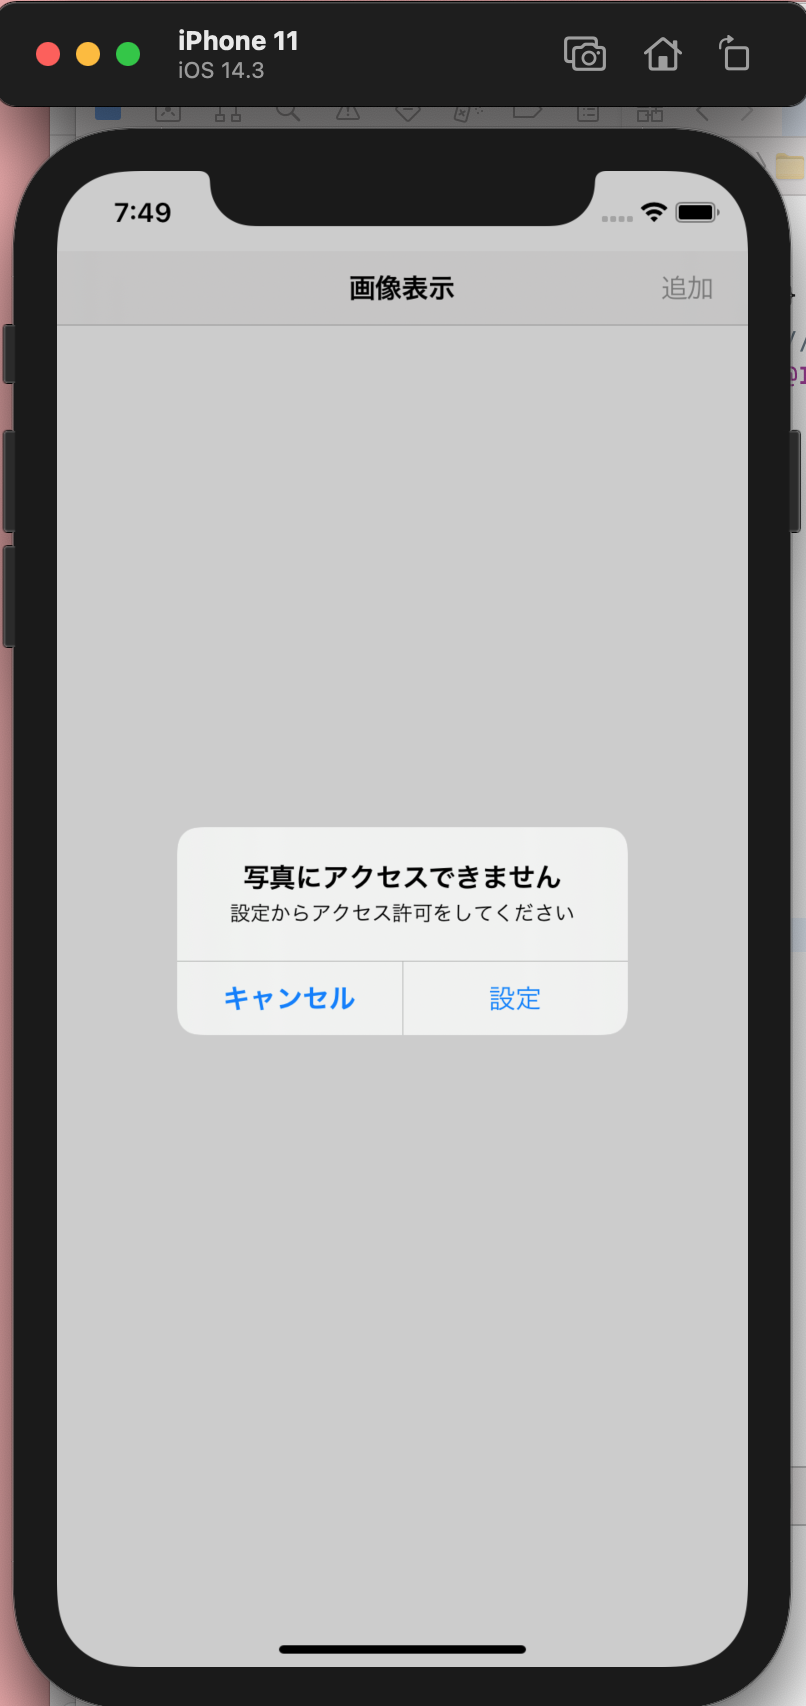
- denied: ユーザーがアクセス拒否したので写真にアクセスできない。許可設定を促すダイアログを表示する。
- restricted: 機能制限でアプリが写真にアクセスできない。アクセスできない旨のダイアログを表示する。
- limited: 選択された写真のみアクセスする。(iOS14以降のみ)
※本投稿には関係ないがfor: .readWrite(またはfor: .addOnly)を設定しないとlimitedが反映されない(iOS14以前はfor: .addOnlyのみ)
// アクセス許可ステータス
        switch PHPhotoLibrary.authorizationStatus(for: .addOnly) {

            // 未設定
            case .notDetermined:
                // アクセス許可をリクエスト
                PHPhotoLibrary.requestAuthorization(for: .addOnly) {status in
                    switch status {
                        // カメラロール表示
                        case .authorized:
                            DispatchQueue.main.async { // UIの更新
                                self.present(picker, animated: true, completion: nil)
                            }
                        // カメラへのアクセスを拒否
                        default:
                            print("denied")
                    }
                }

            // カメラロール表示
            case .authorized:
                DispatchQueue.main.async {  // UIの更新
                    self.present(picker, animated: true, completion: nil)
                }

            // カメラへのアクセスが拒否されている
            case .denied:
                // ダイアログを表示する
                let alert = UIAlertController(title: "写真にアクセスできません", message: "設定からアクセス許可をしてください", preferredStyle: .alert)
                let settings = UIAlertAction(title: "設定", style: .default, handler: { (_) -> Void in
                    let settingsURL = URL(string: UIApplication.openSettingsURLString)
                    UIApplication.shared.open(settingsURL!, options: [:], completionHandler: nil)
                })
                let close: UIAlertAction = UIAlertAction(title: "キャンセル", style: .cancel, handler: nil)
                alert.addAction(settings)
                alert.addAction(close)
                self.present(alert, animated: true, completion: nil)

            // 本体から制限されていて、アプリのアクセス許可を変更できない
            case .restricted:
                // ダイアログを表示する
                let alert = UIAlertController(title: "写真にアクセスできません", message: "", preferredStyle: .alert)
                let close: UIAlertAction = UIAlertAction(title: "OK", style: .cancel, handler: nil)
                alert.addAction(close)
                self.present(alert, animated: true, completion: nil)

            // デフォルトの場合はbreak
            default: break
        }
- 写真選択後に呼び出される
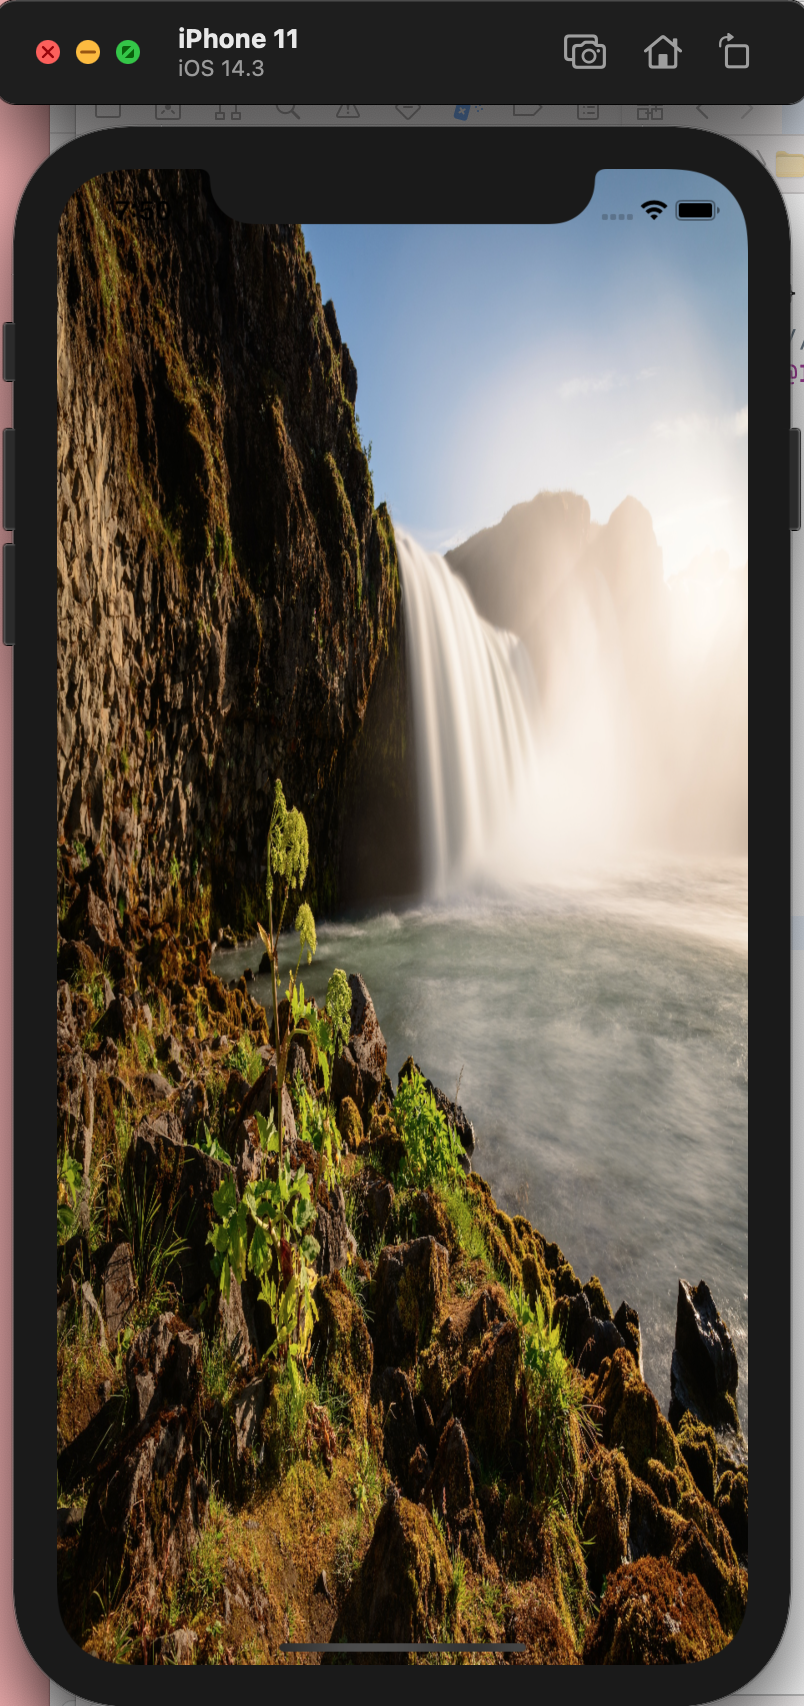
pickerメソッドを設定する - 選択した写真を画面の大きさに合わせて背景に表示する
- 今回はカメラロールから1枚のみ選択するので、for文で回さずに
results[0]とする - 選択した写真をData型で受け取る
// カメラロール表示
    func picker(_ picker: PHPickerViewController, didFinishPicking results: [PHPickerResult]) {
        let widthSize = UIScreen.main.bounds.size.width // 画面の横の大きさを取得
        let heightSize = UIScreen.main.bounds.size.height // 画面の縦の大きさを取得
        let imageViewBackground = UIImageView(frame: CGRect(x: 0, y: 0, width: widthSize, height: heightSize)) // 背景画像の大きさを設定

        // 写真を選択しているかどうか確認
        if results.count != 0 {
            results[0].itemProvider.loadDataRepresentation(forTypeIdentifier: "public.image", completionHandler: { data, _ in
                DispatchQueue.main.async { // UIの更新
                    imageViewBackground.image = UIImage(data: data!)! // 画像を設定
                    self.view.addSubview(imageViewBackground) // 背景画像を追加する
                }
            })
        }

        picker.dismiss(animated: true) // カメラロールを閉じる
    }
追加ボタンクリック後
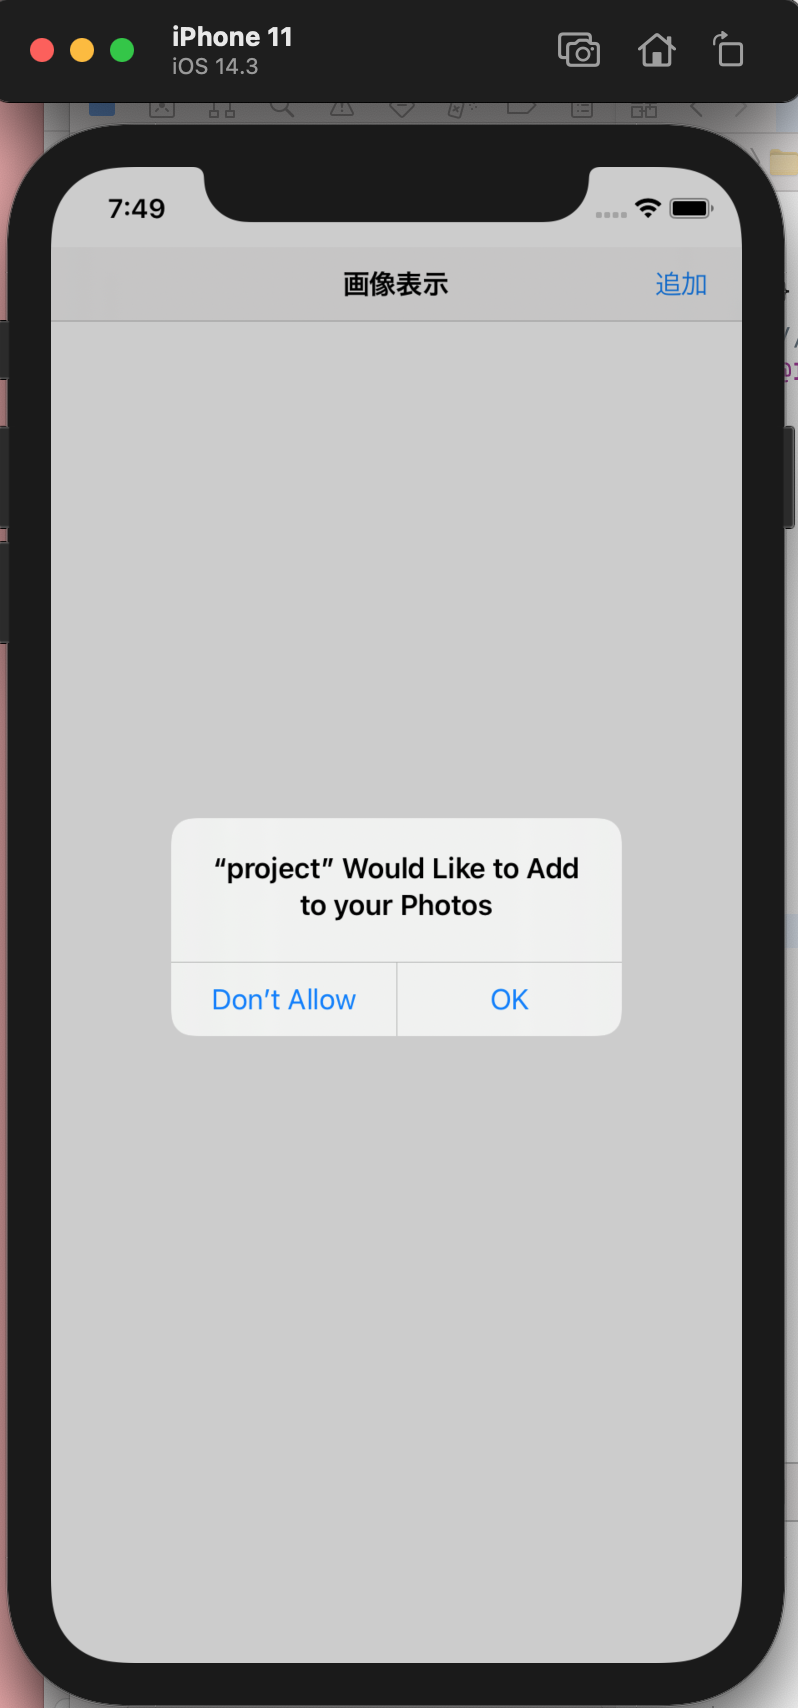
Don't Allowボタンクリック後
OKボタンクリック後
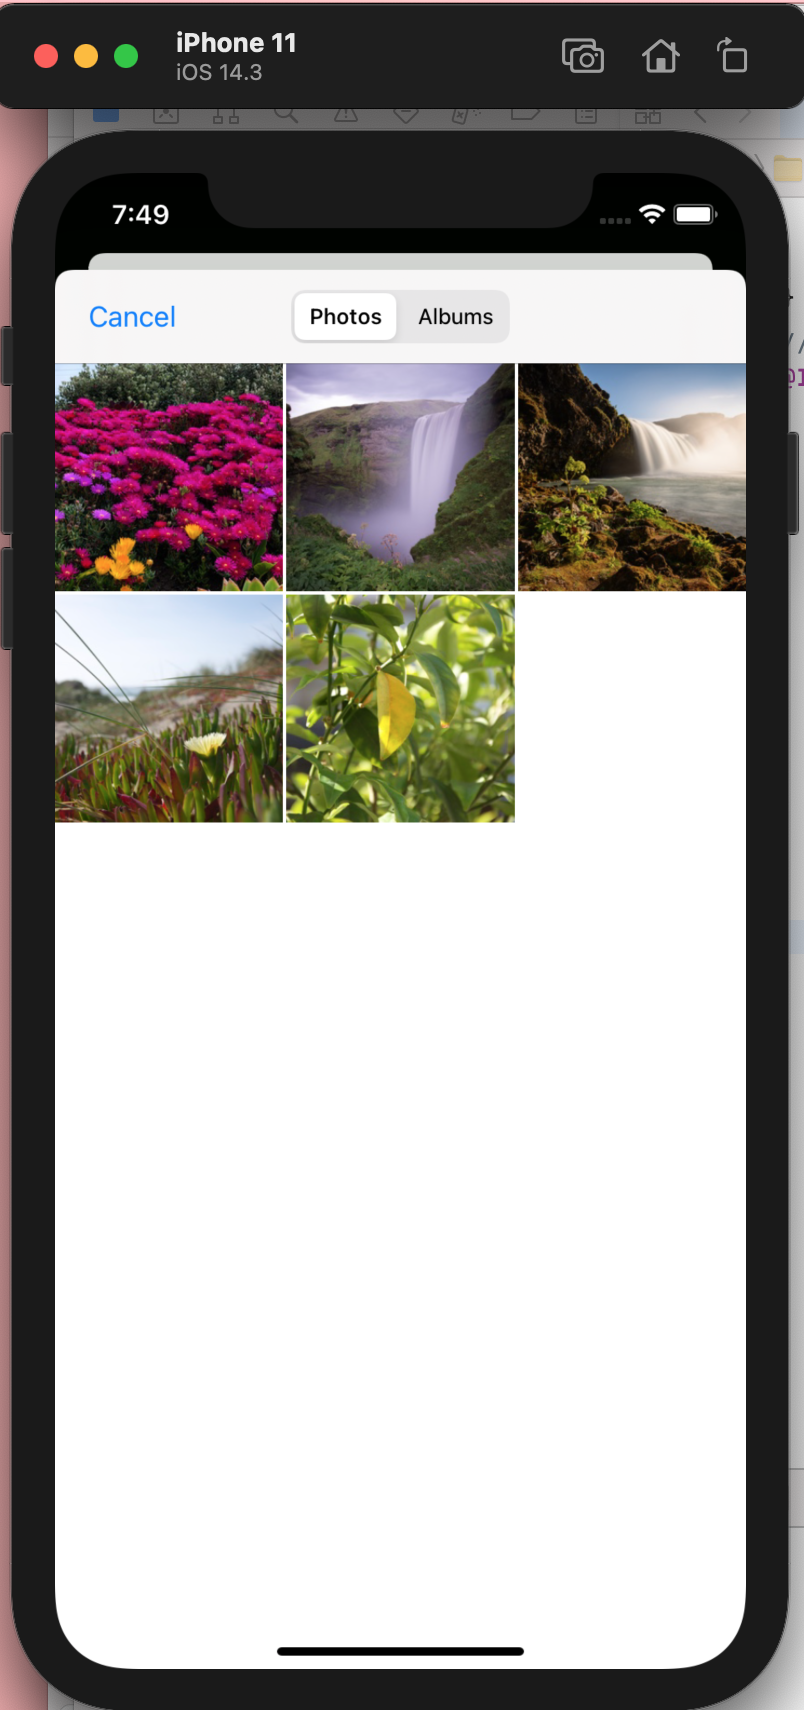
写真選択後
- 以下に全体の
ViewControllerクラスを記載
import UIKit
import PhotosUI

class ViewController: UIViewController, UIImagePickerControllerDelegate, UINavigationControllerDelegate, PHPickerViewControllerDelegate {

    // 最初に読み込まれるコード
    override func viewDidLoad() {
        super.viewDidLoad()
        // Do any additional setup after loading the view.
    }

    // ボタンをクリックした時
    @IBAction func buttonClick(_ sender: Any) {

        // カメラロール設定
        var configuration = PHPickerConfiguration()
        configuration.selectionLimit = 1 // 選択数
        configuration.filter = .images // 写真のみ
        configuration.preferredAssetRepresentationMode = .current // これがないとJPEGが選択できなかった
        let picker = PHPickerViewController(configuration: configuration)
        picker.delegate = self

        // アクセス許可ステータス
        switch PHPhotoLibrary.authorizationStatus(for: .addOnly) {
            // 未設定
            case .notDetermined:
                // アクセス許可をリクエスト
                PHPhotoLibrary.requestAuthorization(for: .addOnly) {status in
                    switch status {
                        // カメラロール表示
                        case .authorized:
                            DispatchQueue.main.async { // UIの更新
                                self.present(picker, animated: true, completion: nil)
                            }
                        // カメラへのアクセスを拒否
                        default:
                            print("denied")
                    }
                }

            // カメラロール表示
            case .authorized:
                DispatchQueue.main.async {  // UIの更新
                    self.present(picker, animated: true)
                }

            // カメラへのアクセスが拒否されている
            case .denied:
                // ダイアログを表示する
                let alert = UIAlertController(title: "写真にアクセスできません", message: "設定からアクセス許可をしてください", preferredStyle: .alert)
                let settings = UIAlertAction(title: "設定", style: .default, handler: { (_) -> Void in
                    let settingsURL = URL(string: UIApplication.openSettingsURLString)
                    UIApplication.shared.open(settingsURL!, options: [:], completionHandler: nil)
                })
                let close: UIAlertAction = UIAlertAction(title: "キャンセル", style: .cancel, handler: nil)
                alert.addAction(settings)
                alert.addAction(close)
                self.present(alert, animated: true, completion: nil)

            // 本体から制限されていて、アプリのアクセス許可を変更できない
            case .restricted:
                // ダイアログを表示する
                let alert = UIAlertController(title: "写真にアクセスできません", message: "", preferredStyle: .alert)
                let close: UIAlertAction = UIAlertAction(title: "OK", style: .cancel, handler: nil)
                alert.addAction(close)
                self.present(alert, animated: true, completion: nil)

            // デフォルトの場合はbreak
            default: break
        }
    }

    // カメラロール表示
    func picker(_ picker: PHPickerViewController, didFinishPicking results: [PHPickerResult]) {
        let widthSize = UIScreen.main.bounds.size.width // 画面の横の大きさを取得
        let heightSize = UIScreen.main.bounds.size.height // 画面の縦の大きさを取得
        let imageViewBackground = UIImageView(frame: CGRect(x: 0, y: 0, width: widthSize, height: heightSize)) // 背景画像の大きさを設定

        // 写真を選択しているかどうか確認
        if results.count != 0 {
            results[0].itemProvider.loadDataRepresentation(forTypeIdentifier: "public.image", completionHandler: { data, _ in
                DispatchQueue.main.async { // UIの更新
                    imageViewBackground.image = UIImage(data: data!)! // 画像を設定
                    self.view.addSubview(imageViewBackground) // 背景画像を追加する
                }
            })
        }

        picker.dismiss(animated: true) // カメラロールを閉じる
    }
}
今回はここまで !
関連記事
1. SwiftでStoryboardを扱う
2.StoryboardにUIパーツを設置する
3.画面遷移を行う
4.画面上に画像を表示する方法
5.ImagePickerでカメラロールから写真を選択して表示する
6.PHPickerでカメラロールから写真を選択して表示する(本記事)