Djangoとは
webサービス開発を行うためのwebフレームワークです.Pythonで記述されたオープンソースwebフレームワークです.世界中のプログラマが使用している最も有名なフレームワークの一つです.
- YouTube
- Spotify
- Dropbox
などのサービス開発で使用されている
webサービスのフレームワークであるDjangoの入門的な内容をメモ用として共有しておこうと思います.
Pythonについてある程度の知識があった方がとっかかりやすいかと思います.
初期設定
開発環境はmacOS(Catalina),Python3.7,Django3です.
仮想環境での開発をお勧めします.今後Django4とかが提供されることが予想できるので,同一のPCで開発をするならば,プロジェクトごとに開発環境を常に独立させておくことは複数のプロジェクトを進める上で重要なことです.
- pyenv-vertualenv
- pipenv
macOSならこのどちらかを使って仮想環境を準備するといいと思います.
pyenvとpipenvを共存させてしまうとうまくいかないことがあるので注意しましょう.
仮想環境構築
pipenvとpyenv-virtulenvによる仮想環境構築方法を簡単に説明します.
pipenvによる仮想環境構築
Homebrewがインストール済みで,pip3が使用できる前提とします.
$ pip3 install pipenv
もしくは
$ brew install pipenv
次にDjangoをインストールしていきます.今回はDesktopに開発用のディレクトリ(django)を作成します.
# カレントディレクトリをDesktopへ移動
$ cd ~/Desktop

# djangoディレクトリ作成
$ mkdir django

# カレントディレクトリをdjangoへ移動
$ cd django
作成したdjangoディレクトリに移動後pipenvを使ってDjangoをインストールします.
$ pipenv install django==3.0
上のコマンドを実行後,djangoディレクトリ内には2つの新しいファイルが作成されます
- Pipfile
- Pipfile.lock
次に仮想環境を作成するためのコマンドを実行します.
$ pipenv shell
これでactivateできました.仮想環境に入れている場合は左側に(django)というような表示が出ます.
# ちゃんと仮想環境に入れている場合
(django)$
pyenv-virtualenvによる仮想環境構築
pyenv-virtualenvのインストール方法は@hedgehoCrowさんを参考にしてください.
pyenv-virtualenvがインストールできたら,実際に仮想環境を構築していきます.まず,現在使用できるpythonなどのバージョンを確認します.(いづれかのpythonはインストール済みが前提)
$ pyenv versions
[output]
   system
   2.7.16
 * 3.7.4
   anaconda3-5.3.1
のような出力が表示されるはずです.*がついているものが現在の環境です.ここに構築したい環境を作成していきます.
次のようなコマンドを実行します.python3.7.4のdjangoという仮想環境を作成してみます.
$ pyenv virtualenv 3.7.4 django
すると,以下のように追加されます.
$ pyenv versions
[output]
  system
   2.7.16
 * 3.7.4
   3.7.4/envs/django #追加された環境
   anaconda3-5.3.1
そして,今作った仮想環境で作業するために,作業したいディレクトリへ移動し,次のコマンドを実行します.
$ pyenv local django
これで仮想環境の構築が完了です.あとはこの環境内にDjangoをインストールするだけです.
$ pip3 install django
サーバの起動
Djangoの新しいプロジェクトを作って,サーバを起動してみましょう.
新規プロジェクト作成
プロジェクト作成のために以下のコマンドをDesktop/djangoに移動して実行します.(pyenv-virtualenvによる仮想環境下で実行しています)
$ django-admin startproject test_project .
最後のピリオド(.)を忘れずに!無いとdjangoディレクトリ内のファイル構成がおかしくなります.
djangoディレクトリ内のファイル構成は次のようになります.
├── django
    ├── manage.py
    ├── test_project
        ├── __init__.py
        ├── settings.py
        ├── urls.py
        └── wsgi.py
作成したプロジェクトにappを追加していくことで,いろいろな機能を持ったサービスをつくることができます.
サーバ起動
Desktop/djangoにおいて以下のコマンドを実行して,サーバを起動させます.
$ python manage.py runserver
[output]
Watching for file changes with StatReloader
Performing system checks...

System check identified no issues (0 silenced).

You have 17 unapplied migration(s). Your project may not work properly until you apply the migrations for app(s): admin, auth, contenttypes, sessions.
Run 'python manage.py migrate' to apply them.

March 20, 2020 - 07:26:31
Django version 3.0.4, using settings 'helloworld_project.settings'
Starting development server at http://127.0.0.1:8000/
Quit the server with CONTROL-C.
赤色の文字で警告文みたいな表示が出ますが,今は気にしなくても大丈夫です.
下から2行目の右側がサーバのアドレスとなります.
ブラウザで検索してみてください.

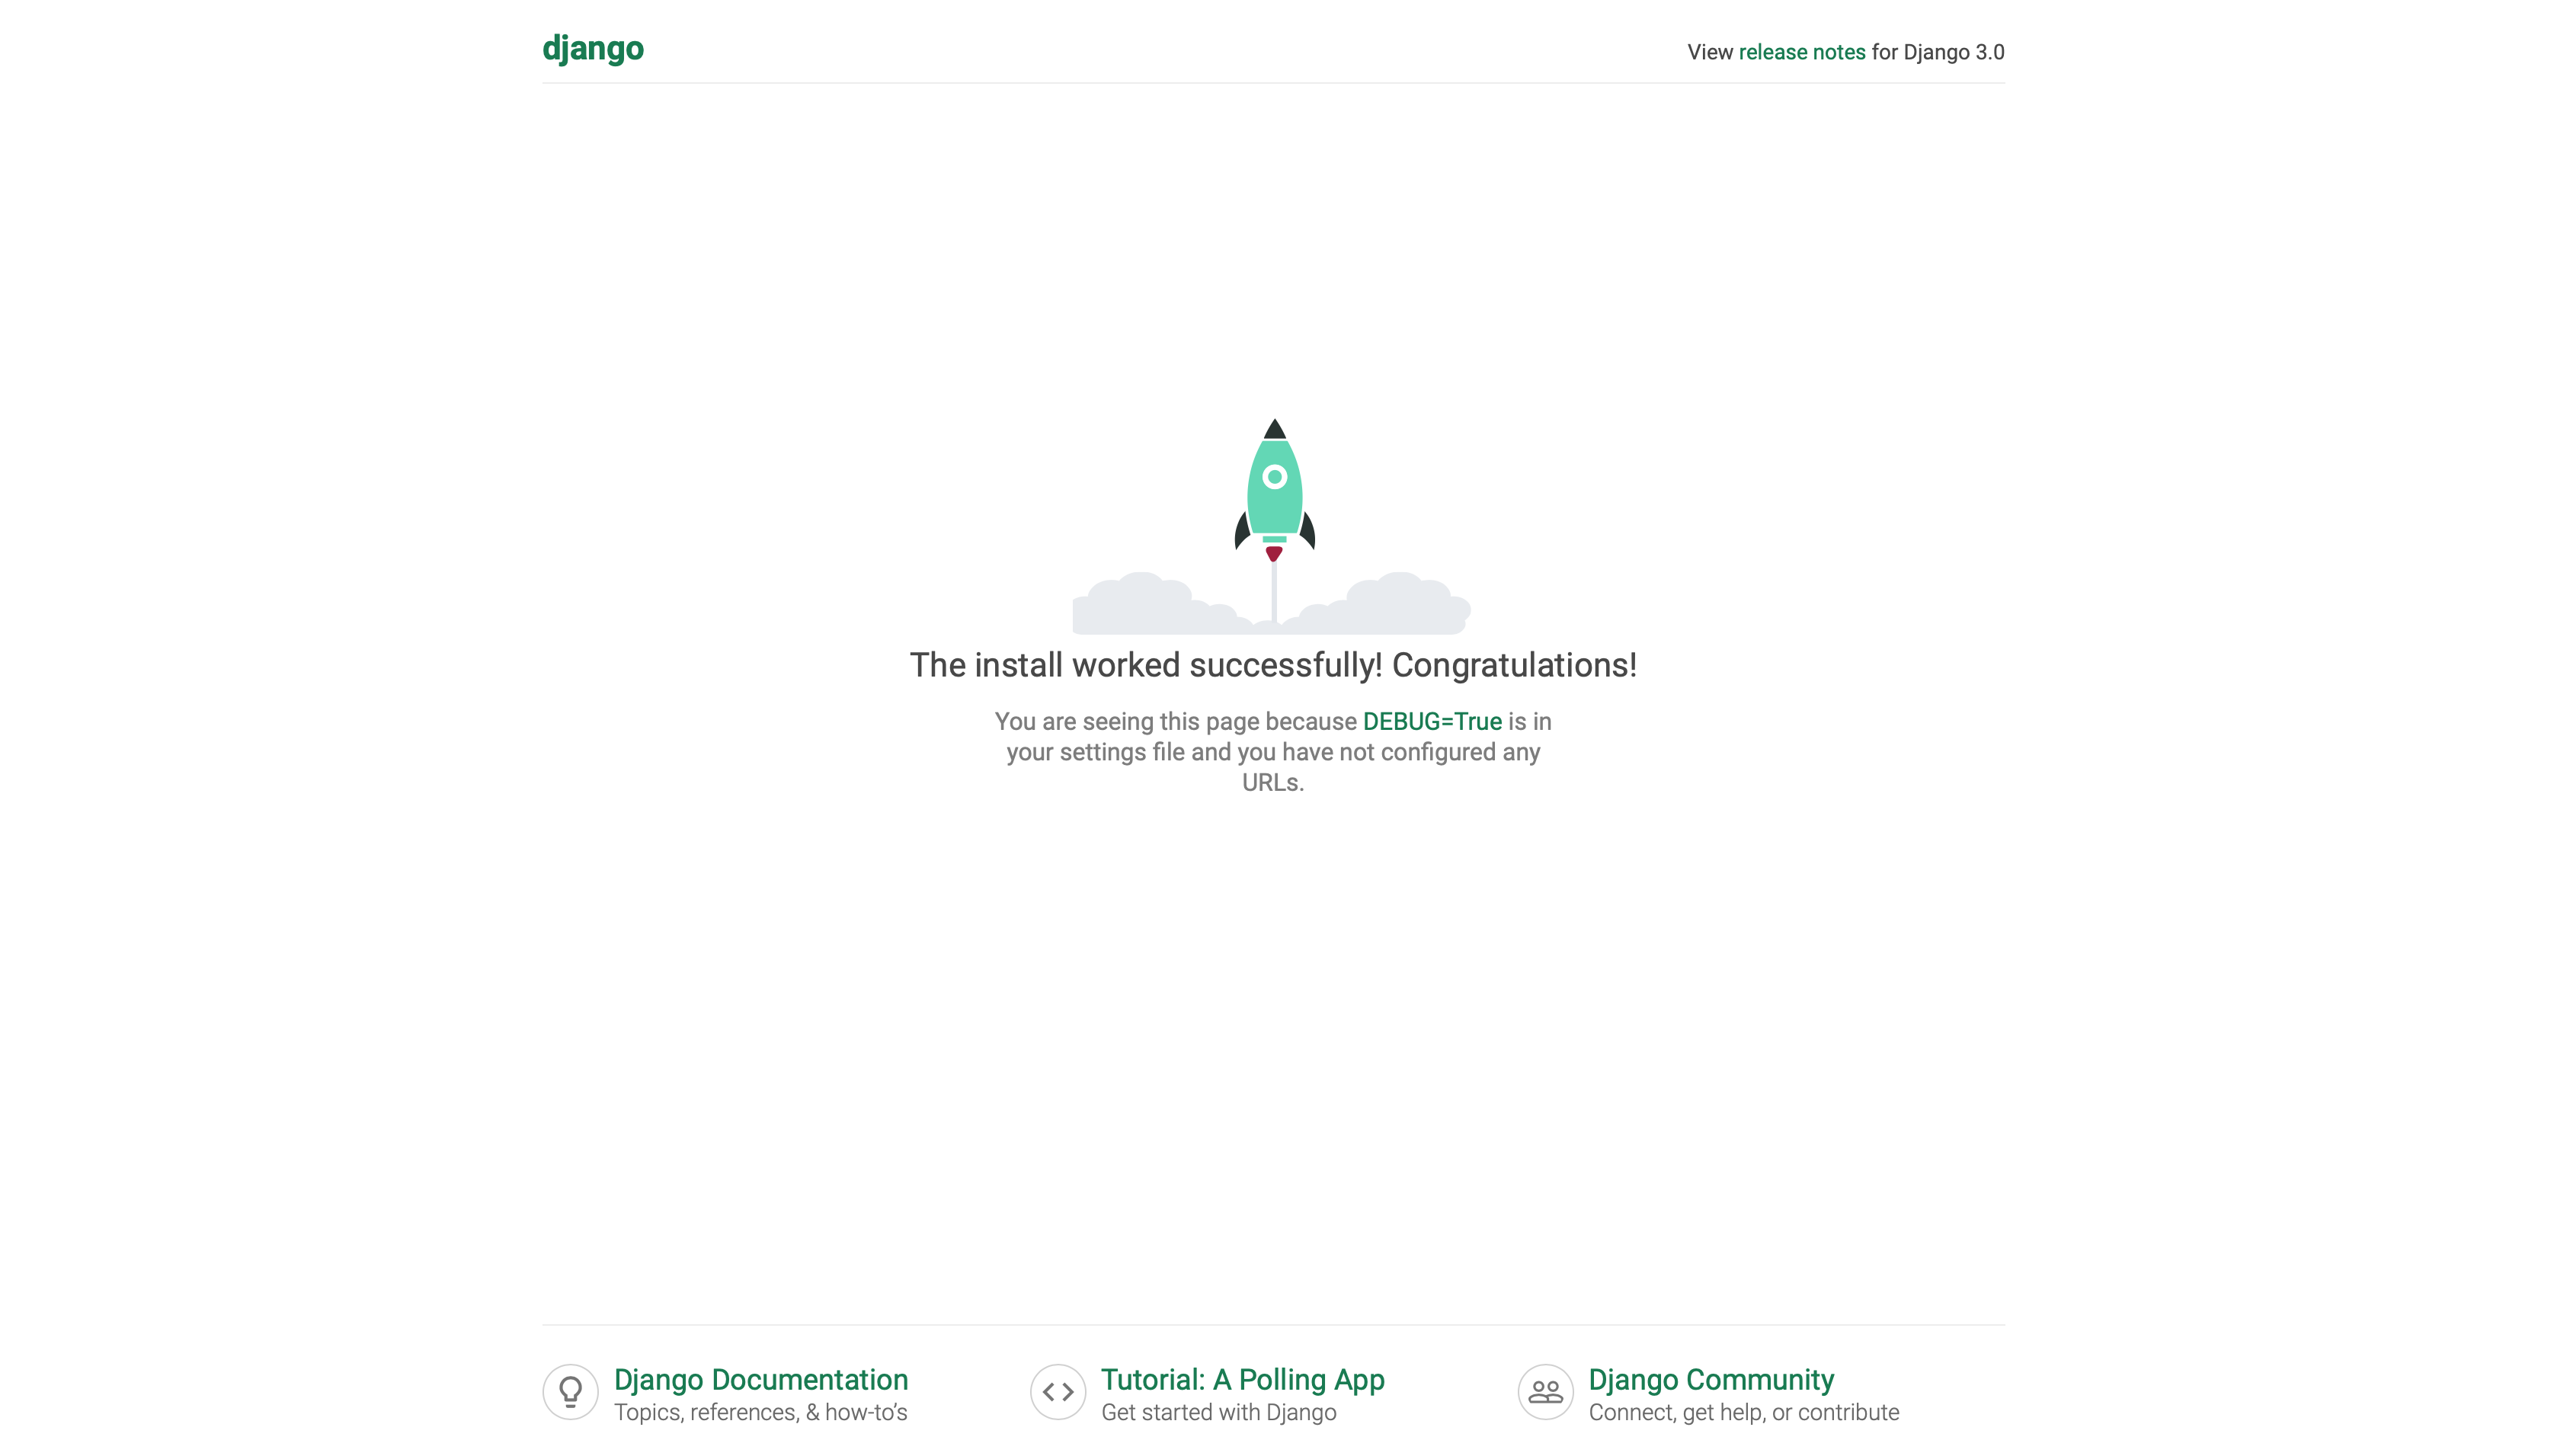
こんな感じの表示が出ればとりあえずサーバの起動は成功です.
サーバを停止させるにControl-Cでできます.
参考資料
Django for Beginners 3.0