VPSを借りて、勉強する
注意:
筆者はLinux経験が半年程度の状態から、この記事で紹介する作業をスタートしました。
記載内容については、可能な範囲で精査しておりますが、正確性を保証するものではありません。その点について、ご理解いただけますようよろしくお願いたします。
VPS
いくつか比較検討しましたが、KAGOYA JAPANのVPSを採用しました。
| CPU | 日額 | 月額上限 | 初期費用 | SSD | メモリー |
|---|---|---|---|---|---|
| 1コア | 24円 | 660円 | 無料 | 20GB | 1GB |
| 2コア | 40円 | 1100円 | 無料 | 50GB | 2GB |
・スナップショット(バックアップ)の料金
| 保存容量 | 日額 |
|---|---|
| 10GB | 4.4円 |
勉強中はインスタンスを稼働させ、それ以外の時はスナップショットを取って、インスタンスを削除していました。
・インスタンス
・はじめに
・インスタンス作成
・インスタンス削除
・専用コンソール(非SSH)
・スナップショット
・はじめに
・スナップショット保存
・スナップショットからインスタンス作成
・スナップショット削除
環境構築
1. インスタンス作成
※「1Core/1GB(24円/日) + CentOS 8 64bit」を選択しました。

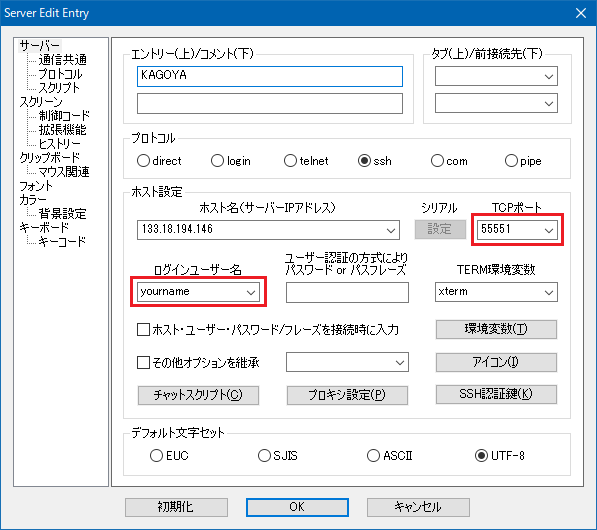
2. SSHでログイン
ターミナルソフトは「RLogin」を使用しました。
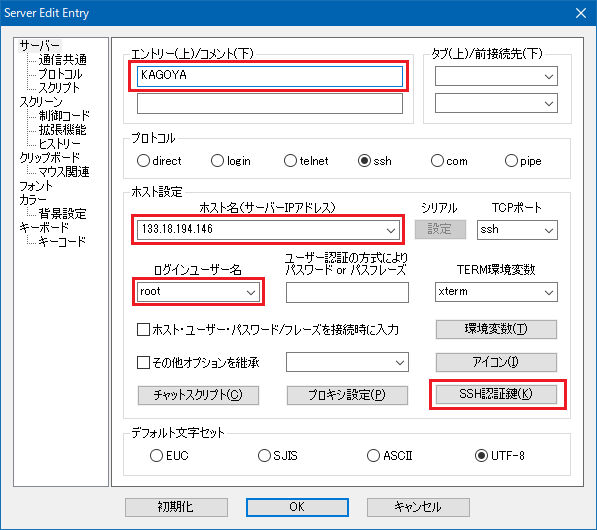
※SSH認証鍵は、インスタンス作成時にダウンロードした「ログイン用認証キー」を選択しました。
3. 全体アップデート
dnf update
4. リブート
reboot
5.「Failed to set locale, defaulting to C.UTF-8」が出ないようにする
dnf install langpacks-en
6. SELinux の有効化
cp -p /etc/selinux/config /etc/selinux/config.origin
sed -i -e "s/^SELINUX=disabled/SELINUX=enforcing/g" /etc/selinux/config
diff -u /etc/selinux/config.origin /etc/selinux/config
7. リブート
reboot
8. ユーザー追加
NAME=yourname
PASSWARD=yourpass

# ADD USER
useradd -m $NAME
echo $PASSWARD | passwd --stdin $NAME
usermod -aG wheel $NAME

# PUBLIC KEY
mkdir /home/$NAME/.ssh/
cat ~/.ssh/authorized_keys > /home/$NAME/.ssh/authorized_keys
chmod 600 /home/$NAME/.ssh/authorized_keys
chown $NAME:$NAME /home/$NAME/.ssh/authorized_keys

# PAM
cp -p /etc/pam.d/su /etc/pam.d/su.origin
sed -i -e "s/^#auth\s.*required\s.*pam_wheel.so use_uid/auth            required        pam_wheel.so root_only/g" /etc/pam.d/su
diff -u /etc/pam.d/su.origin /etc/pam.d/su
9. SSHポート変更
PORT=55551

dnf install policycoreutils-python-utils

semanage port --add --type ssh_port_t --proto tcp $PORT

cp -p /usr/lib/firewalld/services/ssh.xml /etc/firewalld/services/ssh.xml
sed -i -e "s/^  <port protocol=\"tcp\" port=\"22\"\/>/  <port protocol=\"tcp\" port=\"$PORT\"\/>/g" /etc/firewalld/services/ssh.xml
diff -u /usr/lib/firewalld/services/ssh.xml /etc/firewalld/services/ssh.xml

firewall-cmd --reload

cp -p /etc/ssh/sshd_config /etc/ssh/sshd_config.origin
sed -i -e "s/^#Port 22/#Port 22\nPort $PORT\n/g" /etc/ssh/sshd_config
sed -i -e "s/^PermitRootLogin without-password/PermitRootLogin forced-commands-only/g" /etc/ssh/sshd_config
diff -u /etc/ssh/sshd_config /etc/ssh/sshd_config.origin

systemctl restart sshd
10. 追加ユーザーで再ログイン
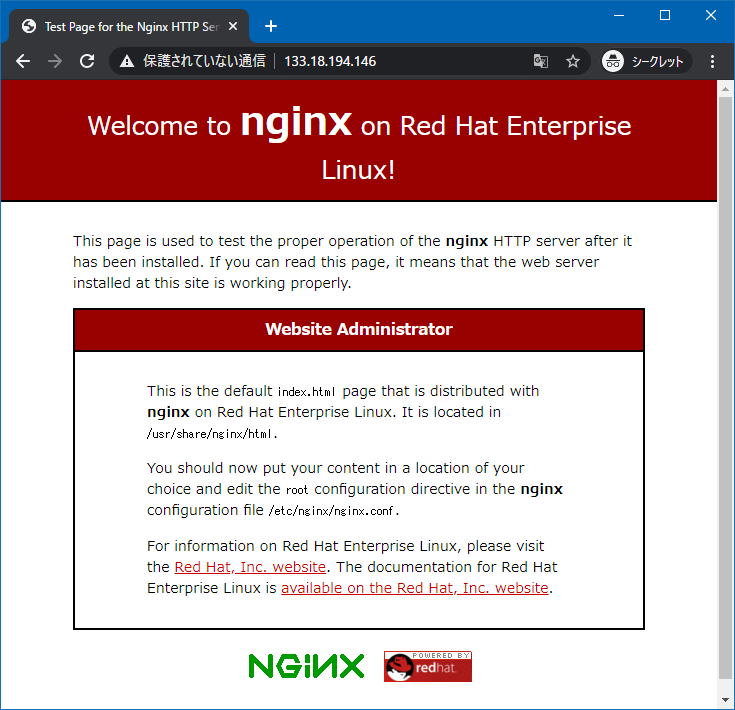
11. Nginxインストール
※How to Install Nginx on CentOS 8
sudo dnf install @nginx
sudo systemctl enable nginx
sudo systemctl start nginx
systemctl status nginx
sudo firewall-cmd --permanent --zone=public --add-service=http
sudo firewall-cmd --permanent --zone=public --add-service=https
sudo firewall-cmd --reload
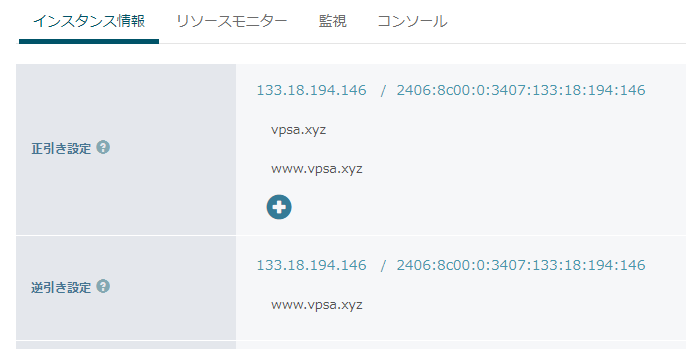
12. ドメイン登録
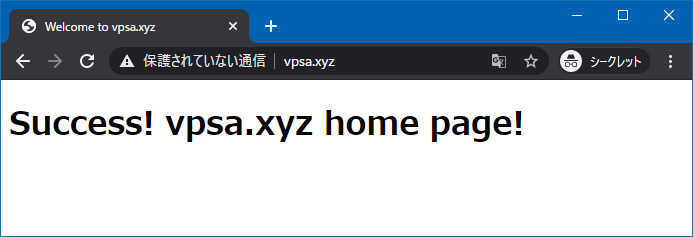
13. ドメイン設定
※How to Set Up Nginx Server Blocks on CentOS 8
DOMAIN=yourdomain

sudo mkdir -p /var/www/$DOMAIN/public_html

sudo tee /var/www/$DOMAIN/public_html/index.html << EOF
<!DOCTYPE html>
<html lang="en" dir="ltr">
  <head>
    <meta charset="utf-8">
    <title>Welcome to $DOMAIN</title>
  </head>
  <body>
    <h1>Success! $DOMAIN home page!</h1>
  </body>
</html>
EOF

sudo chown -R nginx: /var/www/$DOMAIN
sudo restorecon -RF /var/www/$DOMAIN/public_html/

sudo tee /etc/nginx/conf.d/$DOMAIN.conf << EOF
server {
    listen 80;
    listen [::]:80;

    root /var/www/$DOMAIN/public_html;

    index index.html;

    server_name $DOMAIN www.$DOMAIN;

    access_log /var/log/nginx/$DOMAIN.access.log;
    error_log /var/log/nginx/$DOMAIN.error.log;

    location / {
        try_files \$uri \$uri/ =404;
    }
}
EOF

sudo nginx -t

sudo systemctl restart nginx

