Auth0はドキュメントやチュートリアルが充実していますが、それを参考にしつつシンプルな構成でお試ししてみました。
Auth0について
下記に概要をまとめていますので、ご参考ください。
Auth0の機能を調べてみた - Qiita
https://qiita.com/kai_kou/items/b3dd64e4f8f53325020e
Auth0(オースゼロ)とはAuth0, Inc.が提供するiDaaS(アイダース)で、Identity as a Serviceの略となりクラウドでID管理・認証機能などを提供してくれるサービスです。
iDaaSが提供する機能としては認証・シングルサインオン、ID管理・連携、認可、ログなどによる監査などがあり、Auth0もそれらを提供しています。
アカウントを作成する
Auth0には無償プランがありますので、それを利用します。
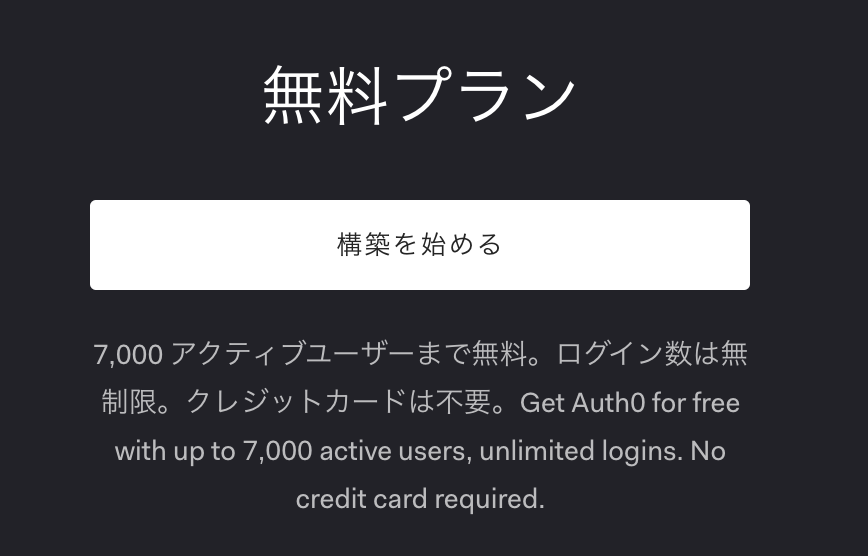
Pricing - Auth0
https://auth0.com/pricing/
Auth0のサイトの右上にある「サインアップ」からサインアップ画面へ移動します。
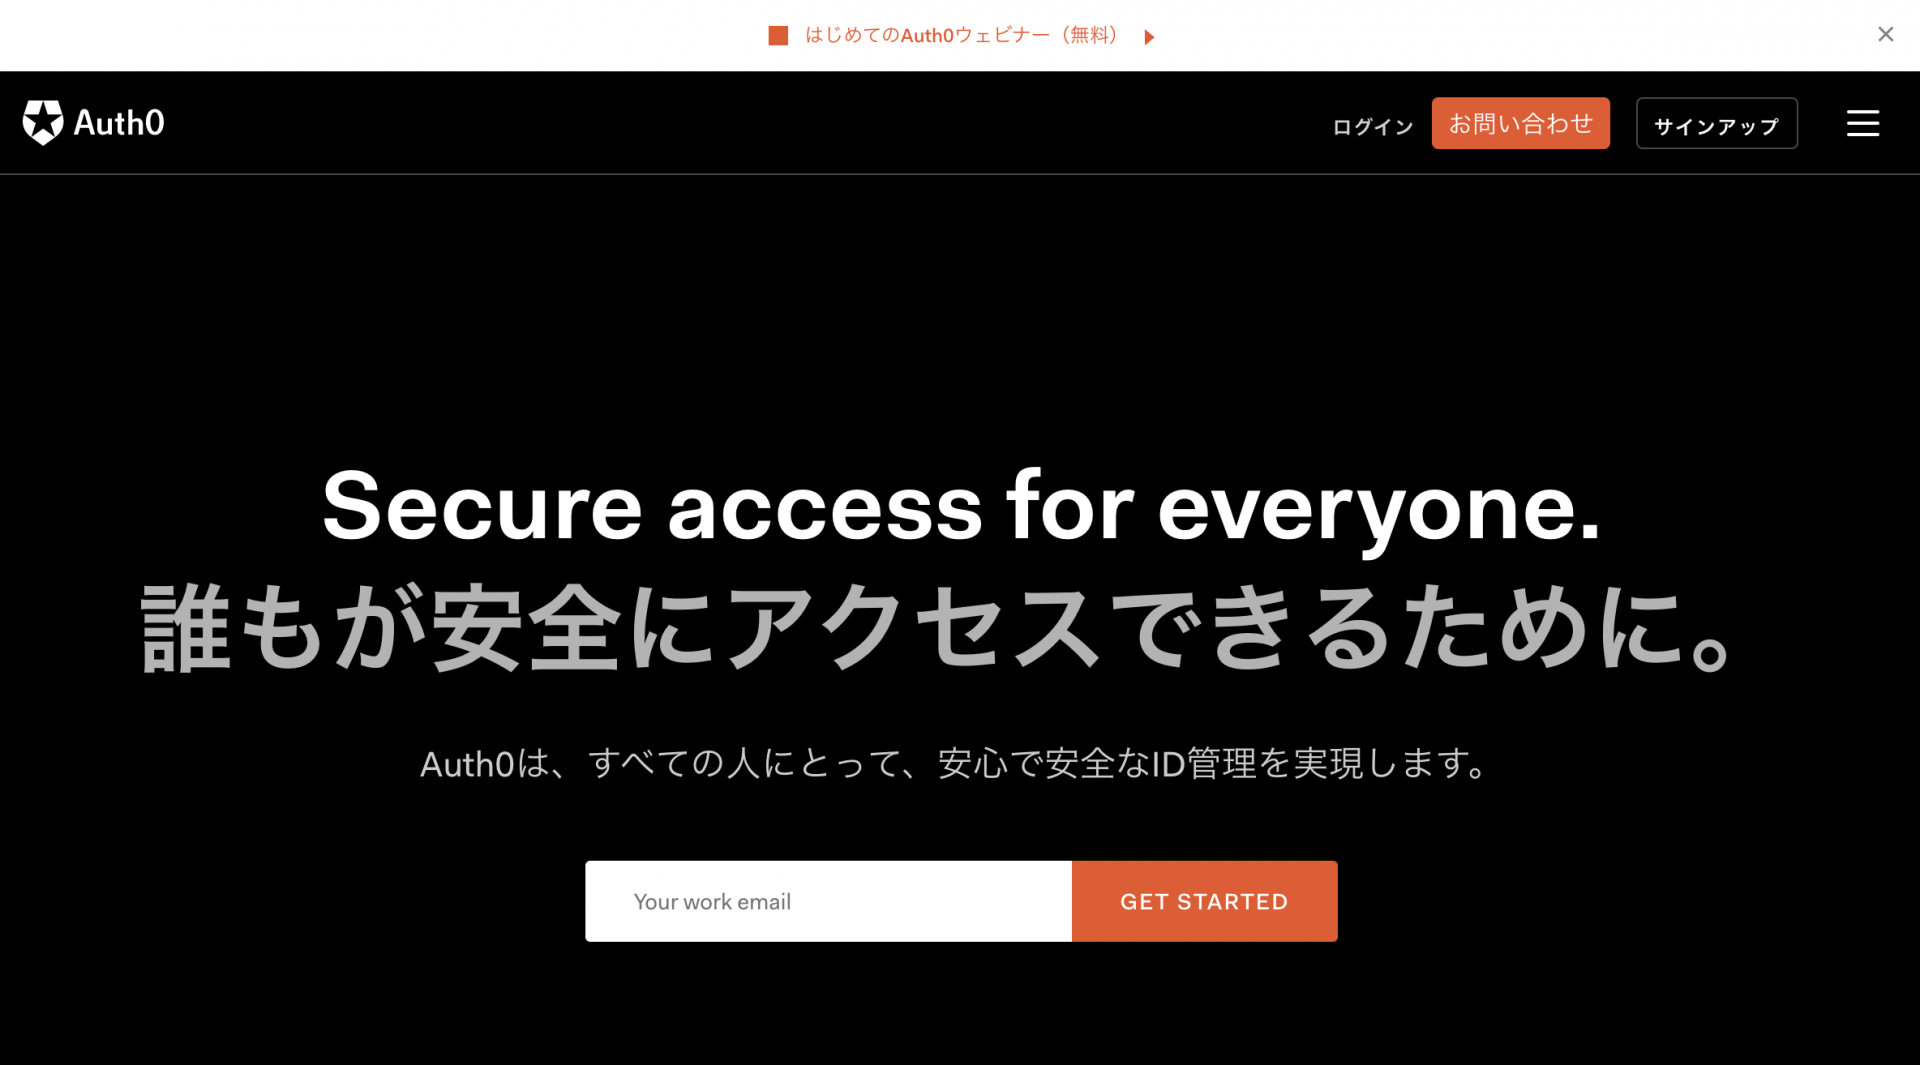
Auth0: Secure access for everyone. But not just anyone.
https://auth0.com/jp/
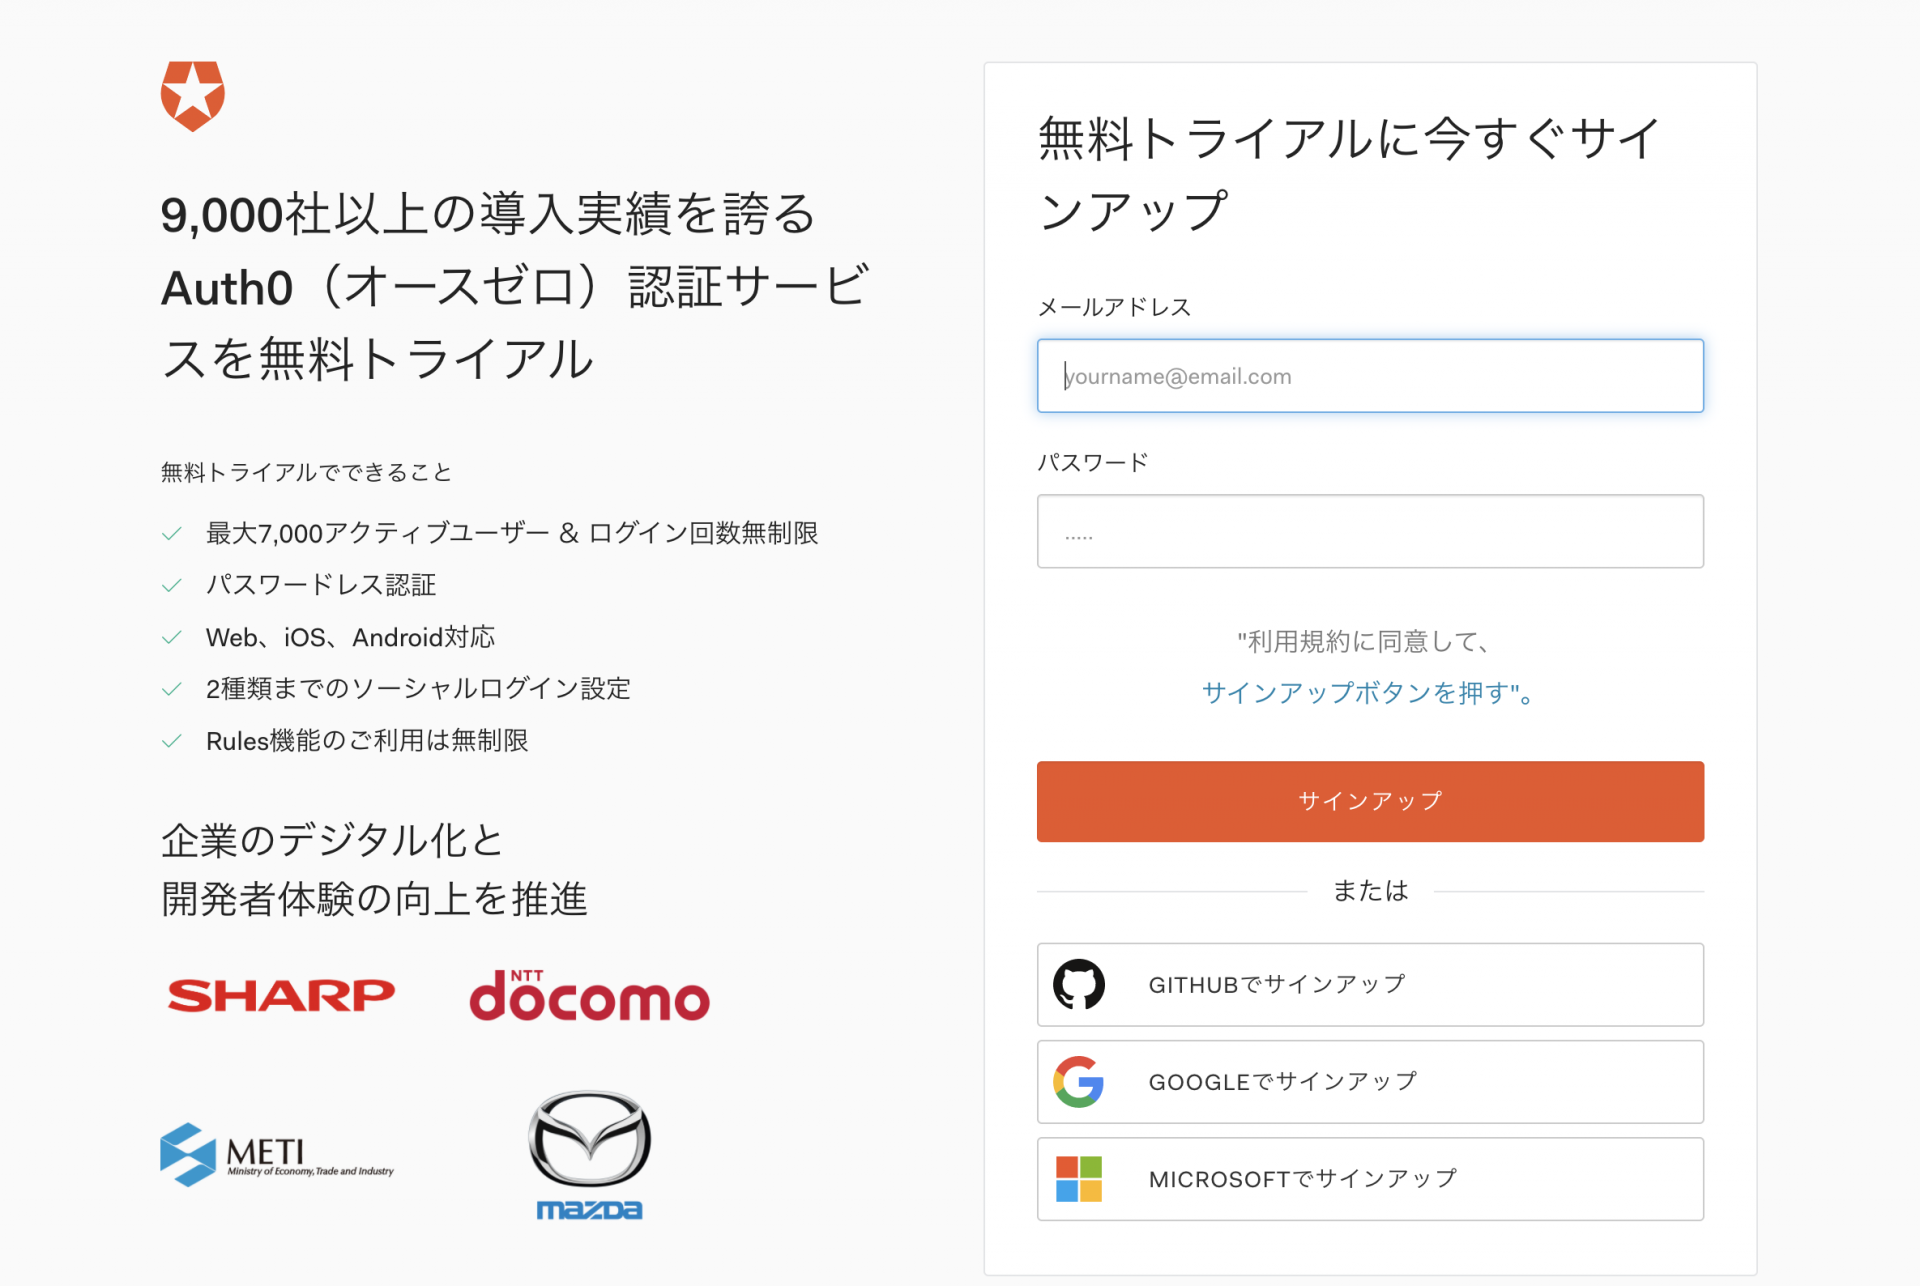
メールアドレス、GitHub、Google、Microsoftアカウントを利用してサインアップできます。
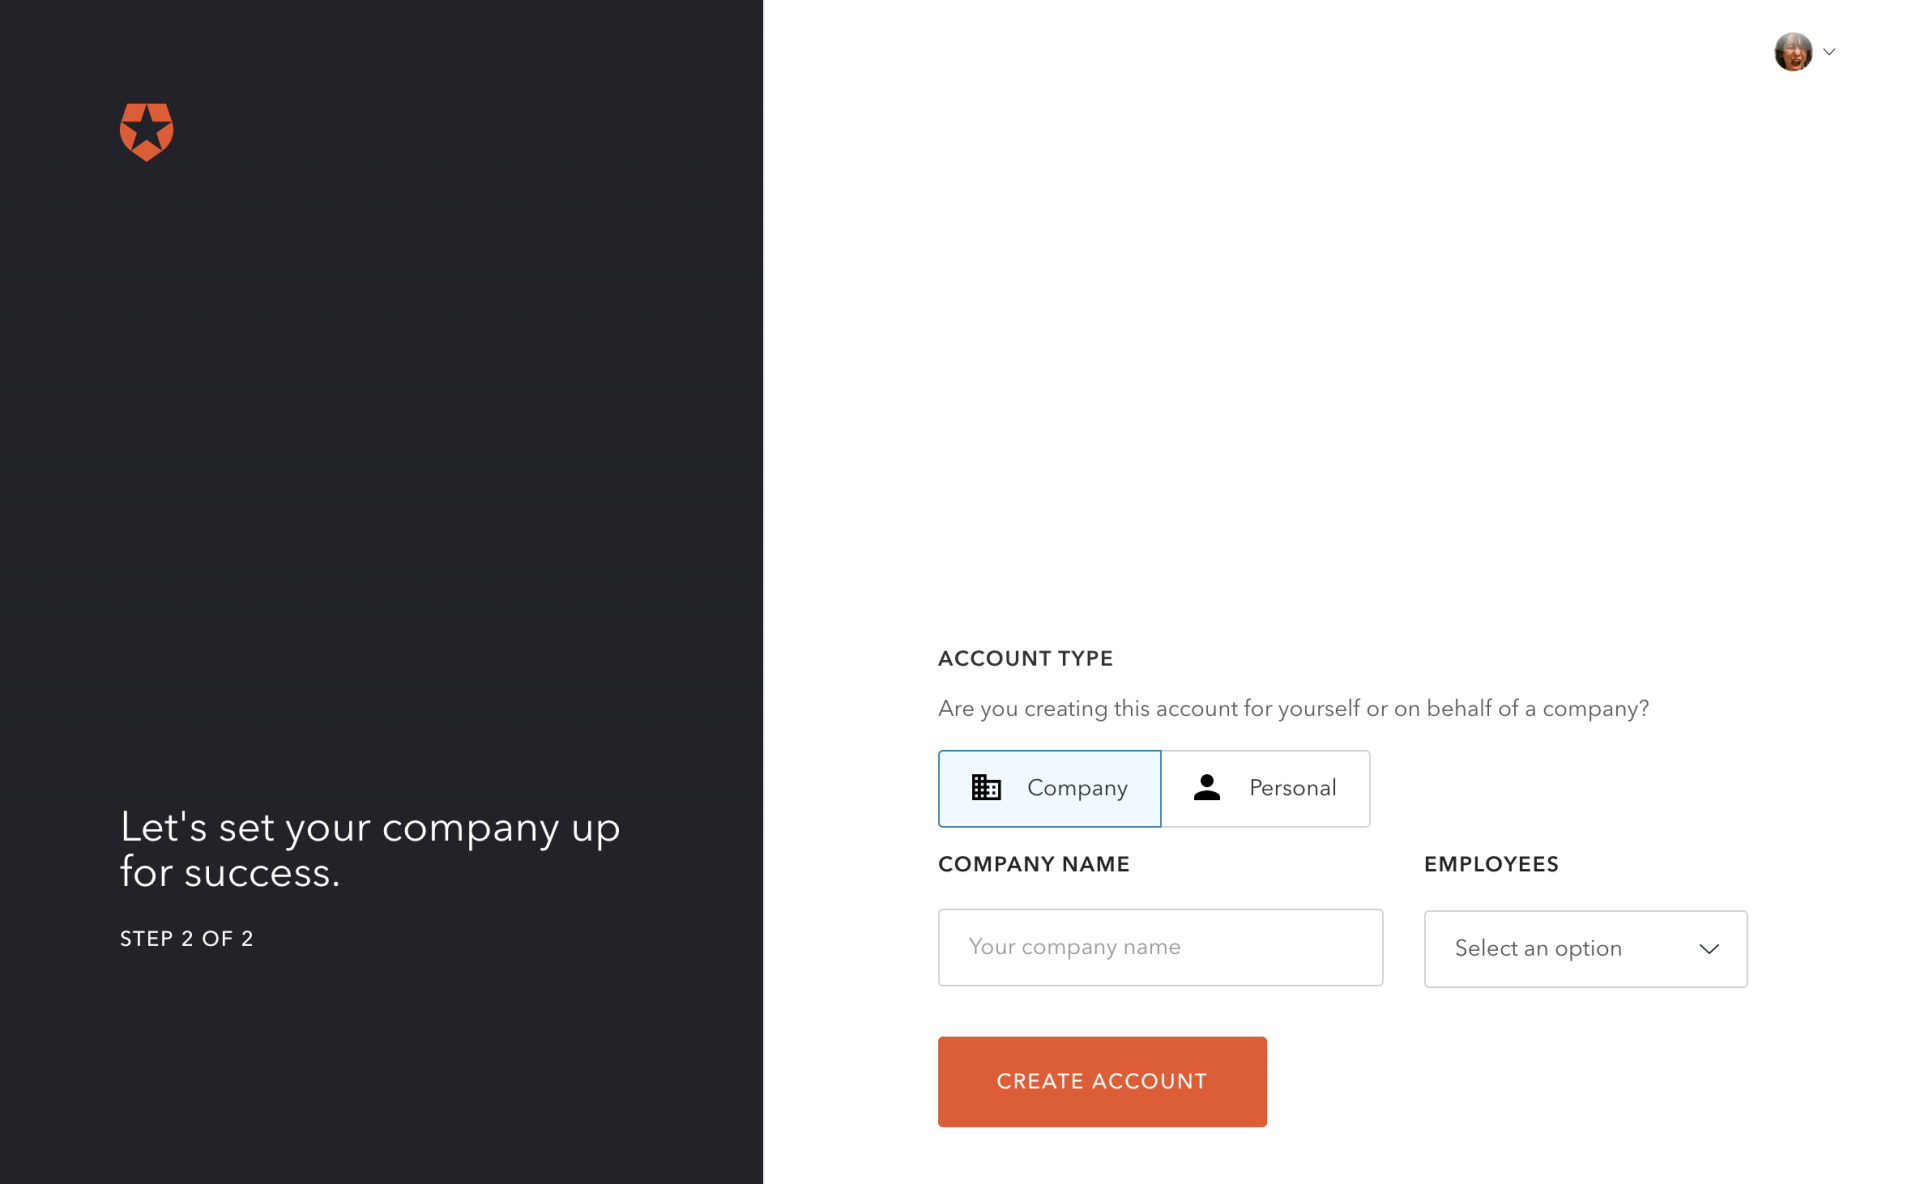
サインアップできるとAuth0の設定に進みます。専用のドメインとリージョンが指定できます。サブドメイン部分は任意で変更可能です。
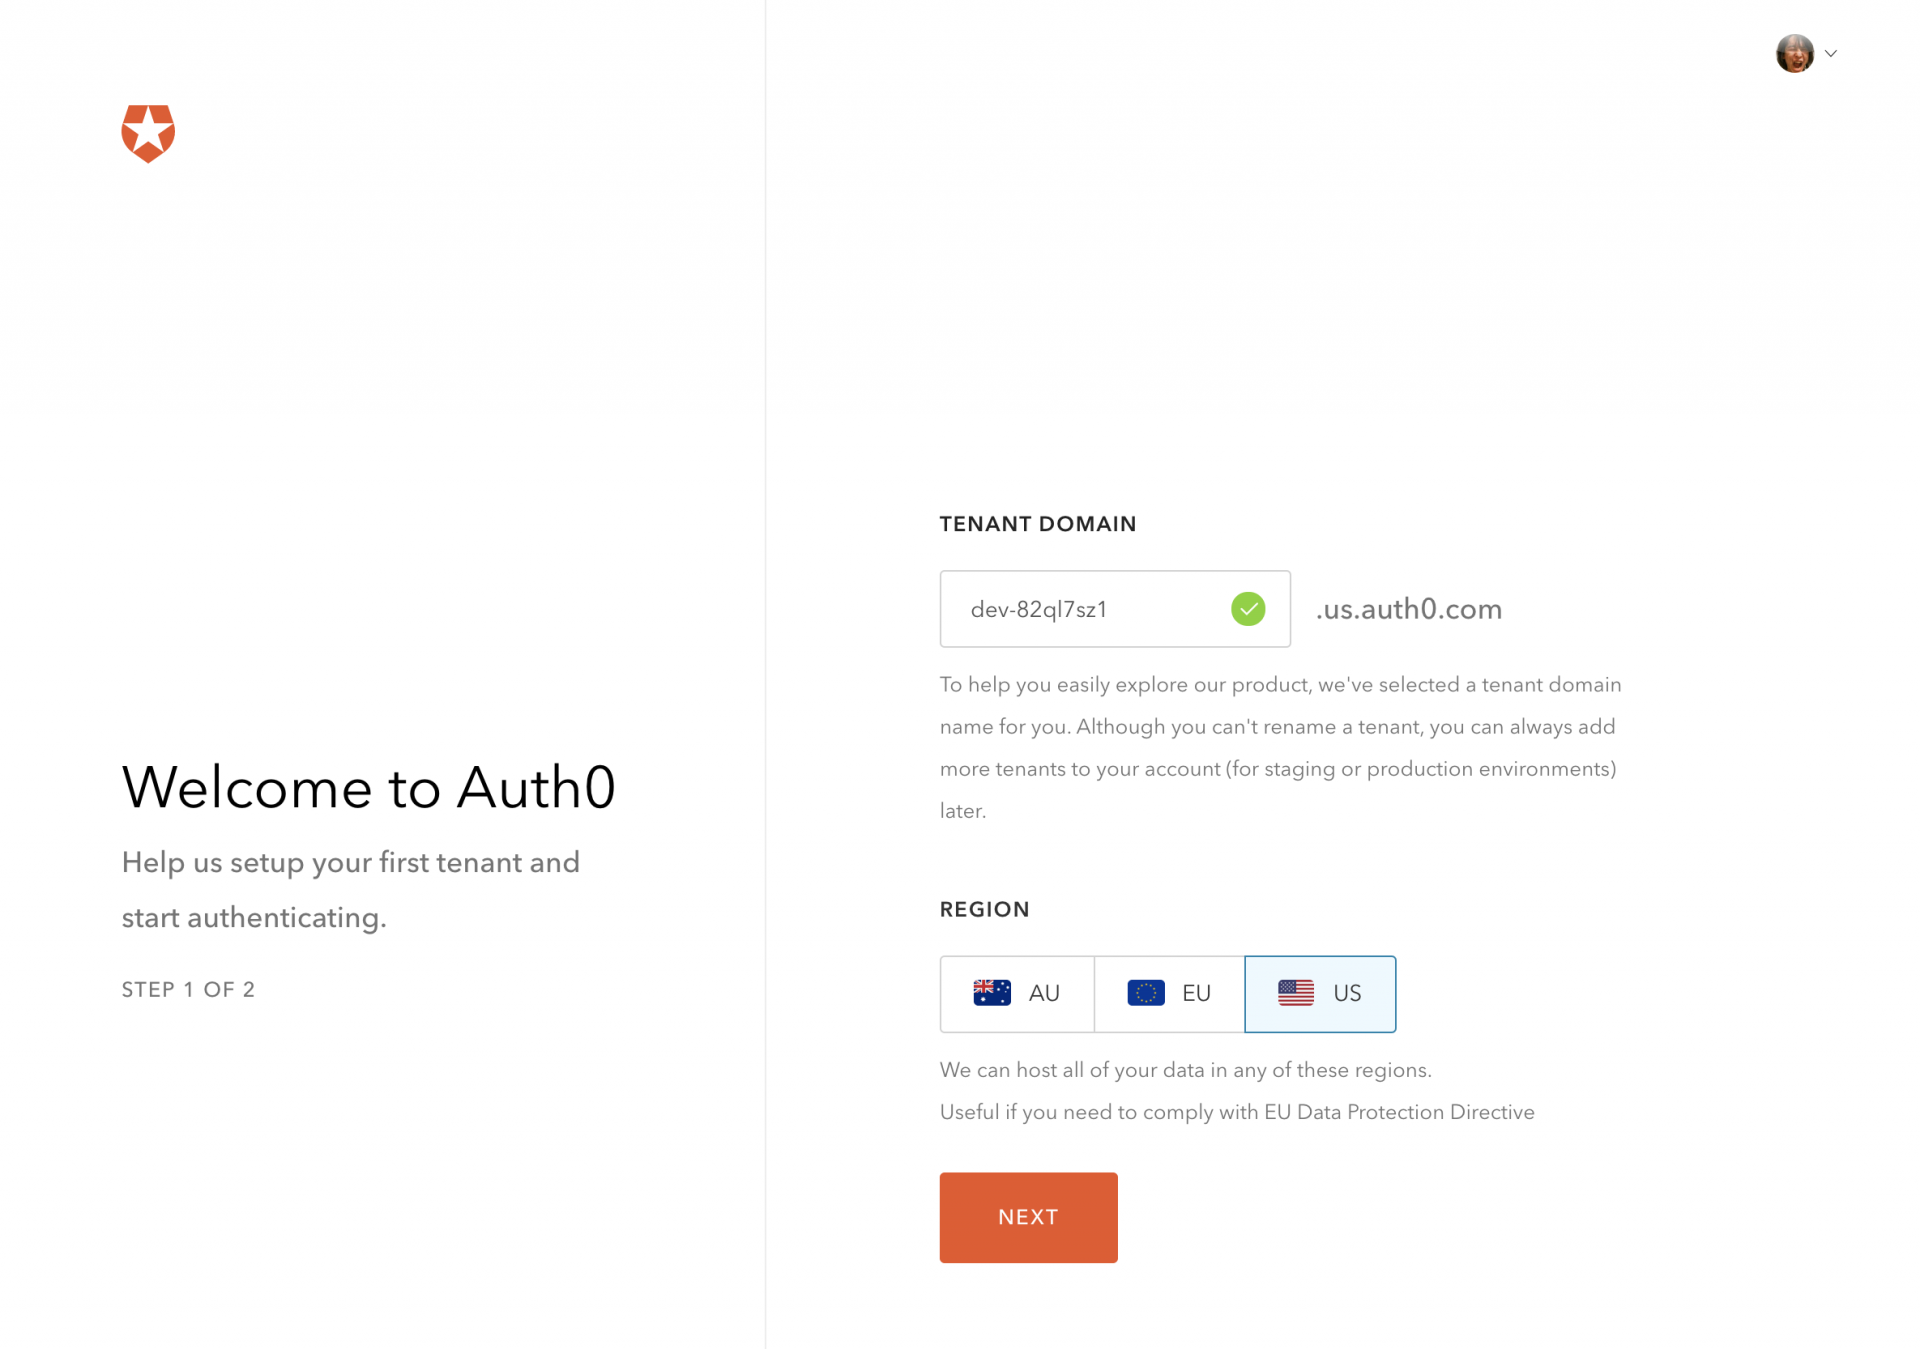
次に法人・個人利用か選択してサインアップ後の設定は完了となります。
アプリケーション設定
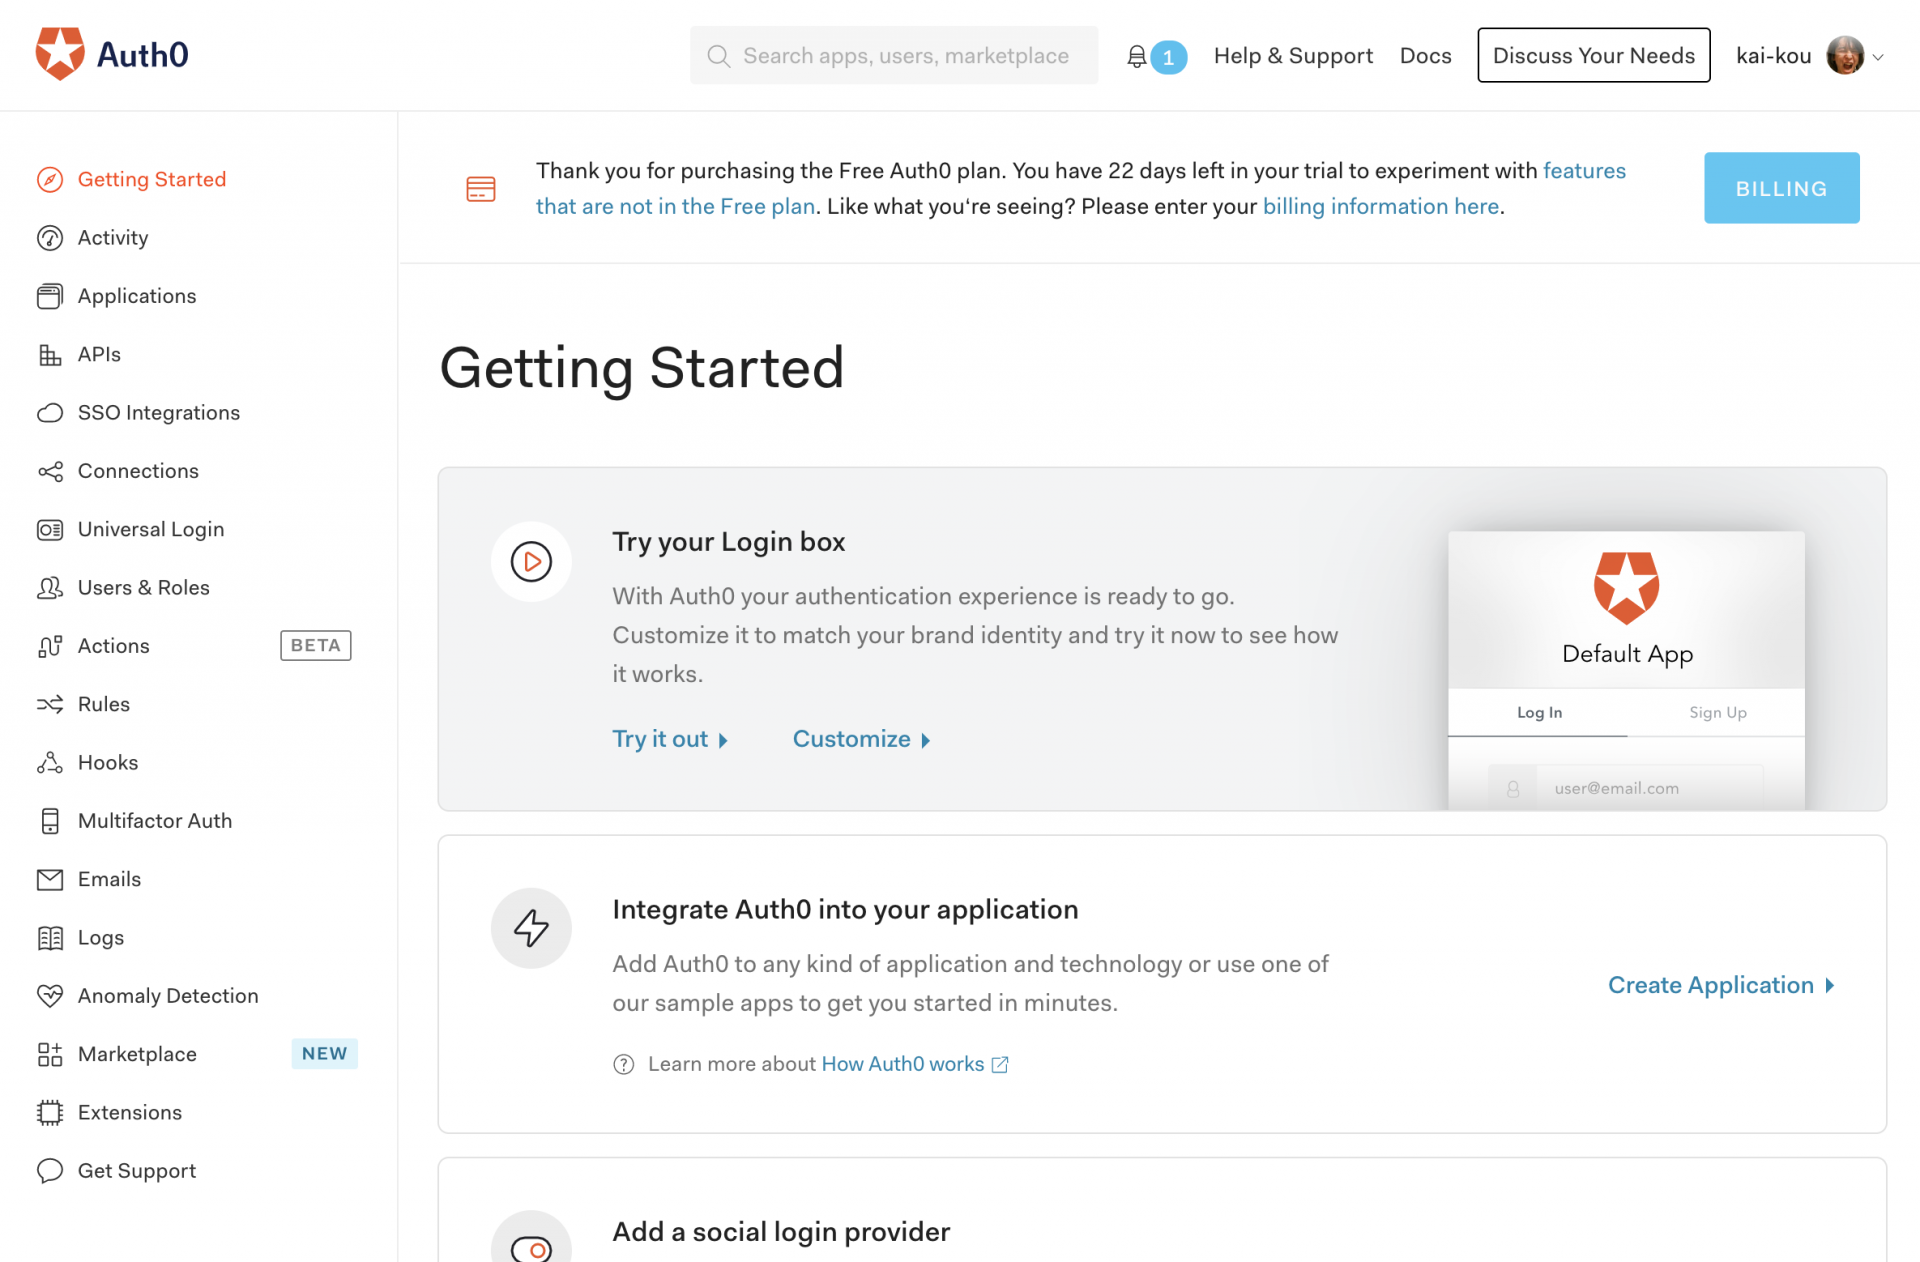
アカウントが作成できたら次にAuth0で認証ができるようにAuth0のApplicationを設定します。
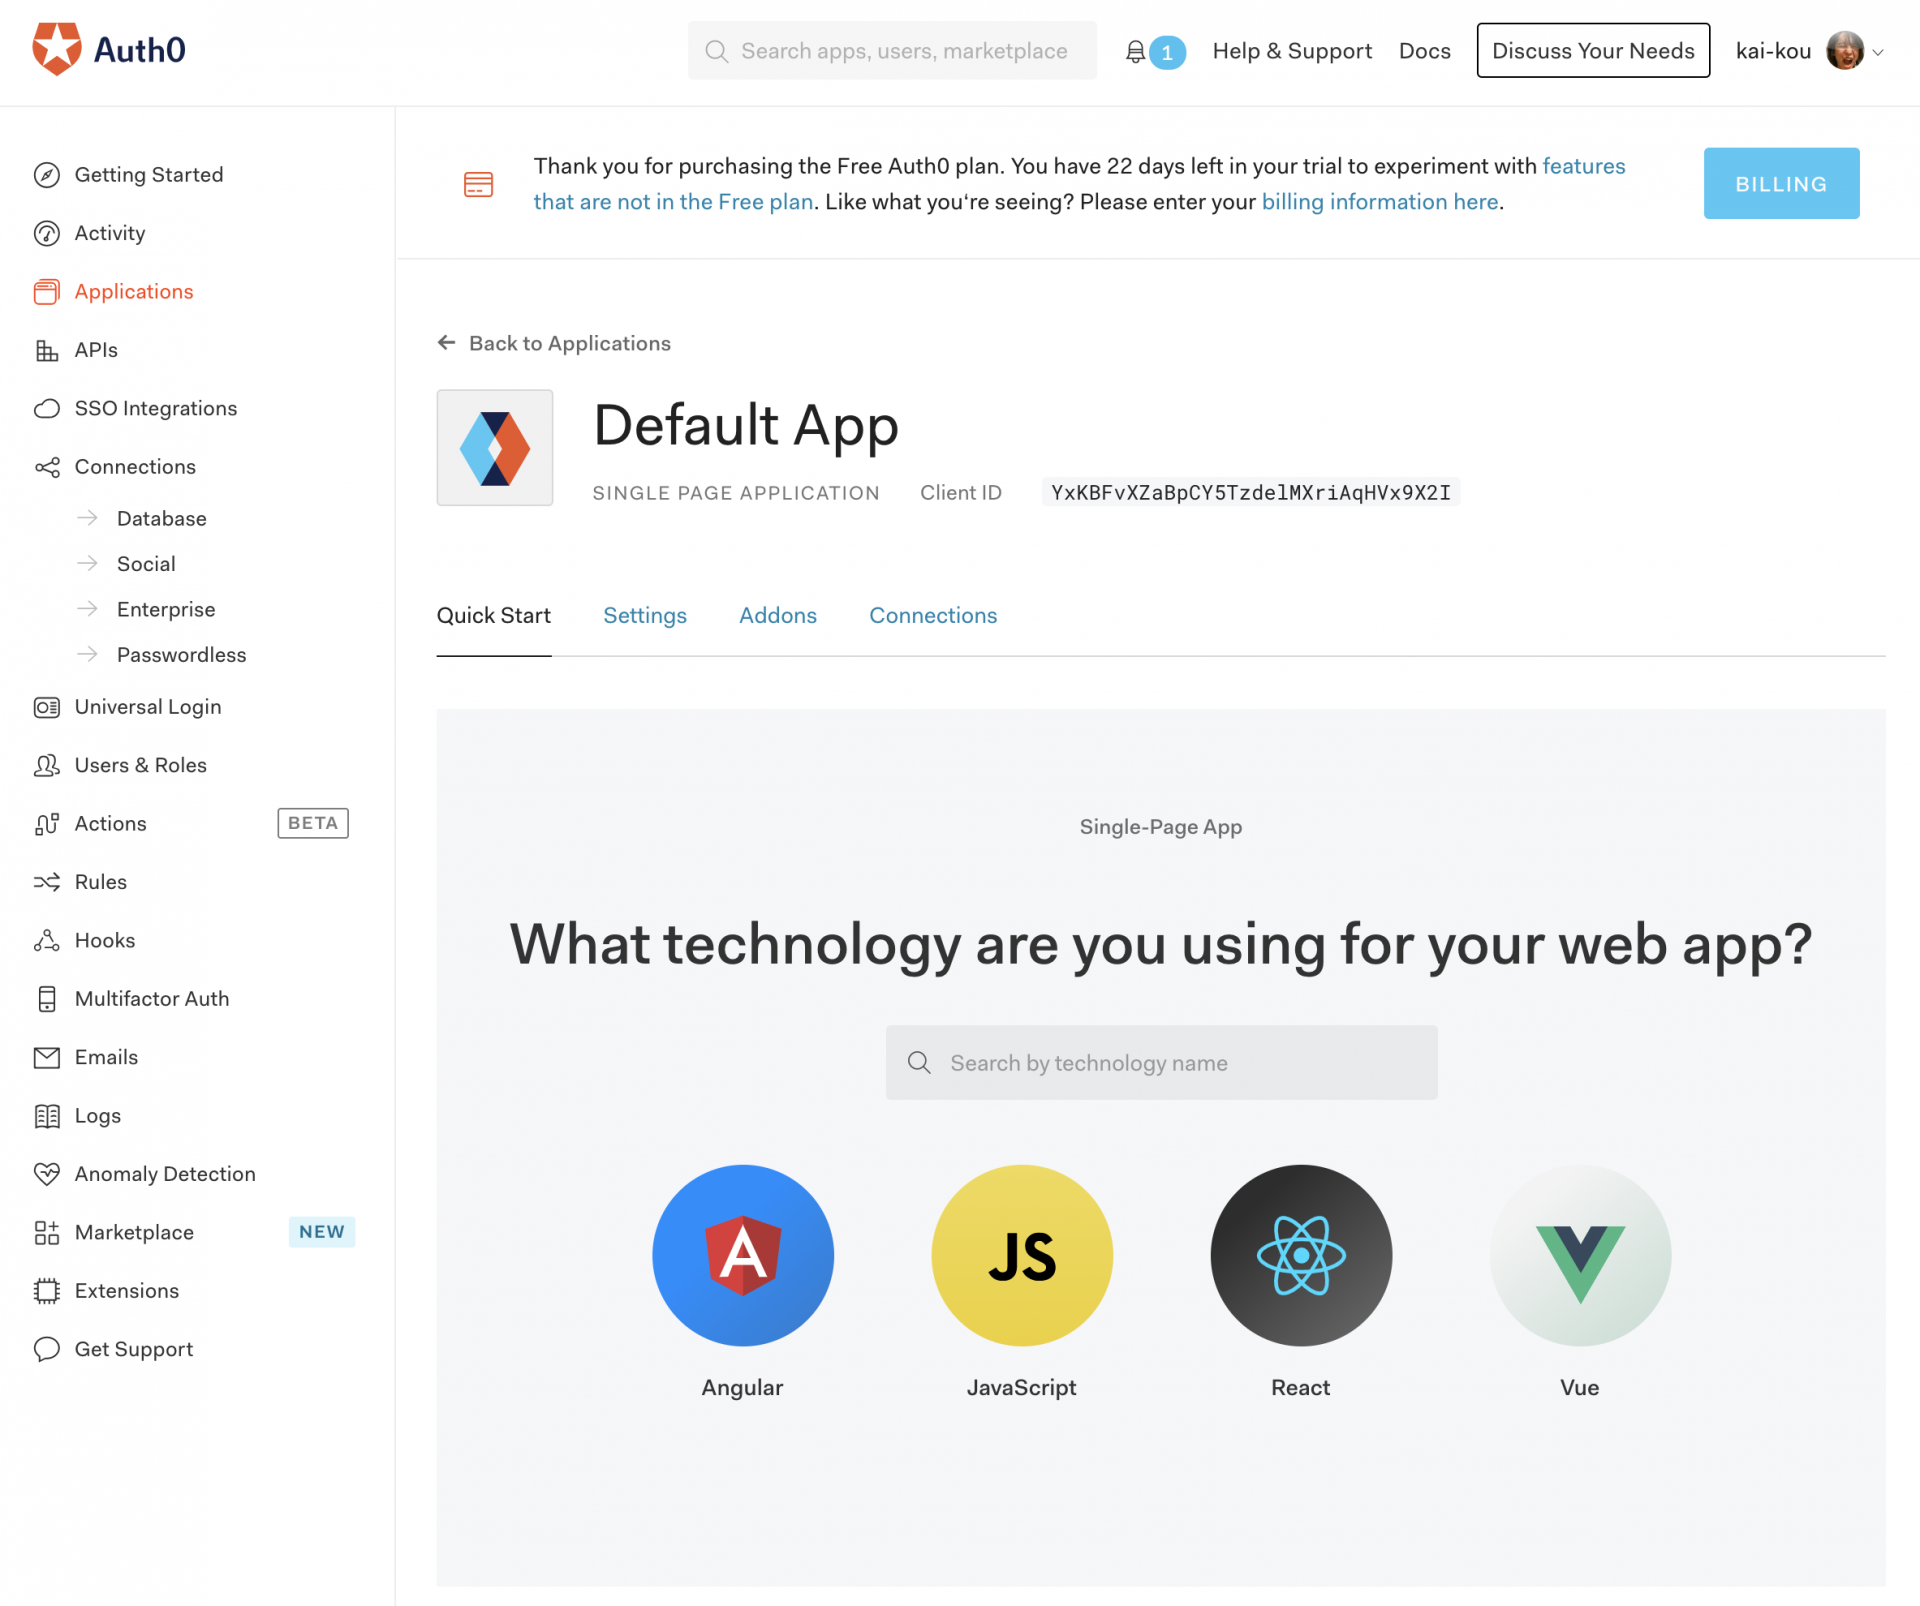
Auth0のダッシュボードが表示されますので、左メニューから「Applications」を選択してApplications画面へ移動します。
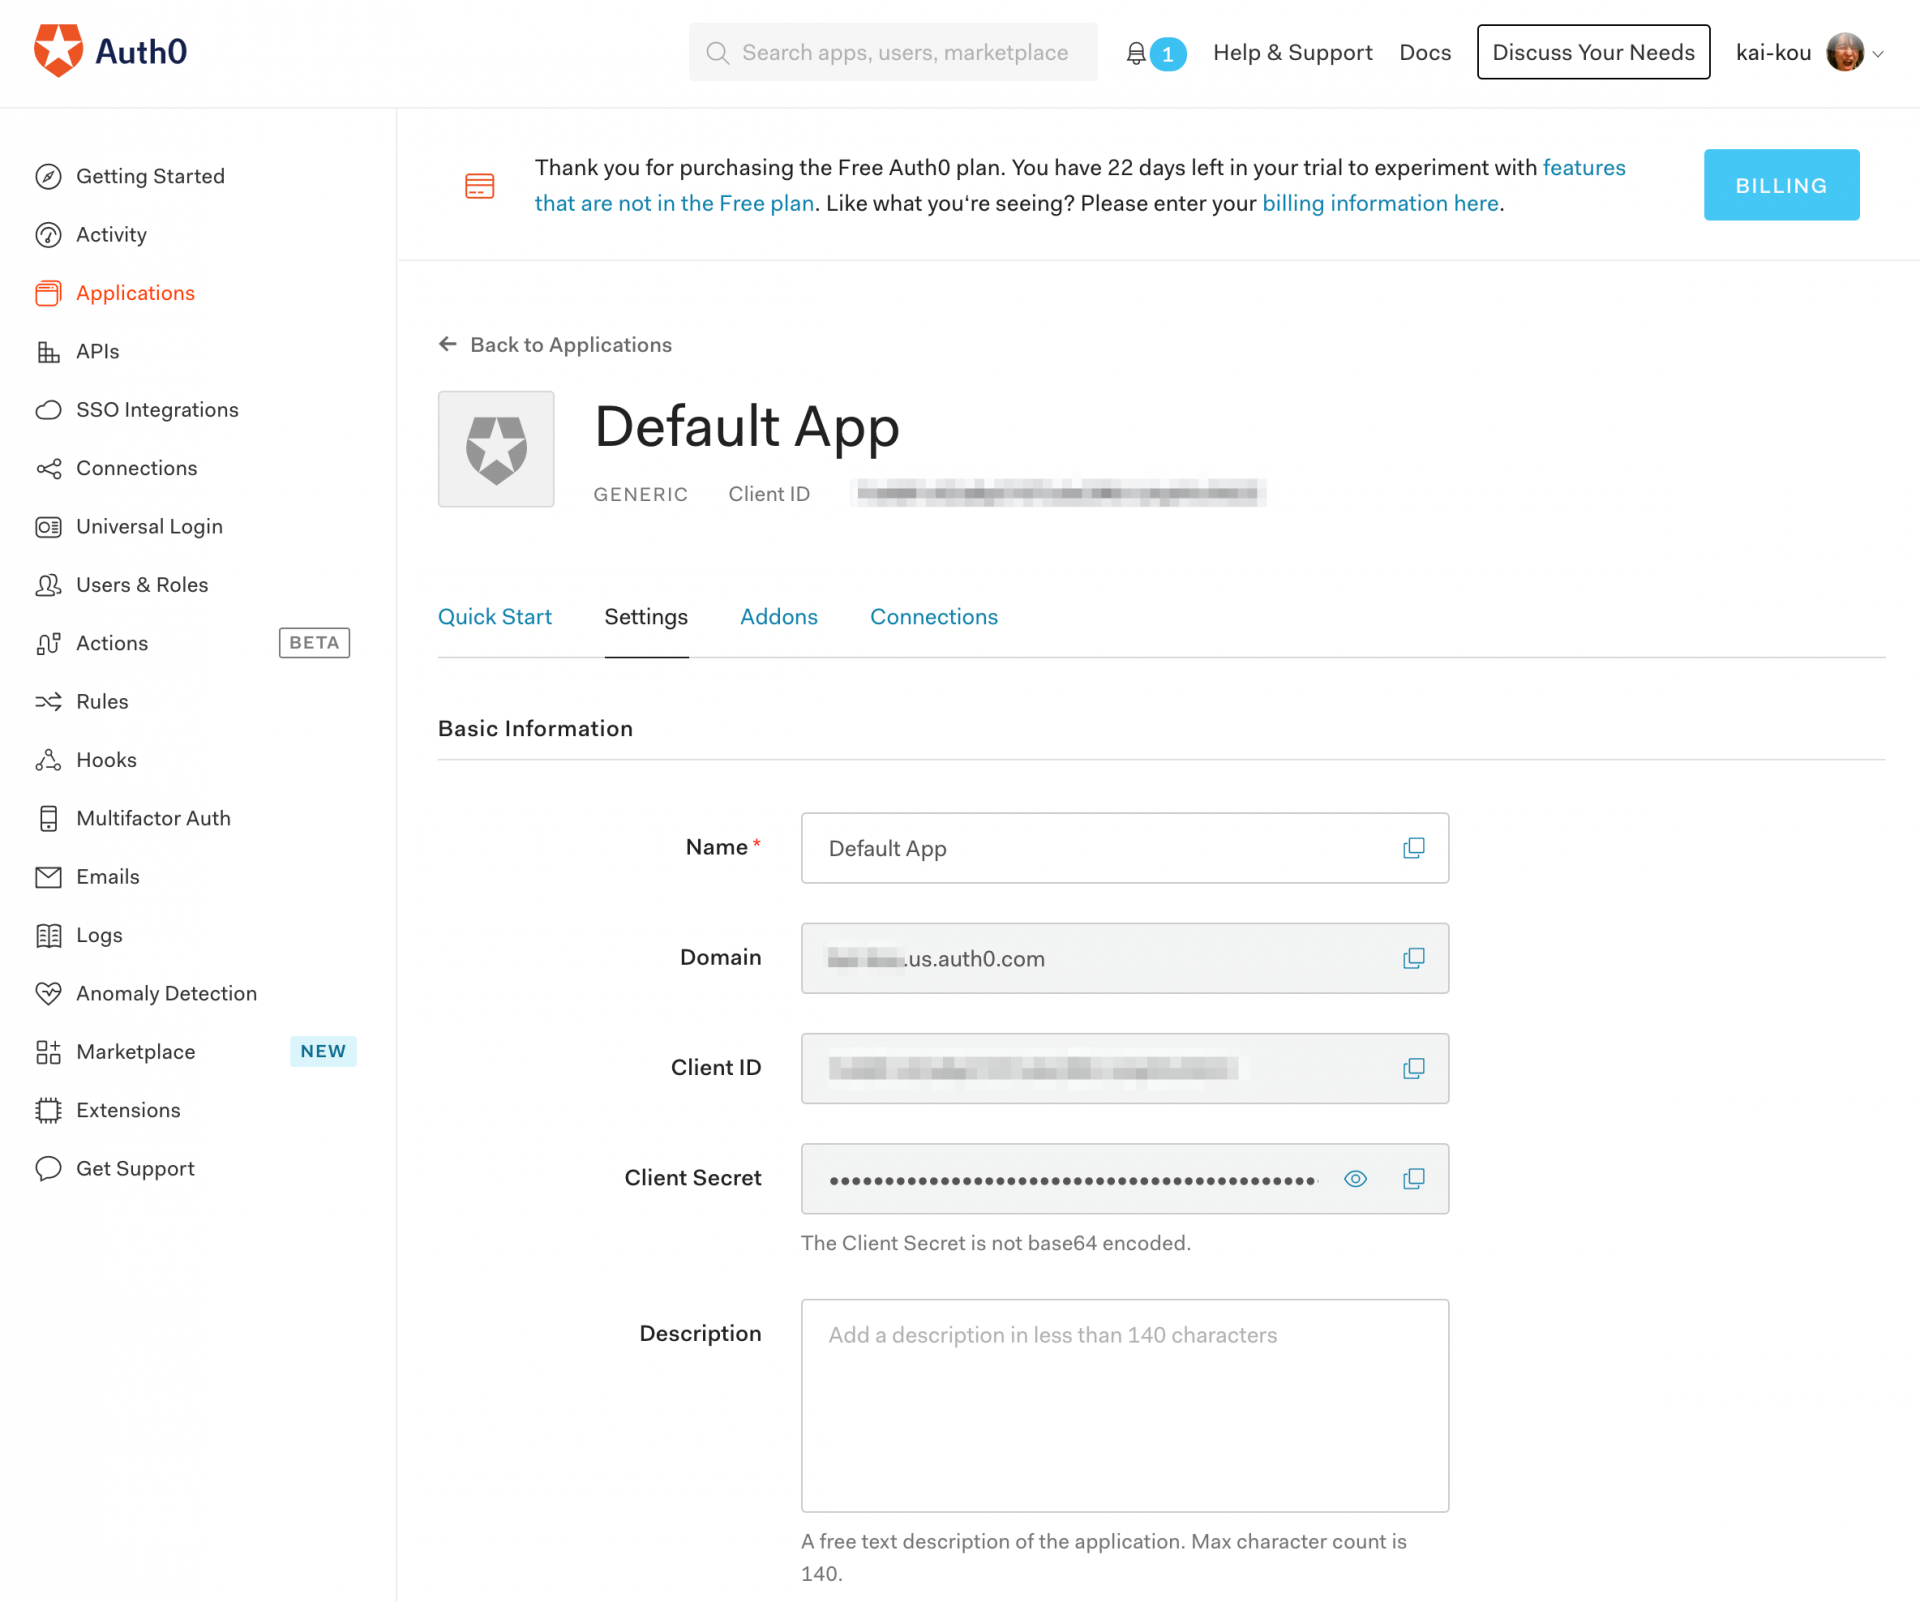
Default App というApplicationがすでに用意されていますので、それを利用します。

Default App を選択するとApplicationの設定が確認できます。
今回試用するのに必要となる設定は以下となります。
- Application Properties
- Application Type:
Single Page Application
- Application Type:
- Application URIs
- Allowed Callback URLs:
http://localhost:3000 - Allowed Logout URLs:
http://localhost:3000 - Allowed Web Origins:
http://localhost:3000
- Allowed Callback URLs:
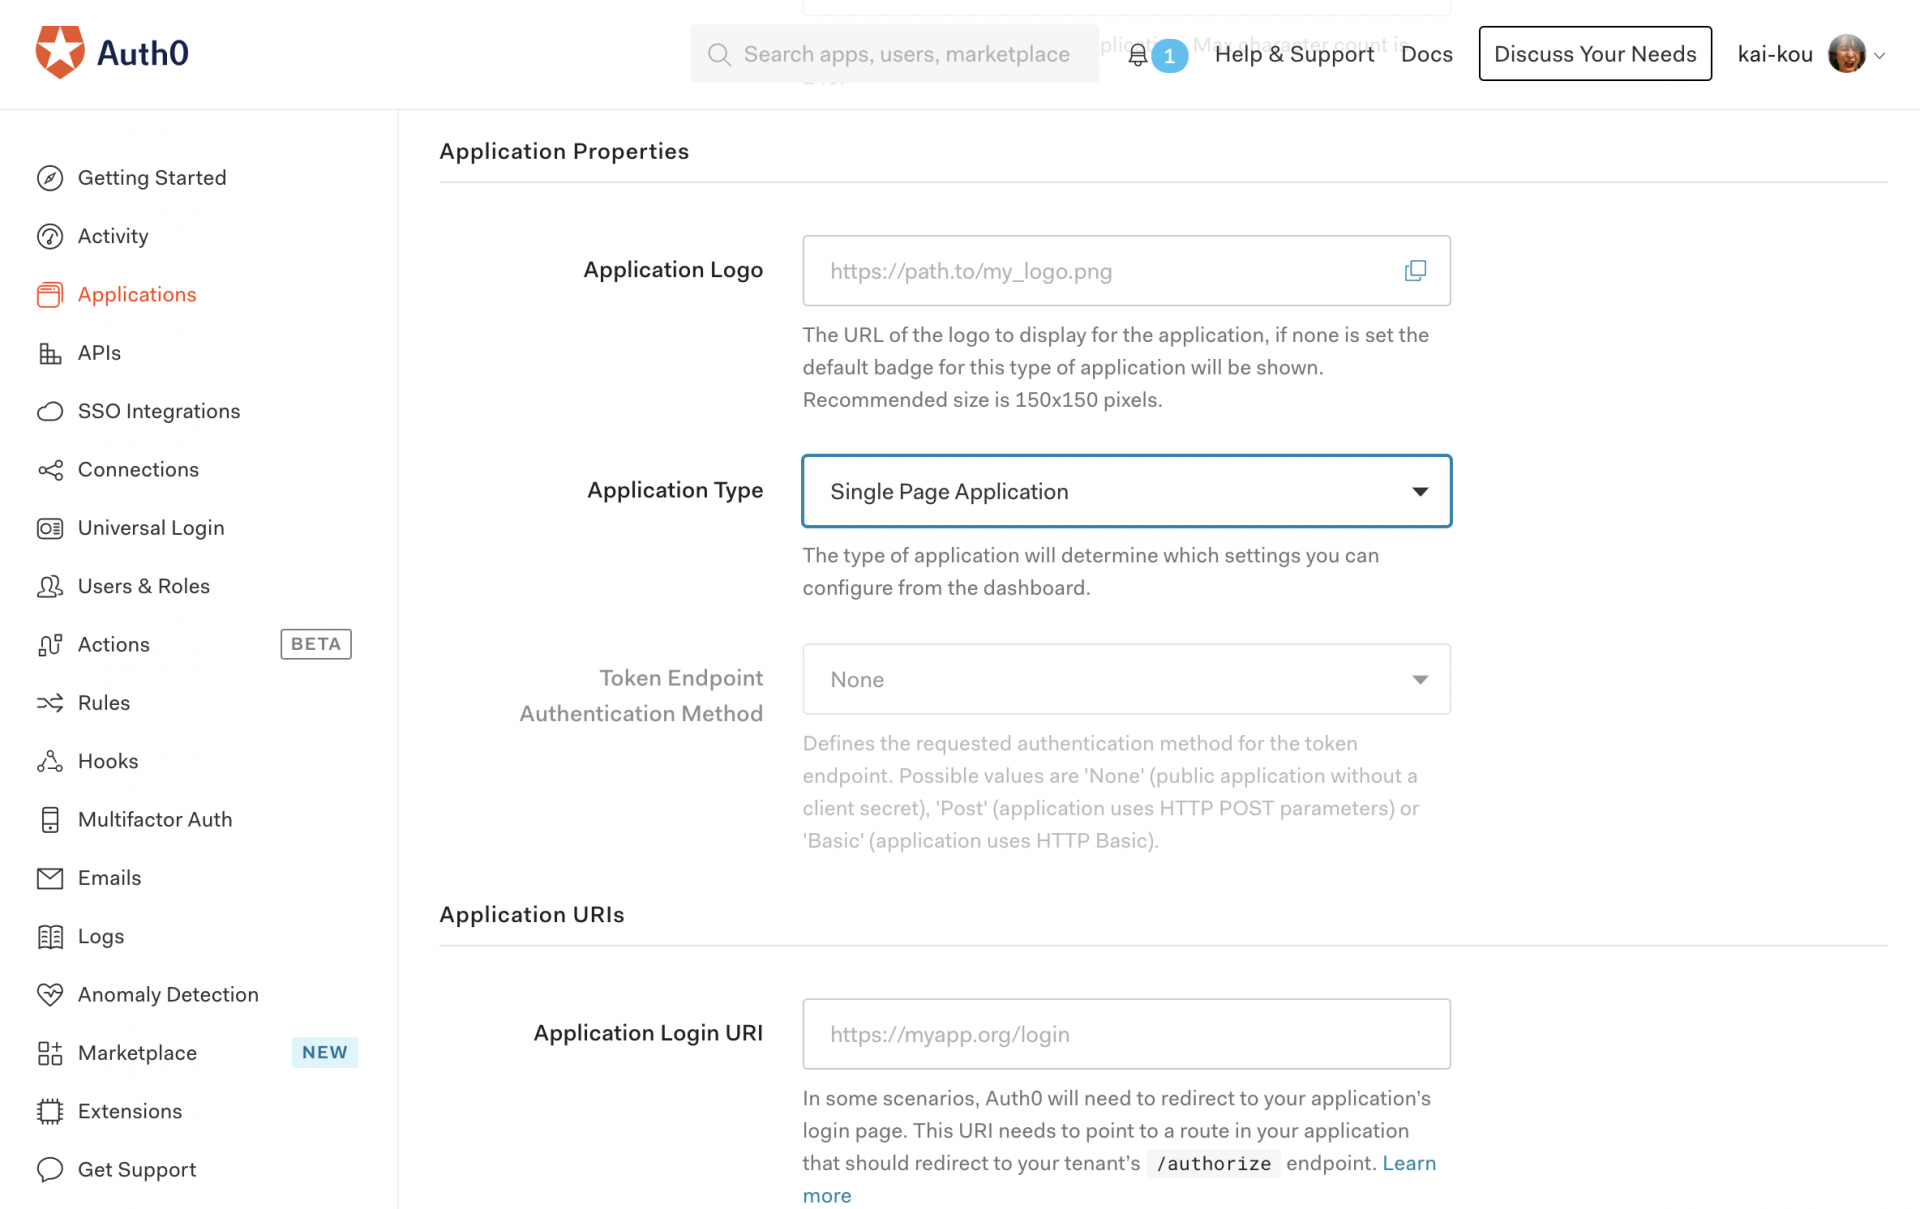
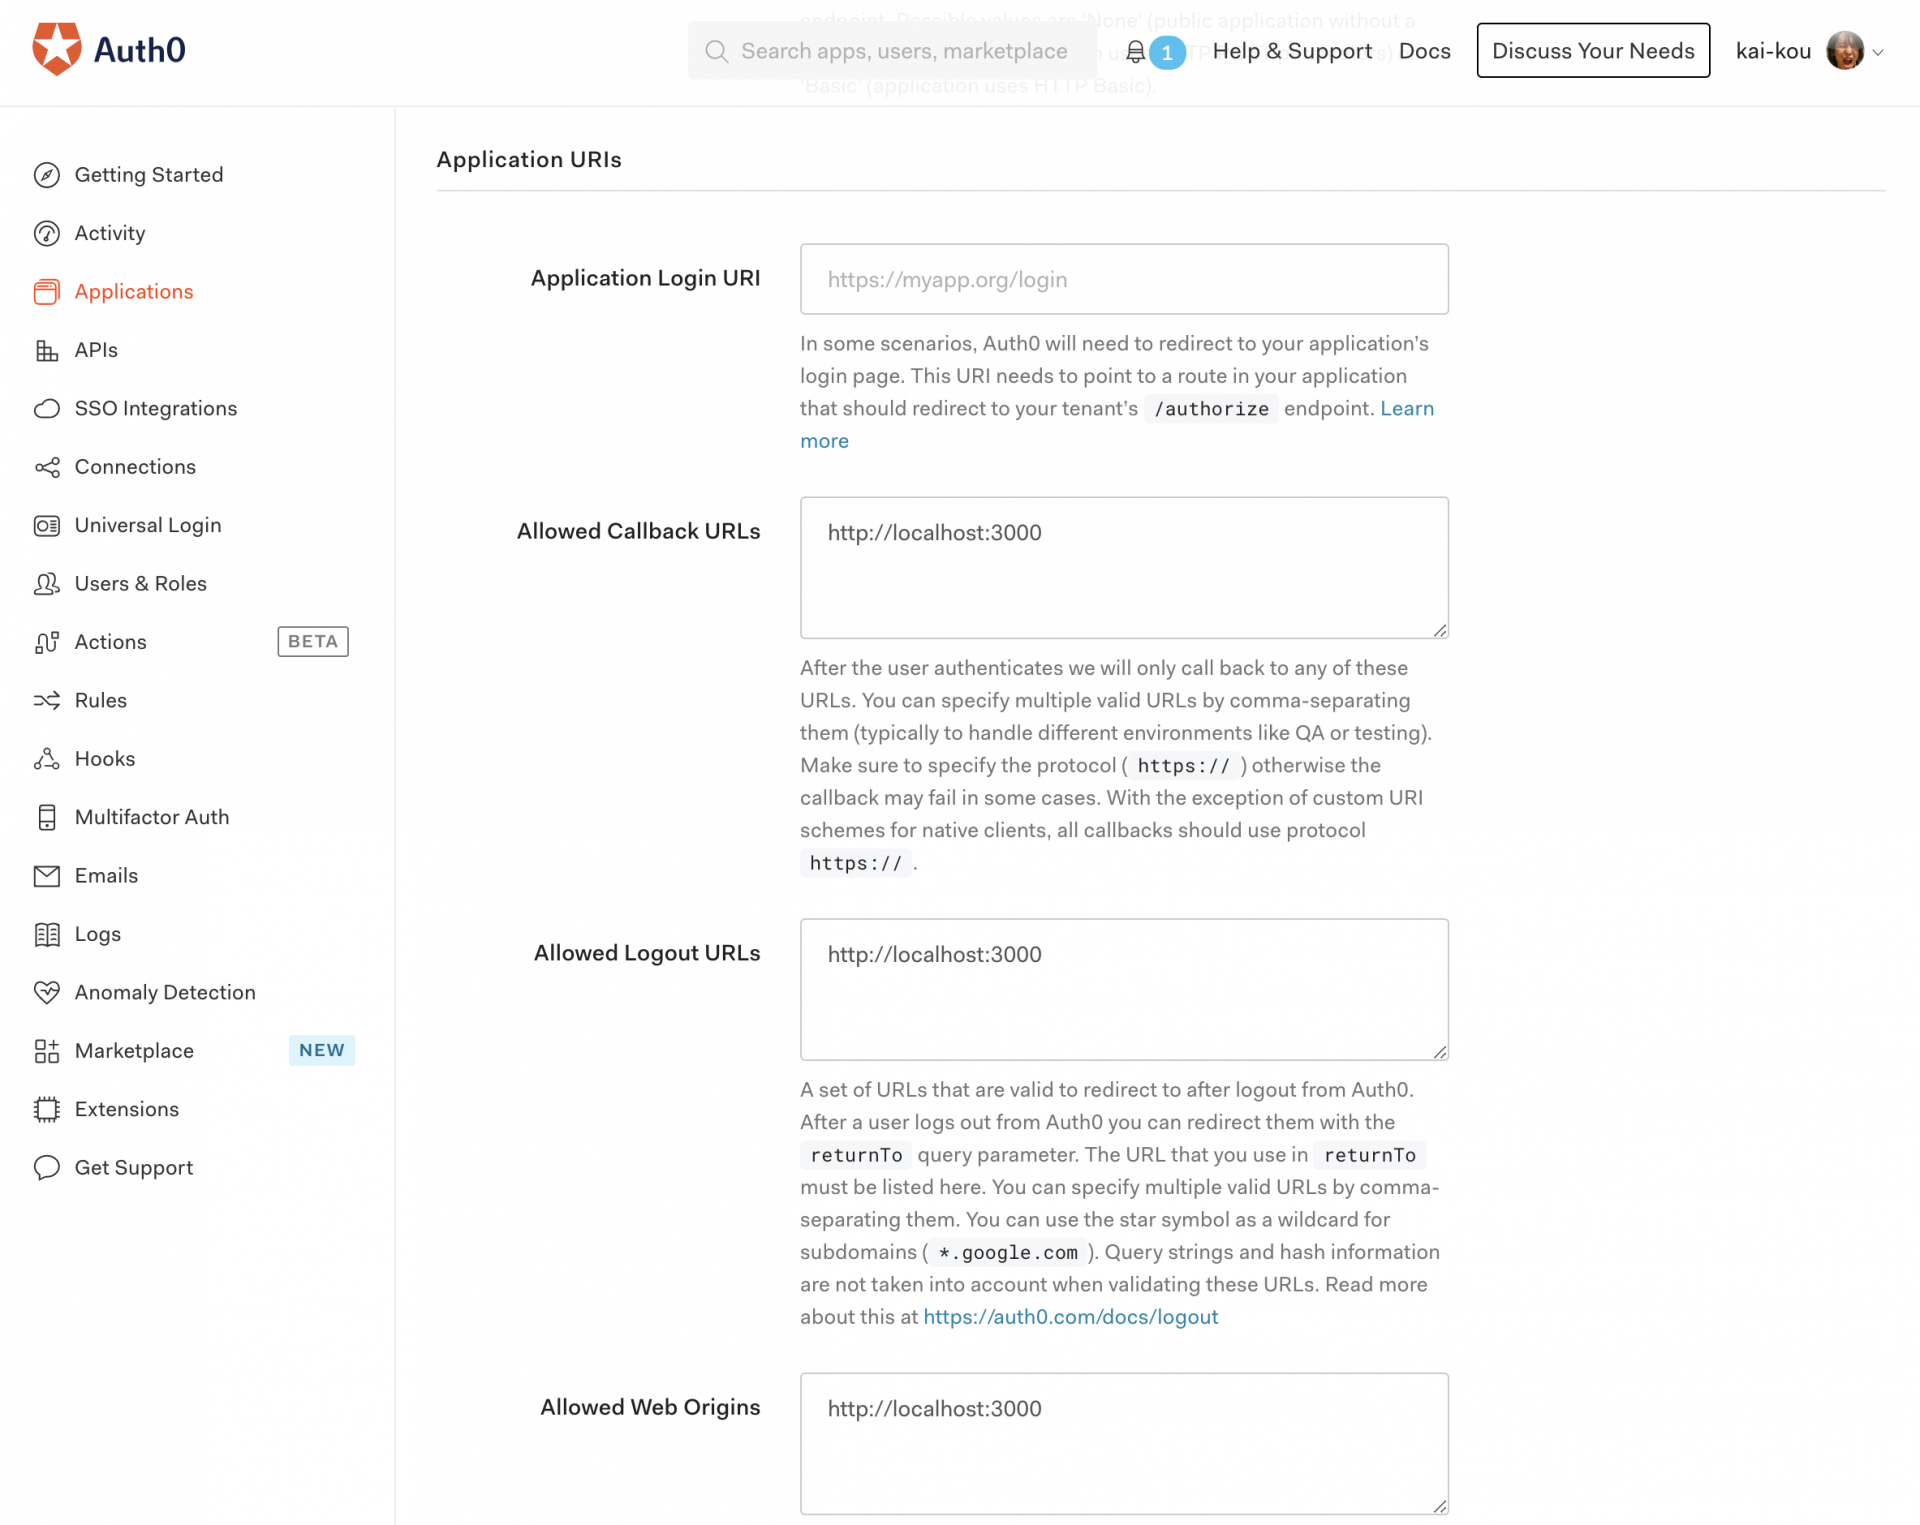
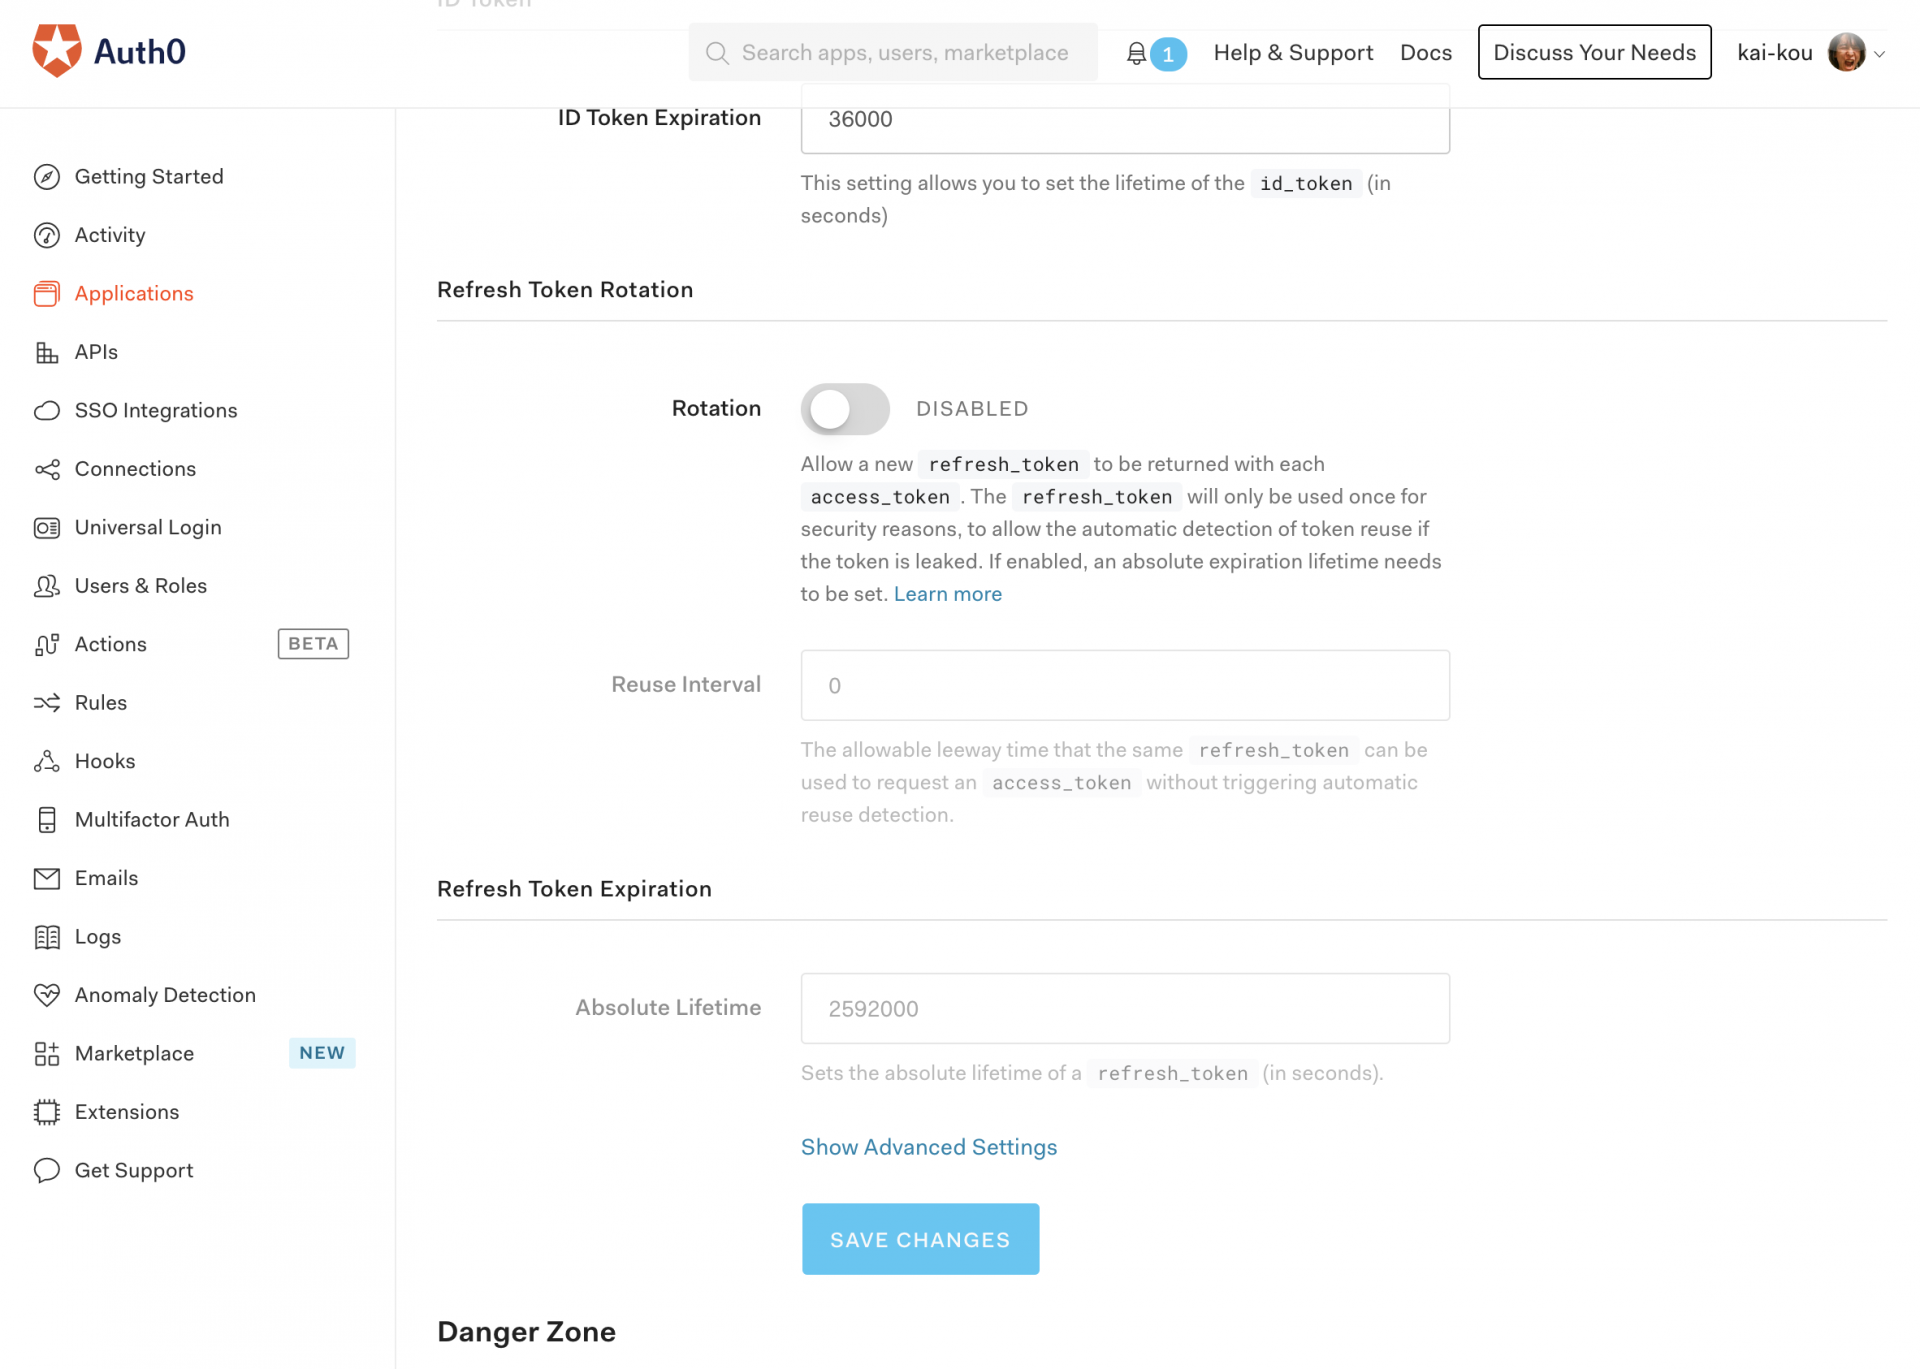
設定できたら画面下部にある「SAVE CHANGES」ボタンで設定を保存します。
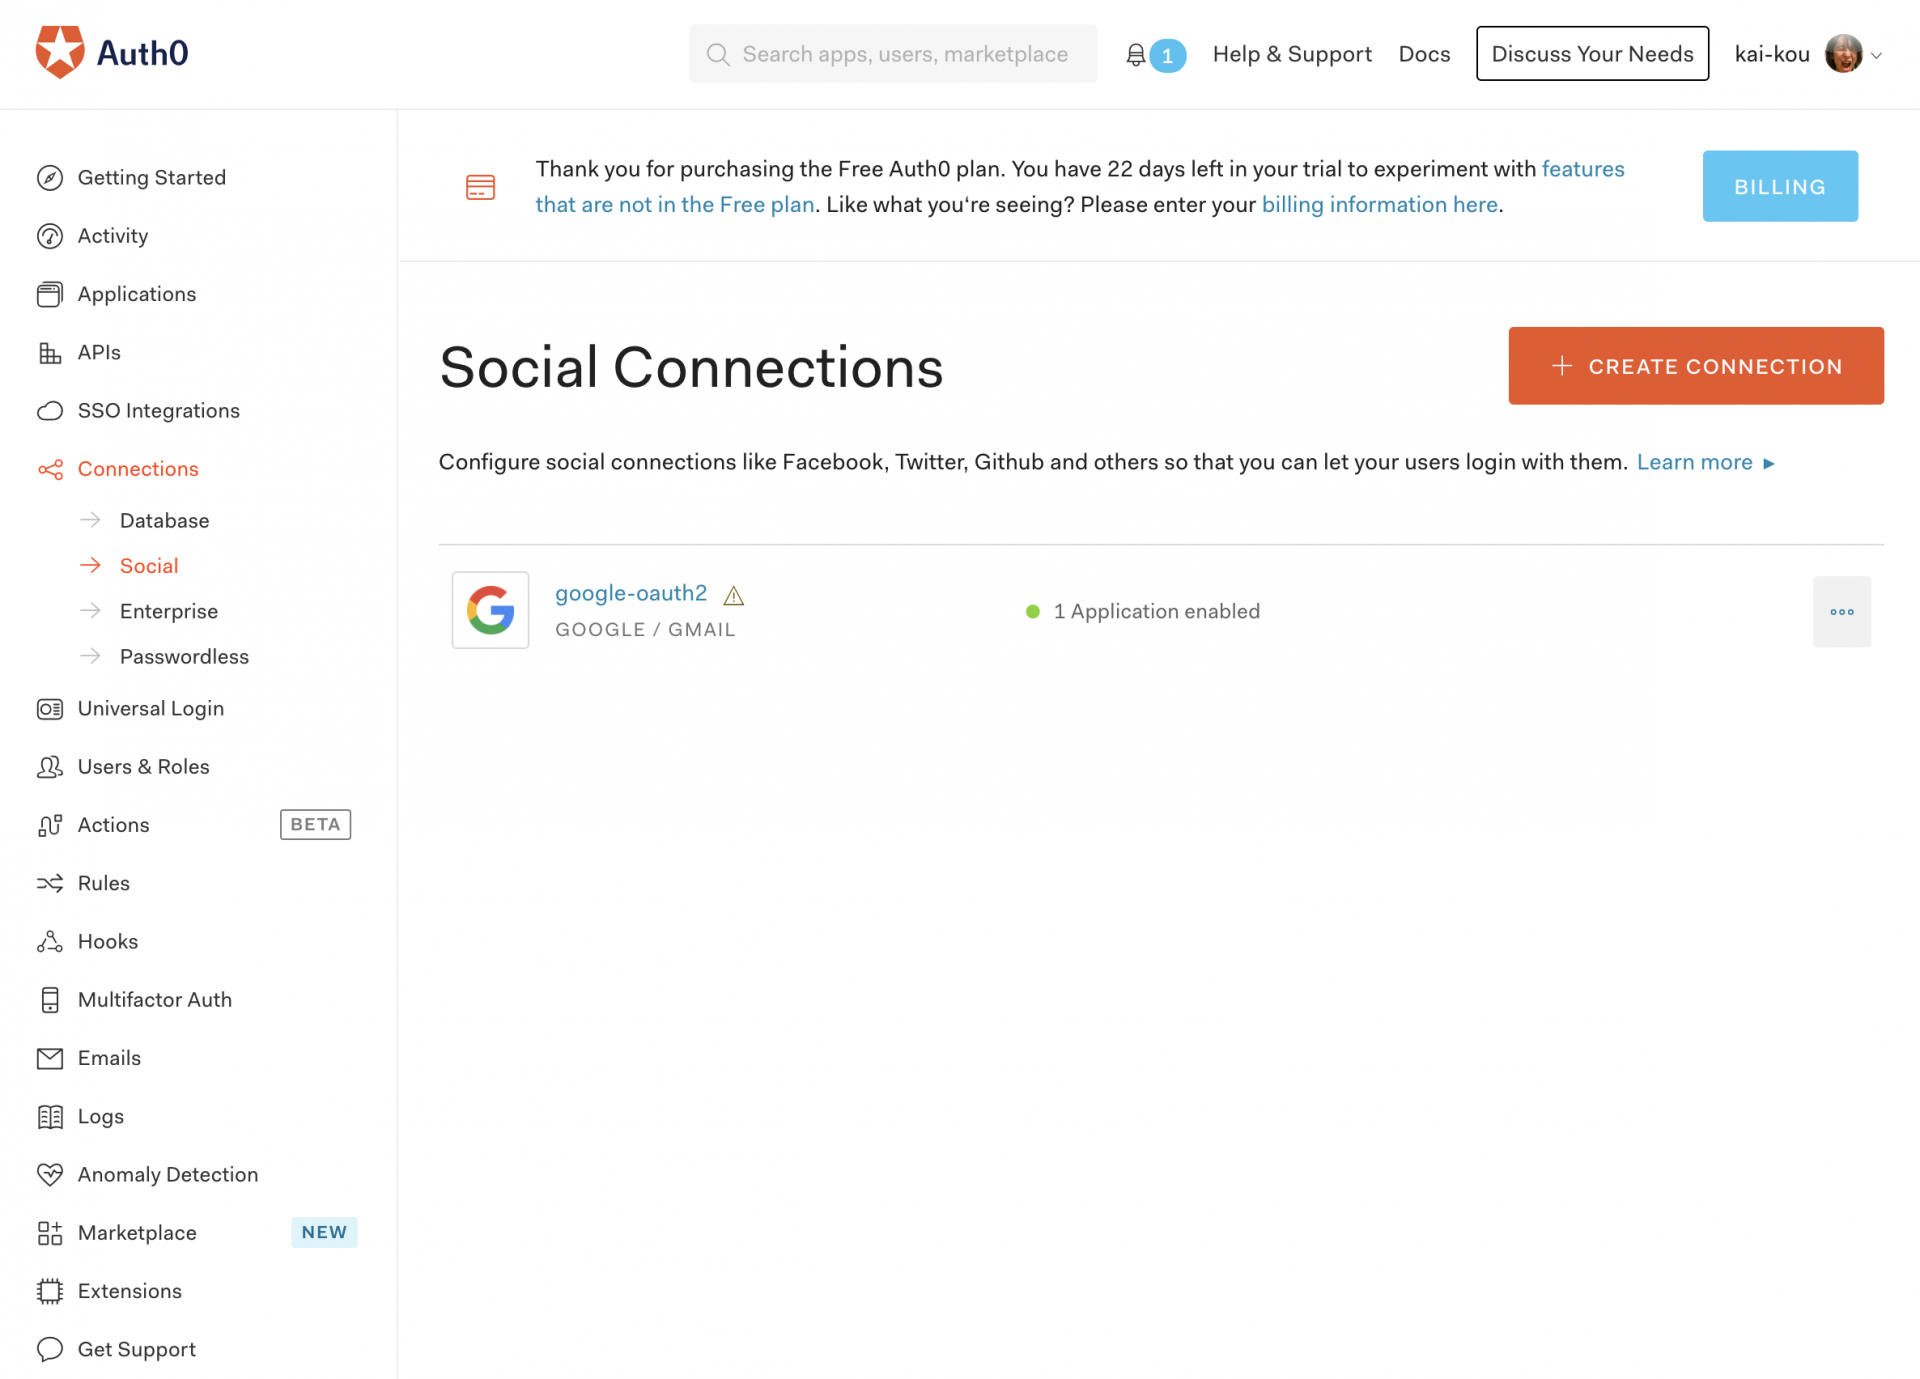
他の設定をみてみると最初からGoogleアカウントを利用したログイン設定がすでにされていました。
クライアント実装
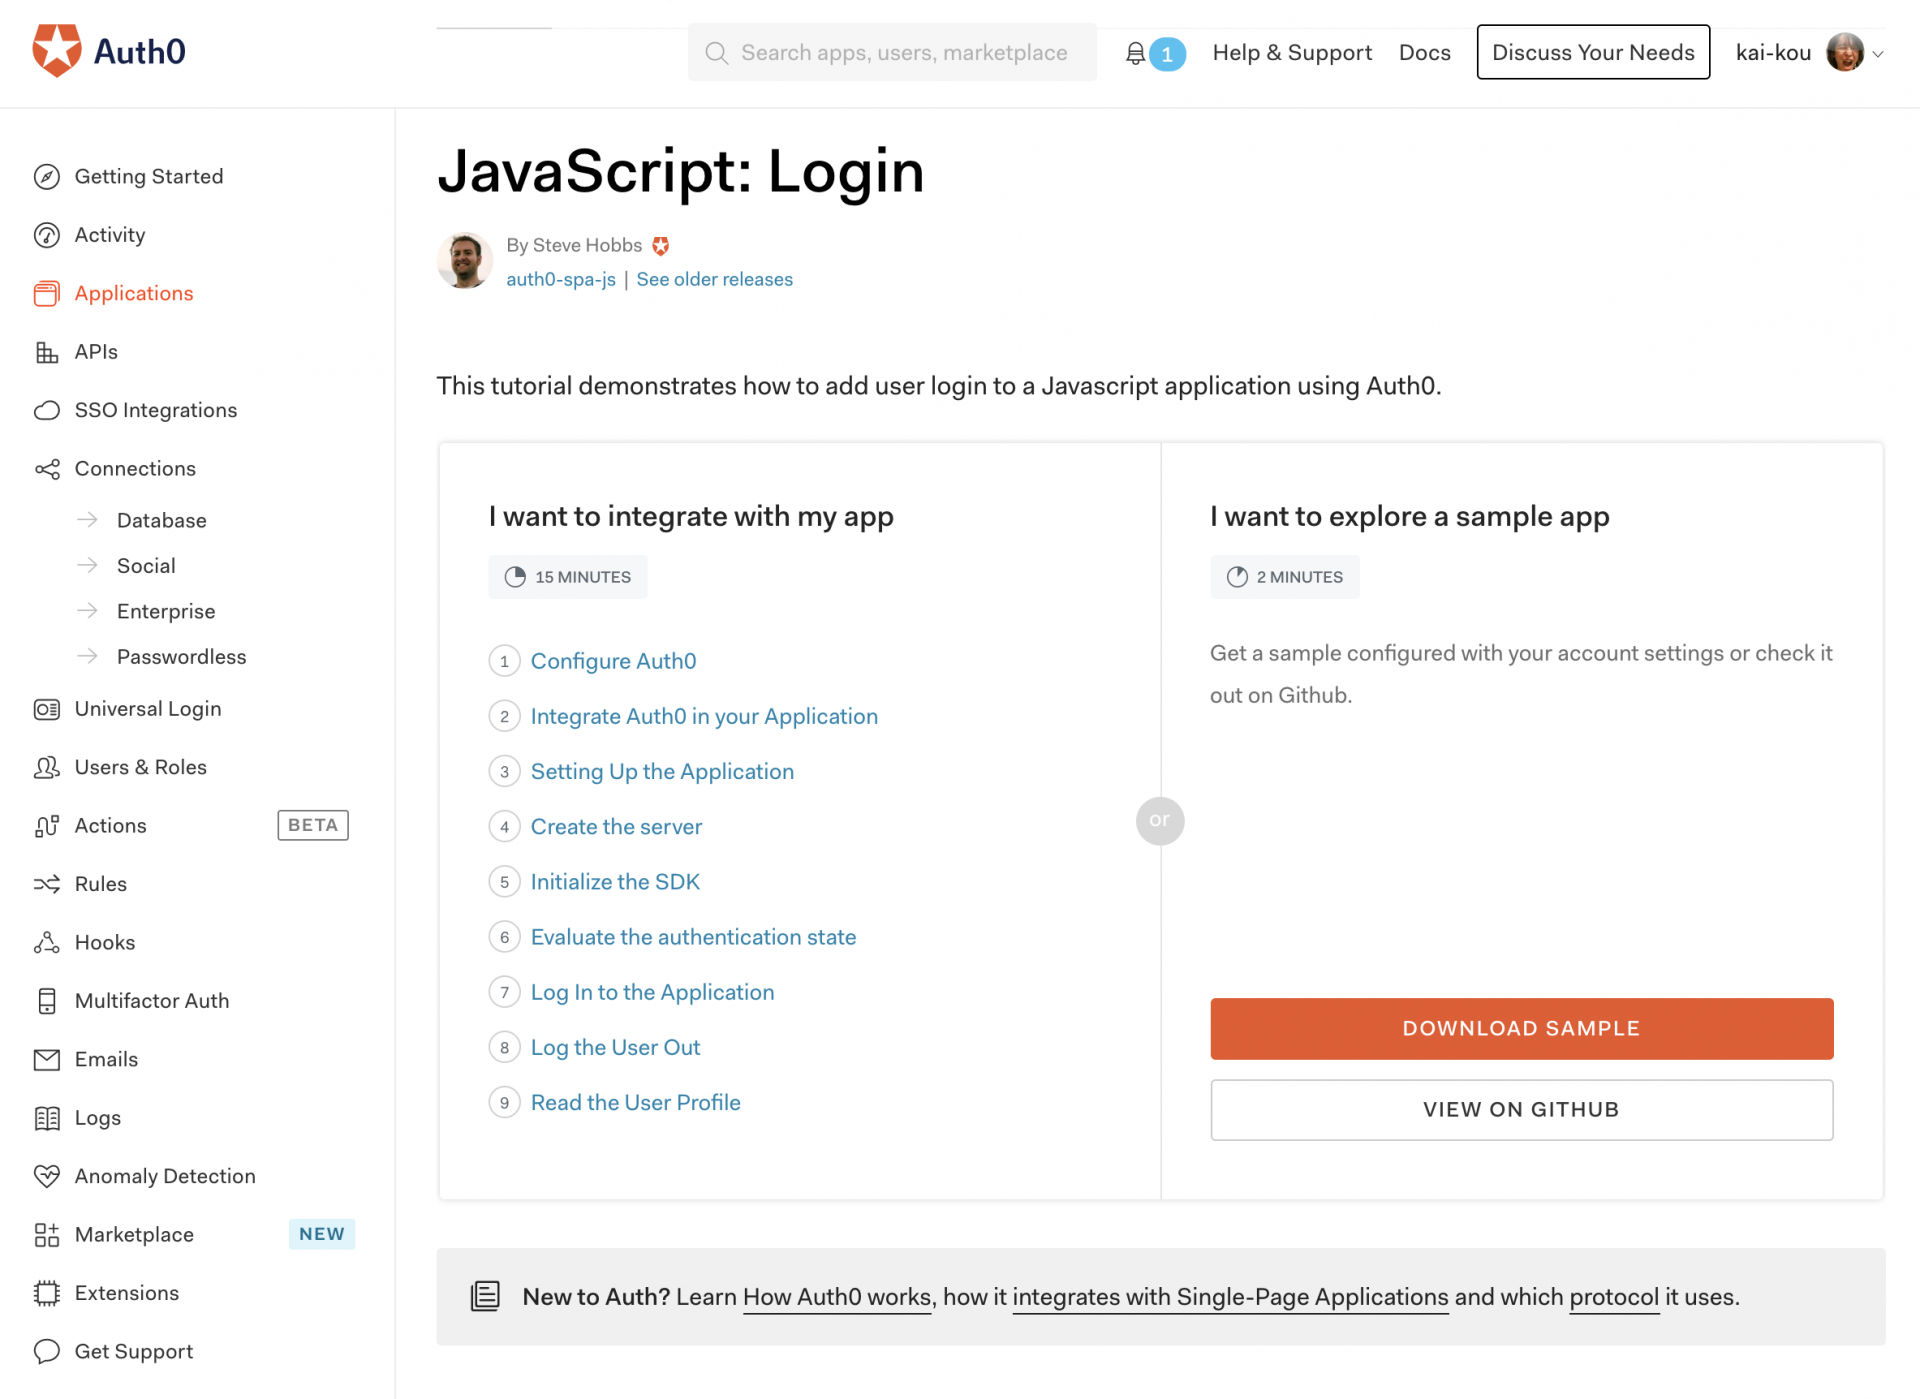
クライアントの実装をするのに、Applicationの「Quick Start」からサンプルを確認することができます。今回はJavaScriptのサンプルを利用します。
チュートリアルがとても丁寧でわかりやすいので本来はチュートリアルどおりに進めるのがよいと思います。実際に動作するコードはダウンロードまたはGitHubから取得することもできます。
構成
今回はサンプルを参考にして下記のような実装をしました。CSSは少なかったのでindex.html にまとめています。
Auth0のSDKはhttps://cdn.auth0.com/ で提供されているのでHTMLのscript タグで読み込めば利用できます。
- index.html
- js
- app.js
- auth_config.json
<!DOCTYPE html>
<html>
  <head>
    <meta charset="UTF-8" />
    <title>SPA SDK Sample</title>
    <style>
      .hidden {
        display: none;
      }
      label {
        margin-bottom: 10px;
        display: block;
      }
    </style>
  </head>

  <body>
    <h2>SPA Authentication Sample</h2>
    <p>Welcome to our page!</p>
    <button id="btn-login" disabled="true" onclick="login()">Log in</button>
    <button id="btn-logout" disabled="true" onclick="logout()">Log out</button>

    <div class="hidden" id="gated-content">
      <p>
        You're seeing this content because you're currently
        <strong>logged in</strong>.
      </p>
      <label>
        Access token:
        <pre id="ipt-access-token"></pre>
      </label>
      <label>
        User profile:
        <pre id="ipt-user-profile"></pre>
      </label>
    </div>

    <script src="https://cdn.auth0.com/js/auth0-spa-js/1.9/auth0-spa-js.production.js"></script>
    <script src="js/app.js"></script>
  </body>
</html>
Auth0の機能はSDKに含まれるcreateAuth0Client にauth_config.json のパラメータを渡して実行することで利用できるようになります。今回利用しているメソッドは以下となります。
- createAuth0Client: 初期化や再認証など
- auth0.isAuthenticated: 認証済みか
- auth0.getTokenSilently: トークン取得
- auth0.getUser: ログインしているユーザーの情報取得
- auth0.handleRedirectCallback: Auth0からの認証結果確認、トークン保存、セッション設定
- auth0.loginWithRedirect: Auth0のログイン画面へ移動
- auth0.logout: ログアウト実行
let auth0 = null;
const fetchAuthConfig = () => fetch("/auth_config.json");

const configureClient = async () => {
  const response = await fetchAuthConfig();
  const config = await response.json();

  auth0 = await createAuth0Client({
    domain: config.domain,
    client_id: config.clientId
  });
};

const updateUI = async () => {
  const isAuthenticated = await auth0.isAuthenticated();

  document.getElementById("btn-logout").disabled = !isAuthenticated;
  document.getElementById("btn-login").disabled = isAuthenticated;

  if (isAuthenticated) {
    document.getElementById("gated-content").classList.remove("hidden");
    document.getElementById(
      "ipt-access-token"
    ).innerHTML = await auth0.getTokenSilently();
    document.getElementById("ipt-user-profile").textContent = JSON.stringify(
      await auth0.getUser()
    );
  } else {
    document.getElementById("gated-content").classList.add("hidden");
  }
};

window.onload = async () => {
  await configureClient();
  updateUI();

  const isAuthenticated = await auth0.isAuthenticated();

  if (isAuthenticated) {
    return;
  }

  const query = window.location.search;
  console.log(query);
  if (query.includes("code=") && query.includes("state=")) {
    await auth0.handleRedirectCallback();

    updateUI();
    window.history.replaceState({}, document.title, "/");
  }
};

const login = async () => {
  await auth0.loginWithRedirect({
    redirect_uri: window.location.origin
  });
};

const logout = () => {
  auth0.logout({
    returnTo: window.location.origin
  });
};
こちらはAuth0のドメインやClient IDを保持するファイルになりますので、それぞれで内容を変更する必要があります。
{
  "domain": "xxxxx.us.auth0.com",
  "clientId": "xxxxxxxxxxxxxxxxxxxxxxxxxxxxxxxxxxxx"
}
サーバ起動
Auth0のサンプルだとサーバはnode.jsを利用していましたがもっとシンプルにPythonでWebサーバを起動します。Pythonのバージョンは3前提です。
参考) Pythonの標準ライブラリでさくっとAPIサーバとWebサーバを立ち上げる - Qiita
https://qiita.com/kai_kou/items/6cf5930330b85fa583b0
> cd index.htmlがあるディレクトリ
> python -m http.server 3000
Serving HTTP on :: port 3000 (http://[::]:3000/) ...
Webサーバが立ち上がったらhttp://localhost:3000 へアクセスします。
動作確認
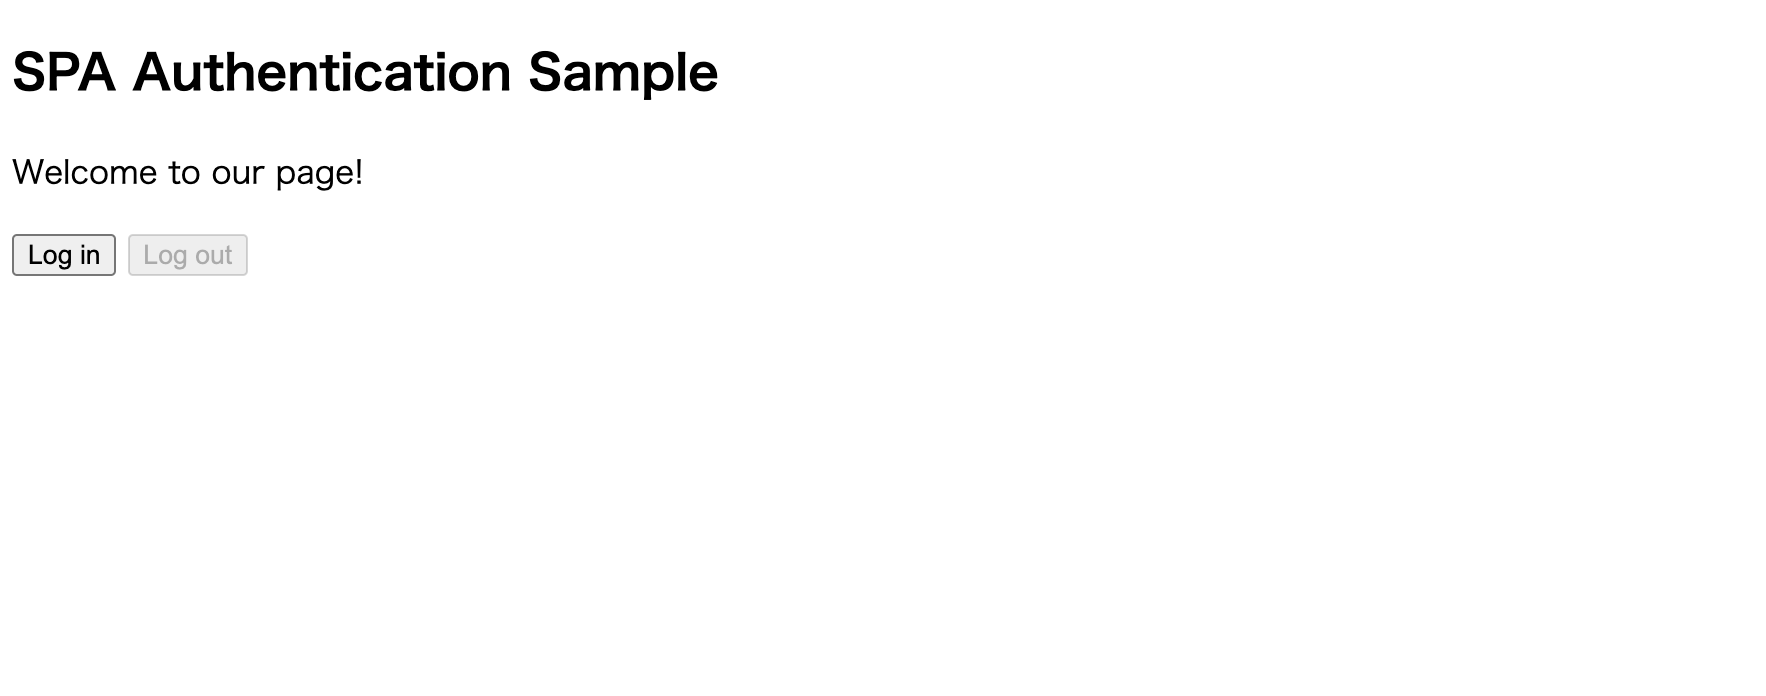
ブラウザに表示されたページでログイン、ログアウトを試してみます。
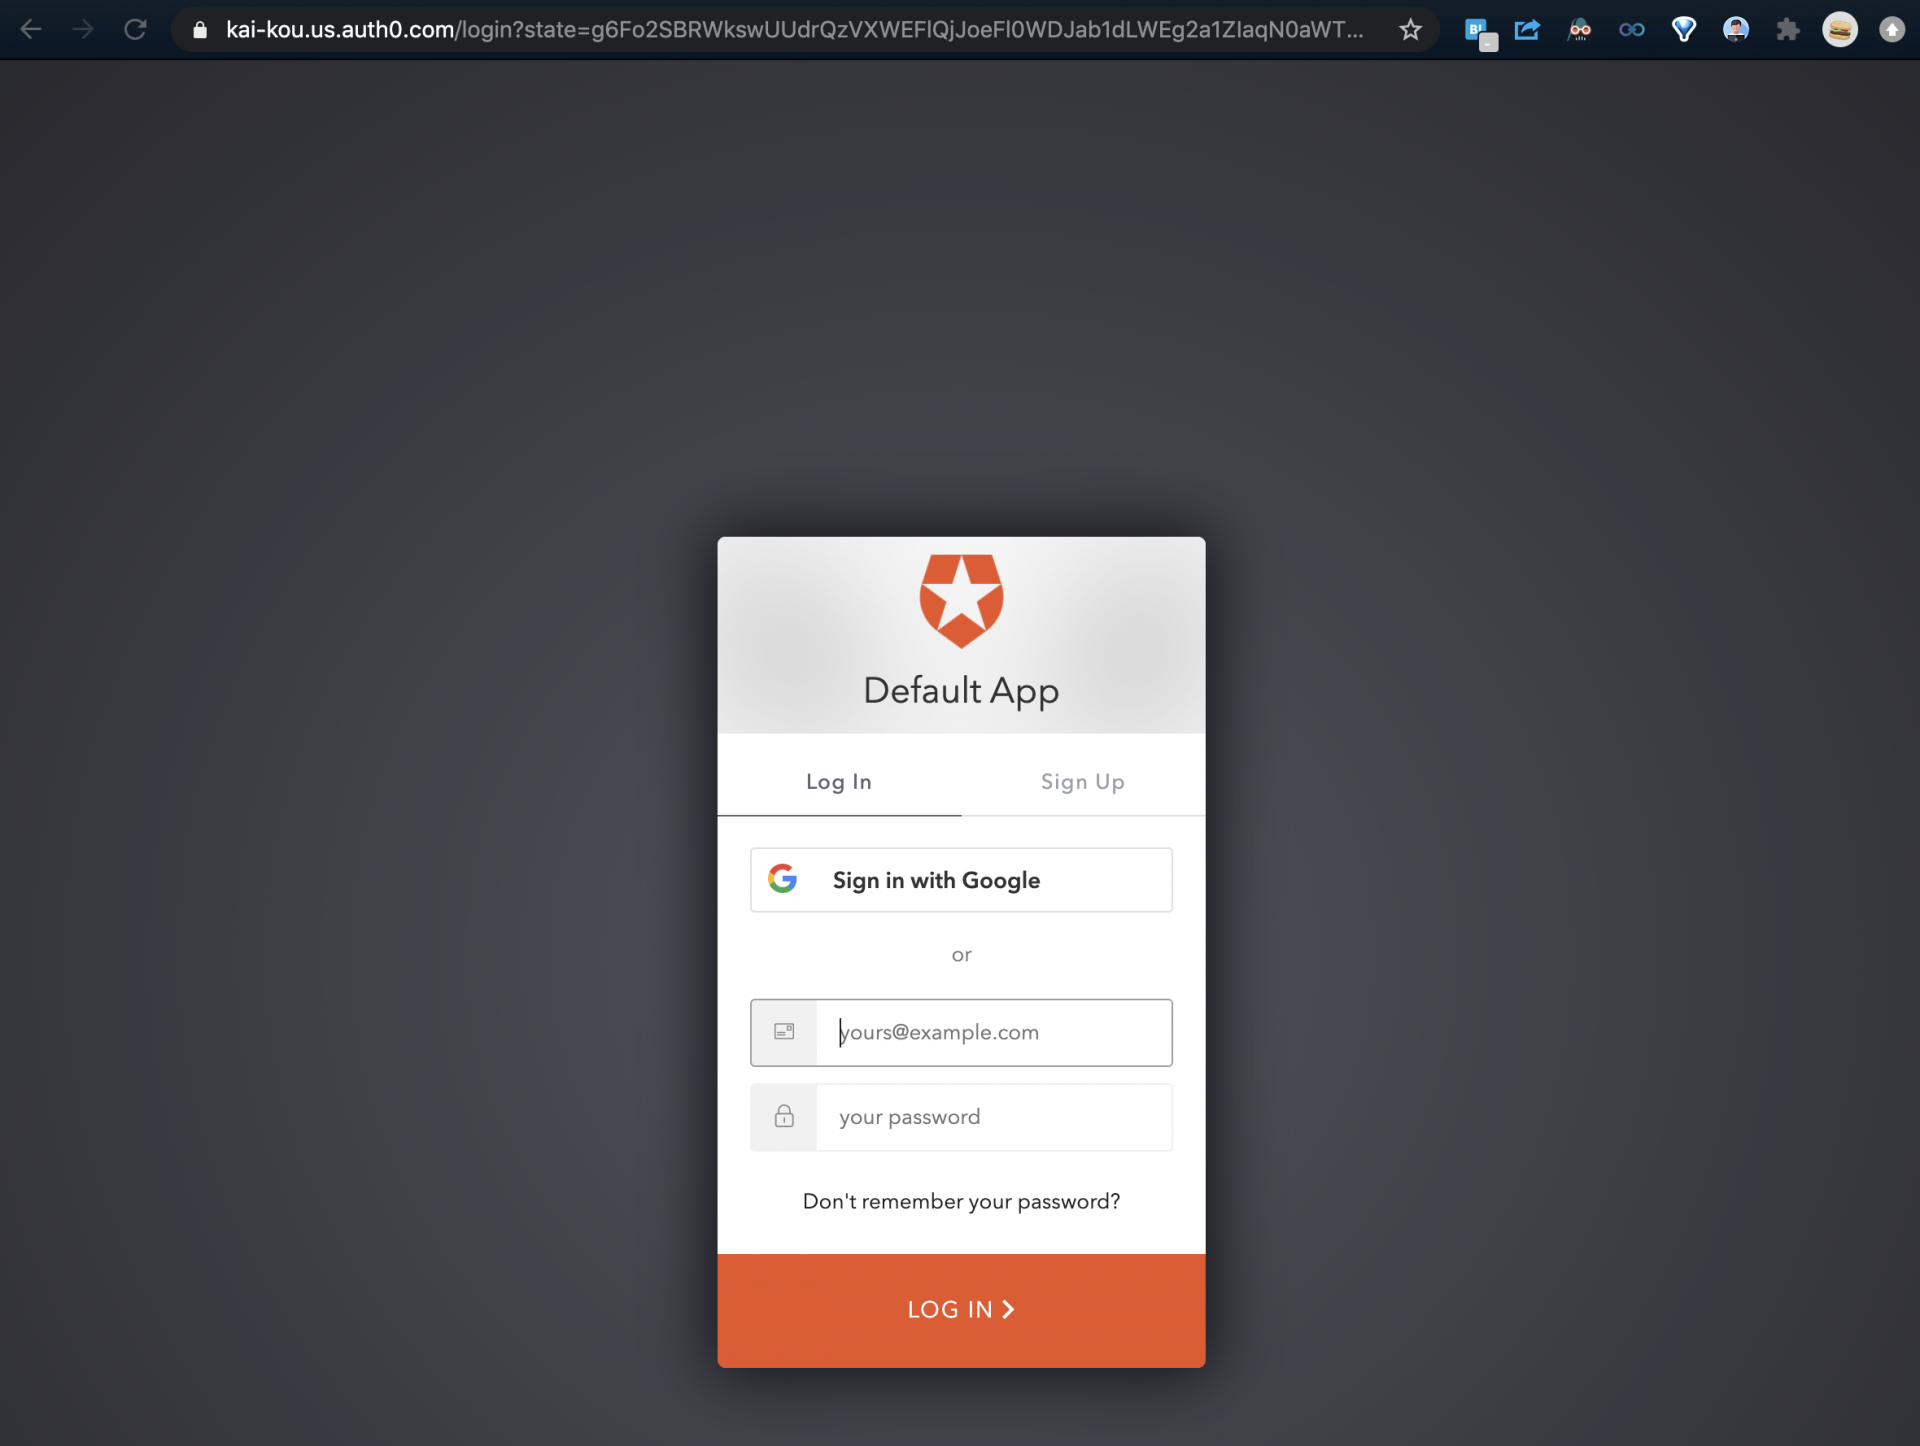
「Log in」ボタンをクリックすると、auth_config.json で指定したAuth0のドメインへ遷移します。
「Sign in with Google」でGoogleアカウントを利用したサインアップをします。
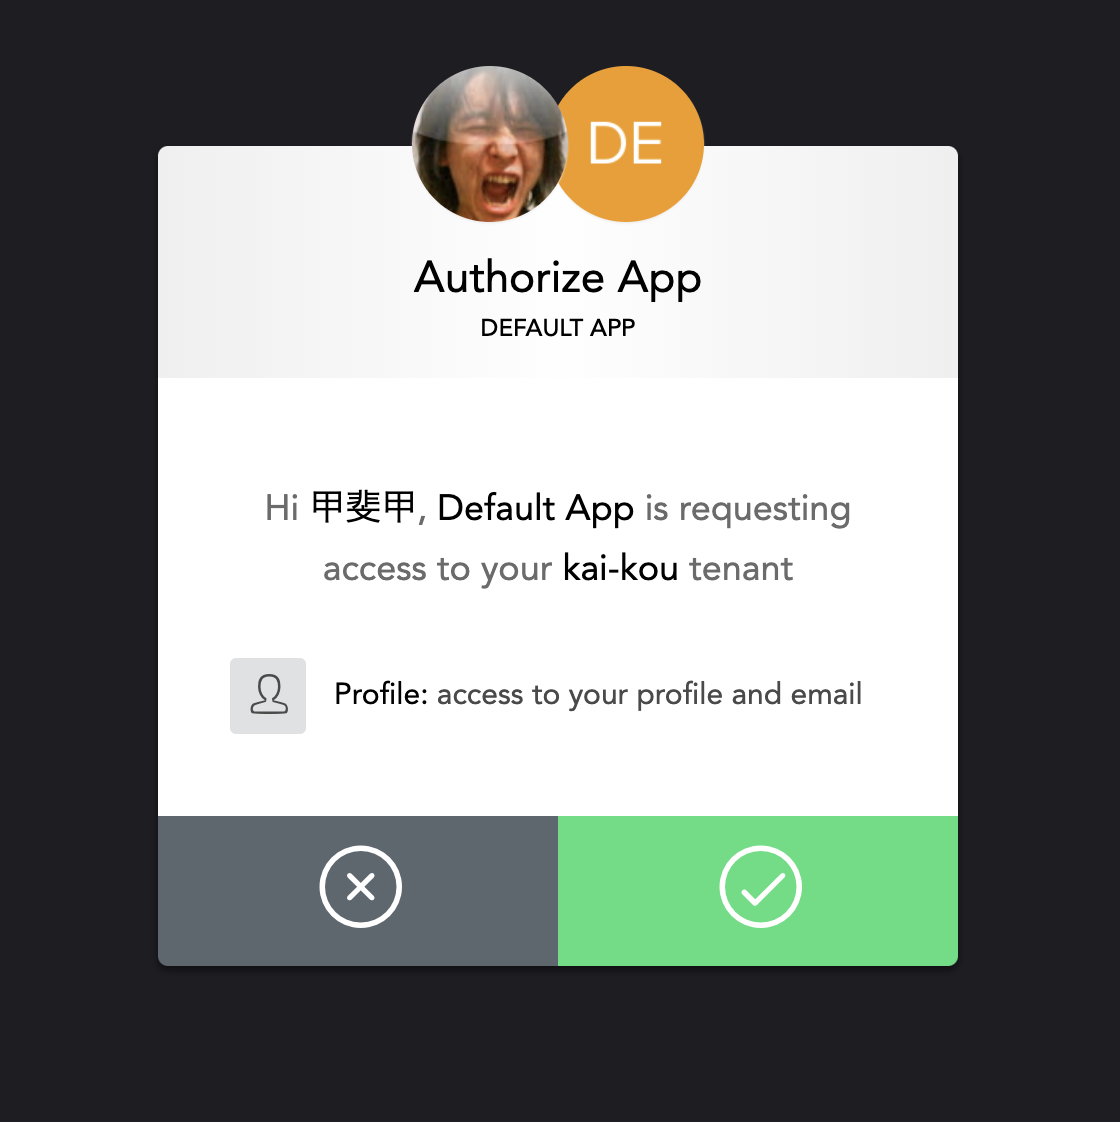
Googleアカウントから戻ってくるとAuth0側でGoogleから提供されるプロファイルの利用可否を確認されますので、「チェック」ボタンをクリックします。
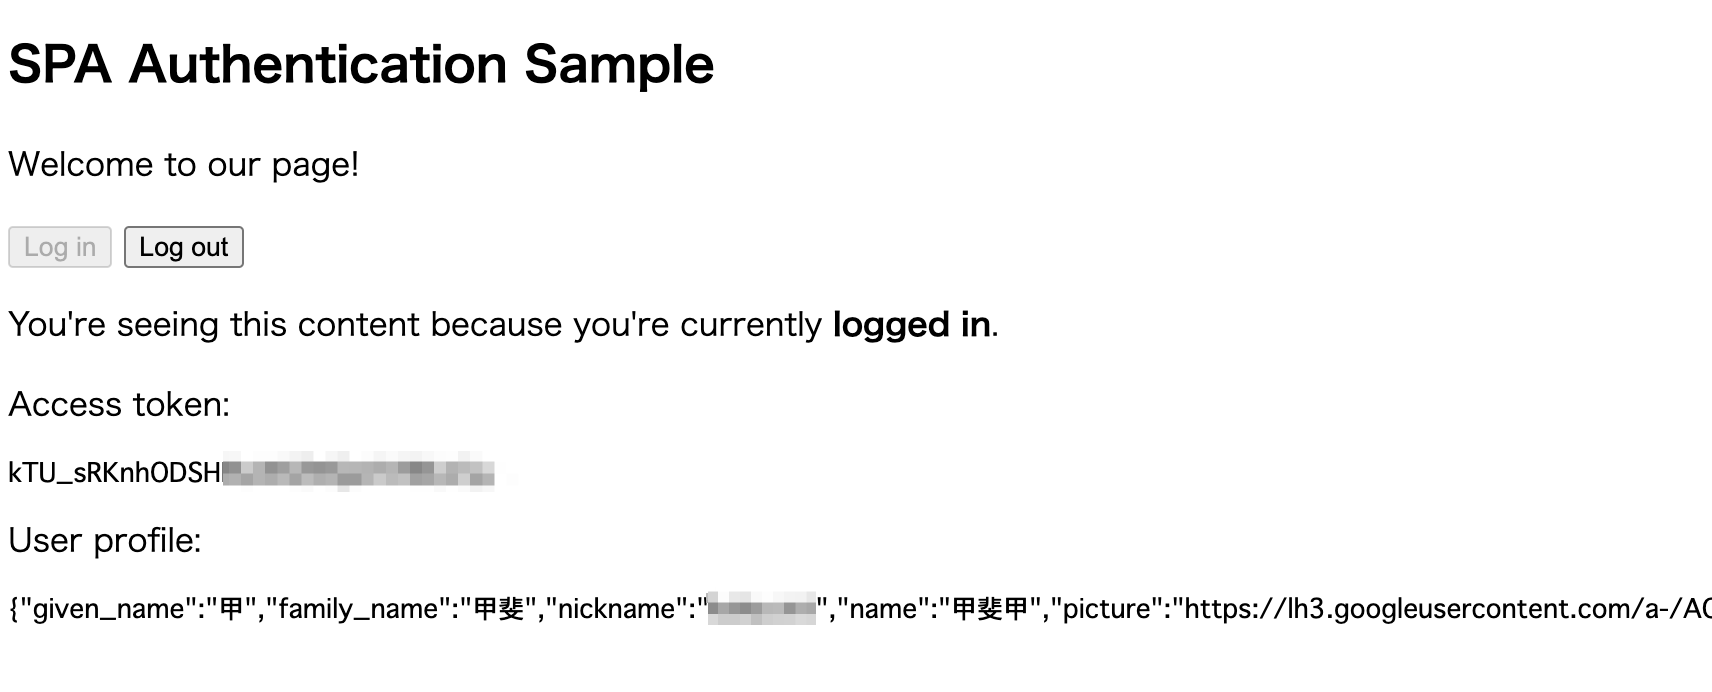
ログインが完了すると、http://localhost:3000 へコールバックで戻ってきてトークンやアカウント情報が取得できたのが確認できます。「Log out」ボタンをクリックするとログアウトされます。
Auth0のユーザ設定をみるとユーザー登録されたことが確認できます。

Auth0の設定を最低限にしていますので、このままだと、ログイン後、ブラウザのリロードをしてもログイン状態が保持されなかったりしますが、Auth0側で設定変更すれば対応可能となります。
まとめ
実装はシンプルですが、Auth0を利用した認証ができるようになりました。
この実装のまま外部向けのサービスやサイトを公開するのはセキュリティ上あまりよろしくありませんが、Auth0の調査目的として利用するのであれば、Auth0側の設定を変更しつつ挙動を確認してAuth0の仕組みを把握するのには十分利用できそうです。
参考
Auth0の機能を調べてみた - Qiita
https://qiita.com/kai_kou/items/b3dd64e4f8f53325020e
Pricing - Auth0
https://auth0.com/pricing/
Auth0: Secure access for everyone. But not just anyone.
https://auth0.com/jp/
Pythonの標準ライブラリでさくっとAPIサーバとWebサーバを立ち上げる - Qiita
https://qiita.com/kai_kou/items/6cf5930330b85fa583b0