はじめに
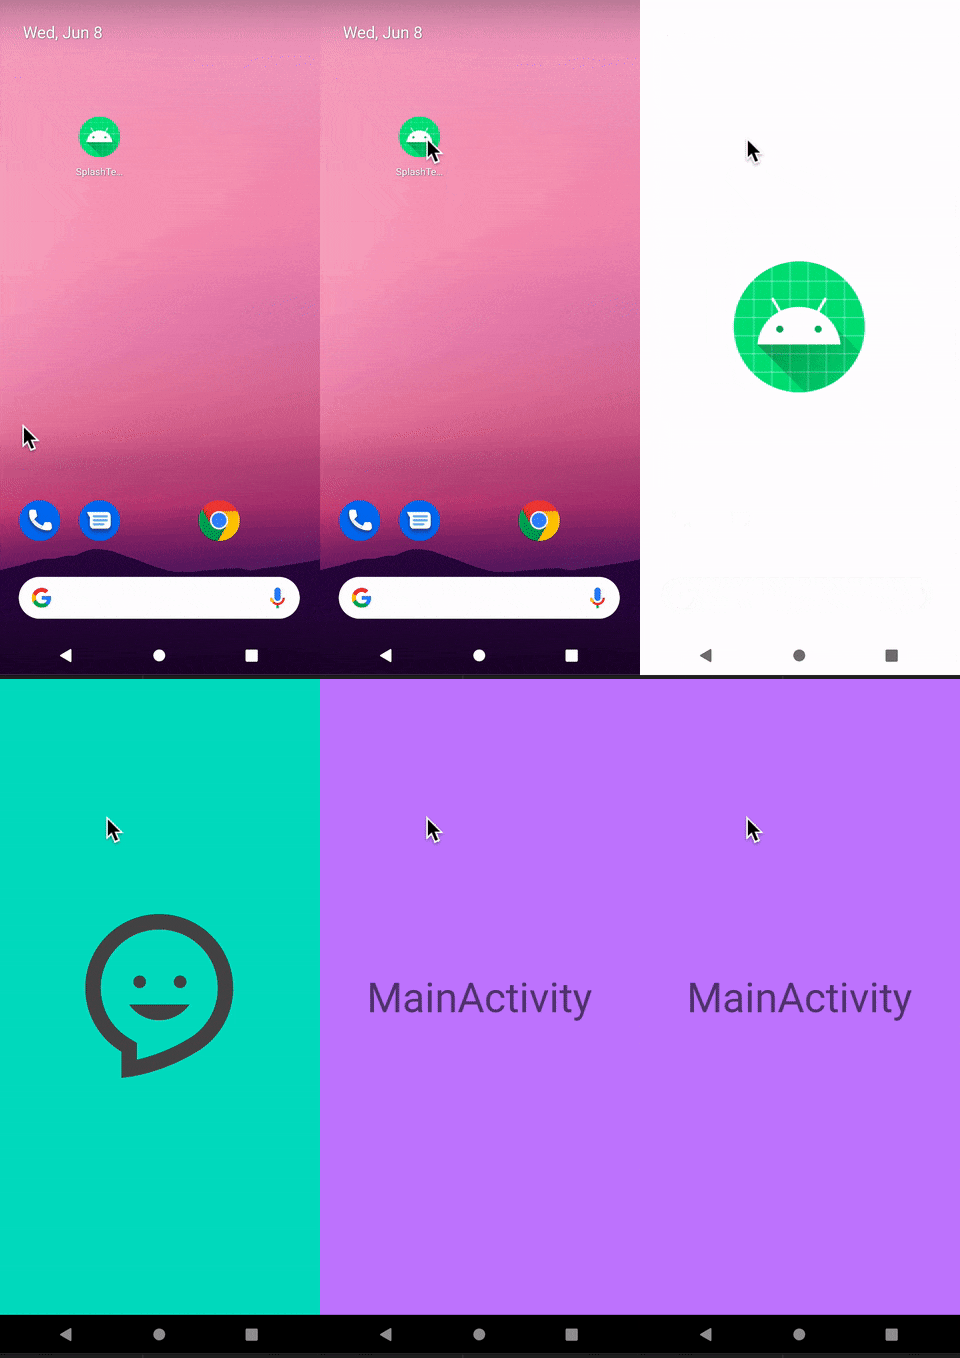
Android12(sdk31)ではデフォルトでSplashScreenというスプラッシュ画面が表示されるようになりました。
そのためAndroid11以前でカスタムスプラッシュ画面を実装している場合は、
それがAndroid12以降でも適切に表示されるよう、アプリをSplashScreenAPIに移行する必要があります。(参照:Android developers)
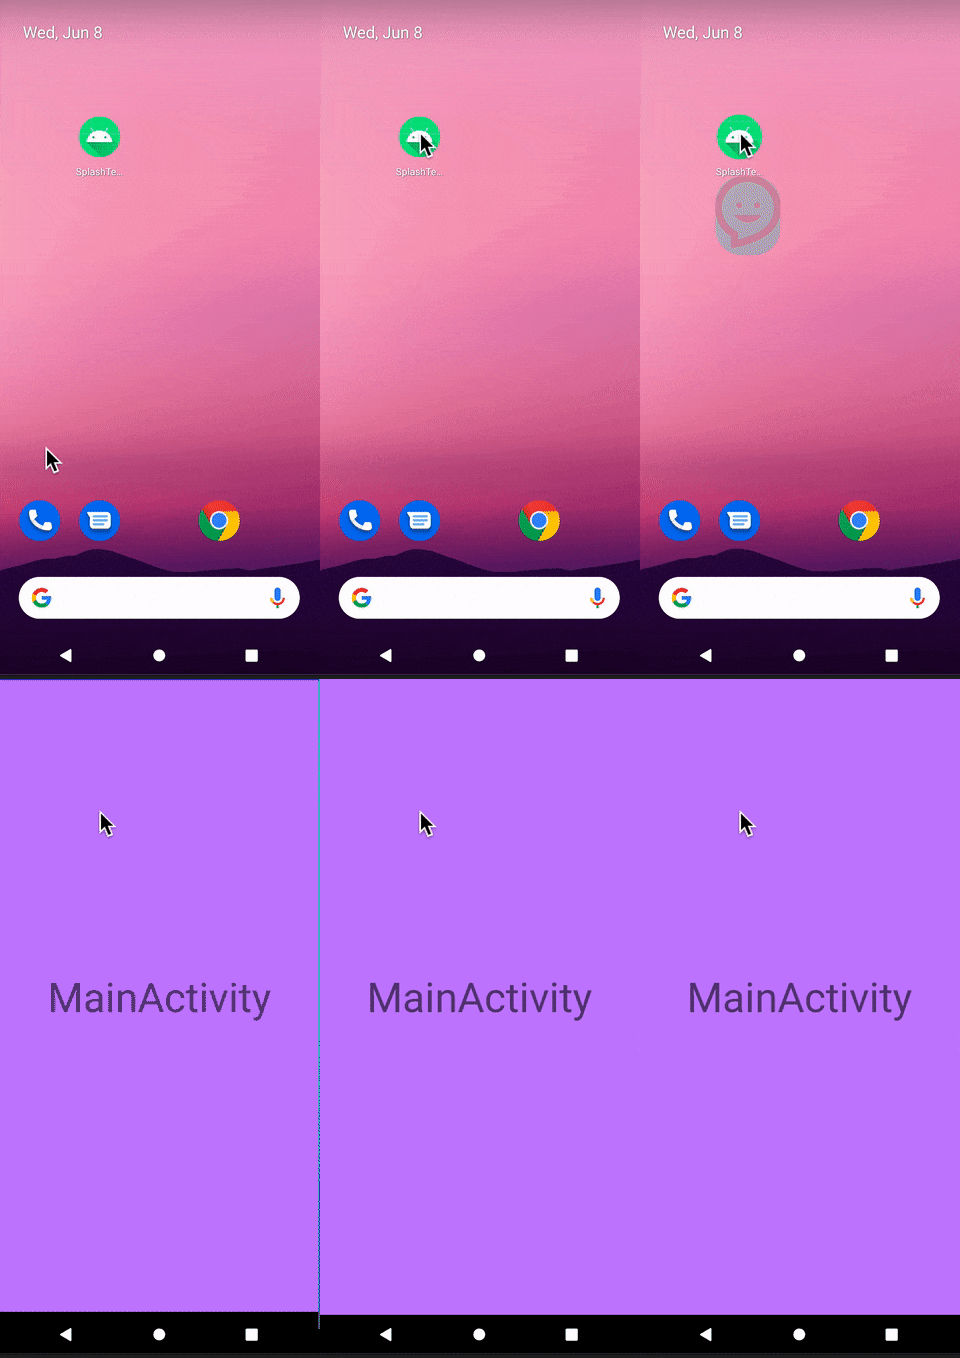
本記事ではAndroid11以前とAndroid12で、スプラッシュ画面における挙動を揃える方法を説明します。
開発環境
PC:MacBook Pro
OS:macOS BigSur
Android Studio:Arctic Fox 2021.1.1
SplashScreen対応方法
公式に記載されている以下2つに加え、その他の方法について説明したいと思います。
・既存のSplashActivityを削除し、SplashScreenを表示
・既存のSplashActivityを非表示にし、SplashScreenのみ表示
①既存のSplashActivityを削除し、SplashScreenを表示
こちらは公式で推奨されている方法です。
既に作成してあるSplashActivityは内の処理をMainActivityに移行し、
SplashActivityを削除することでSplashScreenのみ表示させます。
実装
まずgradleファイルにSplashScreen互換性ライブラリを追加します。
// SplashScreen
implementation "androidx.core:core-splashscreen:1.0.0-rc01"
次にthemes.xmlで表示するSplashScreenの設定を行います。
    <style name="AppTheme.Splash" parent="Theme.SplashScreen">
        //背景を特定の単色で塗りつぶす
        <item name="windowSplashScreenBackground">@color/white</item>
        //開始ウィンドウの中央にあるアイコンを置き換える
        <item name="windowSplashScreenAnimatedIcon">@drawable/ic_smile</item>
        //スプラッシュ画面が閉じるまでの表示時間を設定
        <item name="windowSplashScreenAnimationDuration">200</item>
        <item name="postSplashScreenTheme">@style/Theme.SplashTestApp
        </item>
    </style>
AndroidManifest.xmlでMainActivityに先ほど追加したテーマを設定します。
この際、開始ActivityをSplashActivityからMainActivityに変更し、テーマを設定します。
<activity
            android:name=".MainActivity"
            android:exported="true"
            android:theme="@style/AppTheme.Splash">   //追加
            <intent-filter>
                <action android:name="android.intent.action.MAIN" />

                <category android:name="android.intent.category.LAUNCHER" />
            </intent-filter>
        </activity>
次にMainActivityに以下を追加します。
installSplashScreen()はsuper.onCreate()より前で呼び出してください。
class MainActivity : AppCompatActivity() {
    override fun onCreate(savedInstanceState: Bundle?) {
        installSplashScreen()  //追加
        super.onCreate(savedInstanceState)
        setContentView(R.layout.activity_main)

        ~~~
    }
}
最後にSplashActivityとactivity_splash.xmlを削除します。
②既存のSplashActivityを残したまま、SplashScreenのみ表示
こちらはSplashActivityで行っている処理はそのままで、SplashActivityを描画させずにSplashScreenのみを表示する方法です。
SplashActivityの処理をMainActivityに移行するのが難しい場合はこちらの方法で行うと良いです。
実装
方法①と同様にgradleファイルにSplashScreen互換性ライブラリを追加します。
次にこちらも①同様に、themes.xmlで表示するSplashScreenの設定を行います。
    <style name="AppTheme.Splash" parent="Theme.SplashScreen">
        //背景を特定の単色で塗りつぶす
        <item name="windowSplashScreenBackground">@color/white</item>
        //開始ウィンドウの中央にあるアイコンを置き換える
        <item name="windowSplashScreenAnimatedIcon">@drawable/ic_smile</item>
        //スプラッシュ画面が閉じるまでの表示時間を設定
        <item name="windowSplashScreenAnimationDuration">200</item>
        <item name="postSplashScreenTheme">@style/Theme.SplashTestApp
        </item>
    </style>
AndroidManifest.xmlでSplashActivityに先ほど追加したテーマを設定します。
<activity
android:name=".SplashActivity"
android:exported="true"
android:theme="@style/AppTheme.Splash">    //追加
<intent-filter>
    <action android:name="android.intent.action.MAIN" />

    <category android:name="android.intent.category.LAUNCHER" />
</intent-filter>
</activity>
最後にSplashActivityを以下のように編集します。
val splashScreen = installSplashScreen()はsuper.onCreate()より前で行ってください。
class SplashActivity : AppCompatActivity() {
    override fun onCreate(savedInstanceState: Bundle?) {

        val splashScreen = installSplashScreen()  //追加

        super.onCreate(savedInstanceState)
        setContentView(R.layout.activity_splash)

        splashScreen.setKeepOnScreenCondition { true } //追加

        //元々の遷移処理
        CoroutineScope(Dispatchers.Default).launch {
            delay(2000)
            val intent = Intent(this@SplashActivity, MainActivity::class.java)
            startActivity(intent)
            finish()
        }
    }
}
以上の対応を行うことで、SplashActivityの処理を移行させることなくスプラッシュを表示することができます。
③SplashScreenの透明化
こちらは調査中に見つけた方法です。
公式で紹介されているものではなく、不具合もありそう、、?なのであまりおすすめはしません。。
実装
SplashActivityのテーマに以下を追加します。
<item name="android:windowIsTranslucent">true</item>
参考文献
・Android developers(既存のスプラッシュ画面の実装を Android 12 以降に移行する )
・Android 12の探索:スプラッシュ画面

