今回はタイトルにある通りRSSリーダーであるFeedlyを使って未読記事をSlackに通知する方法を共有したいと思います!
Feedlyを使っていない人でもLambdaをRubyで使ったりと応用の効く記事にしたつもりなので良かったら読んで行ってください!
経緯
Feedly開いて登録してあるWebサイトに新着記事がないか確認して、なかったら閉じて...
と短期間に何回も確認するのはめんどくさい!! でも新着が気になる!!
と思った怠惰な僕は、新着記事があったらSlackで教えてくれるものがあったらなと思ったので、タイトルにある通りSlackに未読記事を通知するスクリプトを作りました。
Lambdaの言語選択ですが、普段から使っていて昨年12月からサポートされたRubyを使います。
必要なもの
以上です。揃っていない方は参考記事からお願いします!
実装
Feedly API 調査
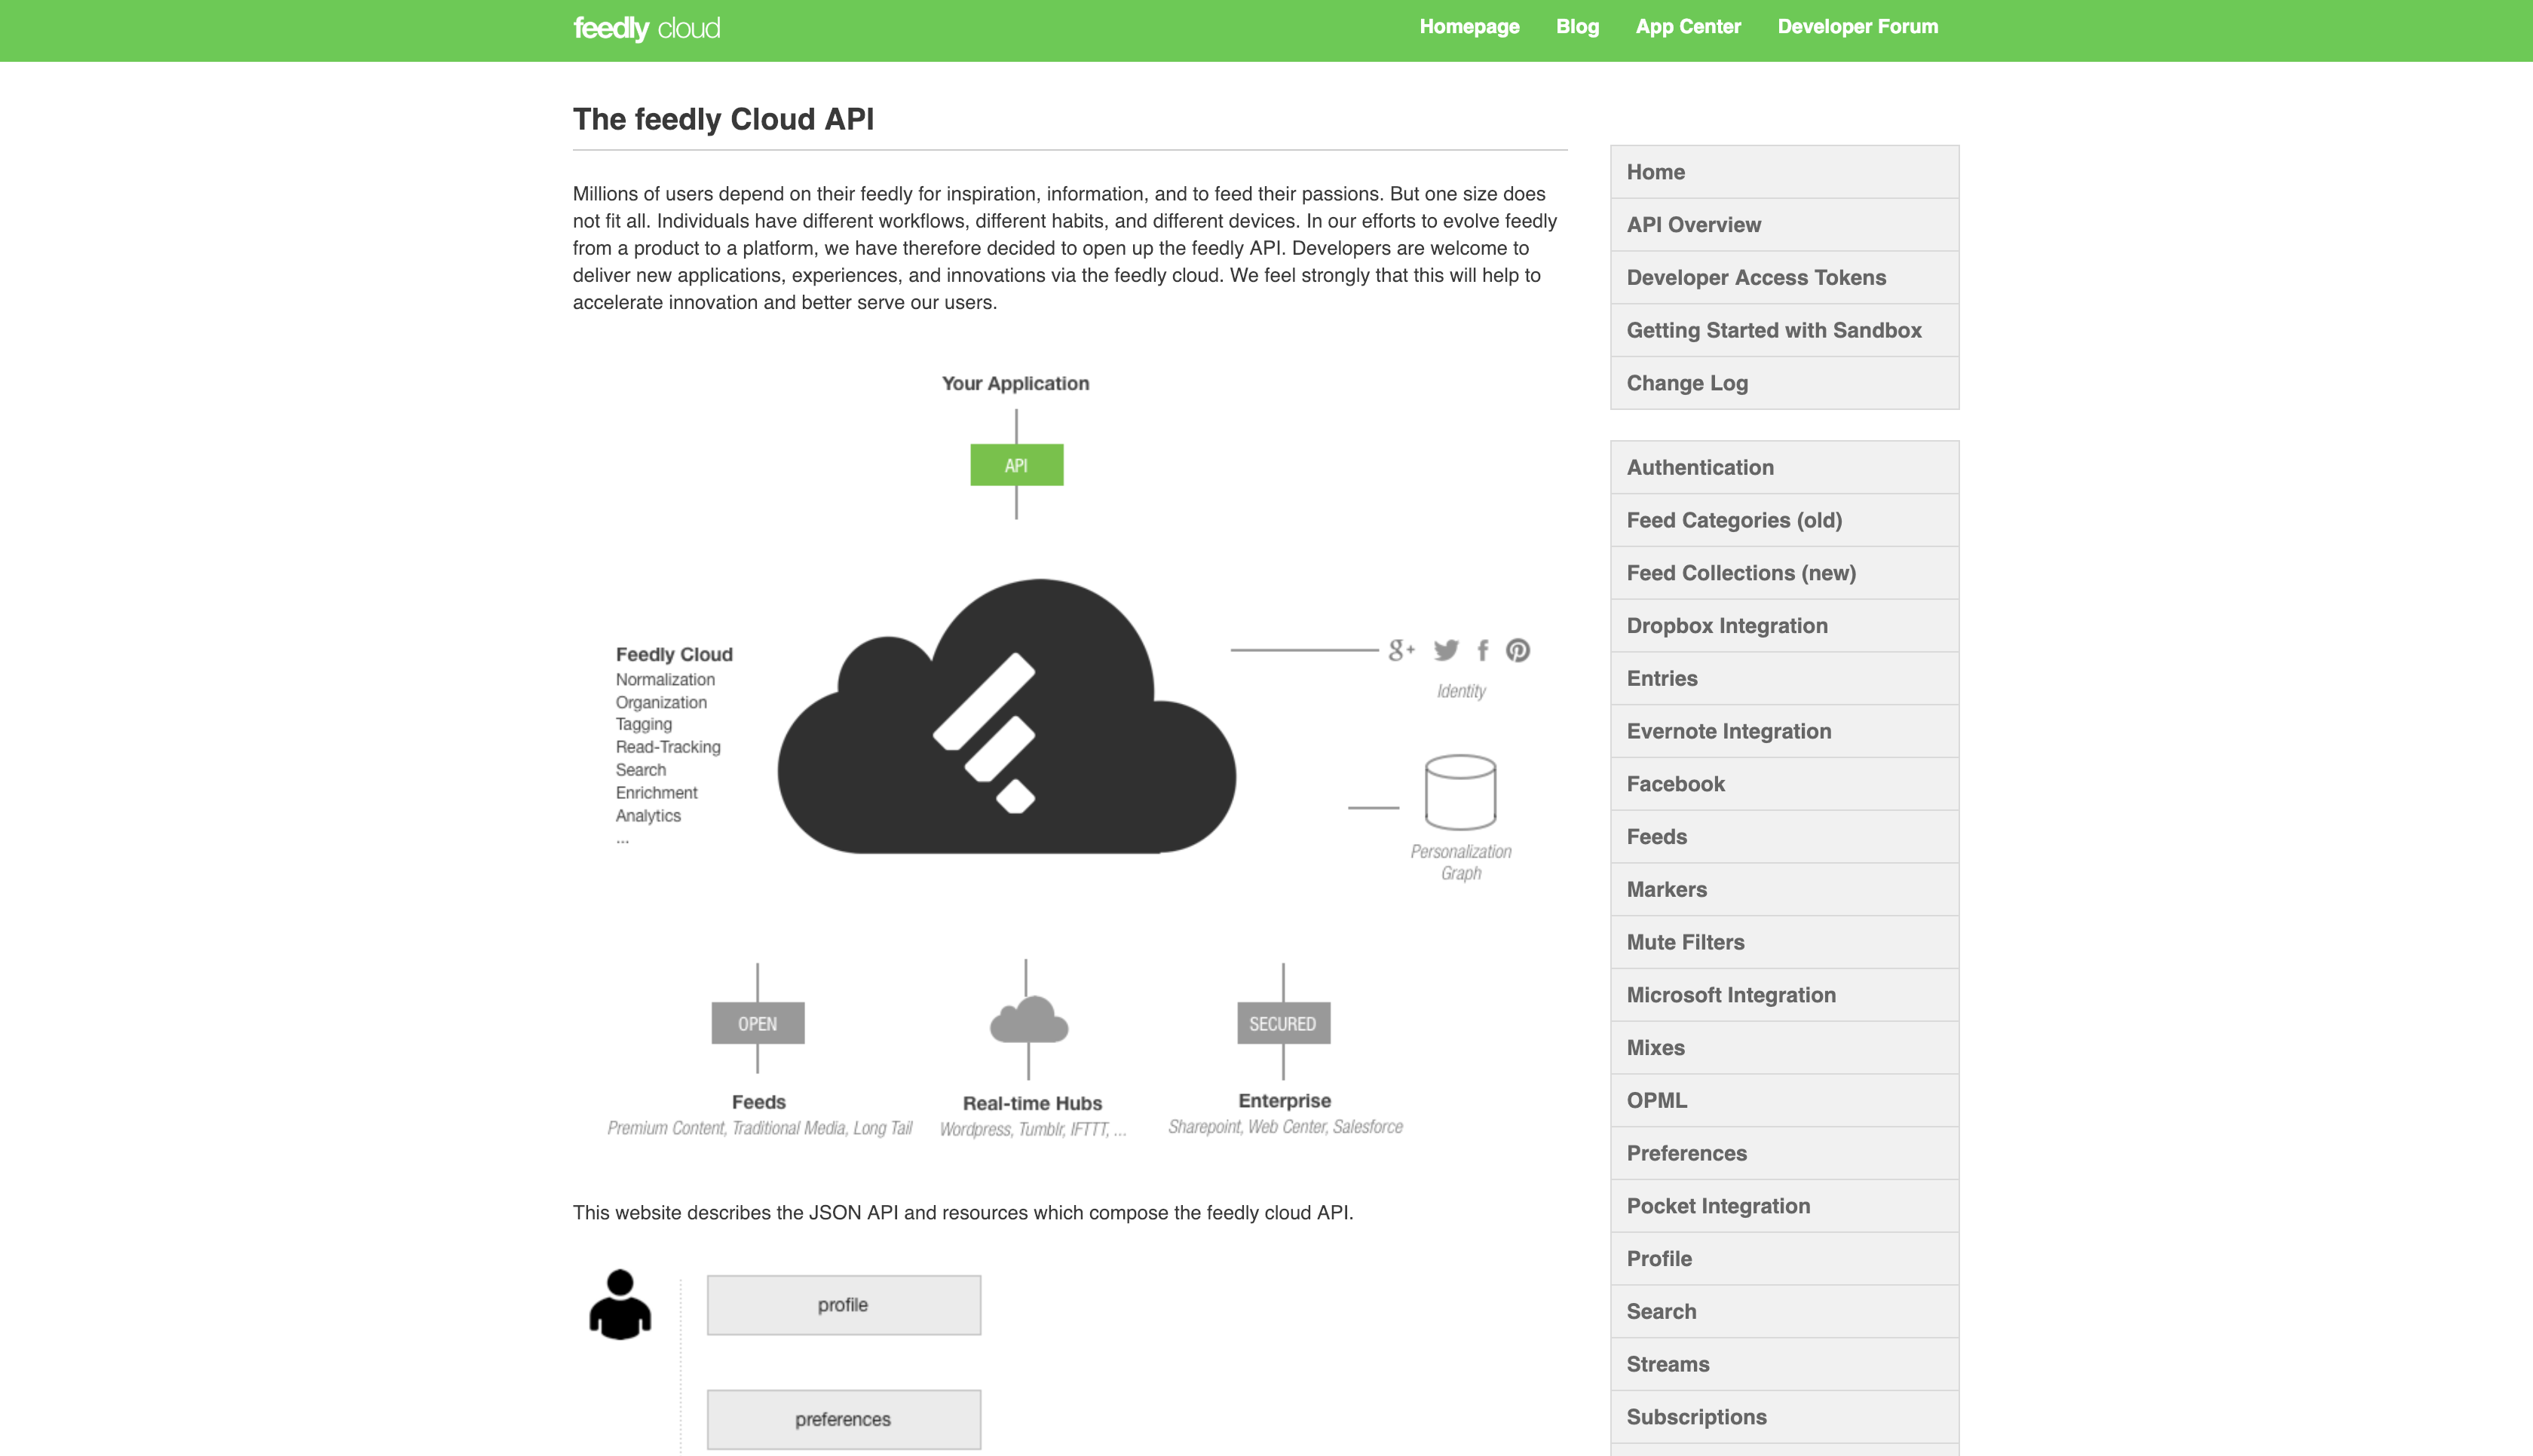
まずFeedly APIの公式サイトを見ると

沢山ありますね![]()
APIのカテゴリー(画像右)を見ていくとStreamsにありそうですね!
中を見ていくとそれらしき記載が!

とりあえず書いてある通り unread=true オプションを付けてあげれば取得できるのではないか!と思い
`curl -H 'Authorization:[取得したuser_id]' https://cloud.feedly.com/v3/streams/contents?streamId=[取得したuser_id]/unreadOnly=true
と実行したところ
{"errorCode":400,"errorId":"ap8int-sv2.2019020122.1070524","errorMessage":"invalid stream id"}
400が返ってきた![]()
stream_idにuser_idは使えないのかなー とか考えてググった所ドンピシャな記事を発見!
この記事の通り
curl -H 'Authorization:[取得したuser_id]' https://cloud.feedly.com/v3/streams/contents?streamId=user/[取得したuser_id]/category/global.all&unreadOnly
とした所、取得できました!
レスポンスを加工する必要があるのでそのロジックをRubyで組んでLambdaで定期実行します!
Gemfileに記述
今回はhttp_clientとslackのGemを使用する為Gemfileに
source "https://rubygems.org"

git_source(:github) {|repo_name| "https://github.com/#{repo_name}" }

gem 'httpclient'
gem 'slack-notifier'
と記述し、
bundle install --path vendor/bundle
を実行し、vendor配下にパスを指定してください(lamdbaにアップロードする時に使います)
実行ファイル作成
そして、実行ファイルに
require 'httpclient'
require 'json'
require 'slack-notifier'

# APIから未読記事を取得する
def get_unread_articles
  client = HTTPClient.new
  query = { unreadOnly: true }
  response = client.get("https://cloud.feedly.com/v3/streams/contents?streamId=user/#{ENV['STREAM_ID']}/category/global.all", query: query, header: [["Authorization", "#{ENV['ACCESS_TOKEN']}"]])
  response.status == 200 ? create_message(set_articles(response)) : post_slack('APIのエラーで記事を正常に取得できませんでした!')
end

# responseから未読記事のタイトルとURLを取得
def set_articles(response)
  article_title_and_url = []
  body = JSON.parse response.body
  body['items'].each do |item|
    article = []
    article.push(item['title'])
    article.push(item['originId'])
    article_title_and_url.push(article)
  end
  article_title_and_url
end


def create_message(title_and_urls)
  message = ''
  title_and_urls.each do |c|
    message << "\rタイトルは#{c[0]}\rURLは#{c[1]}です。\r"
  end
  post_slack(message)
end

def post_slack(message)
  notifier = Slack::Notifier.new("#{ENV['WEB_HOOK_URL']}")
  message.empty? ? notifier.ping('未読の記事はありません!') : notifier.ping(message)
end

def lambda_handler(event:, context:)
  get_unread_articles
end
と記述し、lambdaに上げる為にvendorの配下と実行対象ファイルをzip化します。
zip -r fetch_unread_article.zip fetch_unread_article.rb vendor/
lambdaにアップロード
Handlerの箇所で fetch_unread_article.lambda_handler となっているか注意してください。
ここは 実行ファイル名.実行関数名 となっているので、自分でファイル名や実行関数を任意の値にする事もできます!
lambdaに設定したらSaveしてください。
その後テストを押してみて下さい。

このように通知が来ていたら成功です!
その後、定期実行する為に、CloudWatch Eventを使います。
Cloudwatch Eventの説明はこちら記事が分かりやすいので参照してください。
以上です!
