概要
環境
- Rails 5.2
- dotenv gem導入済み
- Elastic Beanstalkでアプリがデプロイされている
手順
Rollbarを導入する
サインインを選択
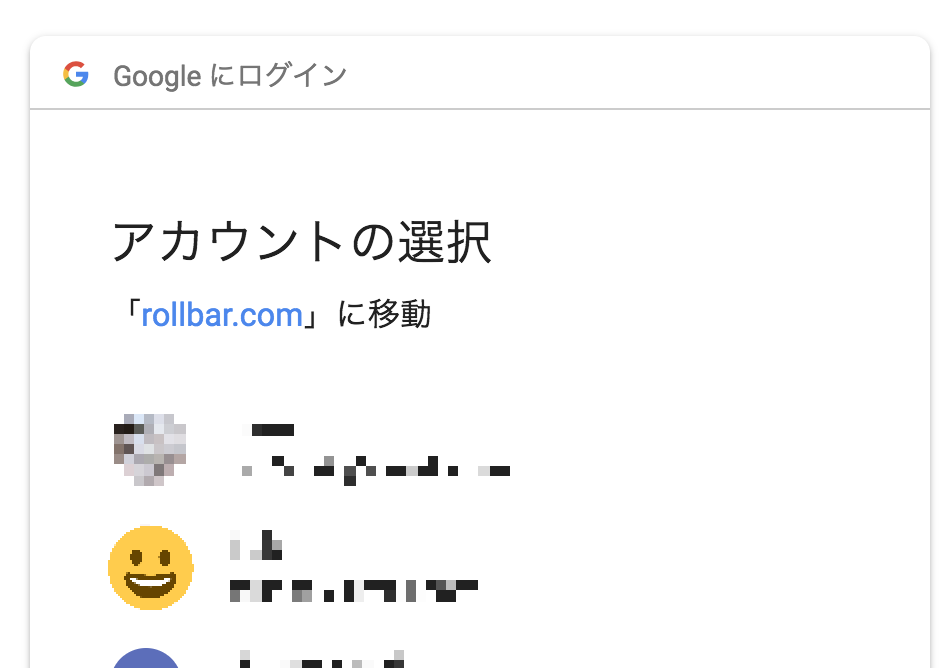
githubもしくはgoogleのアカウントを選択(もしくは、独自のアカウント作成しても可)

(google アカウントを選ぶ場合の例)
適当に読んで次に進む
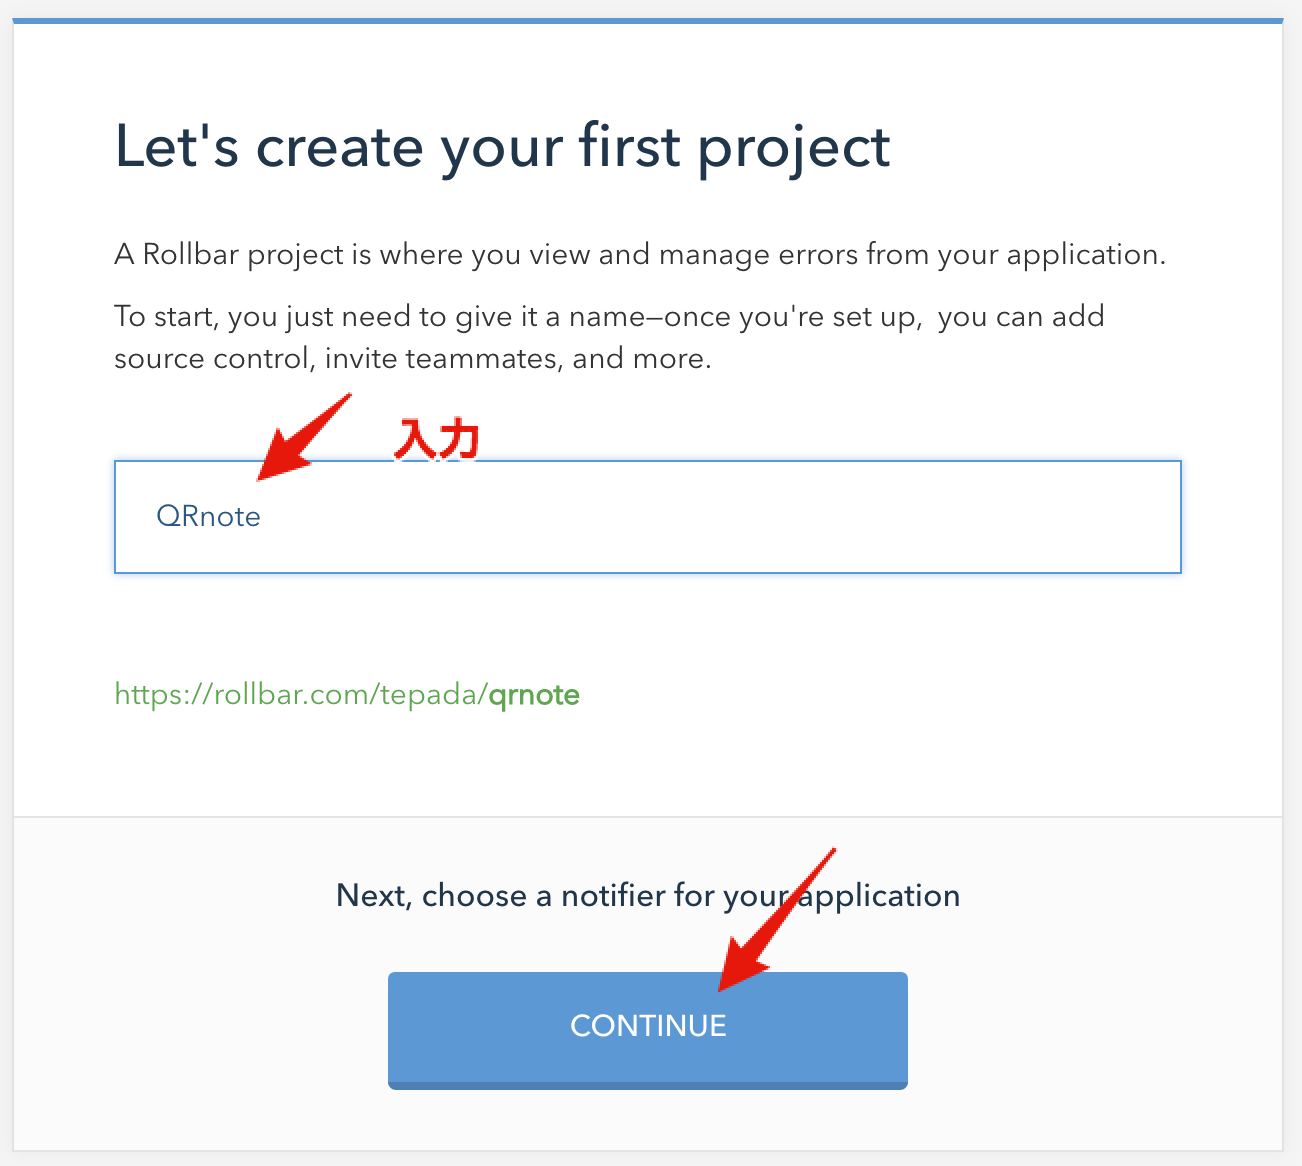
プロジェクト名を入力
Railsを選択して次に進む
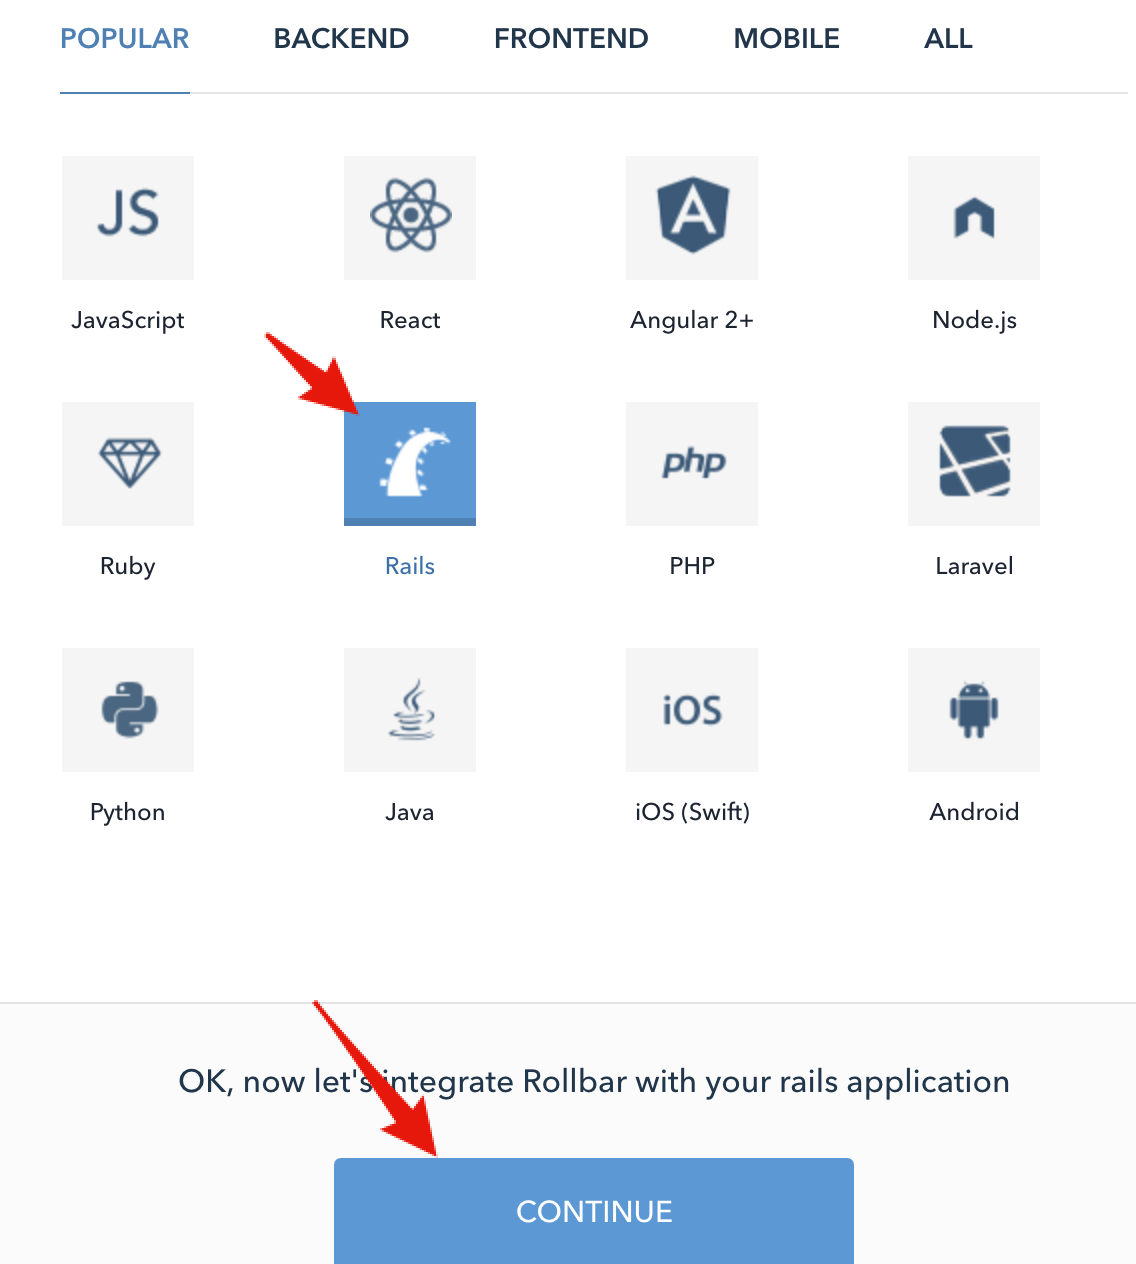
このページの手順に沿って導入するだけです。下記をそれをなぞります。
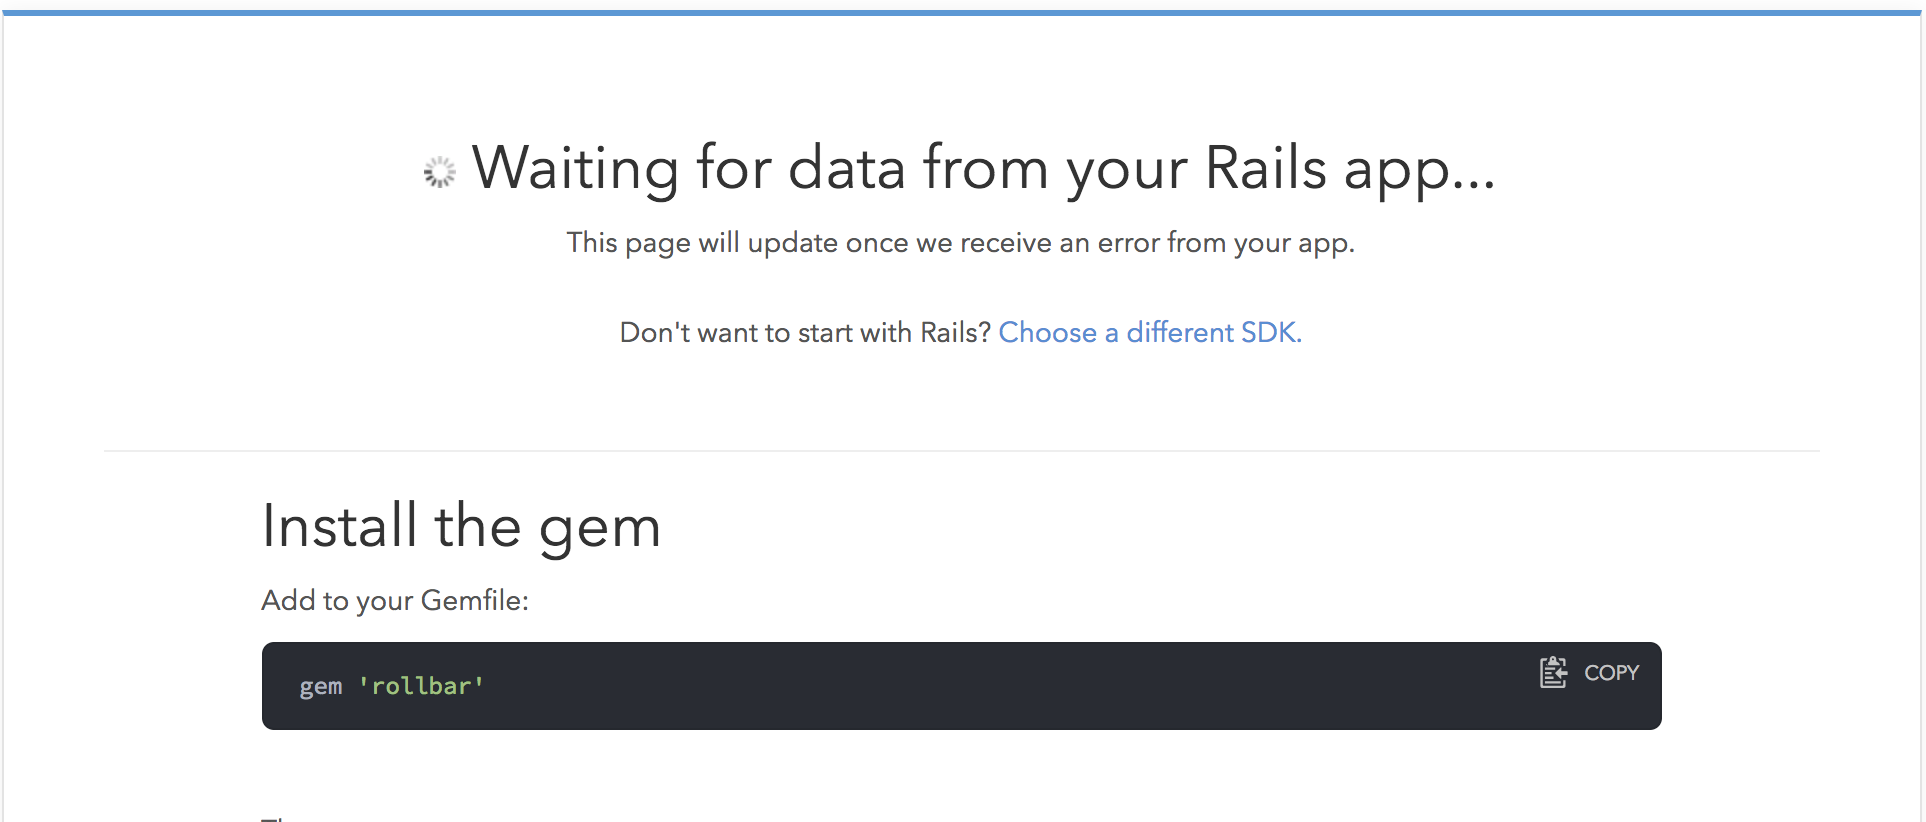
gemをインストールする
gem 'rollbar'
bundle install
設定ファイルを作成する。(実際には、ユーザーのライセンスキーが表示されていますのでそれをつかってください)
rails generate rollbar 23de3bbfXXXX454583eeXXXX3601fae
config/initializers/rollbar.rb に設定ファイルが作成される。
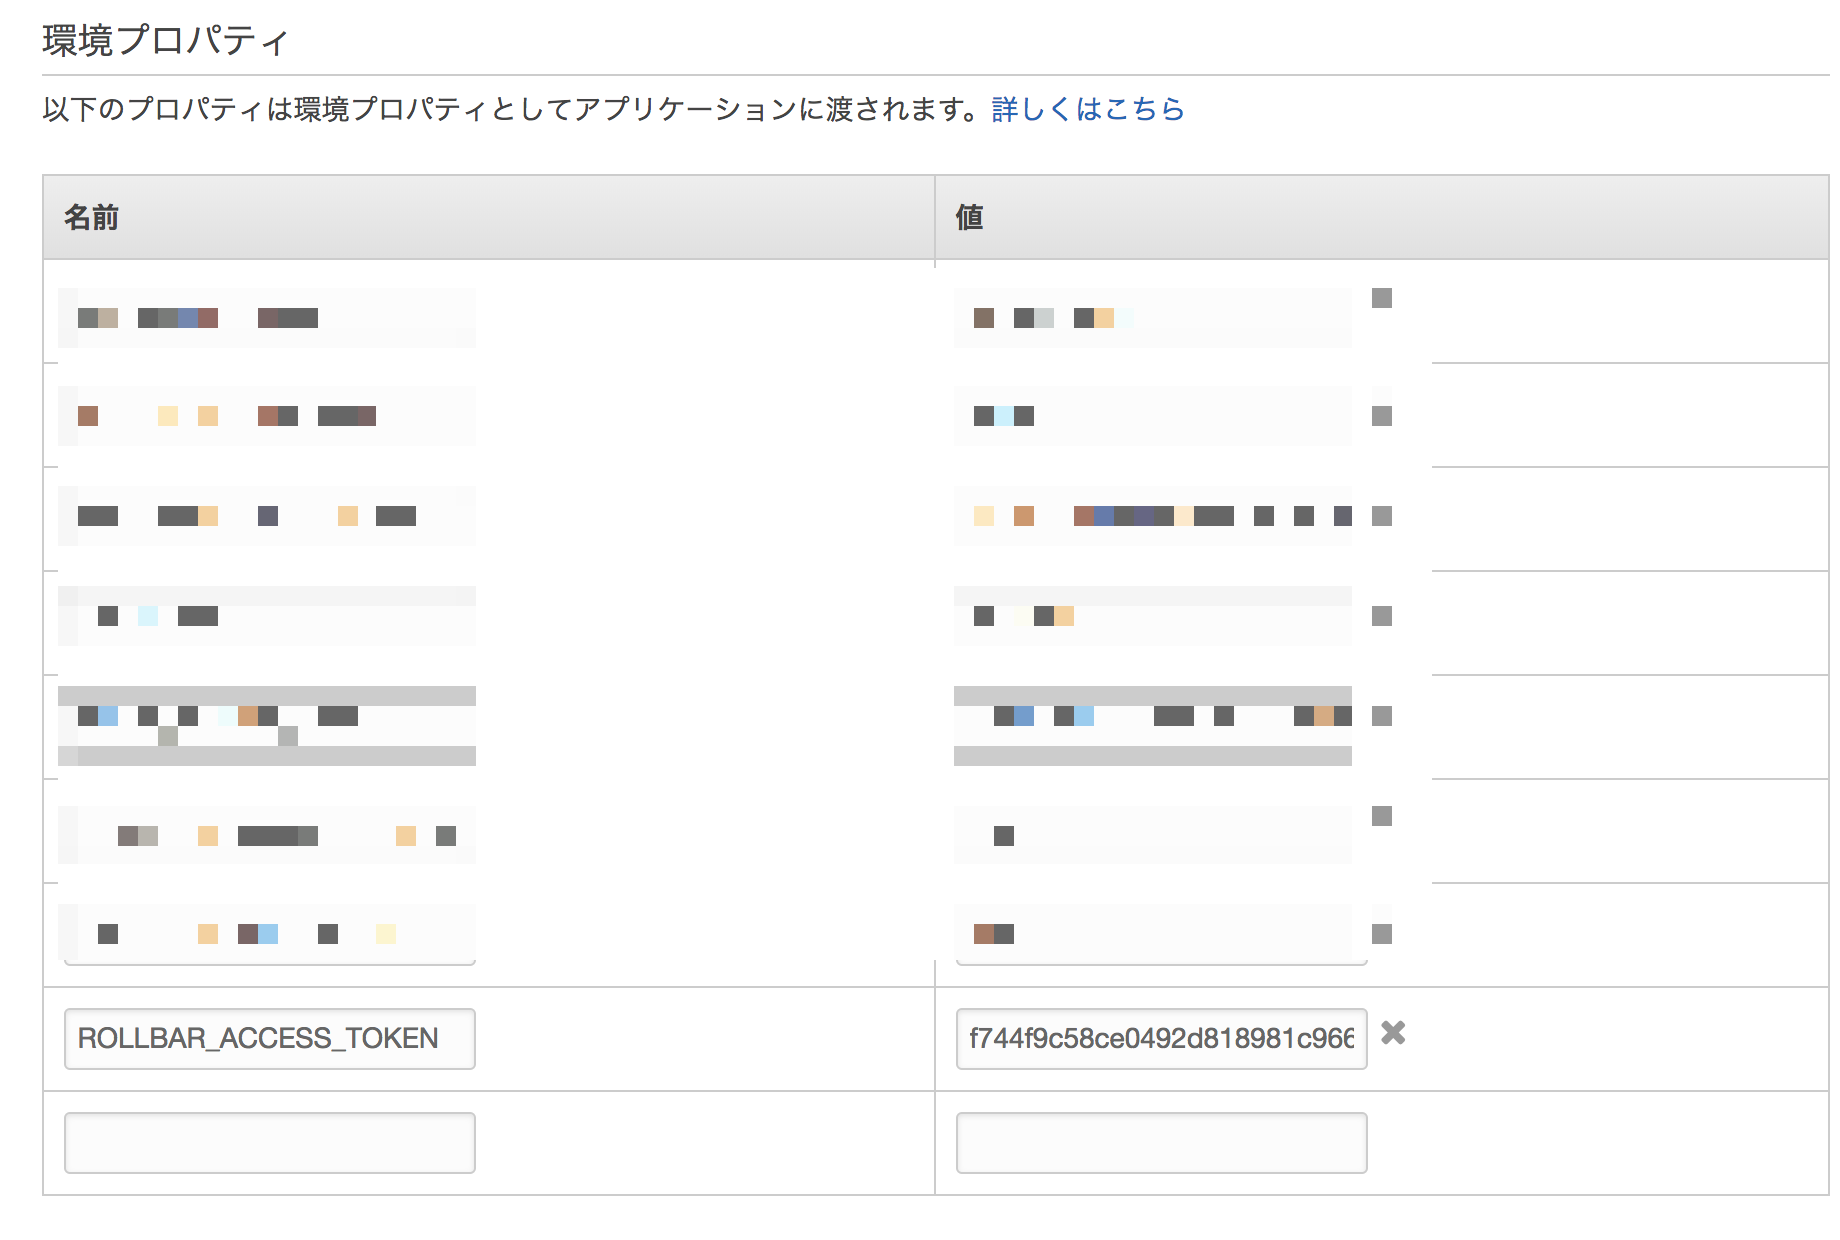
ライセンスキーを環境変数にする
config/initializers/rollbar.rb
Rollbar.configure do |config|
  # Without configuration, Rollbar is enabled in all environments.
  # To disable in specific environments, set config.enabled=false.

  config.access_token = ENV['ROLLBAR_ACCESS_TOKEN']

  # Here we'll disable in 'test':
.env に書き込む
.env
ROLLBAR_ACCESS_TOKEN=23de3bbfXXXX454583eeXXXX3601fae
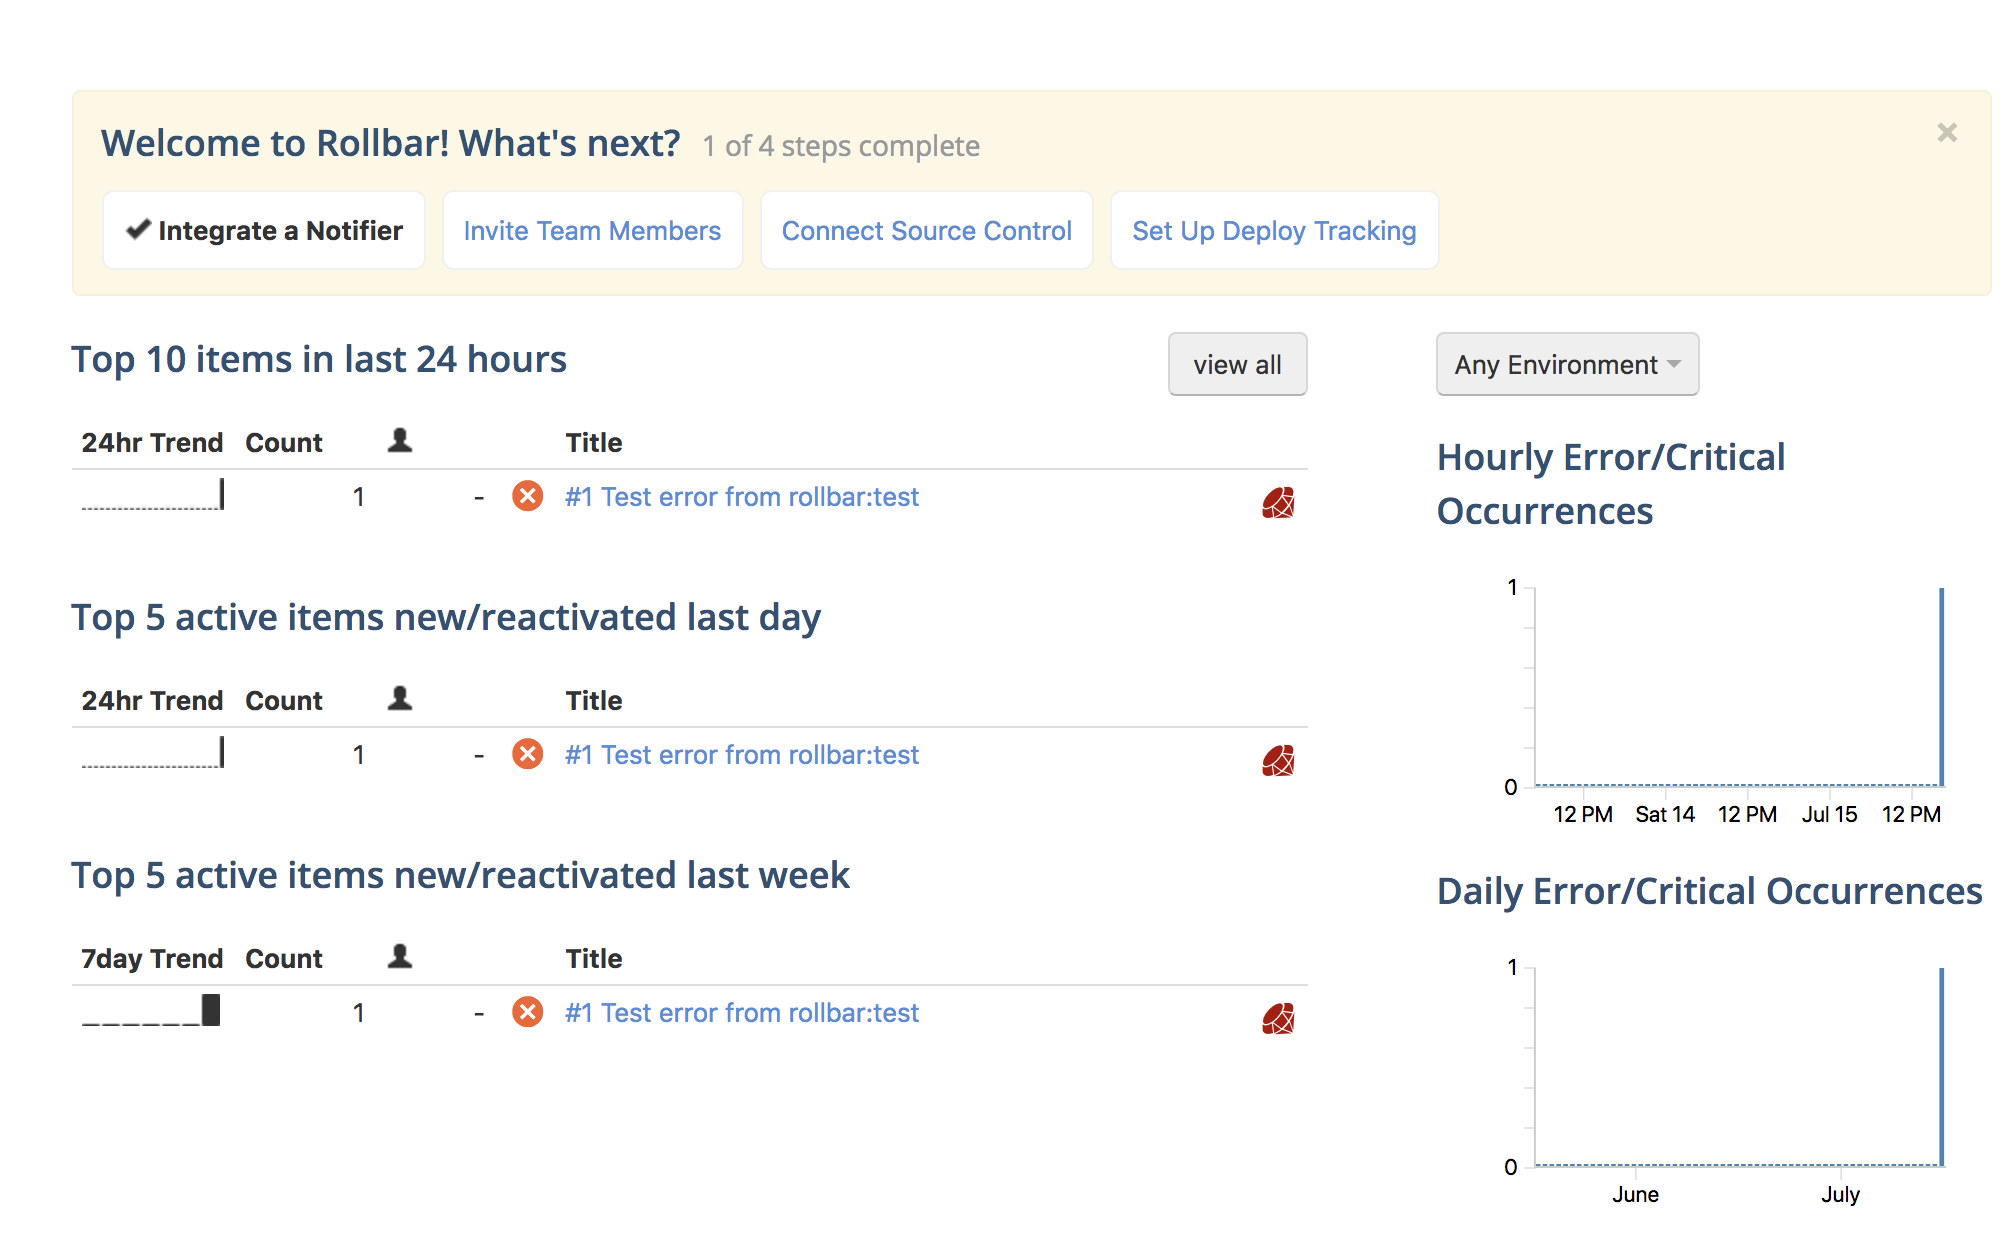
テストする
rake rollbar:test
うまく行けばrollbarの画面で下記の様な表示が出ているはずです。
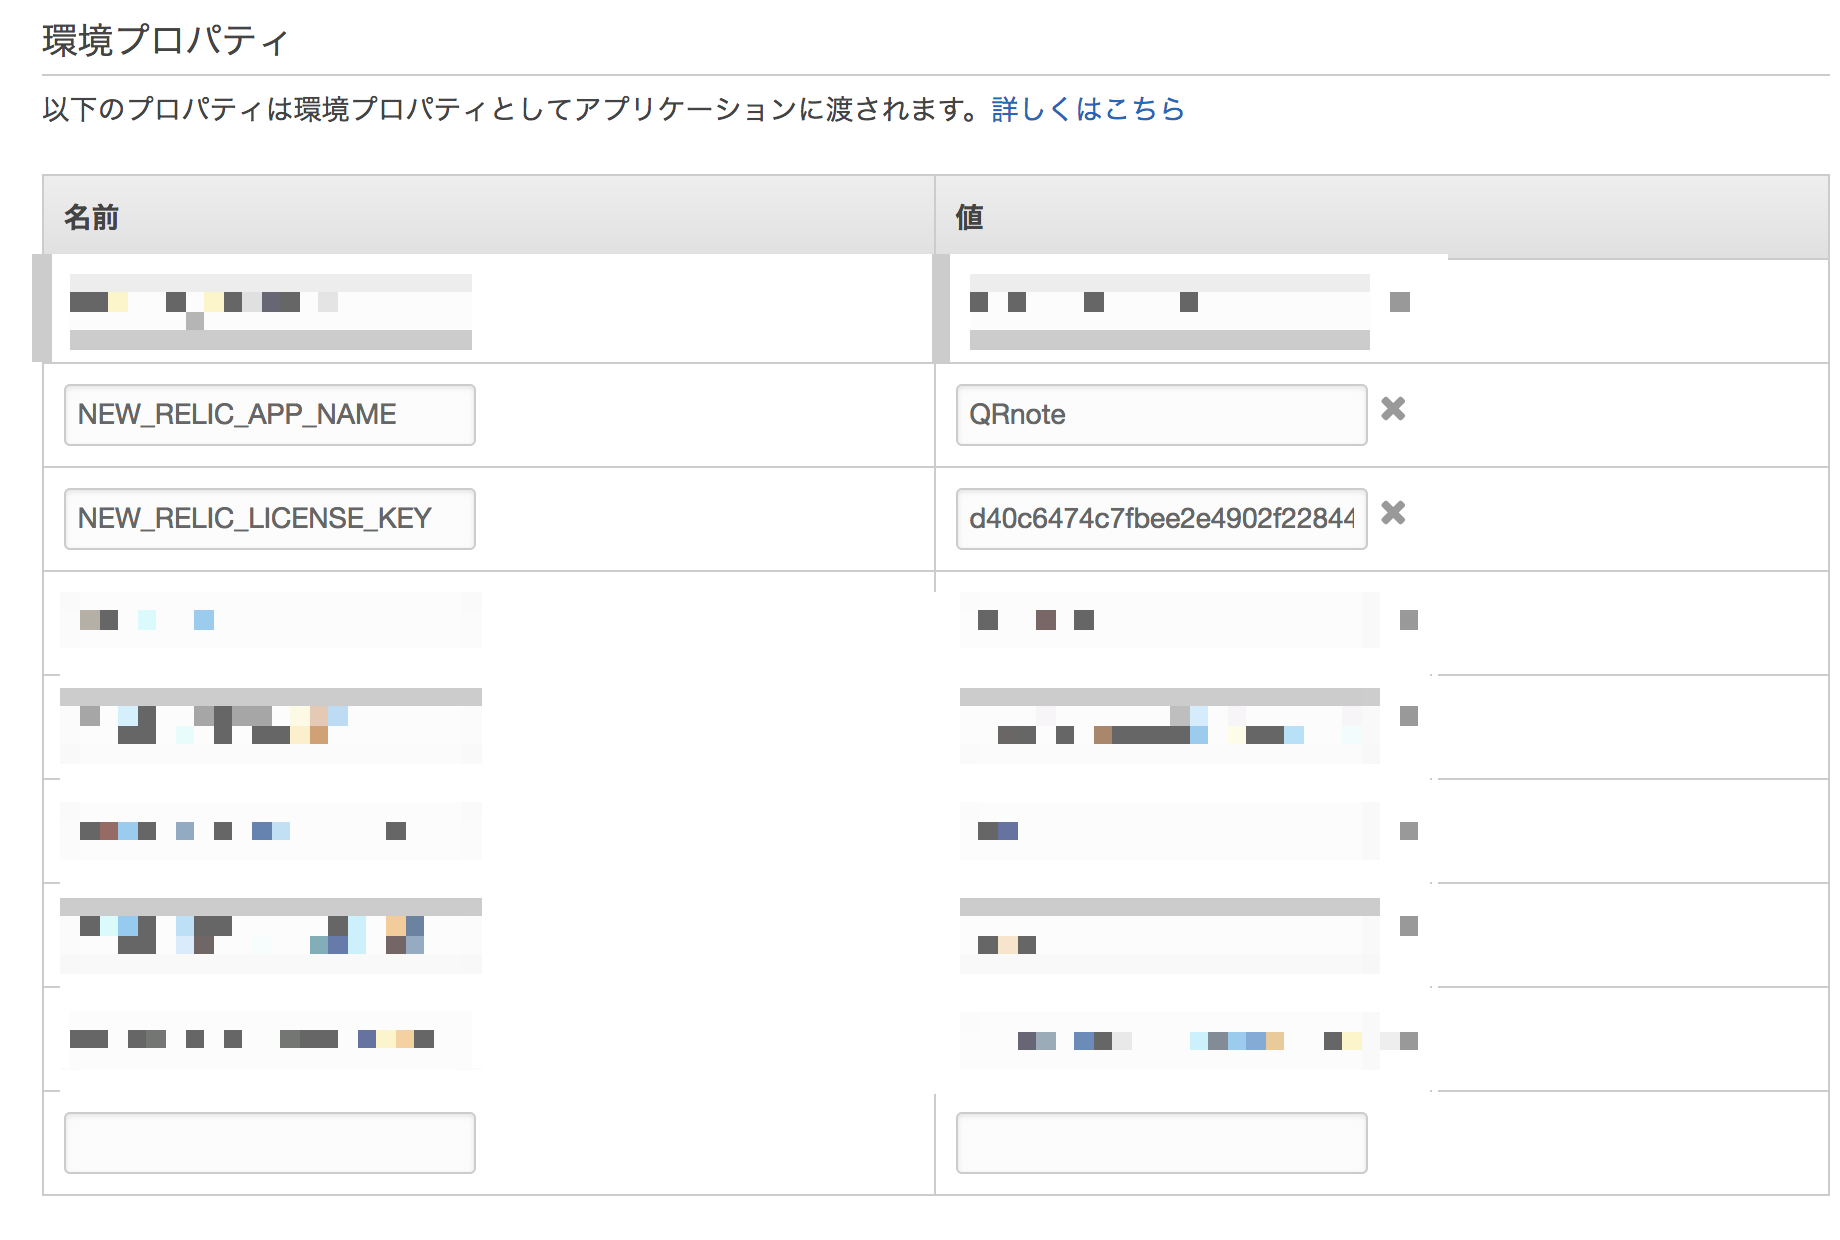
Elastic Beanstalkの環境変数を設定する
デプロイする
eb deploy
rollbarはこれで完了です。
New Relicを導入する
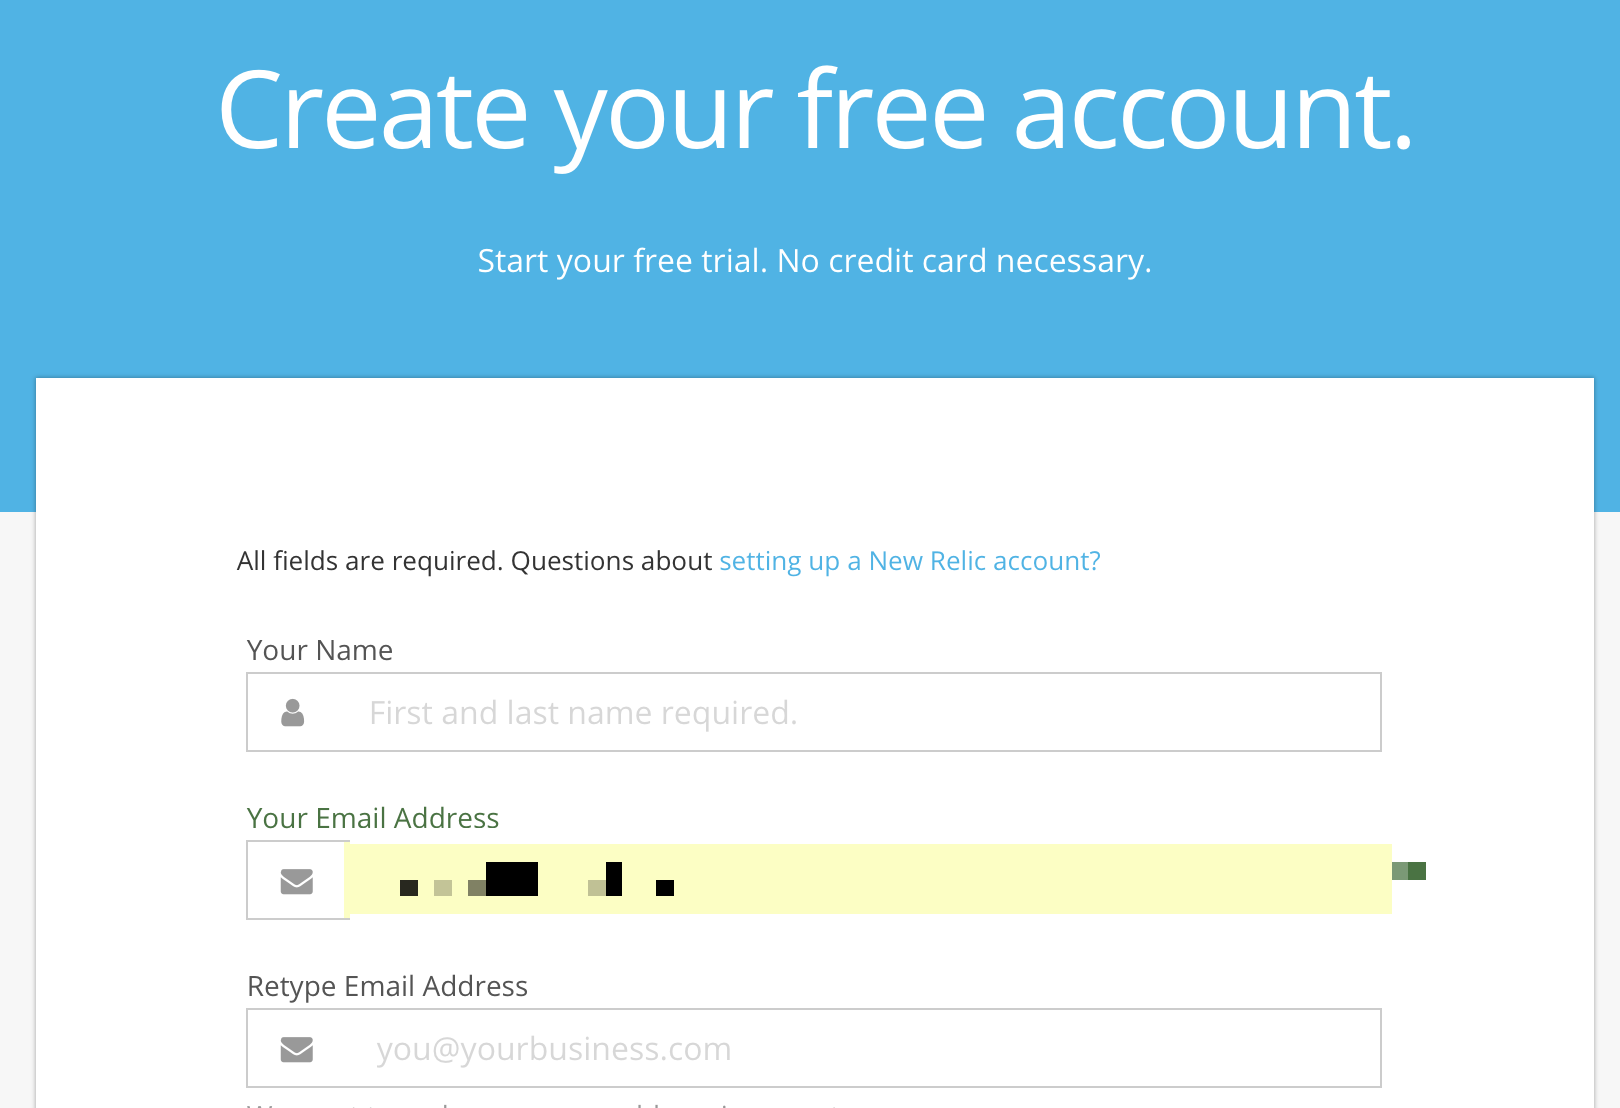
ここからアカウントを作成します。
https://newrelic.com/signup
右下から設定ファイルをダウンロードする。
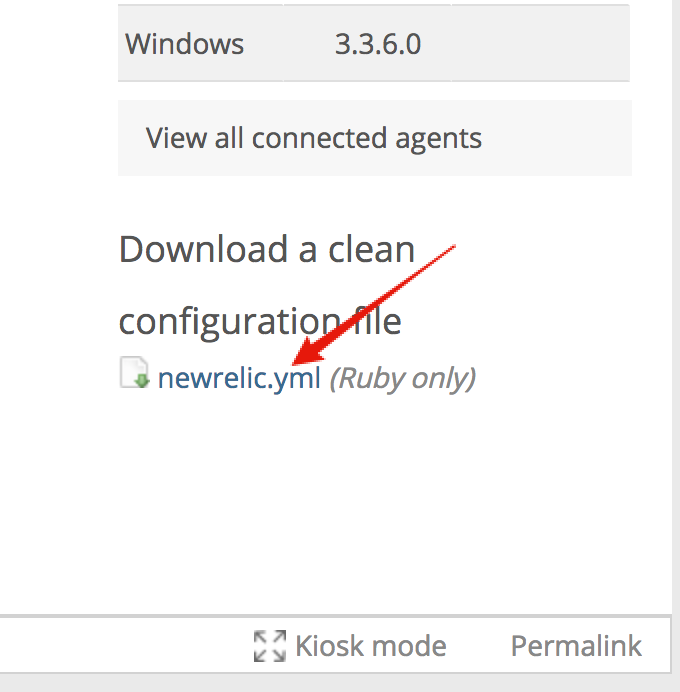
ダウンロードしたファイルをこちらに保存します。config/newrelic.yml
new relicのgemをインストールします。
gem 'newrelic_rpm'
インストールする。
bundle install
ライセンスキー等を環境変数で置き換えます
config/newrelic.yml
common: &default_settings
  # Required license key associated with your New Relic account.
  license_key: <%= ENV["NEW_RELIC_LICENSE_KEY"] %>

  # Your application name. Renaming here affects where data displays in New
  # Relic.  For more details, see https://docs.newrelic.com/docs/apm/new-relic-apm/maintenance/renaming-applications
  app_name: <%= ENV["NEW_RELIC_APP_NAME"] %>

  # To disable the agent regardless of other settings, uncomment the following:
  # agent_enabled: false

  # Logging level for log/newrelic_agent.log
  log_level: info


# Environment-specific settings are in this section.
# RAILS_ENV or RACK_ENV (as appropriate) is used to determine the environment.
# If your application has other named environments, configure them here.
development:
  <<: *default_settings
  app_name: <%= ENV["NEW_RELIC_APP_NAME"] %> (Development)

test:
  <<: *default_settings
  # It doesn't make sense to report to New Relic from automated test runs.
  monitor_mode: false

staging:
  <<: *default_settings
  app_name: <%= ENV["NEW_RELIC_APP_NAME"] %> (Staging)

production:
  <<: *default_settings
.envに環境変数を入力します。
NEW_RELIC_APP_NAME=QRnote
NEW_RELIC_LICENSE_KEY=d40c6474c7fxxxxxxe4902f228xxxxxxfbd5b3
ROLLBAR_ACCESS_TOKEN=f744f9c58ce0492d818981c966db62f1
Elastic Beanstalkの環境変数を設定する
デプロイする
eb deploy
New Relicもこれで完了です。
以上。