Windows10 PROにDockerをインストールする
0. 前提条件
- Windows 10 PRO [Hyper-Vを使用するため]
1. Hyper-Vを有効にする
- [スタート] > [Windows システム ツール] > [コントロール パネル]
- [プログラムと機能]
- [Windowsの機能の有効化または無効化]
- [Hyper-V]にチェック[ON]する。
- OS再起動
2. Dockerをダウンロードする
Docker公式サイトからダウンロードする。
ファイルサイズは2022/05/29時点で481MB程度。
Docker : Install Docker Desktop on Windows
Docker : Stable と Edgeの違い
3. Dockerをインストールする
ダウンロードしたをウィザードに従ってインストールする。(念のために管理者として実行する)
※(疑問点)「Enable WSL 2 Windows Features」があると、Hyper-Vはいらないの?
今回はHyper-V+このチェックありで進める。
↑
あとで問題が出てくるので、先にすべて記事を読んでから、このチェックボックスに
対する対応を決めてもらった方がいいかもしれません。
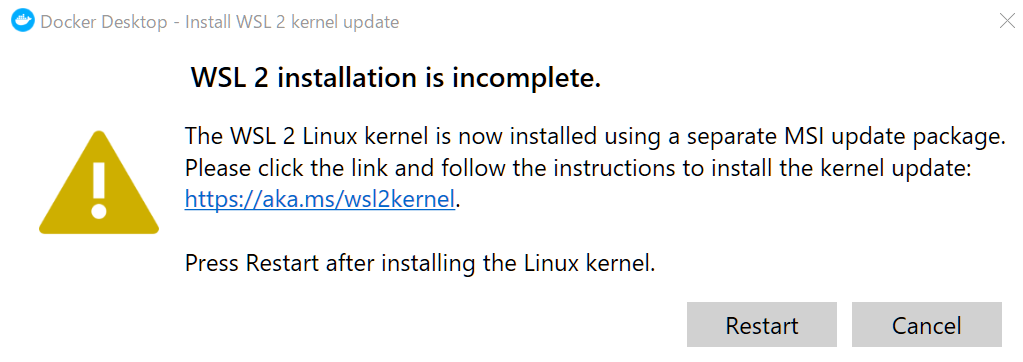
メッセージの中にあるURLにアクセスする。
ms : Windows 10 用 Windows Subsystem for Linux のインストール ガイド
なんか特定の Linux ディストリビューションをインストールしないといけない
みたいなので、この設定を回避する。
DockerのSettingsで「Use the WSL 2 based engine」のチェックを外すことにする。
↓
Installation succeeded
↓
Close and restart を押下すると、自動でOS再起動。
利用条件を確認する。
Get started with Docker
in a few easy steps!となる。
4. 動作確認
Windows PowerShell
docker --version
docker-compose --version
Docker、Docker-Composeのバージョン確認OK。
