はじめに
この記事は [UE4] ブロック崩しを作る #2 バーとブロック の続きの記事になります。
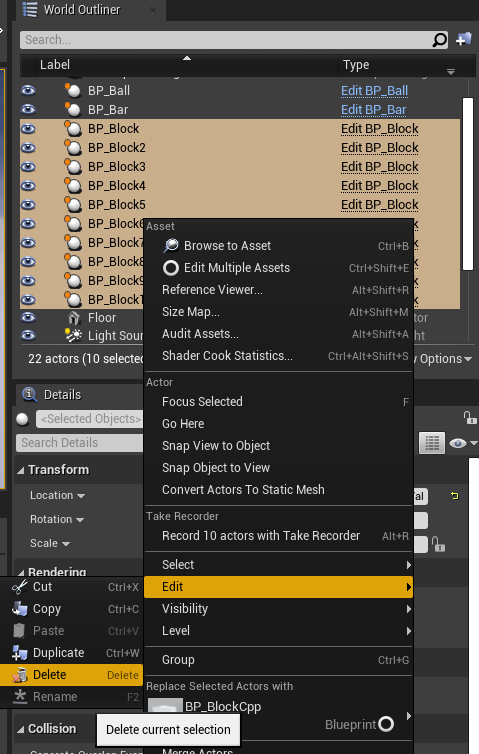
前回 BP(ブループリント)のイベントグラフで組んだところを、今回は C++ で作り直してみます。
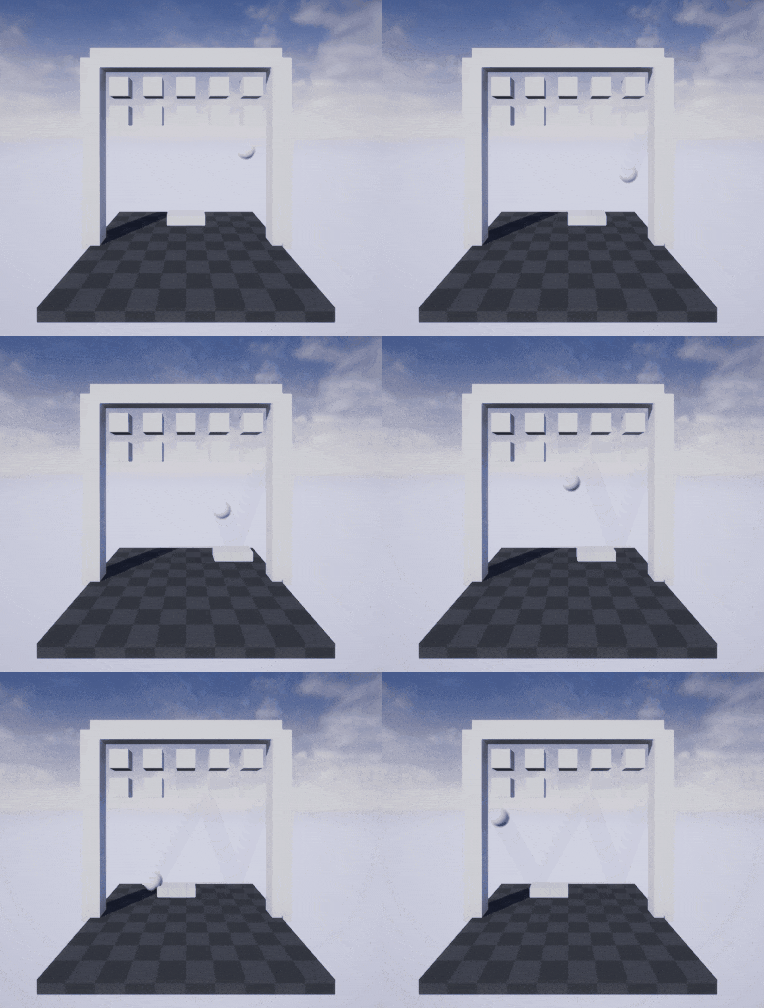
完成ゲーム
環境
Windows 10
Unreal Engine 4.27.1
エディタ言語 英語
目次
ブロック用のC++クラスを作成
ブロックの破壊処理をC++で作る
ブロックに Static Mesh をセット
ブロックを配置
次回
ブロック用のC++クラスを作成
前回のプロジェクトを流用します。
このプロジェクトは作成時に Project Settings で Blueprint を選択しましたが C++クラス の作成も出来ます。
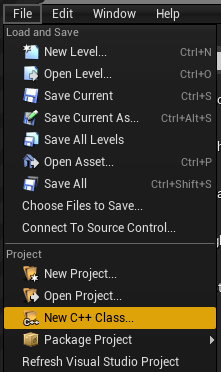
上部メニューの File から New C++ Class ... を選択
Actor を選択して Next をクリック

Name を「BlockActor」に変更
Create Class をクリック(ここで Visual Studio のプロジェクト等が作成されるので時間がかかります。)

Visual Studio が起動し BlockActor.h と BlockActor.cpp が作成されているのが確認できます。

ブロックの破壊処理をC++で作る
前回 BP の「Event Hit」と「DestroyActor」で作ったブロック破壊処理を、今回は C++ で作ります。

BP と同様に下記のような関数を ABlockActorクラス に追加したいところですが同名の関数は存在しないようです。
void ABlockActor::EventHit()
{
	DestroyActor();
}
ブループリント Event Hit 相当の関数を探す
BP の Event Hit に相当する C++ の関数を探します。
探す方法は下記の方法がよさそうです。
Visual Studio で Ctrl + Shift + F で検索ウィンドウを開く
"Event when this actor bumps into" でソリューション全体を検索

AActorクラス の2つの関数が検索に引っかかりました。
	/**
	 * Event when this actor bumps into a blocking object, or blocks another actor that bumps into it.
	 * This could happen due to things like Character movement, using Set Location with 'sweep' enabled, or physics simulation.
	 * For events when objects overlap (e.g. walking into a trigger) see the 'Overlap' event.
	 *
	 * @note For collisions during physics simulation to generate hit events, 'Simulation Generates Hit Events' must be enabled.
	 * @note When receiving a hit from another object's movement (bSelfMoved is false), the directions of 'Hit.Normal' and 'Hit.ImpactNormal'
	 * will be adjusted to indicate force from the other object against this object.
	 */
	virtual void NotifyHit(class UPrimitiveComponent* MyComp, AActor* Other, class UPrimitiveComponent* OtherComp, bool bSelfMoved, FVector HitLocation, FVector HitNormal, FVector NormalImpulse, const FHitResult& Hit);
	/**
	 * Event when this actor bumps into a blocking object, or blocks another actor that bumps into it.
	 * This could happen due to things like Character movement, using Set Location with 'sweep' enabled, or physics simulation.
	 * For events when objects overlap (e.g. walking into a trigger) see the 'Overlap' event.
	 *
	 * @note For collisions during physics simulation to generate hit events, 'Simulation Generates Hit Events' must be enabled.
	 * @note When receiving a hit from another object's movement (bSelfMoved is false), the directions of 'Hit.Normal' and 'Hit.ImpactNormal'
	 * will be adjusted to indicate force from the other object against this object.
	 * @note NormalImpulse will be filled in for physics-simulating bodies, but will be zero for swept-component blocking collisions.
	 */
	UFUNCTION(BlueprintImplementableEvent, meta=(DisplayName = "Hit"), Category="Collision")
	void ReceiveHit(class UPrimitiveComponent* MyComp, AActor* Other, class UPrimitiveComponent* OtherComp, bool bSelfMoved, FVector HitLocation, FVector HitNormal, FVector NormalImpulse, const FHitResult& Hit);
Actor.cpp を確認すると ReceiveHit() は NotifyHit() から呼ばれているだけのようです。
void AActor::NotifyHit(class UPrimitiveComponent* MyComp, AActor* Other, class UPrimitiveComponent* OtherComp, bool bSelfMoved, FVector HitLocation, FVector HitNormal, FVector NormalImpulse, const FHitResult& Hit)
{
	// call BP handler
	ReceiveHit(MyComp, Other, OtherComp, bSelfMoved, HitLocation, HitNormal, NormalImpulse, Hit);
}
また ReceiveHit() の方は BlueprintImplementableEvent がついており、どうもC++で実装する事が出来なさそうです。
なので Event Hit の代わりには NotifyHit() を使う事にします。
ブループリント DestroyActor 相当の関数を探す
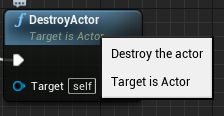
同様に BP の DestroyActor に相当する C++ の関数も探します。
"Destroy the actor" でソリューションを全検索すると、下記の関数が AActorクラス の中に見つかります。
	/** Destroy the actor */
	UFUNCTION(BlueprintCallable, Category="Utilities", meta=(Keywords = "Delete", DisplayName = "DestroyActor", ScriptName = "DestroyActor"))
	virtual void K2_DestroyActor();
ABlockActorクラス にブロック破壊処理を追加
BlockActor.h と BlockActor.cpp に下記のように関数を追加します。
これで ABlockActorクラス に BP と同じブロック破壊処理を追加することが出来ました。
class BREAK_BLOCK_API ABlockActor : public AActor
{
	:
public:
	virtual void NotifyHit(class UPrimitiveComponent* MyComp, AActor* Other, class UPrimitiveComponent* OtherComp, bool bSelfMoved, FVector HitLocation, FVector HitNormal, FVector NormalImpulse, const FHitResult& Hit) override;
};
void ABlockActor::NotifyHit(UPrimitiveComponent* MyComp, AActor* Other, UPrimitiveComponent* OtherComp, bool bSelfMoved, FVector HitLocation, FVector HitNormal, FVector NormalImpulse, const FHitResult& Hit)
{
	Super::NotifyHit(MyComp, Other, OtherComp, bSelfMoved, HitLocation, HitNormal, NormalImpulse, Hit);
	K2_DestroyActor();
}
ブロックに Static Mesh をセット
ブロックに Static Mesh をセットします。C++でセットする事も出来ますが、見た目に関わる部分なので BP でセットします。
BPで編集するために BlockActor を元にした新規 BP Class を作成します。
Content Browser から 「C++ Classes」→「Break_Block」を開く

※「C++ Classes」が表示されていない場合は、View Options から「Show C++ Classes」にチェックを入れます。

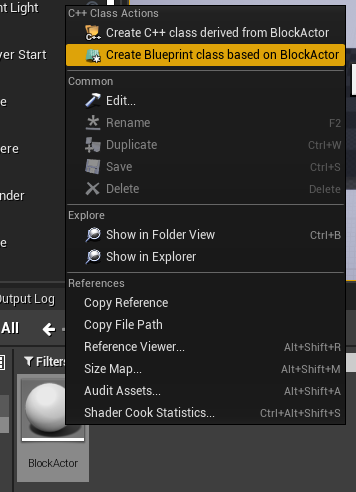
BlockActor を右クリックして「Create Blueprint class based on BlockActor」を選択
Name を「BP_BlockCpp」として「Create Blueprint Class」をクリック

BP_BlockCpp が作成されました。
ここから先は以前にブロックの BP を作成した時とおなじです。
- BP_BlockCpp をダブルクリックで BP編集画面 を開く
- +Add Component ボタンをクリックし「StaticMesh」を追加
- 追加した Static Mesh を選択して、Details から Static Mesh を「Cube」変更
- 同じく Static Mesh の Details から Materials を「BasicShapeMaterial」に設定
ブロックを配置
BP_BlockCpp をゲームに配置します
Location (0.0, -350.0, 850.0)
Location (0.0, -175.0, 850.0)
Location (0.0, 0.0, 850.0)
Location (0.0, 175.0, 850.0)
Location (0.0, 350.0, 700.0)
Location (0.0, -350.0, 700.0)
Location (0.0, -175.0, 700.0)
Location (0.0, 0.0, 700.0)
Location (0.0, 175.0, 700.0)
Location (0.0, 350.0, 700.0)
プレイで確認すると BP で組んだ時と同じようにブロックが破壊されています
次回
BP で作成していたブロックの破壊を C++ で実装し直すことが出来ました。
次回はバーの移動を、BP から C++ で実装し直します。
その際に UE4 のフレームワークに則り Plater Controller を使って実装いたします。
[UE4] ブロック崩しを作る #4 PlayerController (C++)

