OAuth認証の必要性
スラックアプリを作るときに、一つのワークスペースにだけインストールするならば、アプリの設定ページから手動インストールすることができます。
しかしアプリを個人的にインストールしたり、最終的にSlackディレクトリで公開する場合は、OAuth認証でのインストールをする必要があります。
slackのOAuth認証の仕組みは一般的なものと同じだと思います。
flaskによる実装
必要な情報
- client_id
- client_secret
コード
import os
import slack
from flask import Flask, request, make_response

client_id = os.environ["SLACK_CLIENT_ID"]
client_secret = os.environ["SLACK_CLIENT_SECRET"]
# ここにアプリが要求するスコープを追加します。
oauth_scope = ",".join([
  "channels:history",
  "groups:history",
  "im:history",
  "mpim:history",
  "chat:write"
  ]) #os.environ["SLACK_BOT_SCOPE"]
uuids = []

app = Flask(__name__)

@app.route("/begin_auth", methods=["GET"])
def pre_install():
    """slackのOAuth認証ページに飛ばすリンクを作成し、表示させます。"""
    from uuid import uuid4
    state_string = str(uuid4())
    uuids.append(state_string)
    return f'<a href="https://slack.com/oauth/v2/authorize?scope={ oauth_scope }&client_id={ client_id }&state={ state_string}">Add to Slack</a>'

@app.route("/finish_auth", methods=["GET", "POST"])
def post_install():
    """認証が終わった後、リダイレクトされたアクセスの処理です"""
    auth_code = request.args['code']
    state_code = request.args['state']

    #state_codeが一致しなければ401
    if not state_code in uuids:
        return make_response("", 401)
    else:
        uuids.remove(state_code)

    #認証をするには空白のトークンでクライアントを作成します。
    client = slack.WebClient(token="")

    #認証トークンを要求します。
    response = client.oauth_v2_access(
        client_id=client_id,
        client_secret=client_secret,
        code=auth_code
    )

    #スラックボットトークンをDBなどに保存します。
    SLACK_BOT_TOKEN = response['access_token']

    #ユーザーに成功を伝えるのを忘れないでください!
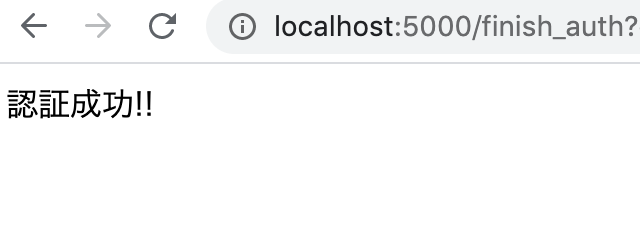
    return make_response("認証成功!!", 200)

app.run()
リダイレクトURLの設定
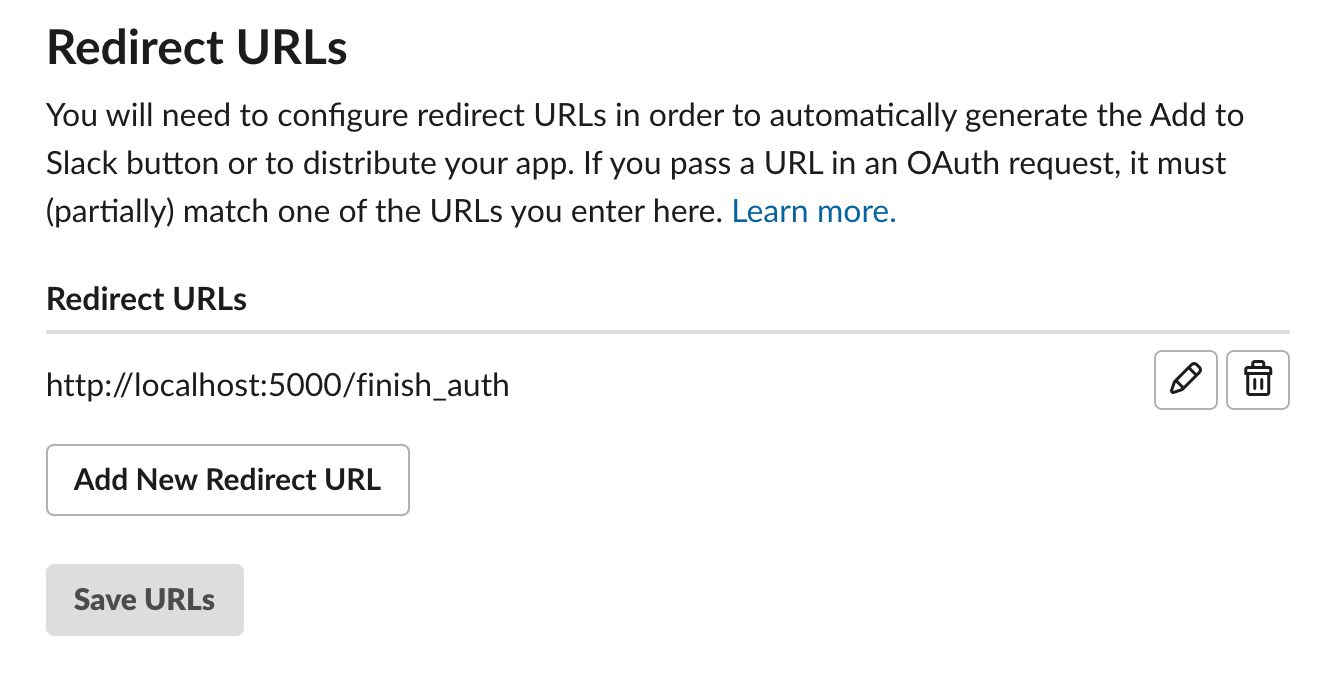
App > Basic Information > OAuth & Permissions > Redirect URLsにhttp://localhost:5000/finish_authを登録。
Save URLsで保存

アクセス
これで準備は完了
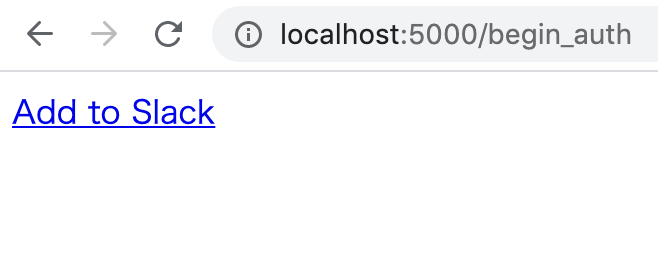
flaskを起動して、http://localhost:5000/begin_authにアクセスします。

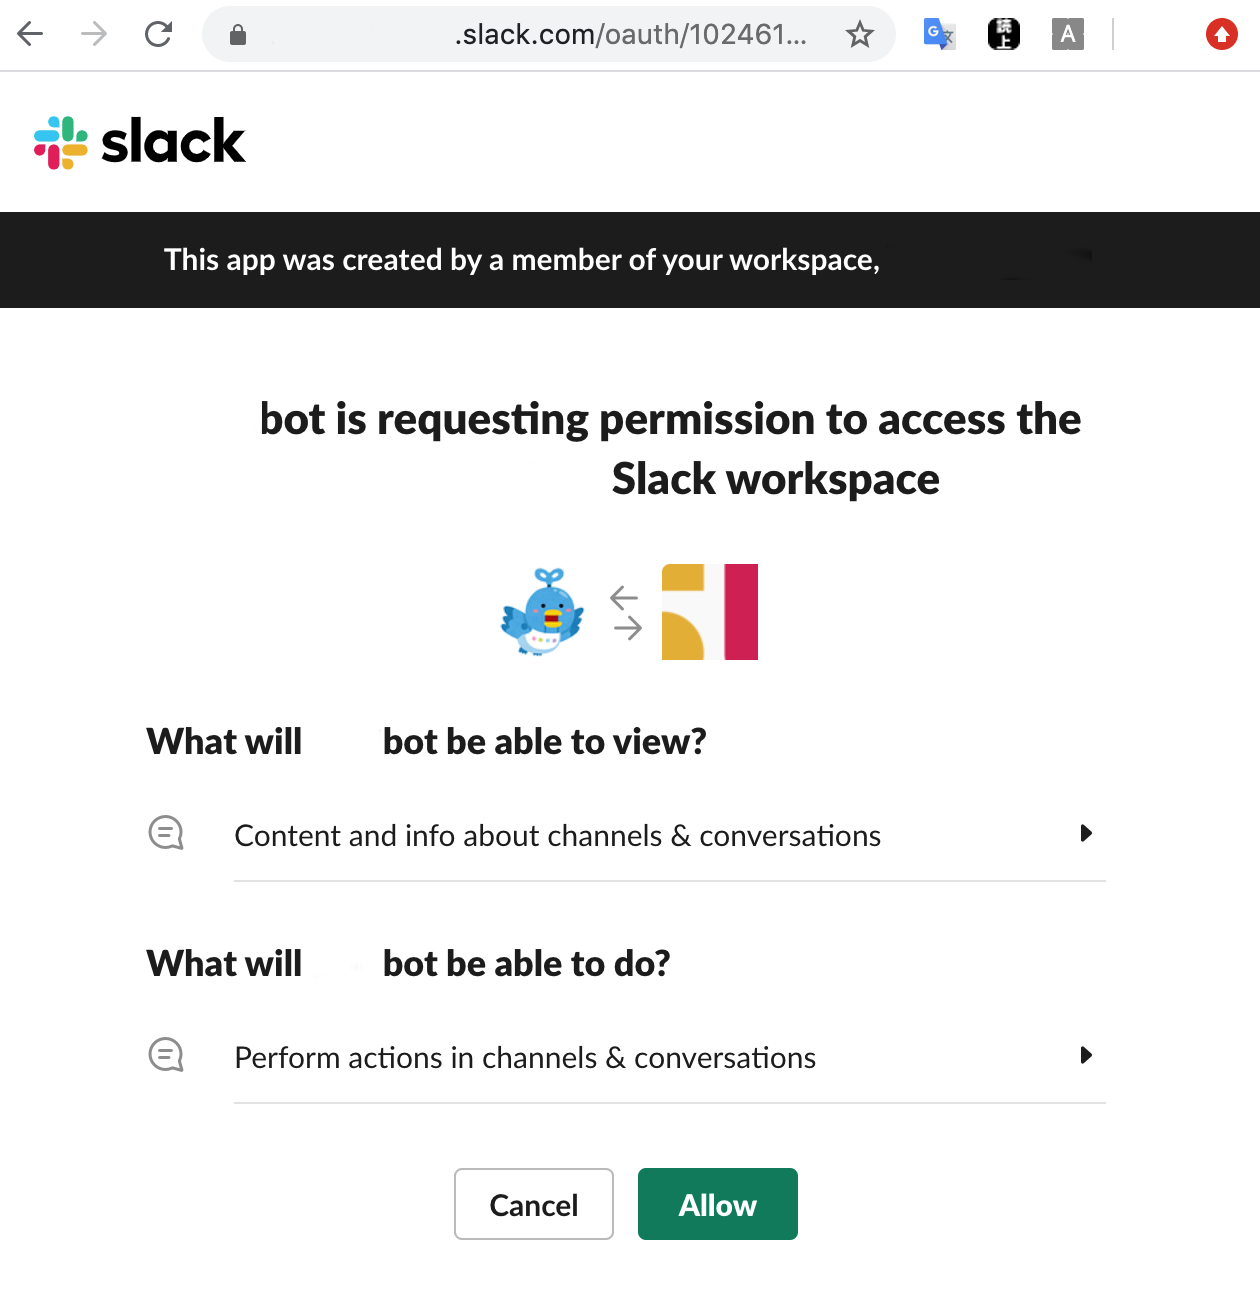
リンクをクリックするとslackの認証を求められます。

Allowを押しますと、次の画面に遷移し、そのときにtokenを生成します。
確認のためのUUID4が一致すれば、リストから消去し、slackClientを使ってアクセストークンを取得します。

今回のコードでは書いてませんが、得られたアクセストークンは次に利用するために保存しましょう。