Flutter, React Native(Expo), Xamarin.Formsで、振る舞いが同じアプリを作っているんですが、い〜〜〜つっも、ローカール画像を表示する方法を忘れる!!! ![]()
(だから、ここにメモっとく!)
※iOSとAndroidのバージョン

フレームワークごとの要点
-
Flutter
- pubspec.yamlに画像があるフォルダを設定
-
React Native (Expo)
- requireを配列に格納して、Imageから呼び出す
- requireの文字列(ファイルpath)を動的に変更できない!
- requireを配列に格納して、Imageから呼び出す
-
Xamarin.Forms
- ビルドアクションを「EmbeddedResource」に設定する
- AndroidとiOSのResource配下に画像のリンクを追加する
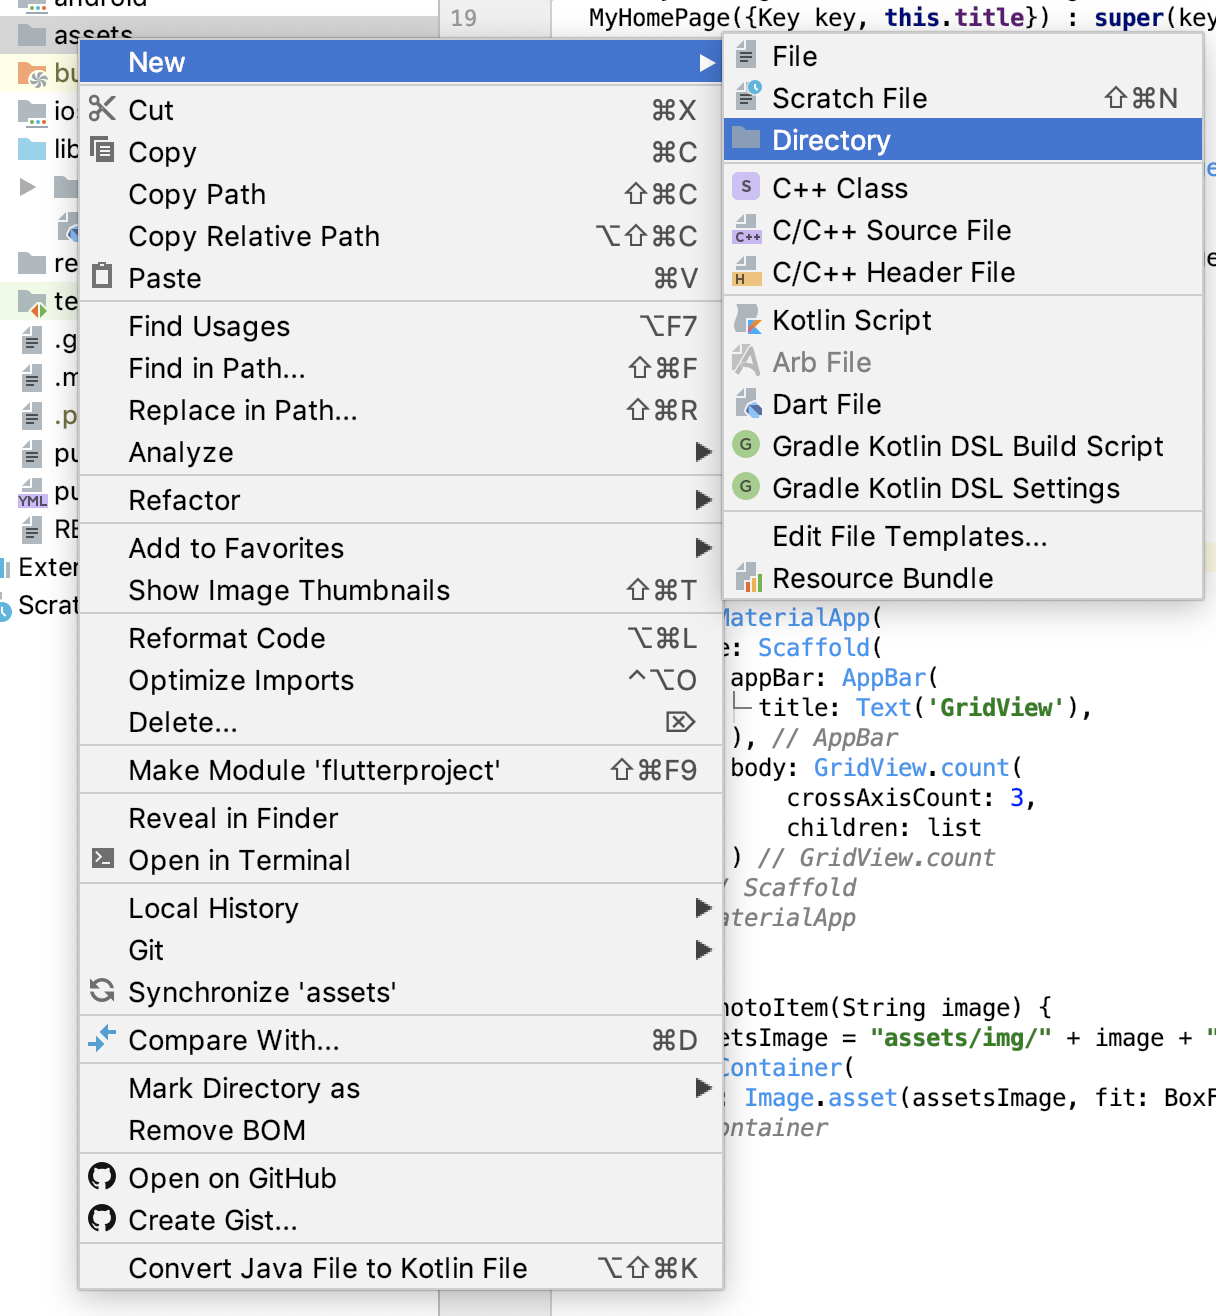
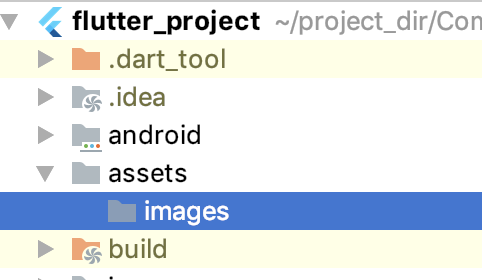
Flutter
-
pubspec.yamlのassetsに上記のフォルダを設定
- imagesフォルダ配下の画像を全て使う場合は「assets/images/」
name: flutterproject
description: A new Flutter application.

version: 1.0.0+1

environment:
  sdk: ">=2.1.0 <3.0.0"

dependencies:
  flutter:
    sdk: flutter

  cupertino_icons: ^0.1.2

dev_dependencies:
  flutter_test:
    sdk: flutter

flutter:

  uses-material-design: true

  assets:
    - assets/images/
4.ローカル画像を表示する場合は「Image.asset」を利用
import 'package:flutter/material.dart';

void main() => runApp(MyApp());

class MyApp extends StatelessWidget {
  @override
  Widget build(BuildContext context) {
    return MaterialApp(
      title: 'Flutter Demo',
      theme: ThemeData(
        primarySwatch: Colors.blue,
      ),
      home: MyHomePage(title: 'Flutter Demo Home Page'),
    );
  }
}

class MyHomePage extends StatefulWidget {
  MyHomePage({Key key, this.title}) : super(key: key);

  final String title;

  @override
  _MyHomePageState createState() => _MyHomePageState();
}

class _MyHomePageState extends State<MyHomePage> {

  List<int> imageCountList = [1, 2, 3];

  @override
  Widget build(BuildContext context) {
    return Scaffold(
      appBar: AppBar(
        title: Text(widget.title),
      ),
      body: Center(
        child: Column(
          children: new List.generate(imageCountList.length, (index){
            return new Image.asset(
              'assets/images/image' + imageCountList[index].toString().padLeft(3, "0") + '.jpg',
              height: 200.0,
              width: 100.0,
            );
          }),
        ),
      ),
    );
  }
}
React Native(Expo)

1.assetsフォルダの配下にimagesフォルダを新規作成
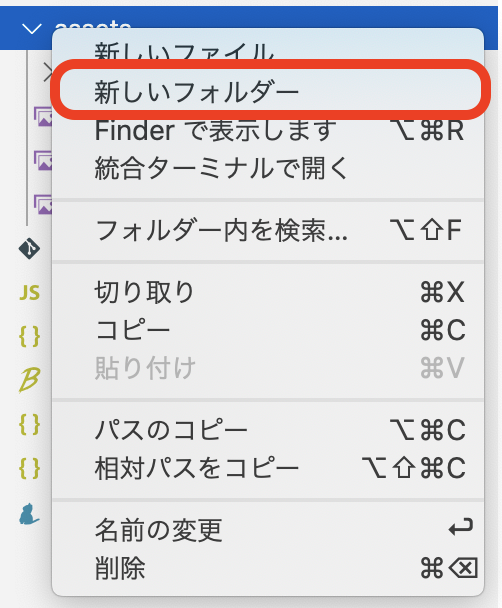
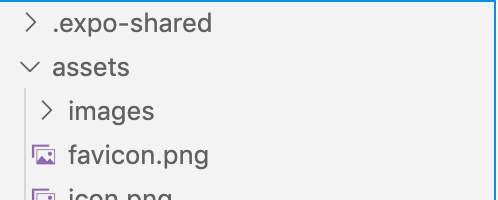
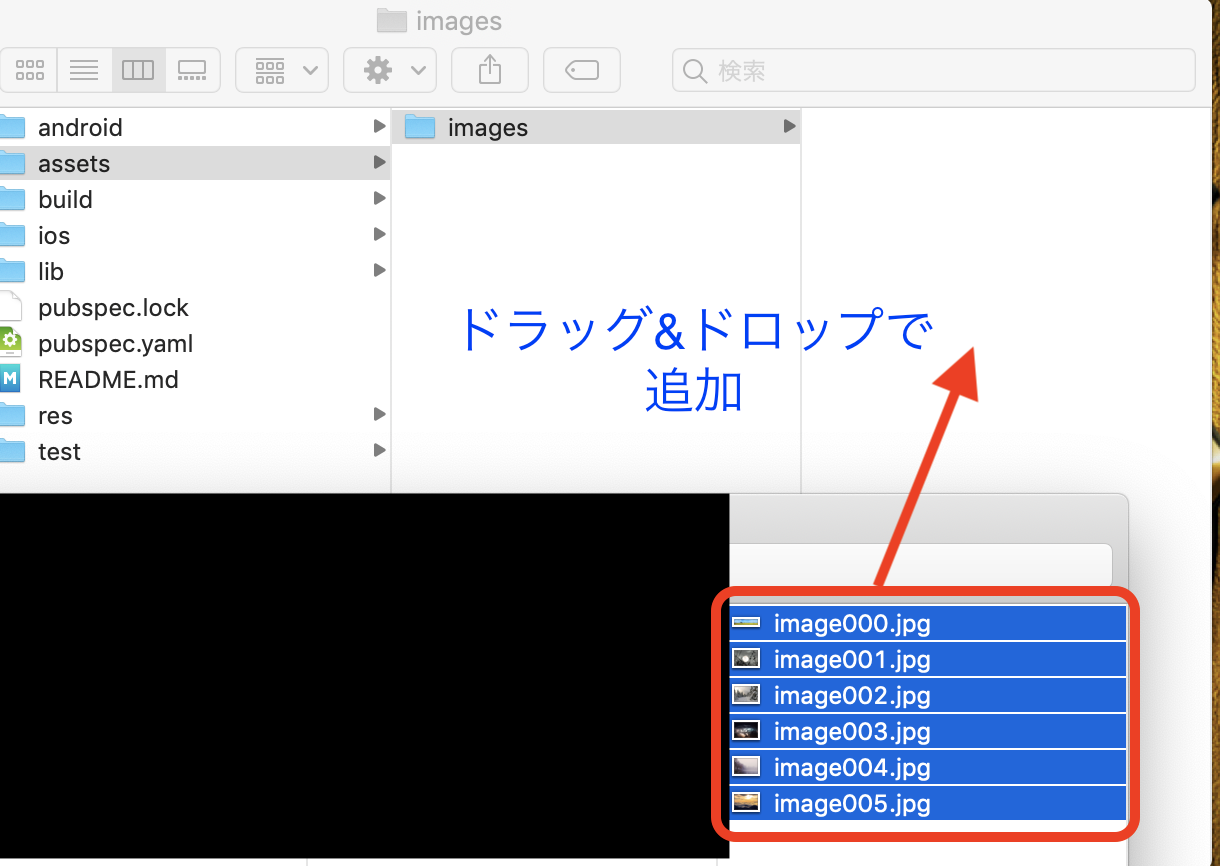
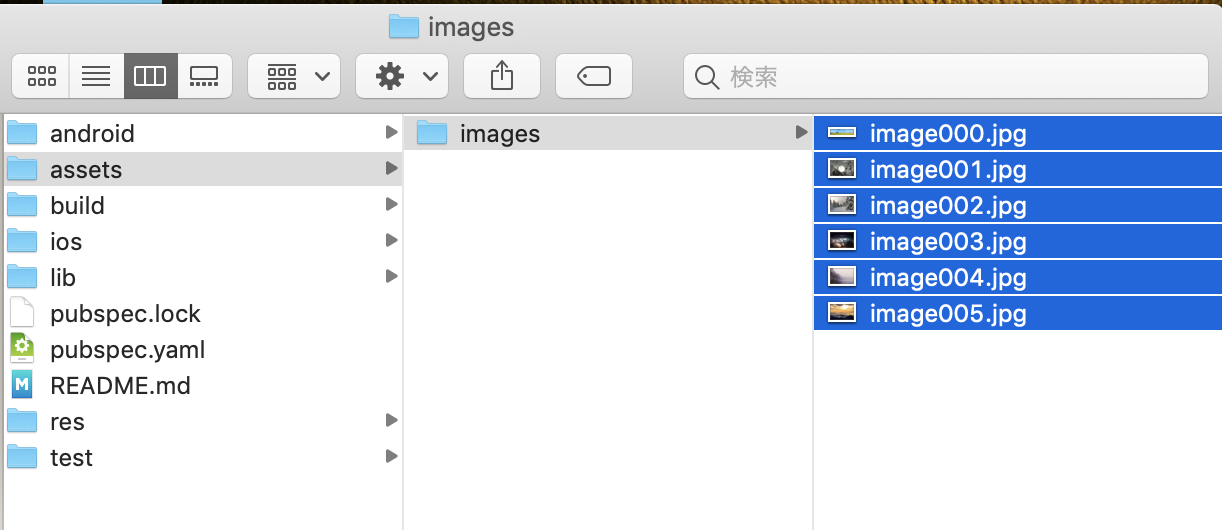
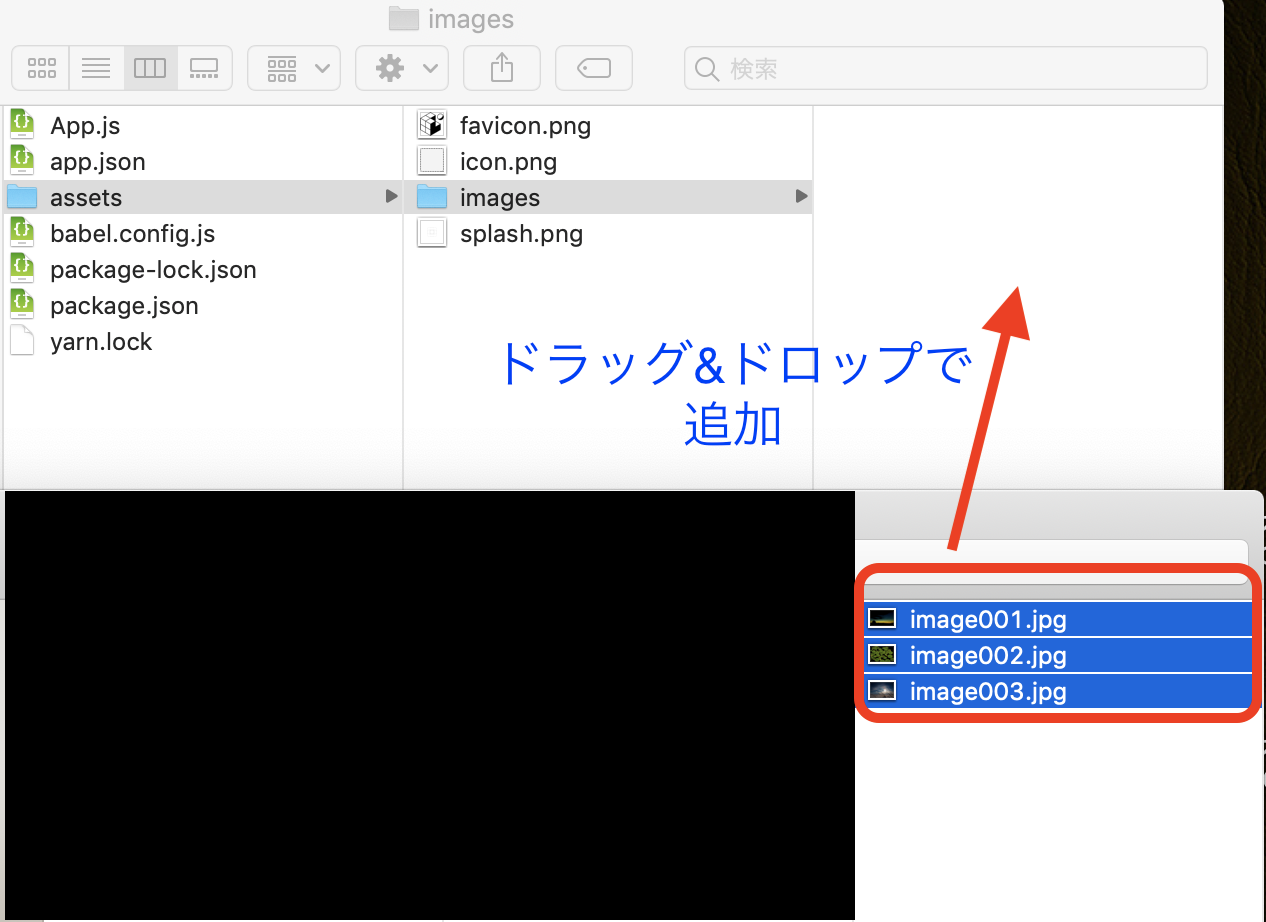
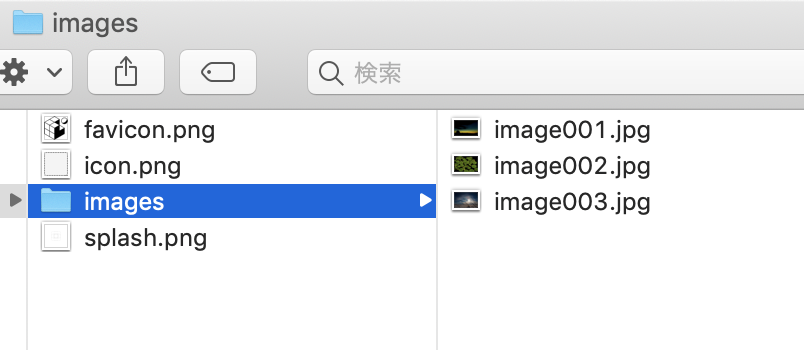
2.新規作成したimagesフォルダをローカル環境で開いて、imagesフォルダに画像を追加
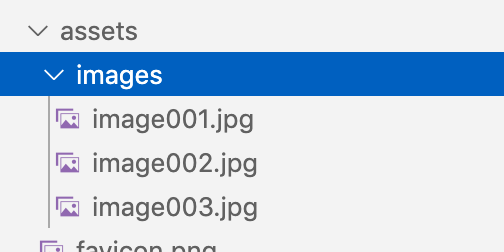
3.画像pathの文字列をrequireに設定し、key-value形式で定義
4.key-value形式で定義したrequireを配列に格納
5.imageコンポーネントのsourceに、requireが格納された配列のkeyを設定(Keyからrequireを取得)
import React, { Component } from 'react';
import { SafeAreaView, StyleSheet, FlatList, Image } from 'react-native';

export default class App extends Component {

  state = {
    numColumns:3,
    items:[
      {id : "1", req : require('./assets/images/image001.jpg')},
      {id : "2", req : require('./assets/images/image002.jpg')},
      {id : "3", req : require('./assets/images/image003.jpg')},
    ]
  };

  renderItem = ({index}) => {
    return (
      <Image
        style={styles.image}
        source={this.state.items[index].req}
      />
    );
  }

  render() {
    return (
      <SafeAreaView style={styles.container}>
        <FlatList
          data={this.state.items}
          renderItem={this.renderItem}
          keyExtractor={index => index.id}/>
      </SafeAreaView>
    );
  }
}

const styles = StyleSheet.create({
  container: {
    flex: 1,
    marginTop: 100,
    marginLeft: 100,
  },
  itemContainer: {
    justifyContent: 'flex-end',
    borderRadius: 5,
    padding: 10,
    height: 700,
    width: 500,
  },
  image: {
    width: 200,
    height: 100,
    marginLeft: 10,
    marginTop: 10,
  }
});
Xamarin.Forms
Xamarin.Formsでは、画像を新規に追加する場合と削除してから追加する場合で、少しやり方が異なるので以下にまとめました。
プロジェクトに新規で画像を追加する場合
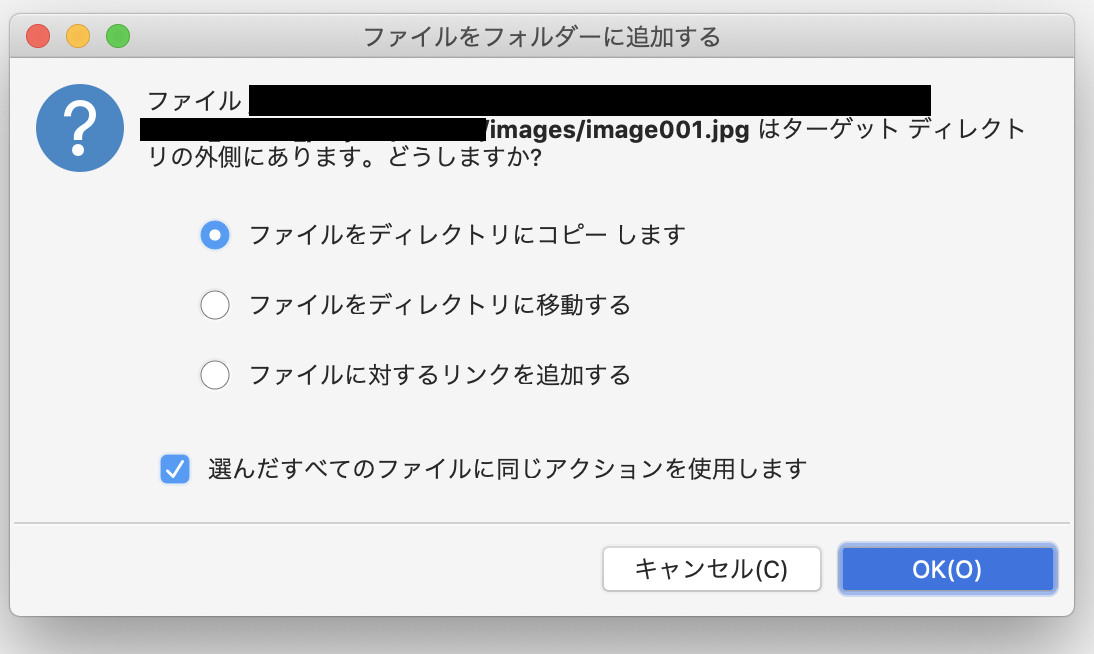
2.imagesフォルダに画像を追加(ダイアログが出た場合は「ファイルをディレクトリにコピーします」を選択)
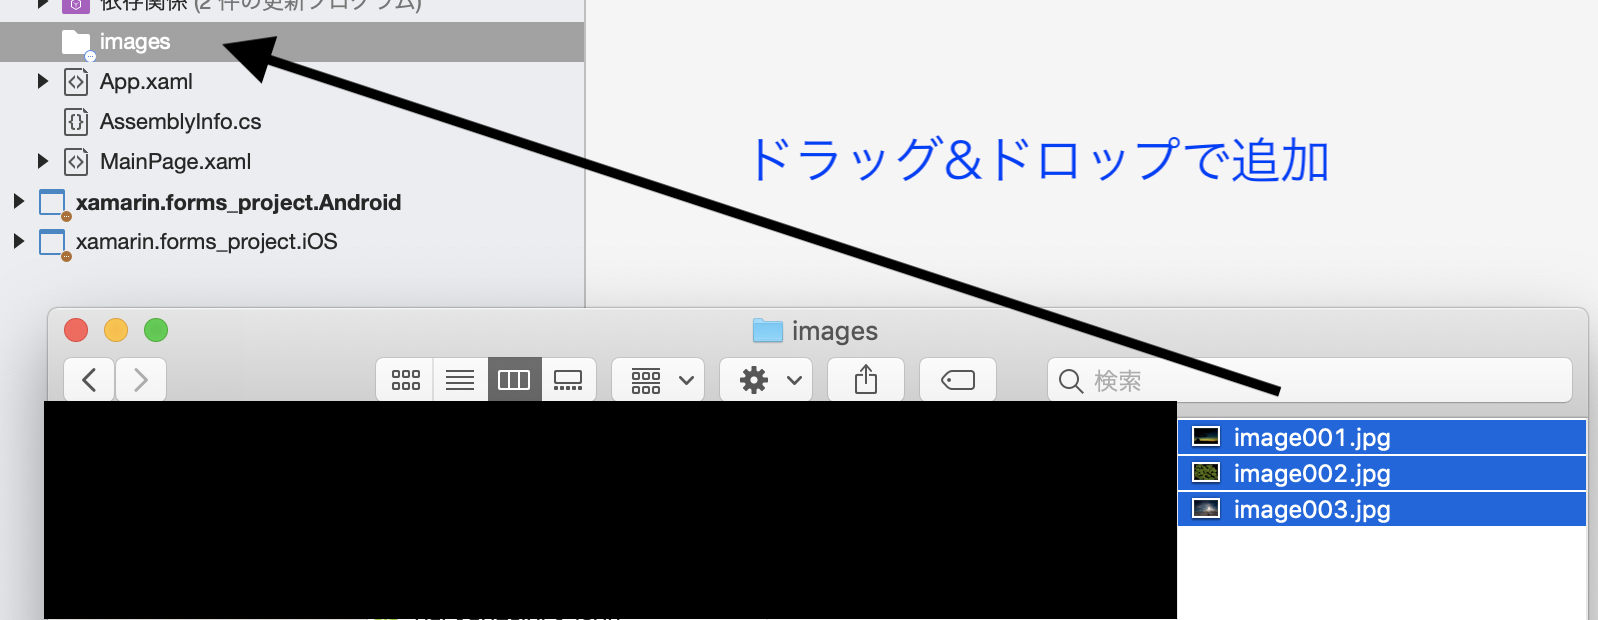
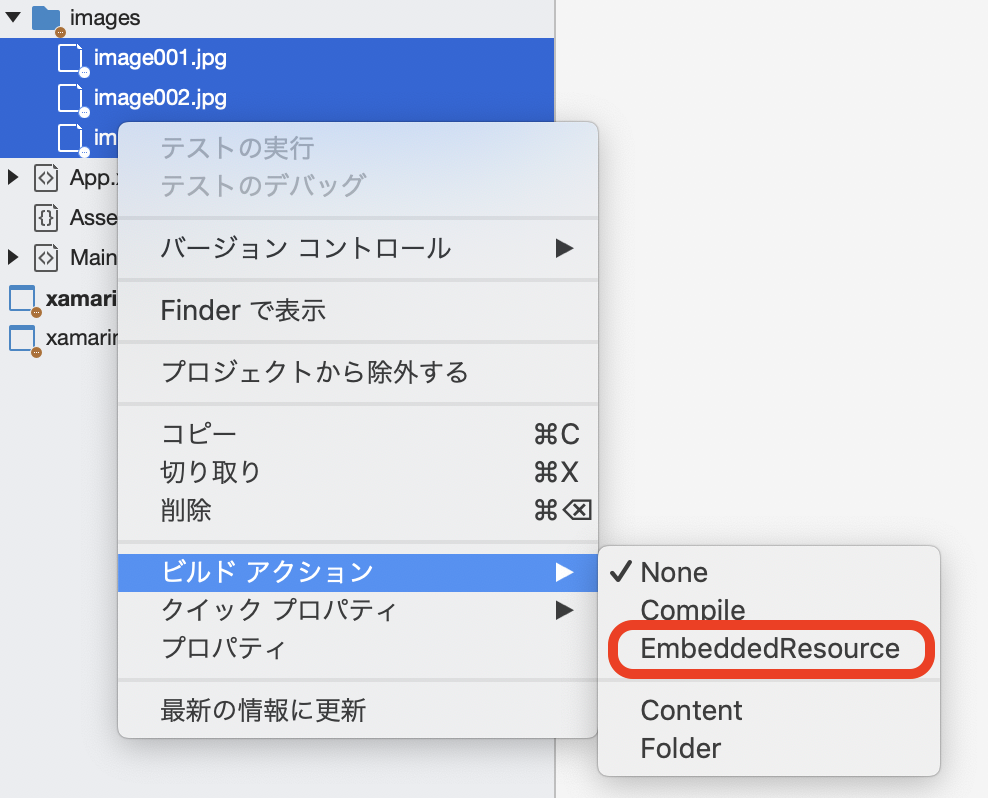
3.追加した全ての画像を選択して、「右クリック」→「ビルドアクション」→「EmbeddedResource」を選択
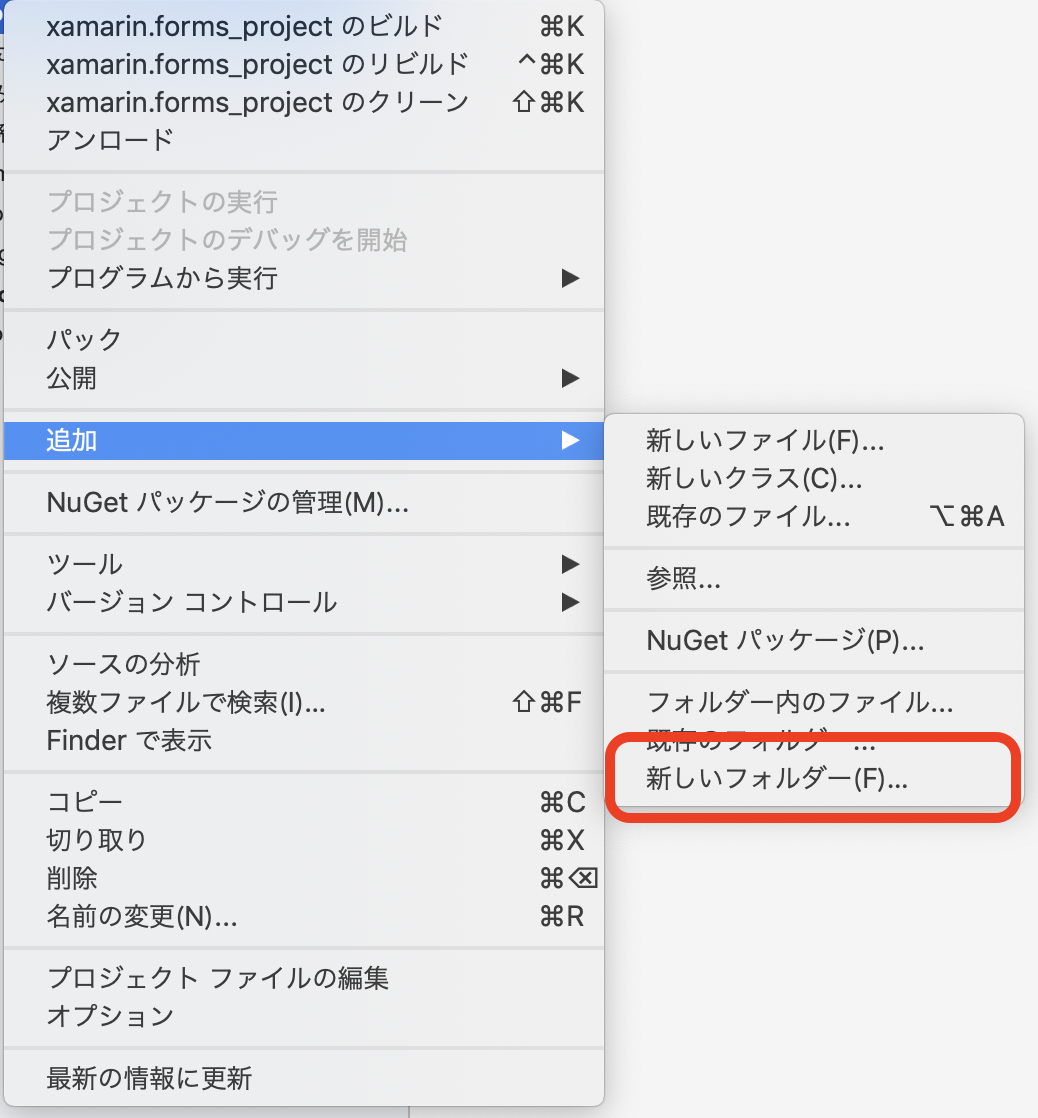
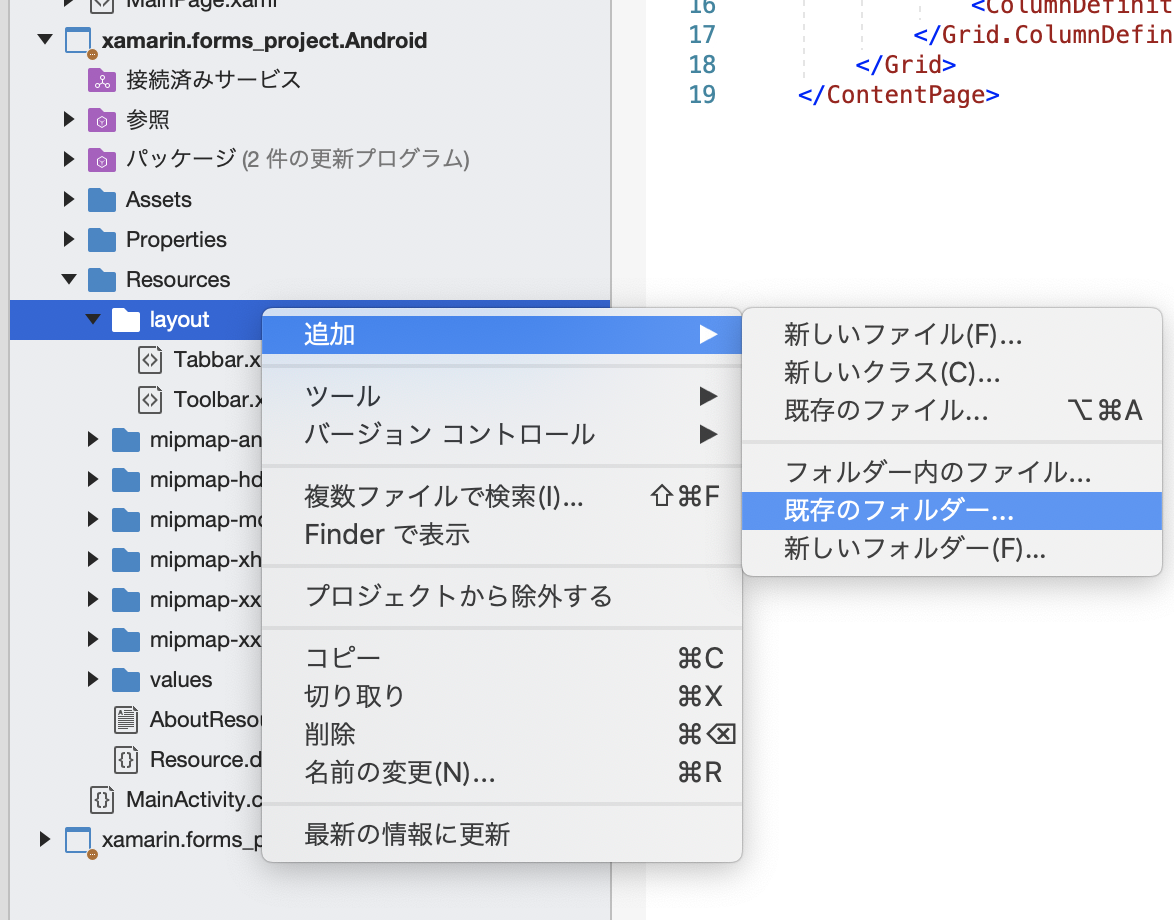
4.「プロジェクト名.Android/Resources/layout」を選択して、「右クリック」→「追加」→「既存のフォルダー」を選択
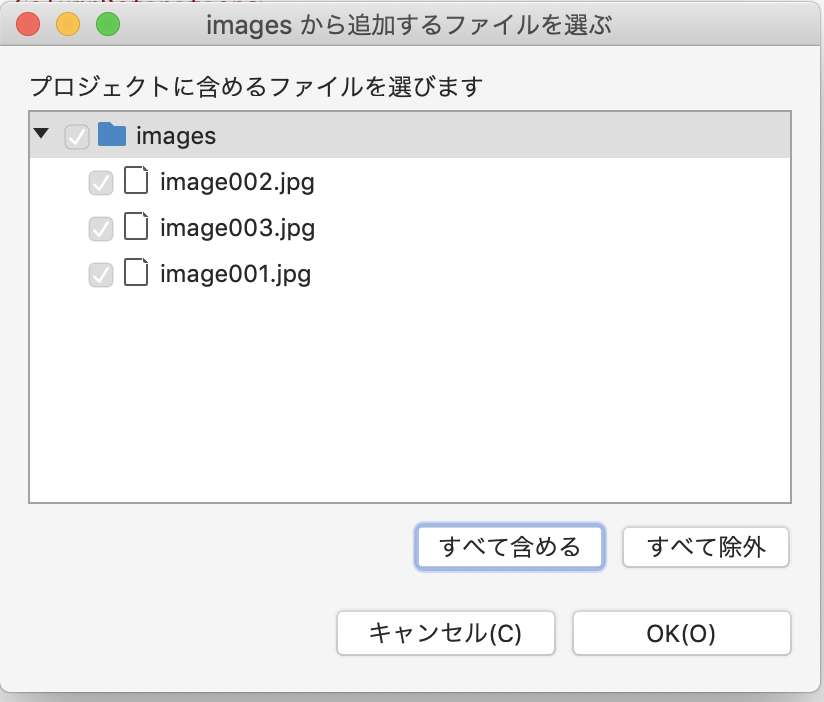
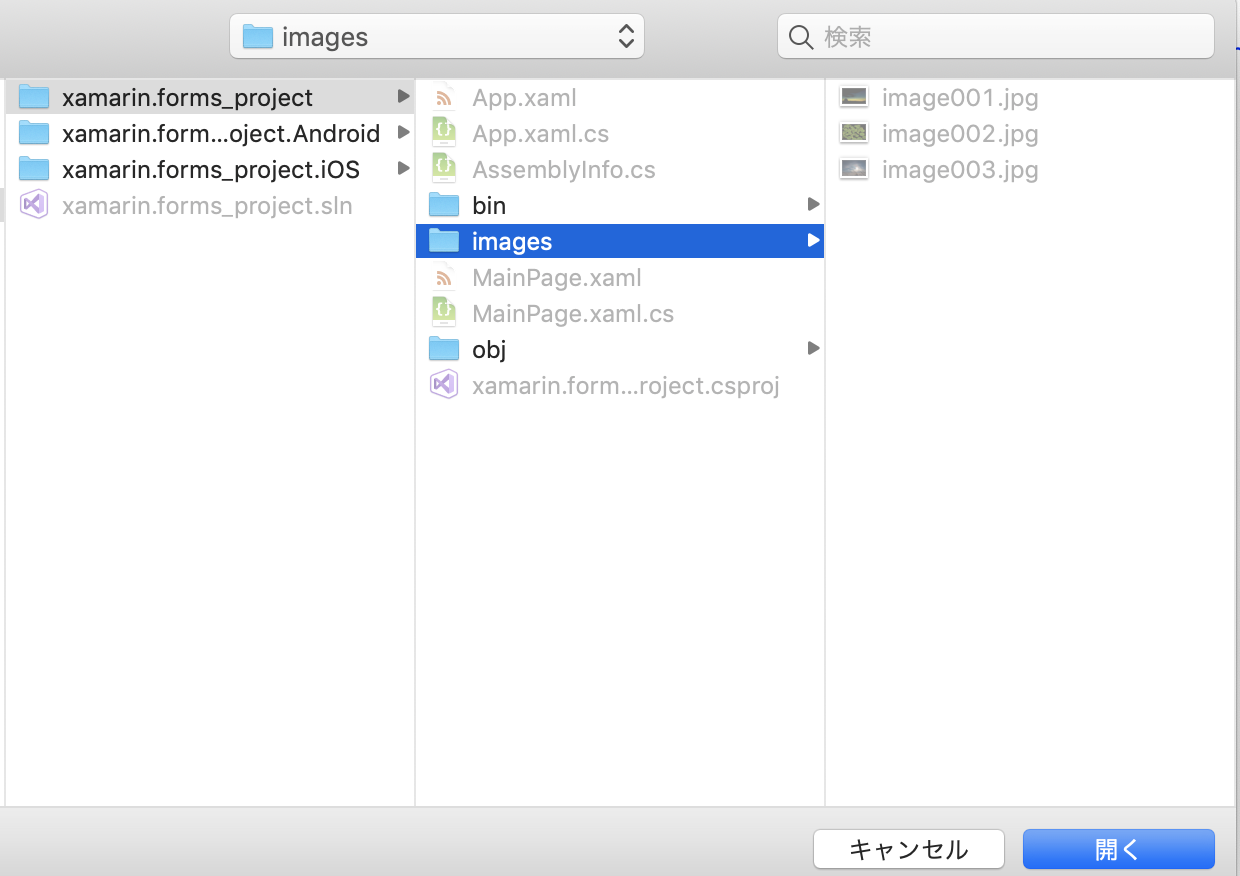
5.プロジェクト配下にある新規追加したimagesフォルダを選択して「OK」を押下
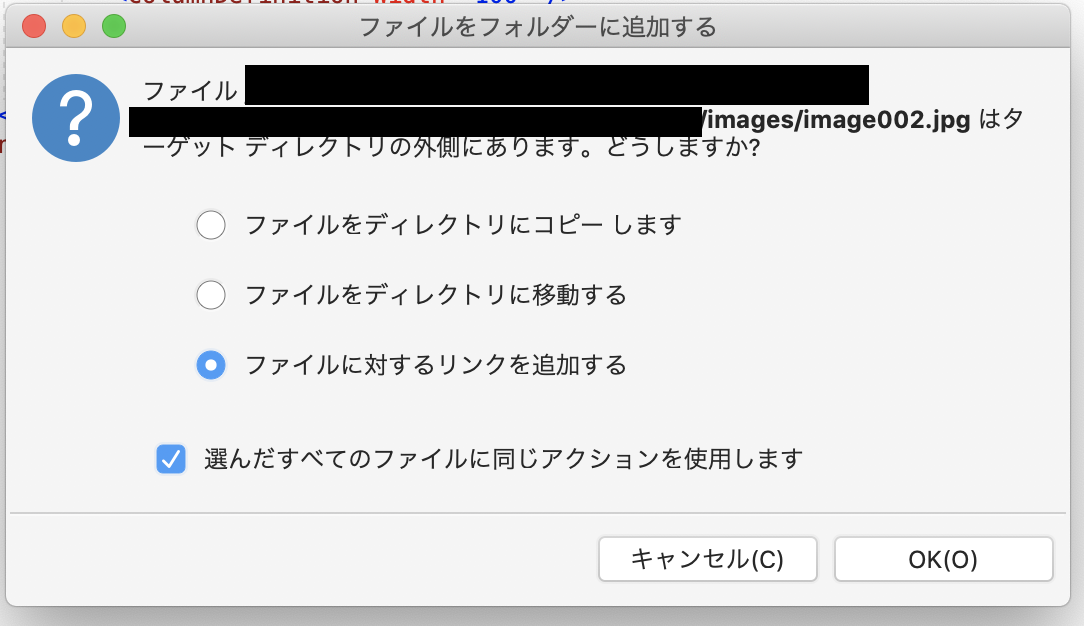
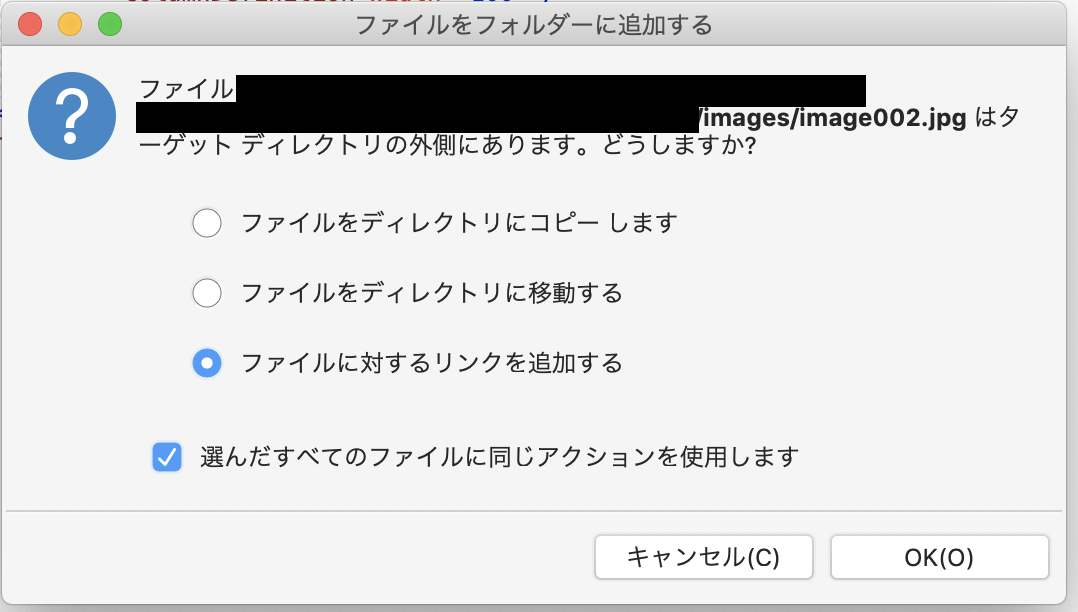
7.「ファイルに対するリンクを追加する」を選択し、「OK」を押下
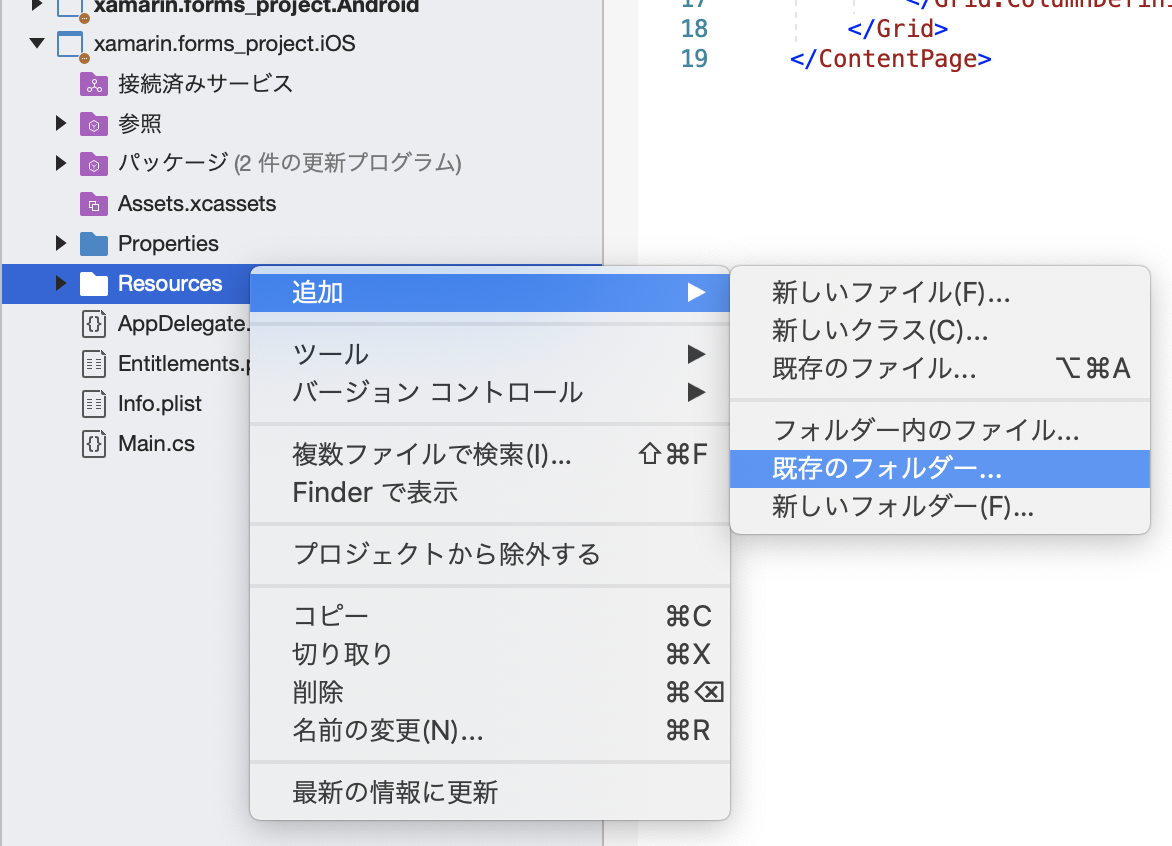
8.「プロジェクト名.iOS/Resources」を選択して、「右クリック」→「追加」→「既存のフォルダー」を選択
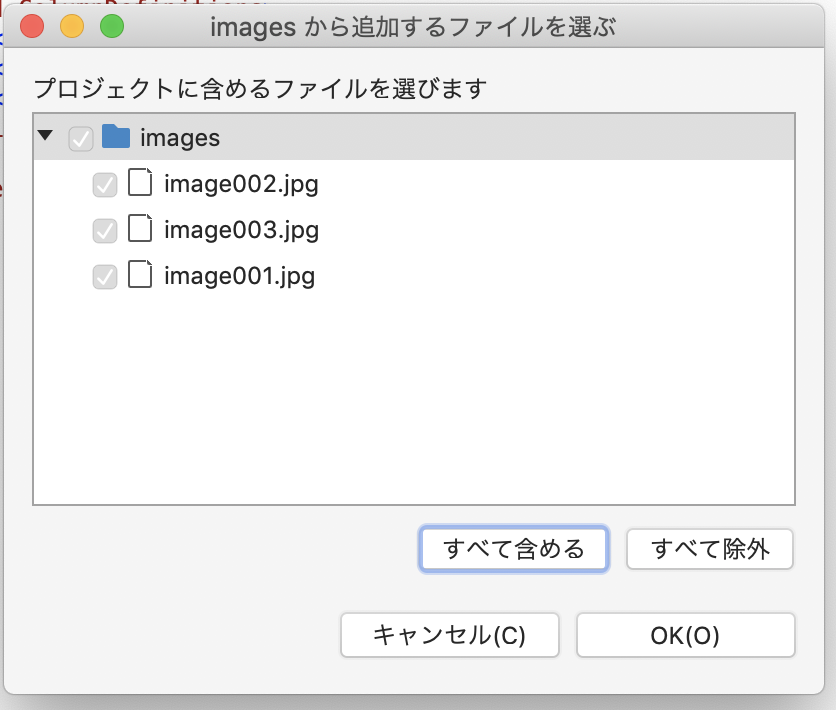
9.プロジェクト配下にある新規追加したimagesフォルダを選択して「OK」を押下
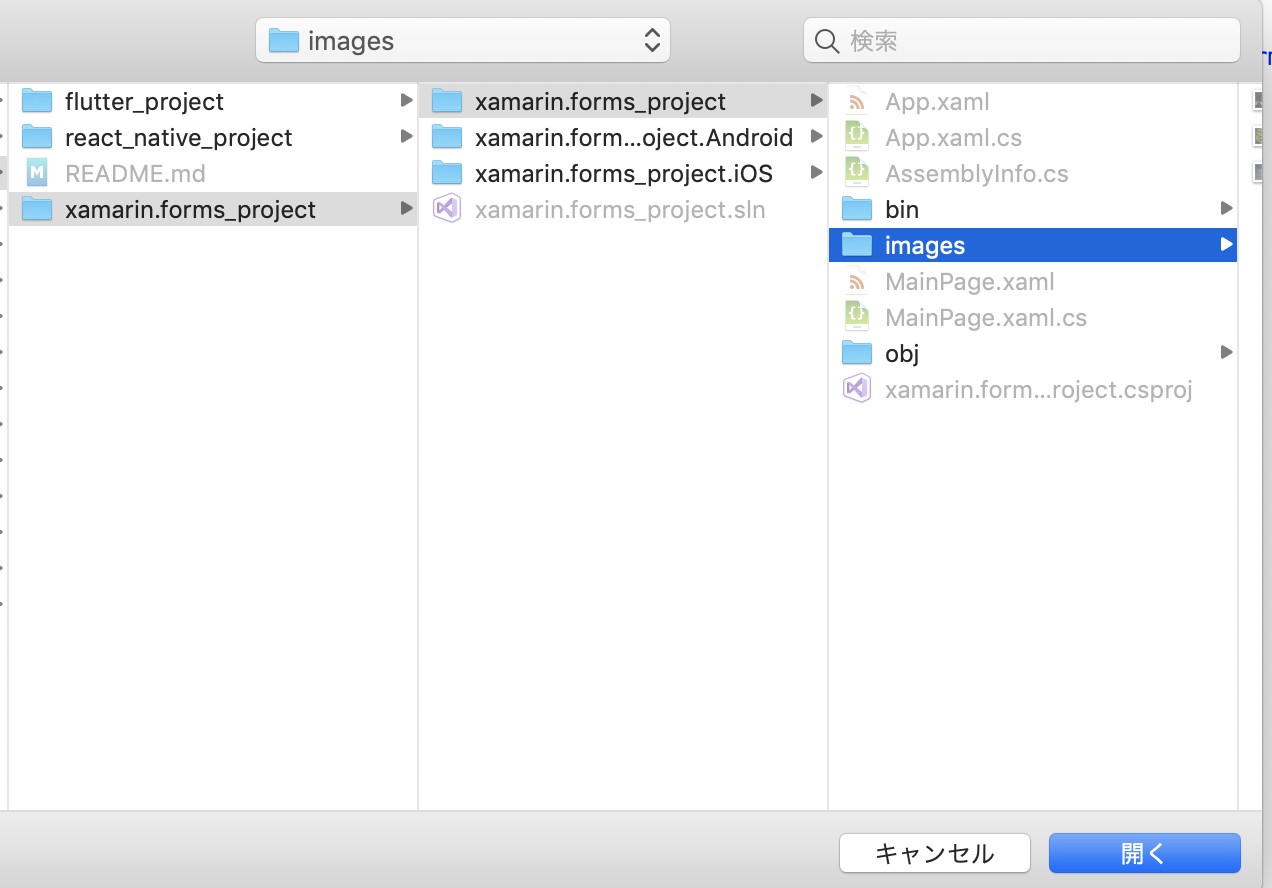
11.「ファイルに対するリンクを追加する」を選択し、「OK」を押下
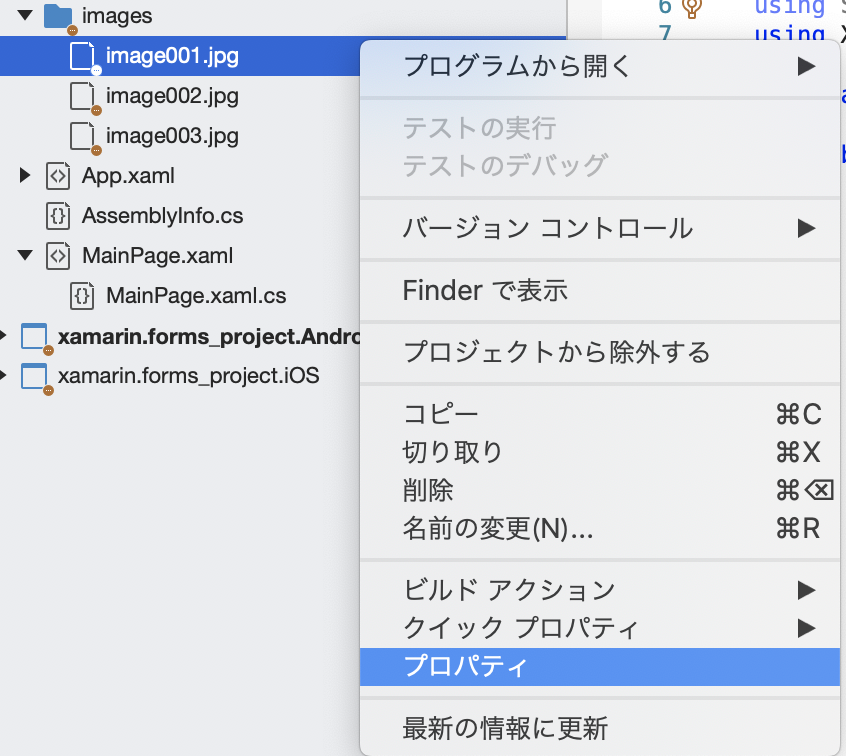
12.利用したい画像を選択して、「右クリック」→「プロパティ」を押下
13.「リソースID」をコピペしておく
(リソースIDは「プロジェクト名.フォルダ名.画像ファイル名.画像ファイルの拡張子」となっている)
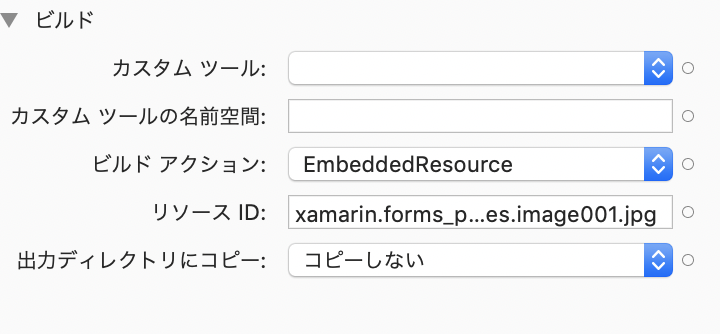
14.利用したい画像の枚数分、手順12~手順13を繰り返し
15.XAMLファイルにStackLayoutを追加してx:Name(変数名)を追加
<?xml version="1.0" encoding="utf-8"?>
<ContentPage
    xmlns="http://xamarin.com/schemas/2014/forms"
    xmlns:x="http://schemas.microsoft.com/winfx/2009/xaml"
    xmlns:ios="clr-namespace:Xamarin.Forms.PlatformConfiguration.iOSSpecific;assembly=Xamarin.Forms.Core"
    ios:Page.UseSafeArea="true"
    x:Class="xamarin.forms_project.MainPage">
    <StackLayout x:Name="Layout">
    </StackLayout>
</ContentPage>
16.コードビハインド(C#)でImageSource.FromResourceに手順14でコピペしたリソースIDを引数に設定
17.コードビハインド(C#)でStackLayoutに付けた変数名に手順16で追加したImageオブジェクトを追加
using System;
using System.Collections.Generic;
using Xamarin.Forms;

namespace xamarin.forms_project
{
    public partial class MainPage : ContentPage
    {
        public MainPage()
        {
            InitializeComponent();
            for(int index = 1; index < 4; index++)
            {
                var image = new Image()
                {
                    Source = ImageSource.FromResource("xamarin.forms_project.images.image" + String.Format("{0:D3}", index) + ".jpg"),
                    HorizontalOptions = LayoutOptions.Center,
                    VerticalOptions = LayoutOptions.Center,
                    WidthRequest = 200,
                    HeightRequest = 100,
                };
                Layout.Children.Add(image);
            }
        }
    }
}
(ハァ〜〜、疲れた![]() )
)
画像を削除してから再度追加する場合
画像を削除する時は「プロジェクト名/プロジェクト名.csproj」を手動での編集が必要な時があります。
例:プロジェクト名が「xamarin.forms_project」の場合、「xamarin.forms_project/xamarin.forms_project.csproj」を編集する。
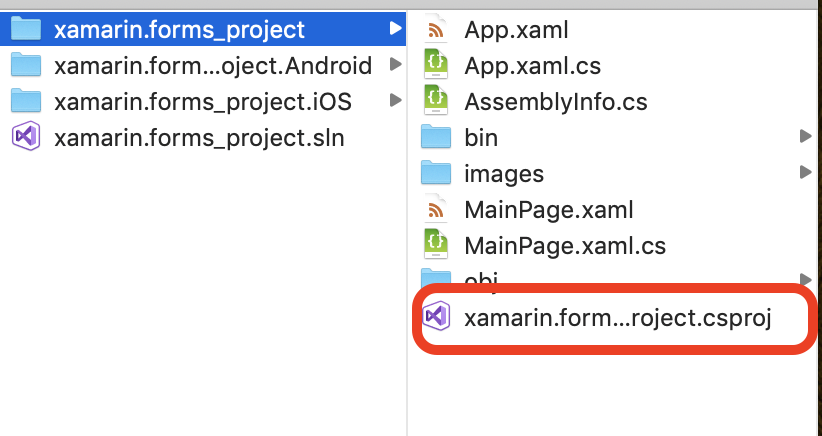
過去に起こったケースでは、VisualStudioからでなく、imagesフォルダやimagesフォルダにある画像ファイルを、ローカルから直接削除して、そのままビルドしてしまった場合に発生しました。こんなエラーでした。
重複する 'EmbeddedResource' 個のアイテムが含められました。.NET SDK には、既定でプロジェクト ディレクトリからのアイテムが 'EmbeddedResource' 個含まれています。これらのアイテムをプロジェクト ファイルから削除するか、'EnableDefaultEmbeddedResourceItems' プロパティを 'false' に設定してプロジェクト ファイルに明示的に含めることができます。
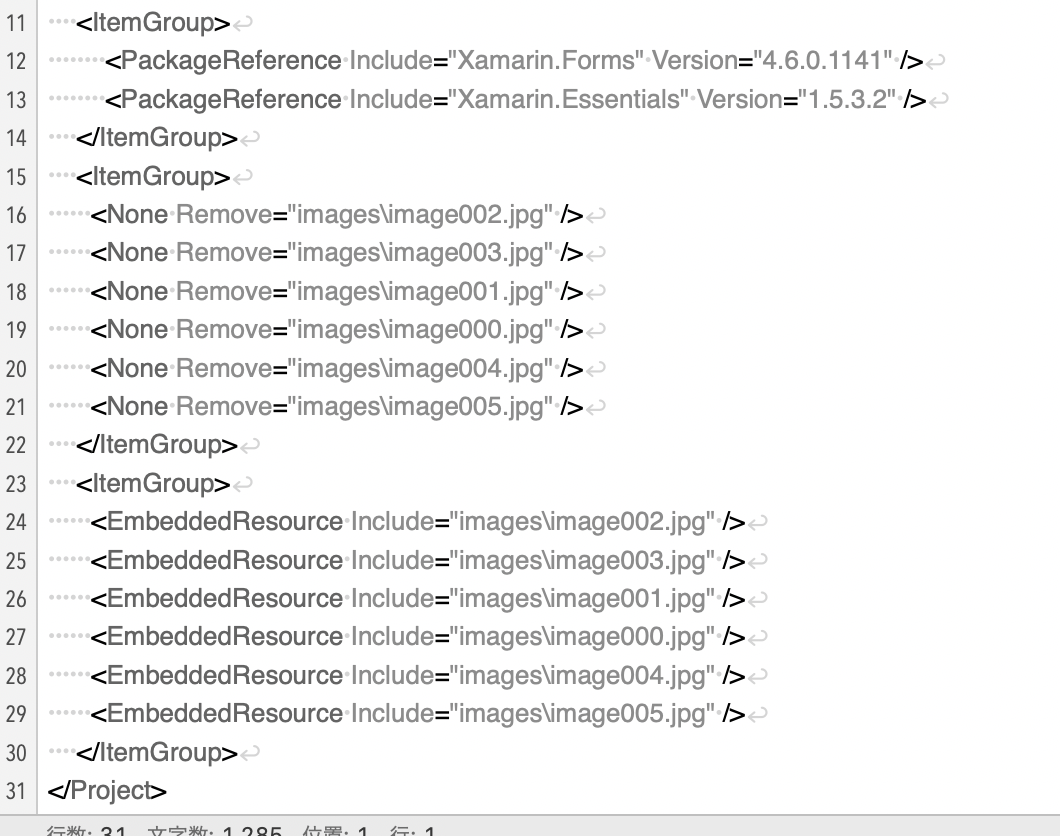
「プロジェクトに新規で画像を追加する場合」の手順1~手順11で追加した「images」フォルダ、「プロジェクト名.Android」と「プロジェクト名.iOS」にあるimagesフォルダを削除します。その後、「プロジェクト名/プロジェクト名.csproj」をテキストエディタで開き、NoneタグとEmbeddedResourceタグをItemGroupタグごと削除します。そしてVisualStudioで再読み込みします。
これらを行なった後で、「プロジェクトに新規で画像を追加する場合」を再度行います。
感想
見てもらったらわかりますが、煩雑さは
Flutter < React Native(Expo) < Xamarin.Forms
です!
Xamarin.Forms、、![]()
![]()

