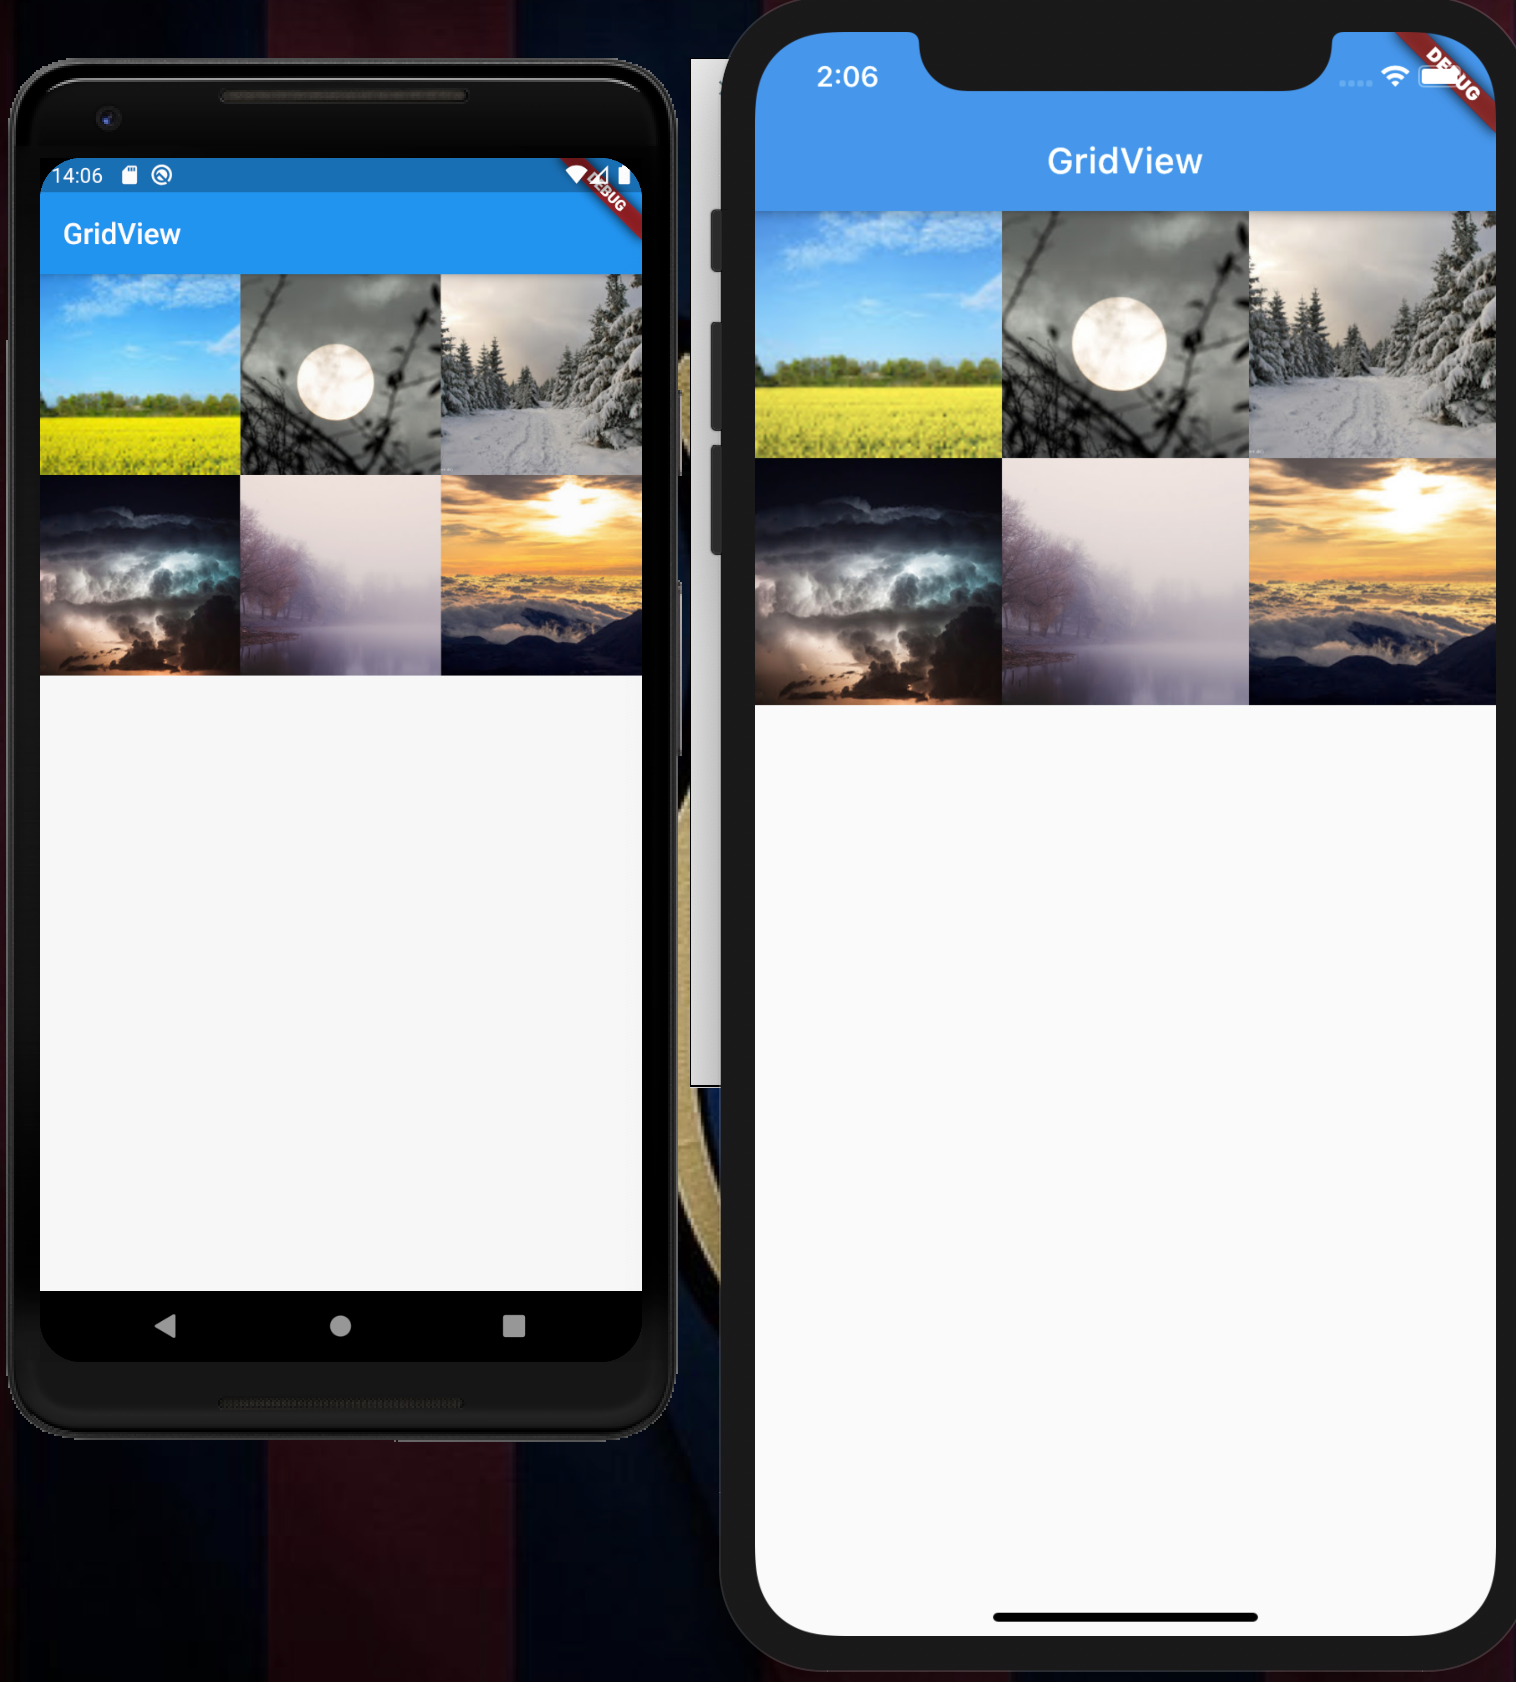
Flutter, React Native(Expo), Xamarin.Formsで、振る舞いが同じアプリを作っているんですが、その時にそれぞれのフレームワークでGridView(GridLayout)はどのような実装になるのか調べました。
調べた時に「要点となる実装部分だけの記載」という記事が多くて、初心者にとっては実装する時に「このコードはどこに追加(置き換え)するんだろうか?」って思ったので、FlutterとReact Native(expo)はコピペで動作するように記載しました。Xamarin.Formsはコピペの後でnamespaceを書き換えてください。
※iOSとAndroidのバージョン

フレームワークごとの要点
-
Flutter
- GridViewを使う
-
React Native (Expo)
- FlatListを使う
- ライブラリの追加は不要!!
- FlatListを使う
-
Xamarin.Forms
- Gridを使う
- Gridにコードビハインドで要素を追加していく
GridViewのオブジェクトはそれぞれのフレームワークごとに他のオブジェクトでも実装できますが、簡単だったのでこれで実装しました。
今回はrow(行):2、column(列):3で実装しています。Gridにローカル画像を使ってますが、ローカル画像を使うときの注意はこちら(自分の過去記事)を参考に!
Flutter
以下の記事を参考に、FlutterでGridViewを実装しました。
参照記事
https://flutter.ctrnost.com/basic/layout/gridview/
概要
GridView.countの「crossAxisCount」を列数の3に設定します。あとは表示する画像を「プロジェクトディレクトリ/assets/img」に配置するだけ。
実装
import 'package:flutter/material.dart';

void main() => runApp(MyApp());

class MyApp extends StatelessWidget {
  @override
  Widget build(BuildContext context) {
    return MaterialApp(
      title: 'Flutter Demo',
      theme: ThemeData(
        primarySwatch: Colors.blue,
      ),
      home: MyHomePage(title: 'Flutter Demo Home Page'),
    );
  }
}

class MyHomePage extends StatefulWidget {
  MyHomePage({Key key, this.title}) : super(key: key);

  final String title;

  @override
  _MyHomePageState createState() => _MyHomePageState();
}

class _MyHomePageState extends State<MyHomePage> {

  @override
  Widget build(BuildContext context) {
    var list = [
      _photoItem("pic0"),
      _photoItem("pic1"),
      _photoItem("pic2"),
      _photoItem("pic3"),
      _photoItem("pic4"),
      _photoItem("pic5"),
    ];
    return MaterialApp(
        home: Scaffold(
            appBar: AppBar(
              title: Text('GridView'),
            ),
            body: GridView.count(
                crossAxisCount: 3,
                children: list
            )
        )
    );
  }

  Widget _photoItem(String image) {
    var assetsImage = "assets/img/" + image + ".jpg";
    return Container(
      child: Image.asset(assetsImage, fit: BoxFit.cover,),
    );
  }
}
React Native(Expo)
以下の記事を参考に、React Native(Expo)でGridViewを実装しました。
参照記事
https://reactnative.dev/docs/flatlist
概要
FlatListのnumColumnsを3に設定します。表示する画像をlistで用意して、dataにlistを設定します。画像を「assets/images」に配置します。ライブラリのインストールはありません。
実装

import React, { useState } from 'react';
import {
  FlatList,
  SafeAreaView,
  StatusBar,
  StyleSheet,
  Image,
} from 'react-native';

const imageItems = [
  {req : require('./assets/images/image000.jpg'), id : '000'},
  {req : require('./assets/images/image001.jpg'), id : '001'},
  {req : require('./assets/images/image002.jpg'), id : '002'},
  {req : require('./assets/images/image003.jpg'), id : '003'},
  {req : require('./assets/images/image004.jpg'), id : '004'},
  {req : require('./assets/images/image005.jpg'), id : '005'},
];

const Item = ({ item }) => (
  <Image source={item.req} style={[styles.image]} />
);

export default function App() {
  const renderItem = ({ item }) => {
    return <Item item={item} />;
  };

  return (
    <SafeAreaView style={styles.container}>
      <FlatList
        data={imageItems}
        renderItem={renderItem}
        numColumns={3}
        keyExtractor={item => item.id}
      />
    </SafeAreaView>
  );
}

const styles = StyleSheet.create({
  container: {
    flex: 1,
    marginTop: StatusBar.currentHeight || 0,
  },
  item: {
    padding: 3,
    marginVertical: 3,
    marginHorizontal: 3,
  },
  image: {
    width: 100,
    height: 100,
  },
  title: {
    fontSize: 10,
  },
});
Xamarin.Forms
以下の記事を参考に、Xamarin.FormsでGridViewを実装しました。
参照記事
https://docs.microsoft.com/ja-jp/xamarin/xamarin-forms/user-interface/layouts/grid
概要
XAMLにGridを実装して、名前をつけて、行と列を定義します。コードビハインド(C#)でGridのセルを指定して画像を追加していきます。
実装
<?xml version="1.0" encoding="utf-8"?>
<ContentPage
    xmlns="http://xamarin.com/schemas/2014/forms"
    xmlns:x="http://schemas.microsoft.com/winfx/2009/xaml"
    xmlns:ios="clr-namespace:Xamarin.Forms.PlatformConfiguration.iOSSpecific;assembly=Xamarin.Forms.Core"
    ios:Page.UseSafeArea="true"
    x:Class="xamarin.forms_project.MainPage">
    <Grid x:Name="grid">
        <Grid.RowDefinitions>
            <RowDefinition Height="100" />
            <RowDefinition Height="100" />
        </Grid.RowDefinitions>
        <Grid.ColumnDefinitions>
            <ColumnDefinition Width="100" />
            <ColumnDefinition Width="100" />
            <ColumnDefinition Width="100" />
        </Grid.ColumnDefinitions>
    </Grid>
</ContentPage>
using System;
using System.Collections.Generic;
using System.ComponentModel;
using System.Linq;
using System.Text;
using System.Threading.Tasks;
using Xamarin.Forms;

namespace xamarin.forms_project
{
    public partial class MainPage : ContentPage
    {
        public MainPage()
        {
            InitializeComponent();
            int imageindex = 0;
            for (int columnIndex = 0; columnIndex < 3; columnIndex++)
            {
                for (int rowIndex = 0; rowIndex < 2; rowIndex++)
                {
                    var image = new Image
                    {
                        Source = ImageSource.FromResource("xamarin.forms_project.images.image" + String.Format("{0:D3}", imageindex) + ".jpg"),
                        HorizontalOptions = LayoutOptions.Center,
                        VerticalOptions = LayoutOptions.Center,
                        WidthRequest = 120,
                        HeightRequest = 100,
                    };
                    grid.Children.Add(image, columnIndex, rowIndex);
                    imageindex++;
                }
            }
        }
    }
}
感想
3つのフレームワークとも、ライブラリの追加も無く、フレームワークが提供しているUIだけで実装できるので、便利かな〜と思います。


