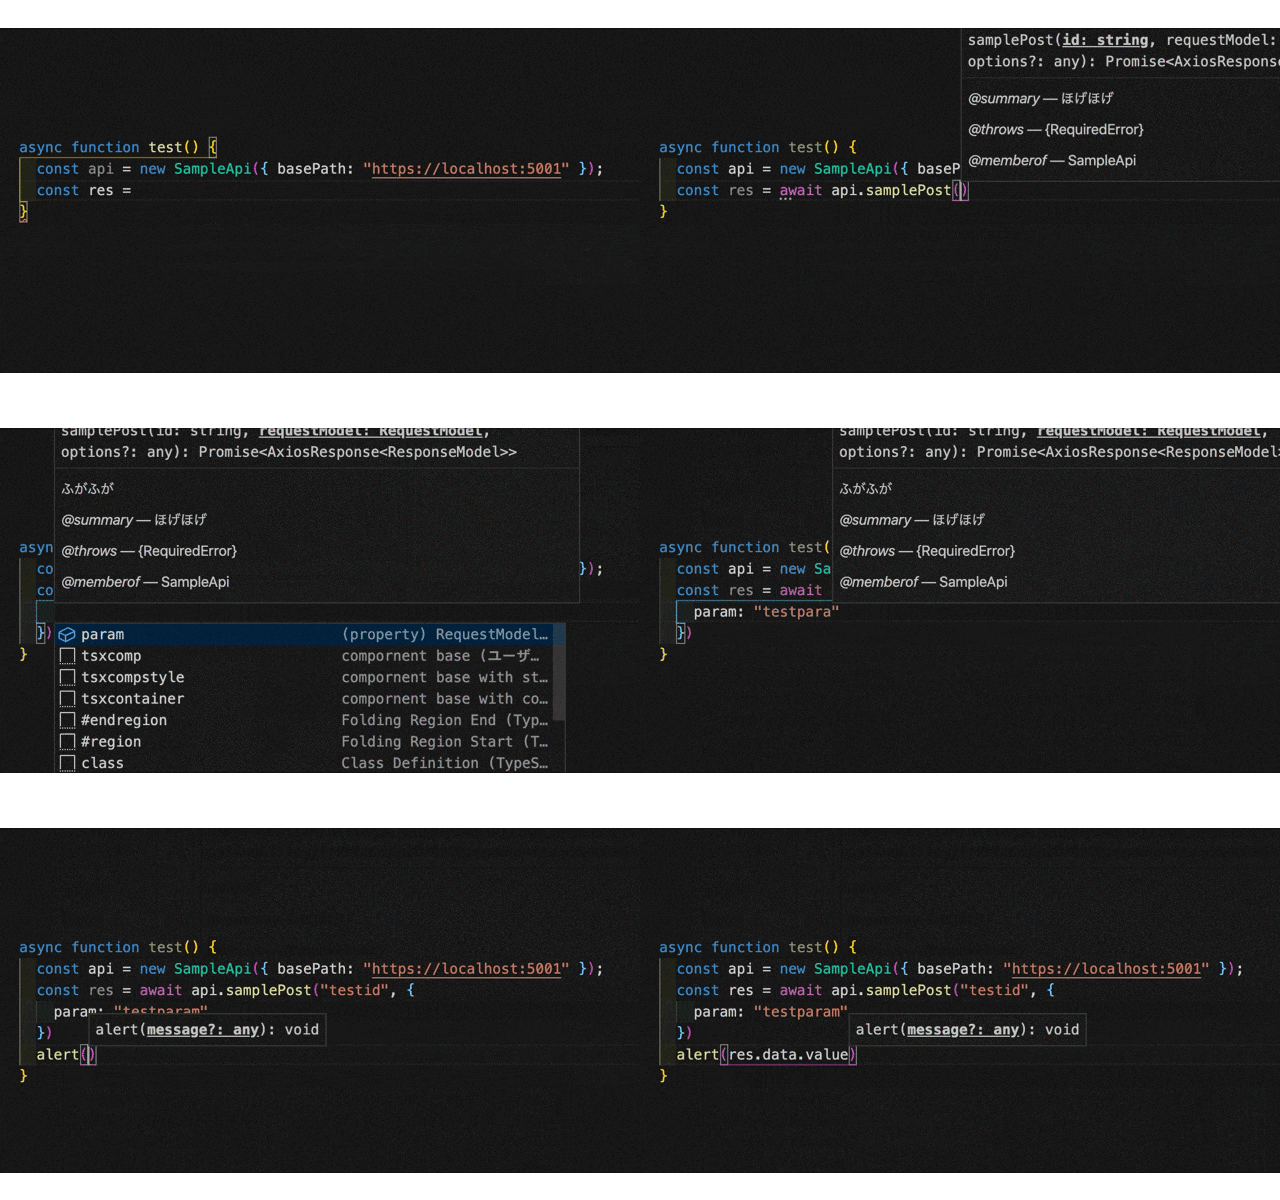
TL;DR
以下の手順で作られるコードを以下に置いておきます。お忙しい方はこちらからどうぞ ![]()
https://github.com/ishiyama0530/worksample-dotnetcore-swagger-axios
モチベーション
- ソースコードからOpenAPIのインターフェースを生成したい
- SwaggerUIを表示したい
- OpenAPIの定義ファイルをJSON/YAML形式で出力したい
- 定義ファイルからAxiosのコードを生成したい
- すべてを1コマンドで行いたい
参考
プロジェクト構成
最終的にはこんな感じになります。
$ tree ./worksample-dotnetcore-swagger-axios -a -L 1
./worksample-dotnetcore-swagger-axios
├── .config
├── .git
├── .gitignore
├── ClientApp
├── Controllers
├── Pages
├── Program.cs
├── Properties
├── Startup.cs
├── WeatherForecast.cs
├── appsettings.Development.json
├── appsettings.json
├── bin
├── node_modules
├── obj
├── openapi.json
├── openapi.yml
├── package-lock.json
├── package.json
├── scripts
├── worksample-dotnetcore-swagger-axios.csproj
└── wwwroot
プロジェクト作成
vueでもreactでもangularでも何でもいいですが、とりあえずテンプレートが用意されているreactで進めます。
mkdir worksample-dotnetcore-swagger-axios
dotnet new reactredux -o worksample-dotnetcore-swagger-axios
cd worksample-dotnetcore-swagger-axios
dotnet run // localhost:5001でhelloworldが表示されます
SwaggerUIを表示するまで
パッケージ
dotnet add package Swashbuckle.AspNetCore --version 5.4.1
Controller
SampleController.csを作成します。
using System.ComponentModel.DataAnnotations;
using Microsoft.AspNetCore.Mvc;

namespace worksample_dotnetcore_swagger_axios.Controllers
{
    [ApiController]
    [Route("[controller]")]
    public class SampleController : ControllerBase
    {
        /// <summary>
        /// ほげほげ
        /// </summary>
        /// <param name="model">ふがふが</param>
        /// <returns>ほげほげふがふが</returns>
        [HttpPost("{id}")]
        public ResponseModel Post([Required][FromBody]RequestModel model)
        {
            return new ResponseModel();
        }
    }

    public class RequestModel{
        [Required]
        public string Param { get; set; }
    }

    public class ResponseModel{
        [Required]
        public string Value { get; set; }
    }
}
Startup::ConfigureServices
サービスを追加します。
services.AddSwaggerGen(c => {
    c.SwaggerDoc("v1", new OpenApiInfo { Title = "My API", Version = "v1" });

    // operationidの設定
    c.CustomOperationIds(e => $"{e.ActionDescriptor.RouteValues["controller"]}{e.ActionDescriptor.RouteValues["action"]}");

    // コメントも定義に出力するように
    var xmlFile = $"{Assembly.GetExecutingAssembly().GetName().Name}.xml";
    var xmlPath = Path.Combine(AppContext.BaseDirectory, xmlFile);
    c.IncludeXmlComments(xmlPath);
});
Startup::Configure
ミドルウェアは定義する順番によって動作が変わります。
今回はとりあえずConfigureメソッドの一番上に追加します。
app.UseStaticFiles(); // for wwwroot/swagger/ui
app.UseSwagger();
app.UseSwaggerUI(c => {
    c.SwaggerEndpoint("/swagger/v1/swagger.json", "My API V1");
});
プロジェクトファイル
XMLコメントを有効にするためにプロジェクトファイルに以下を追加します。
bin以下にコメントのxmlファイルを出力するようになります。
<PropertyGroup>
  <GenerateDocumentationFile>true</GenerateDocumentationFile>
  <NoWarn>$(NoWarn);1591</NoWarn>
</PropertyGroup>
起動
dotnet run
https://localhost:5001/swagger/v1/swagger.json
上記URLにアクセスするとOpenAPIのインターフェース定義を確認できます。
Swagger UIの準備
プロジェクト直下にwwwroot/swagger/uiディレクトリ作成し、GitHub SwaggerUIのdistフォルダの中身をまるっとコピーします。
$ tree ./wwwroot/
./wwwroot/
└── swagger
    └── ui
        ├── favicon-16x16.png
        ├── favicon-32x32.png
        ├── index.html
        ├── oauth2-redirect.html
        ├── swagger-ui-bundle.js
        ├── swagger-ui-bundle.js.map
        ├── swagger-ui-standalone-preset.js
        ├── swagger-ui-standalone-preset.js.map
        ├── swagger-ui.css
        ├── swagger-ui.css.map
        ├── swagger-ui.js
        └── swagger-ui.js.map
wwwroot/swagger/ui/index.htmlの42行目あたりの読み込む定義ファイルのURLを、自分の定義に修正します。
const ui = SwaggerUIBundle({
  // url: "https://petstore.swagger.io/v2/swagger.json",
  url: "https://localhost:5001/swagger/v1/swagger.json",
  dom_id: '#swagger-ui',
省略...
起動
dotnet run
https://localhost:5001/swagger/ui/index.html
上記URLにアクセスするとSwaggerUIを確認できます。

インターフェース定義をJSON/YAMLで出力するまで
パッケージ
dotnet add package Swashbuckle.AspNetCore.Newtonsoft --version 5.4.1
dotnet add package Swashbuckle.AspNetCore.Swagger --version 5.4.1
dotnet-tools.json
プロジェクト直下に.configフォルダを作り、その下にdotnet-tools.jsonを作成します。
{
  "version": 1,
  "isRoot": true,
  "tools": {
    "swashbuckle.aspnetcore.cli": {
      "version": "5.4.1",
      "commands": [
        "swagger"
      ]
    }
  }
}
プロジェクトファイル
今回はビルド後に指定したパスに定義ファイルを自動で出力するようにします。
ビルド後イベントにHookするためにプロジェクトファイルに以下を追加します。
<Target Name="PostBuild" AfterTargets="PostBuildEvent">
  <Exec Command="dotnet tool restore" />
  <Exec Command="dotnet swagger tofile --output ./openapi.json ./bin/Debug/netcoreapp3.1/worksample-dotnetcore-swagger-axios.dll v1" />
  <Exec Command="dotnet swagger tofile --yaml --output ./openapi.yml ./bin/Debug/netcoreapp3.1/worksample-dotnetcore-swagger-axios.dll v1" />
</Target>
ビルド
.NET Core 2.1 Runtime が入っていない環境だとビルドが通らないようです。
私は以下からダウンロードしました。
Download .NET Core 2.1
https://dotnet.microsoft.com/download/dotnet-core/2.1
dotnet build
プロジェクト直下に以下のファイルが出力されていれば成功です。
- openapi.json
- openapi.yml
インターフェース定義ファイルからAxiosのコードを生成するまで
パッケージ
Axios本体とインターフェース定義ファイルからAxiosのコードを生成してくれるopenapi-generator-cliをインストールします。
cd ClientApp/
npm install axios
npm install -D @openapitools/openapi-generator-cli
生成前にディレクトリを削除したいのでrimrafもインストールします
npm install -D rimraf
npm-scripts
./ClientApp/package.jsonに以下を追加します。
"scripts": {
...省略
  "openapi:regen": "rimraf ./src/openapisdk && openapi-generator generate -g typescript-axios -i ../openapi.json -o ./src/openapisdk"
}
上記のスクリプトを実行するとプロジェクト直下にあるopenapi.jsonをもとに./ClientApp/src/openapisdkにAxiosのコードが生成されます。
npm run openapi:regen
dotnetビルド→openapi:regenを1コマンドで
方法はいろいろあると思いますが、クロスプラットフォームに対応したいのでnpm-scriptsに書いていきます。
プロジェクト直下にpackage.jsonを作ります。
cd ../
npm init
npm-scriptsからdotnetコマンドを実行したいのでshelljsをインストールします。
npm i shelljs
プロジェクト直下にscriptsフォルダを作りその下にdotnetbuild.jsを作りました。
var shell = require('shelljs');

if (shell.exec("dotnet build").code !== 0) {
  shell.exit(1);
}
最後にnpm-scriptsに以下を記述します。
"scripts": {
    "openapi:clientapp": "node ./scripts/dotnetbuild.js && cd ./ClientApp && npm run openapi:regen"
}
これでプロジェクトのビルドからAxiosのコード生成が1コマンドで行われるようになりました。
npm run openapi:clientapp
おまけ
Swagger UIのテーマはこちらからどうぞ
Swagger UI Themes
https://ostranme.github.io/swagger-ui-themes/
