はじめに
Kaggle Notebook と同じデータ分析環境が手元にもほしいと思い、勉強がてら構築してみました。
今回は GCE(Google Compute Engine)上に構築していますが、Docker が動作するならばノート PC 上にも構築できます。
手元にほしくないならば、そのまま Kaggle Notebook や Google Colaboratory を使う方がお手軽です。
注:用語やフォーマットの説明、詳細な手順は割愛しています
インスタンス作成例
VPC ネットワーク > ファイアウォールルール
Jupyter 用の通信を許可する設定を追加
ターゲットタグ:jupyter
ソース IP の範囲:0.0.0.0/0
プロトコルとポート:tcp:8888
Compute Engine > VM インスタンス
データ分析環境を構築するインスタンスを作成
リージョン:us-east1
マシンタイプ:n1-standard-8(vCPU x 8、メモリ 30 GB)
OS:Ubuntu 16.04 LTS
ブートディスク:50 GB
SSH 認証鍵:適当なツールで作成したキーペアの内、公開鍵を入力
ネットワークタグ:jupyter
(オプション)Storage
複数インスタンス間でデータを共有するためのバケットを作成
ロケーションタイプ:Region
ロケーション:us-east1 ※インスタンスのリージョンと同じにする
OS・Docker セットアップ
Docker インストール
公式にならう
Docker Compose インストール
公式にならった後、ユーザを docker グループに追加
$ sudo gpasswd -a <user-name> docker
※要ログアウト
その他パッケージインストール(好みで)
・tmux
・htop
Kaggle イメージをベースに環境構築
$ mkdir jupyter
$ cd jupyter/
Dockerfile
# Kaggle イメージ(バージョンは適宜修正)
# https://console.cloud.google.com/gcr/images/kaggle-images/GLOBAL/python
FROM gcr.io/kaggle-images/python:v72


RUN pip install -U pip

RUN apt-get update \
    && apt-get install -y git \
    && apt-get install -y curl \
    && apt-get install -y sudo

## JupyterLab 拡張機能

# nodejs インストール(バージョンは適宜修正)
RUN curl -sL https://deb.nodesource.com/setup_12.x | sudo -E bash - \
    && sudo apt-get install -y nodejs

# Variable Inspector インストール
RUN jupyter labextension install @lckr/jupyterlab_variableinspector

# Code Formatter インストール(autopep8)
RUN pip install autopep8 \
    && pip install jupyterlab_code_formatter \
    && jupyter labextension install @ryantam626/jupyterlab_code_formatter \
    && jupyter serverextension enable --py jupyterlab_code_formatter
JupyterLab の拡張機能である Variable Inspector、Code Formatter は便利なのでオススメです。
docker-compose.yml
version: "3"
services:
  jupyterlab:
    build: .
    volumes:
      - $PWD:/tmp/work
    working_dir: /tmp/work
    ports:
      - 8888:8888
    command: jupyter lab --ip=0.0.0.0 --allow-root --no-browser
.dockerignore
ビルドに必要のないフォルダやファイル(データなど)は .dockerignore に記載します。
現時点では不要です。
ビルド & 起動
$ ls -a
.  ..  docker-compose.yml  Dockerfile  .dockerignore
$ docker-compose up --build
...
jupyterlab_1  |     To access the notebook, open this file in a browser:
jupyterlab_1  |         file:///root/.local/share/jupyter/runtime/nbserver-6-open.html
jupyterlab_1  |     Or copy and paste one of these URLs:
jupyterlab_1  |         http://f1edddab6ade:8888/?token=e53b92d6eeefb3cd0e6897a370744ba0224834287ee3696d
jupyterlab_1  |      or http://127.0.0.1:8888/?token=e53b92d6eeefb3cd0e6897a370744ba0224834287ee3696d
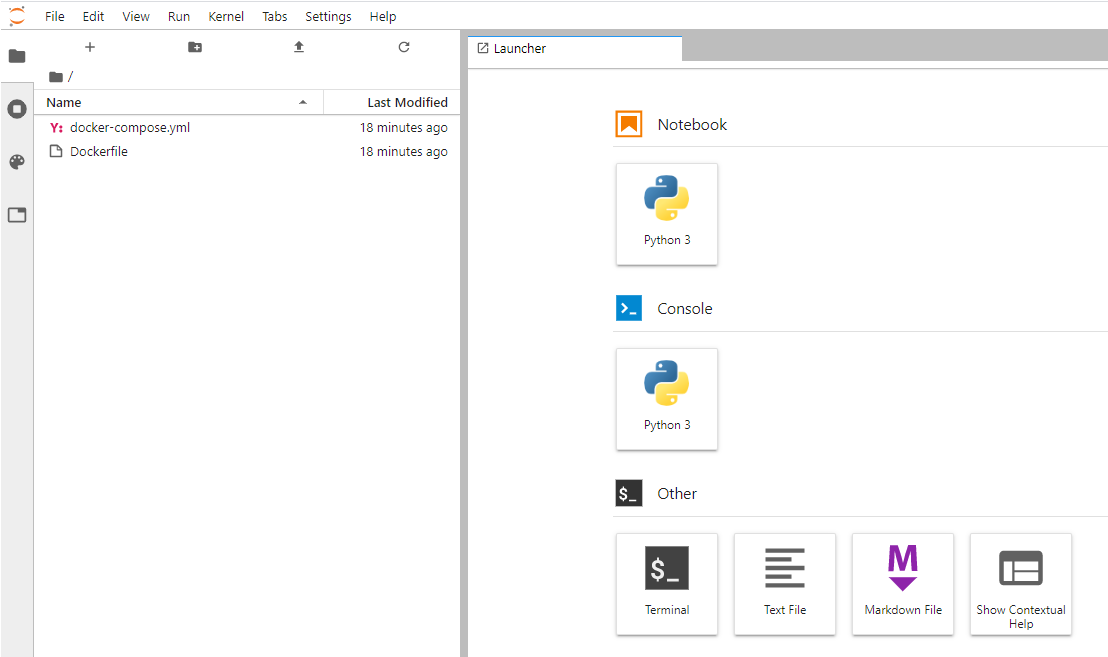
上記 URL の IP アドレス部分をインスタンスのグローバル IP に変更してブラウザからアクセスすれば、JupyterLab 画面が表示されます。
停止
同セッションで Ctr + c
もしくは
$ docker-compose down
Stopping jupyter_jupyterlab_1 ... done
Removing jupyter_jupyterlab_1 ... done
Removing network jupyter_default
起動
$ ls -a
.  ..  docker-compose.yml  Dockerfile  .dockerignore
$ docker-compose up
...
jupyterlab_1  |     To access the notebook, open this file in a browser:
jupyterlab_1  |         file:///root/.local/share/jupyter/runtime/nbserver-6-open.html
jupyterlab_1  |     Or copy and paste one of these URLs:
jupyterlab_1  |         http://f1edddab6ade:8888/?token=e53b92d6eeefb3cd0e6897a370744ba0224834287ee3696d
jupyterlab_1  |      or http://127.0.0.1:8888/?token=e53b92d6eeefb3cd0e6897a370744ba0224834287ee3696d
参考
Docker + MeCab + JupyterLabによる分析環境の構築
JupyterLabのおすすめ拡張機能8選
Jupyterlab Code Formatter