はじめに
こちらは別記事(Vuguに触れてみた(環境構築編) )の続きです。
今回は実際に構文確認しつつ、Vuguに触れていきたいと思います。
Vuguに触れてみた(環境構築)のファイル構成前提で始めますので、ご了承ください。
また、今回作ったものに関しては下記リポジトリに置いています。(更新するかもです。)
https://github.com/inagacky/vugu_sample
構文確認
まずは root.vugu を元に、色々と触れていこうと思います。
初期状態だと色々文言が入っていますので、削除してから始めています。
vg-if
Show Button というボタンをクリックすると、 Show というbool型の値が変わり、
SAMPLE TEXT という文言を表示するだけのコードです。
<div>
    <main role="main" class="container text-center">
        <div class="mt-5">
            <h1>Vugu Test</h1>
            <div class="lead">
                <input type="button" @click='c.Show=!c.Show' value="Show Button" />
            </div>
            <div vg-if='c.Show' style="margin-top: 10px; font-size: 20px;">
                SAMPLE TEXT
            </div>
        </div>
    </main>
</div>

<script type="application/x-go">
type Root struct {
    Show bool `vugu:"data"`
}
</script>
実行結果
vg-for
もちろんfor文もかけます。
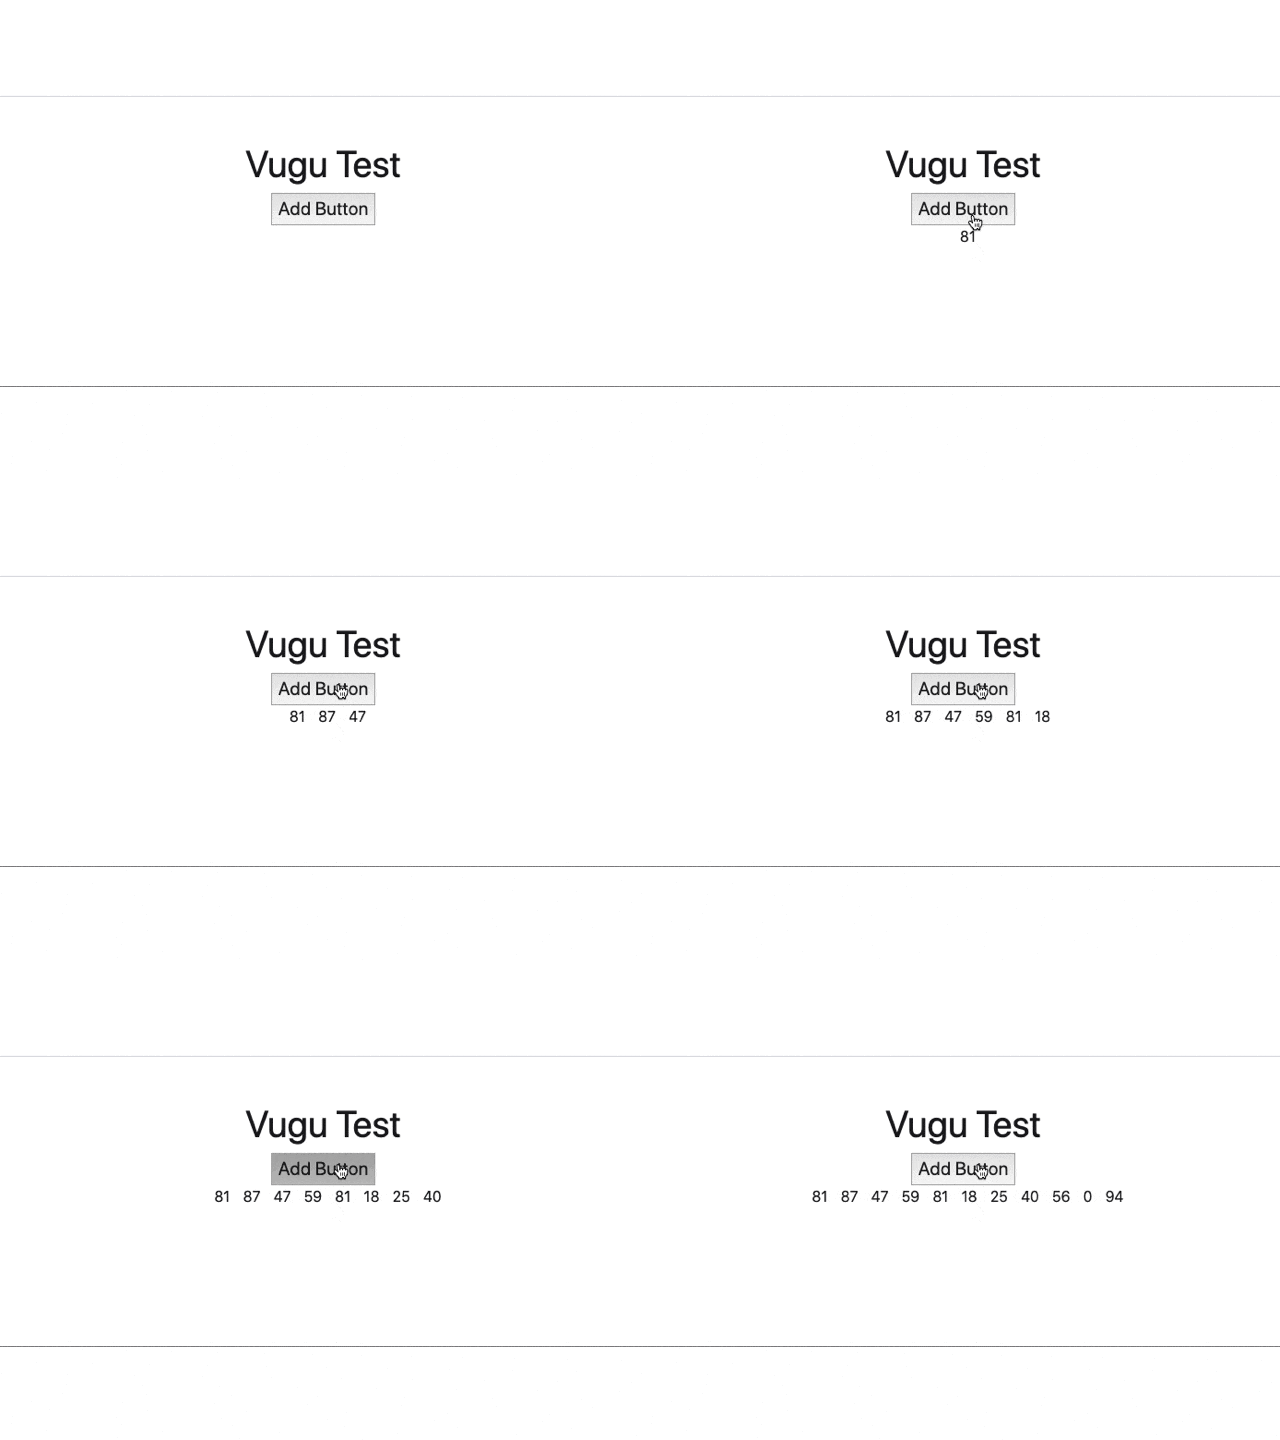
下記のコードは、Add Button をクリックする度に、100までの乱数値をリストに追加し、
リスト文を表示しているコードです。
<div>
    <main role="main" class="container text-center">
        <div class="mt-5">
            <h1>Vugu Test</h1>
            <div class="lead">
                <input type="button" @click='c.HandleClick(event)' value="Add Button" />
            </div>
            <div vg-if='len(c.Numbers) > 0'>
              <span vg-for='_, num := range c.Numbers'>
                  <span vg-content='num' style="margin-left: 10px;"></span>
              </span>
            </div>
        </div>
    </main>
</div>

<script type="application/x-go">

import "math/rand"

type Root struct {
  Numbers []int `vugu:"data"`
}

func (r *Root) HandleClick(event vugu.DOMEvent) {
  // リストへ追加
  r.Numbers = append(r.Numbers, rand.Intn(100))
}

</script>
実行結果
vg-attr
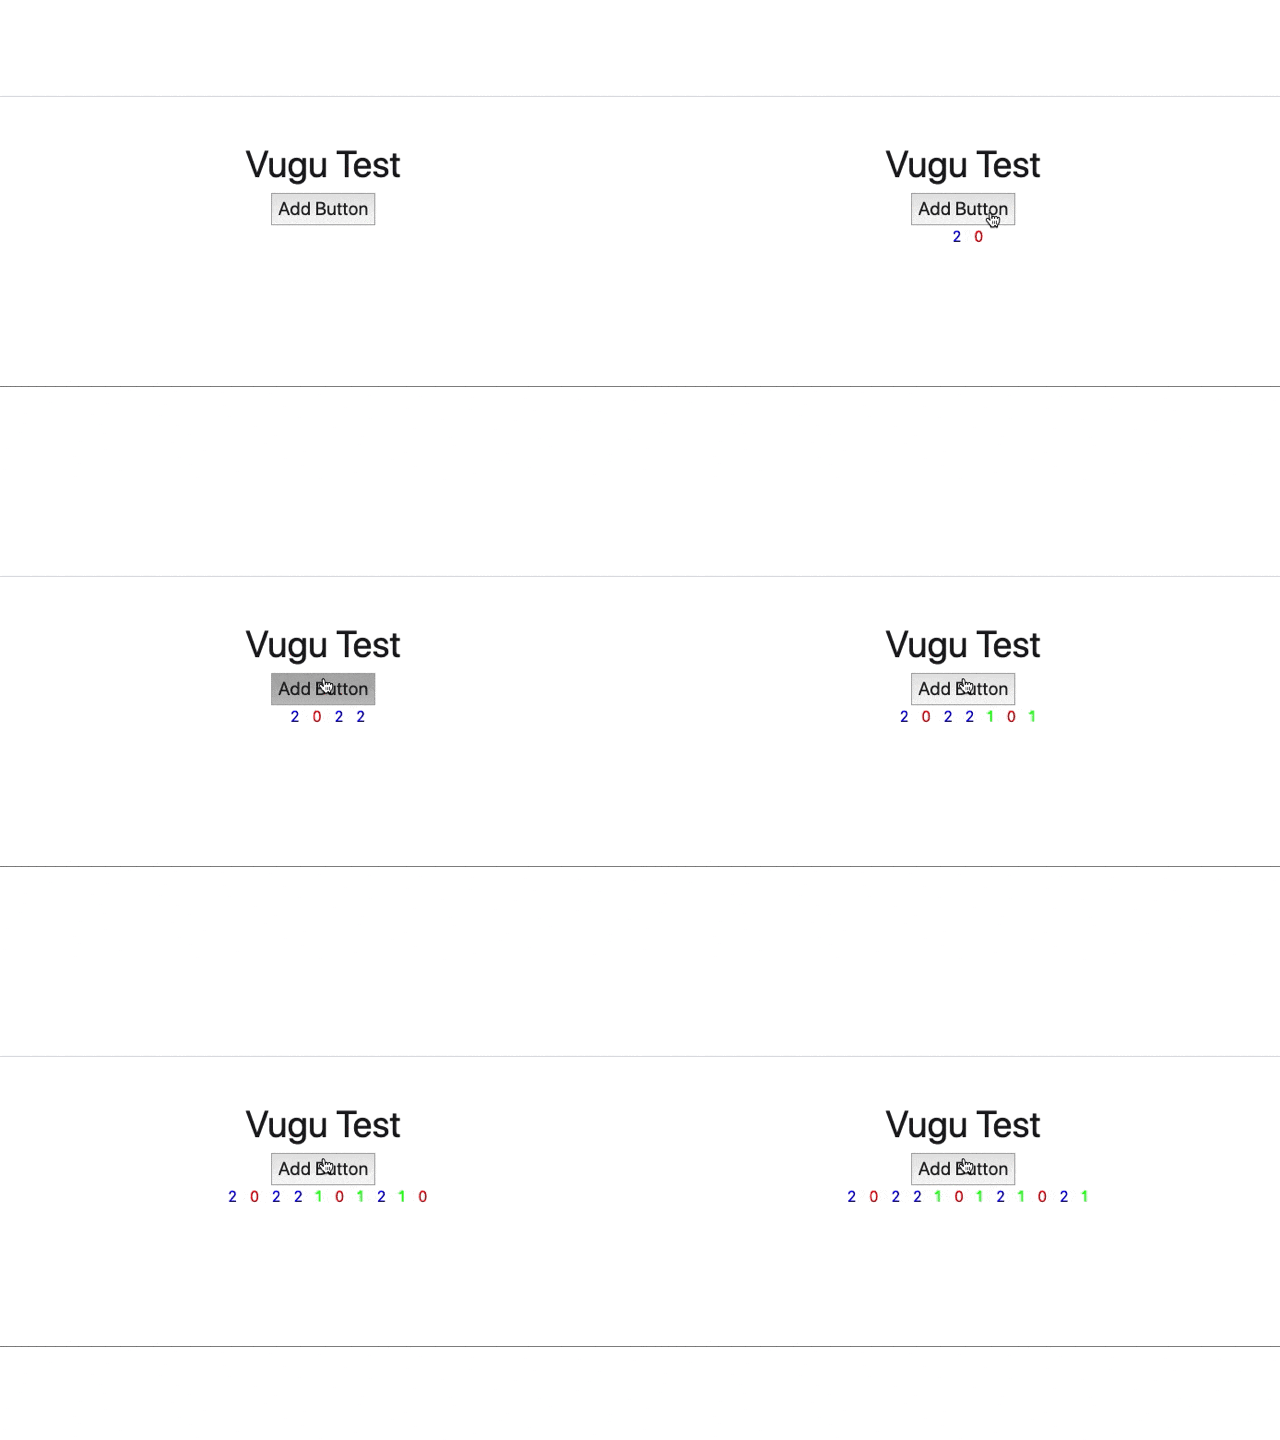
動的にStyle属性やClass属性の付与を行えます。
下記の例では、乱数を生成した後、乱数に応じたClass名を付与し、数字に色をつけています。
<div>
    <main role="main" class="container text-center">
        <div class="mt-5">
            <h1>Vugu Test</h1>
            <div class="lead">
                <input type="button" @click='c.HandleClick(event)' value="Add Button" />
            </div>
            <div vg-if='len(c.Randoms) > 0'>
              <span vg-for='_, rNumber := range c.Randoms'>
                  <span :class="rNumber.Style" vg-content='rNumber.Number' style="margin-left: 10px;"></span>
              </span>
            </div>
        </div>
    </main>
</div>

<script type="application/x-go">

import "math/rand"

type Root struct {
    Randoms []Random `vugu:"data"`
    Style string `vugu:"data"`
}

type Random struct {
	Number int
	Style string
}

func (r *Root) HandleClick(event vugu.DOMEvent) {

  num := rand.Intn(3)
  randomNum := Random {
  	Number: num,
  	Style: []string{"red", "green", "blue"}[num],
  }
  r.Randoms = append(r.Randoms, randomNum)
}

</script>

<style>
  .red {
    color: #f00;
  }
  .green {
    color: #0f0;
  }
  .blue {
    color: #00f;
  }
</style>
実行結果
コンポーネント作成
もちろん独自コンポーネントも作成することができます。
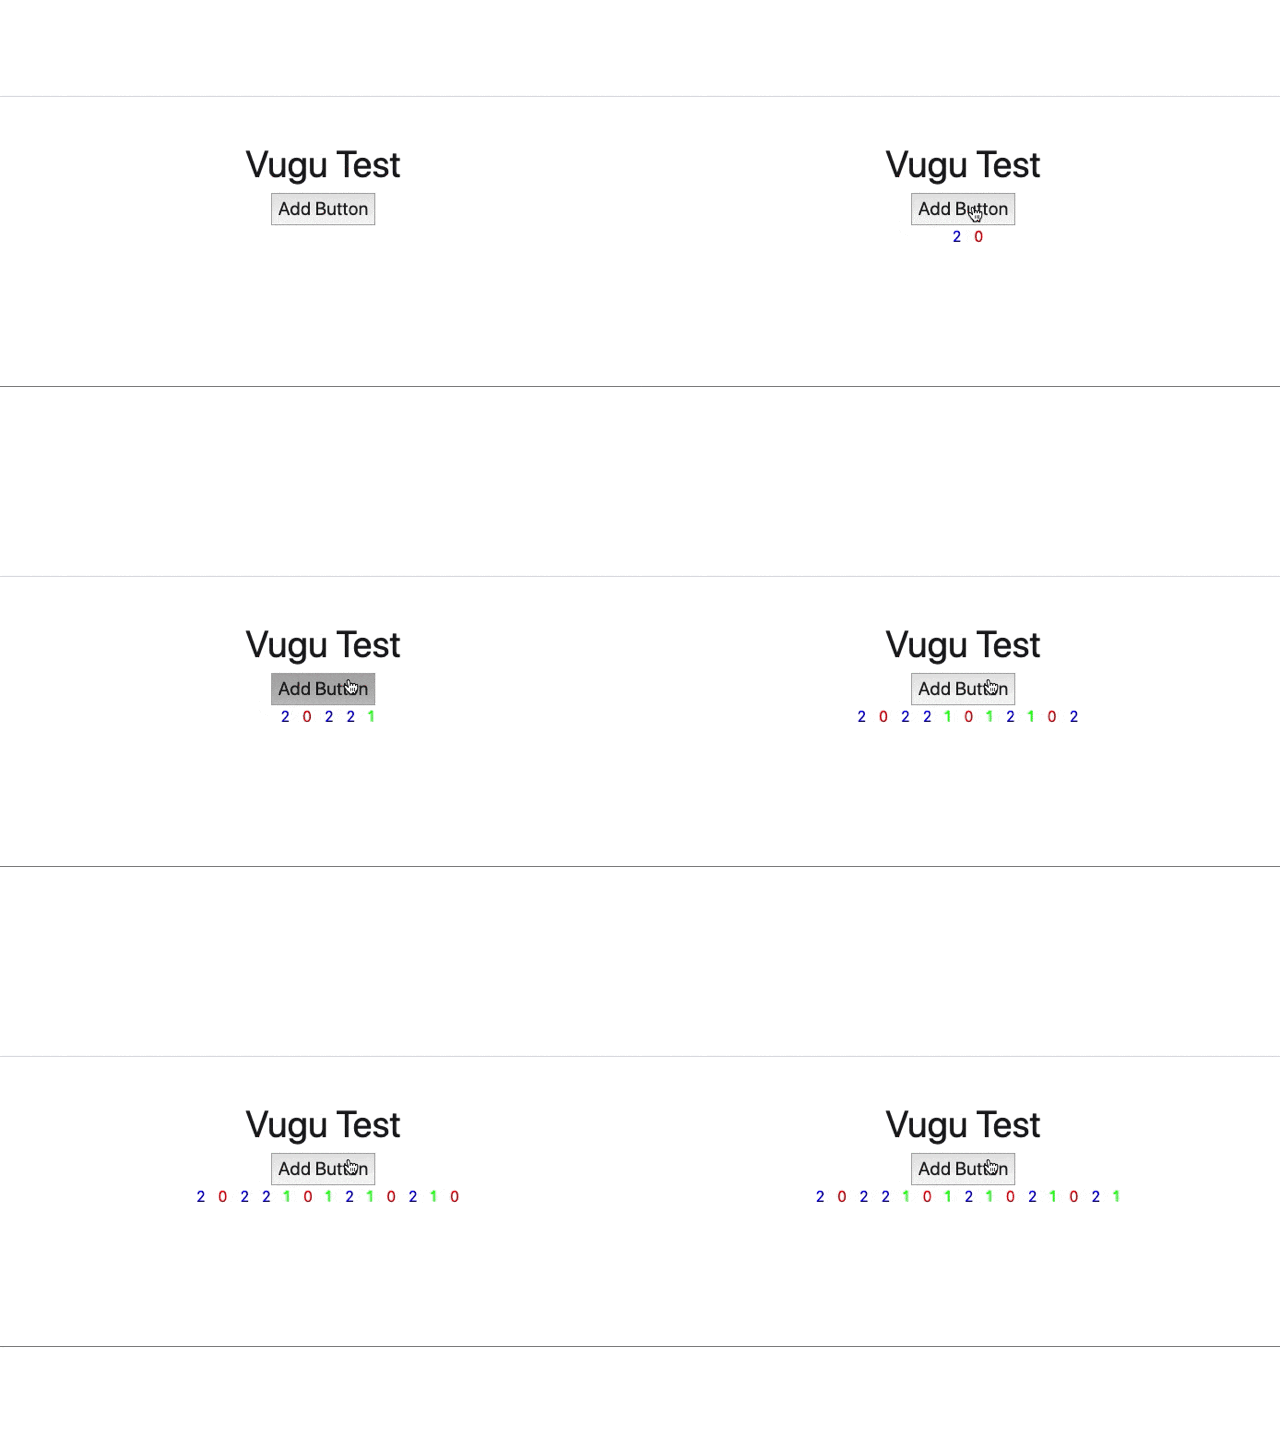
今回はサンプルとして、先ほどのコードの乱数の数値表示と色付けを
random-line.vugu に切り出し、コンポーネントにしました。
<div>
    <main role="main" class="container text-center">
        <div class="mt-5">
            <h1>Vugu Test</h1>
            <div class="lead">
                <input type="button" @click='c.HandleClick(event)' value="Add Button" />
            </div>
            <div vg-if='len(c.Numbers) > 0'>
              <span vg-for='_, rNumber := range c.Numbers'>
                  <main:RandomLine :Number="rNumber"></main:RandomLine>
              </span>
            </div>
        </div>
    </main>
</div>

<script type="application/x-go">

import "math/rand"

type Root struct {
    Numbers []int `vugu:"data"`
    Style string `vugu:"data"`
}

type Random struct {
	Number int
	Style string
}

func (r *Root) HandleClick(event vugu.DOMEvent) {

  num := rand.Intn(3)
  r.Numbers = append(r.Numbers, num)
}

</script>
<span :class='c.getStyle(c.Number)' vg-content='c.Number' style="margin-left: 10px;"></span>

<script type="application/x-go">
    type RandomLine struct {
      Number int `vugu:"data"`
    }

    func (r *RandomLine) getStyle(num int) string {
    	return []string{"red", "green", "blue"}[num];
    }
</script>

<style>
    .red {
        color: #f00;
    }
    .green {
        color: #0f0;
    }
    .blue {
        color: #00f;
    }
</style>
実行結果
終わりに
Golang と Vue.js に触れたことがある方なら、ある程度直感的に理解ができるのではないでしょうか。
正直まだまだ発展途上の技術だと思いますし、日本語の情報(というか英語も)ほぼ無く、
GitHubのIssueを確認したり、時には Vugu 自体のコードを読むことが必要になってきそうです。
将来的に Golang× WebAssembly といった場合に、一つの選択肢になればいいなと思います。
次回は何かしらアプリでも作ってみようかなと思います。
閲覧頂きありがとうございました!


