用意するもの
- Arduino Uno
- PIC24FJ64GB004 小型マイコン基板 SBDBT (ランニングエレクトロニクス)
http://runningele.cart.fc2.com/ca1/2/p-r-s/ - Bluetooth USB アダプター BSHSBD03 (バッファロー)
http://buffalo.jp/products/catalog/supply/bluetooth/bluetooth/adapter/bshsbd03/
結線
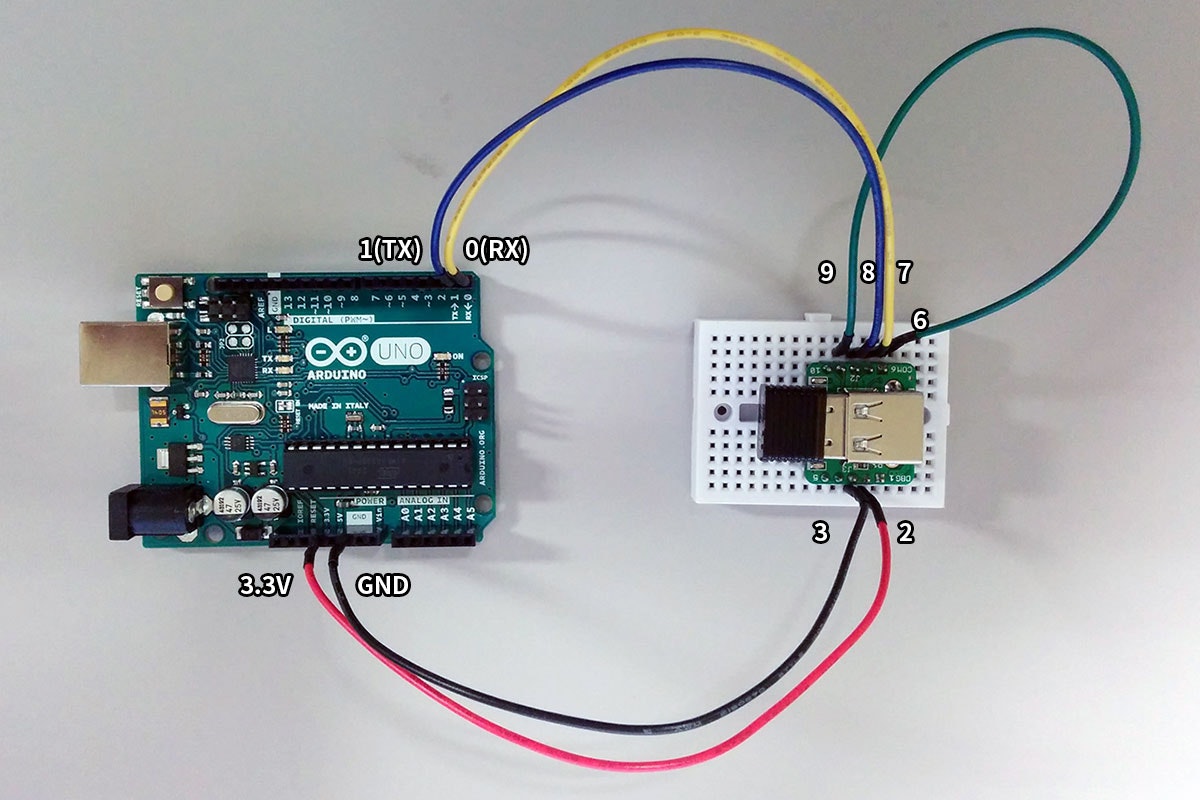
SBDBT と Arduino 間の結線は以下の通り.
| SBDBT | Arduino Uno |
|---|---|
| 2 | 3.3V |
| 3 | GND |
| 7 | D0(RX) |
| 8 | D1(TX) |
また,SBDBTの6番ピンと9番ピンを接続しておく(フロー制御なしの設定).
プログラム
int counter;

void setup() {
  Serial.begin(9600);
  counter = 0;
}

void loop() {
  Serial.println(counter);
  counter++;
  delay(100);
}
書き込みと接続
Arduino側
-
Arduino Unoにプログラムを書き込むときには,D0(RX)とD1(TX)ピンを抜いておく必要がある.
-
USBケーブルでPCとつないだままだと,シリアル接続での通信経路がUSBケーブル経由になってしまう.
Bluetoothで通信を行うためには,USBケーブルをPCから外す必要がある.
Arduinoへの給電はUSB-ACアダプタなどで行う.
Windows側
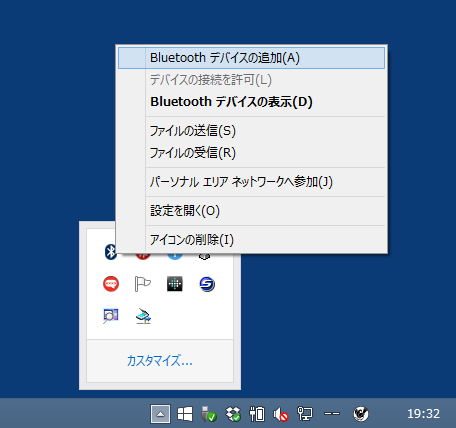
- タスクバーのBluetoothアイコンを右クリックし,[Bluetoothデバイスの追加]を選択する.
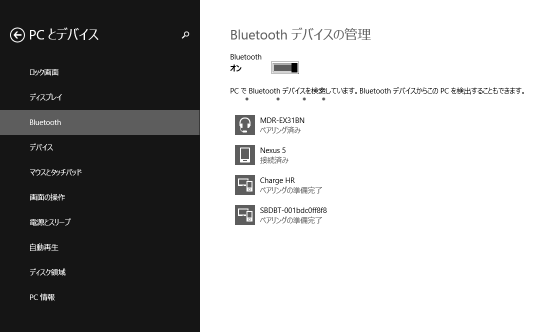
- Bluetoothデバイスの管理画面に,SBDBT-xxxxxxxxxxxxが現れるので(少し時間が
かかることもあるので気長に待つ),[ペアリング]をクリックする.
パスコードの入力を促されるので,マニュアルにある通り0000を入力する.
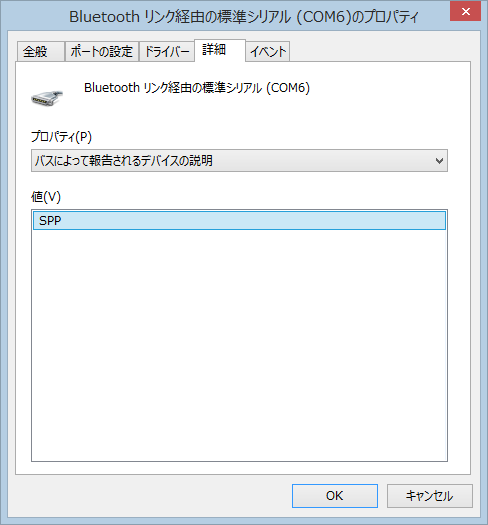
- デバイスマネージャーの[ポート(COMとLPT)]に[Bluetoothリンク経由の標準シリアル]が現れる.
私の場合は二つ現れた.
プロパティの[詳細]タグの[バスによって報告されるデバイスの説明]がSPP(Serial Port Profile)になっている方が恐らく正解.
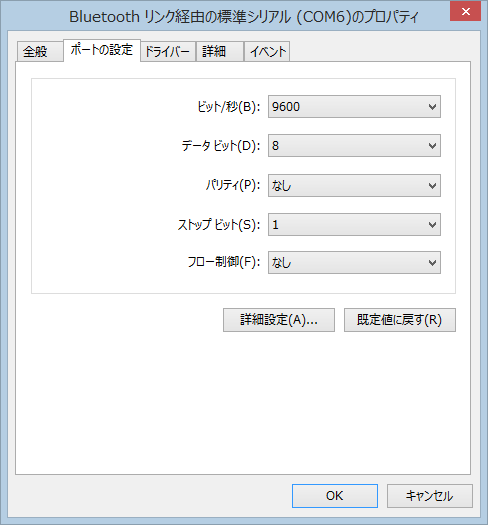
- ポートの設定について,動作した例を以下に示す.
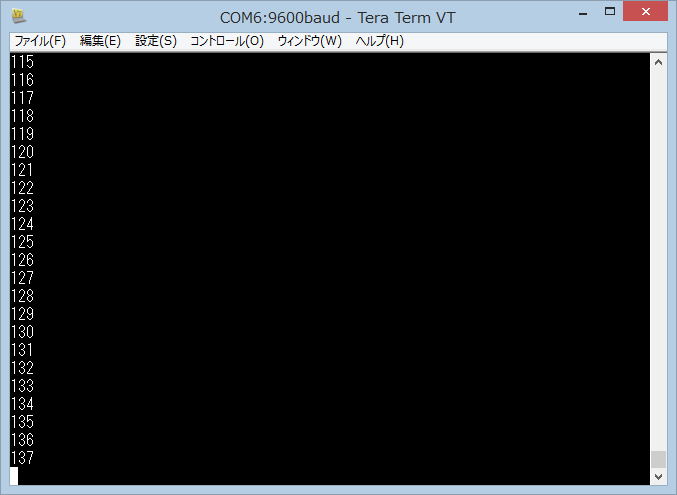
- Arduinoから送信されたデータの確認には,例えばTera Term http://osdn.jp/projects/ttssh2/ を使う.
以下のように表示されればOK.
