こんにちは、im90と申します。現在、フロントエンドエンジニアを目指して勉強中です。
自作アプリ第2弾を作成したので、思い出として残しておくことにしました。
第1弾では音姫を作りましたので、よろしければちらっとご覧頂けますと幸いです。
実装した機能
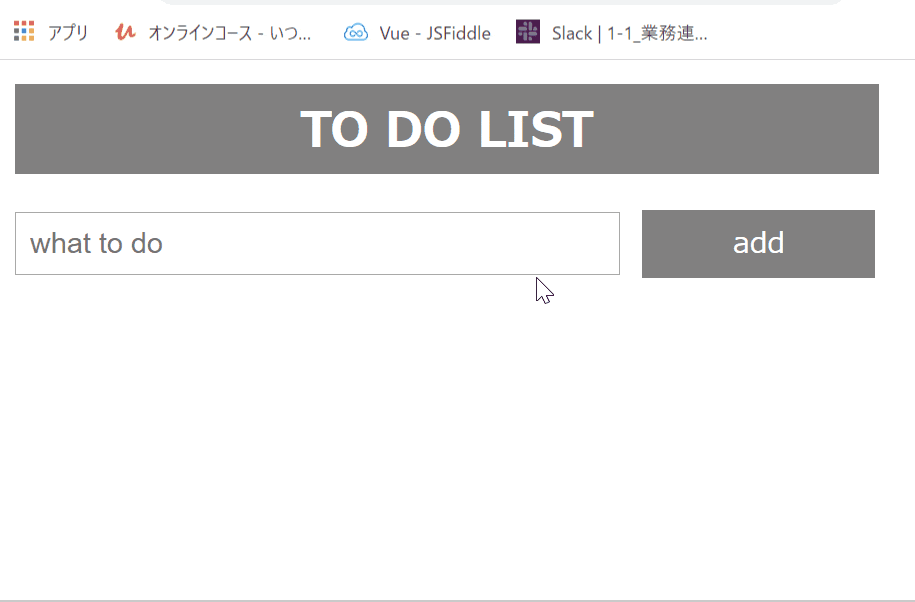
- インプットエリアに「やること」を入力して「Add」ボタンを押すと、リストが作成される
- インプットエリアに「やること」を入力してEnterを押しても、リストが作成される
- インプットエリアに何も入力されていない場合は、アラートがでる
- リストをクリックすると、完了済みリストとして表示される(取り消し線+表示カラー更新)
- 完了済みリストをクリックすると、通常のリスト表示に戻る
- リストの「×(削除)」ボタンを押すと、リストが削除される
コード
index.html
<!DOCTYPE html>
<html>
<head>
    <meta name="viewport" content="width=device-width, initial-scale=1">
    <link rel="stylesheet" href="style.css">
    <title>TO DO LIST</title>
</head>
<body>

<header class="header">
    <h1 class="title">TO DO LIST</h1>
</header>

<div id="list-add-area">
    <input id="list-input-area" type="text" placeholder="what to do">
    <span class="add-btn">add</span>
</div>

<ul class="lists">
</ul>

<script src="index.js"></script>

</body>
</html>
style.css
*{
  margin: 0;
  padding: 0;
  box-sizing: border-box;
}
body{
  font-size: 10px; /*1rem = 10px*/
  margin: 1rem;
  width: 36rem;
}
.header{
  height: 6em;
  background-color: gray;
  color: white;
  padding: .5rem;
  margin-bottom: 1.5rem;
}
.title{
  font-size: 2rem;
  text-align: center;
}
.list-add-area{
  width: 100%;
  display: flex;
  flex-direction: row;
}
# list-input-area{
  width: 70%;
  margin-right: 2%;
  padding: .5rem;
  font-size: 1.2rem;
}
.add-btn{
  width: 27%;
  display: inline-block;
  padding: .5rem;
  background-color: gray;
  color: white;
  font-size: 1.2rem;
  text-align: center;
  cursor: pointer;
}
.lists{
  list-style: none;
  width: 100%;
  margin-top: 1.5rem;
}
li{
  padding: .5rem;
  font-size: 1.2rem;
  margin: .5rem 0;
  background-color: lightgray;
  position: relative;
}
li:hover{
  background-color: gray;
}
li:checked{
  background-color: darkgray;
}
li:checked::before{
  content: "";
  top: 10px;
  left: 16px;
  background-color: darkgray;
}
.close{
  position: absolute;
  right: 0;
  top: 0;
  padding: .5rem .5rem 0 0;
  font-weight: bold;
  cursor: pointer;
}
.checked{
  background: #888;
  color: #fff;
  text-decoration: line-through;
}
index.js
// リストをクリックすると'checked'クラスがトグルする
const lists = document.querySelector('ul');
lists.addEventListener('click', e => {
  if (e.target.tagName === 'LI') {
    e.target.classList.toggle('checked');
  }
}, false);

// リストを追加する関数
const newElement = function() {
  const createli = document.createElement('li');
  const inputData = document.getElementById('list-input-area').value;
  const text = document.createTextNode(inputData);

  // listタグにinputに入れた文字を反映させる
  createli.appendChild(text);

  // inputが空欄の場合はアラートを出す
  if(inputData === '') {
    alert('Please input what to do!');
  // inputが空欄でない場合は、リスト表示エリアにリストを追加する
  } else {
    lists.appendChild(createli);
    createli.classList.add('parent');
  }

  // inputの中身をリセットする
  document.getElementById('list-input-area').value = '';


  // xマーク(削除ボタン)を追加する
  const span = document.createElement('span');
  span.classList.add('close');
  const batsu = document.createTextNode('\u00D7');
  span.appendChild(batsu);
  createli.appendChild(span);

  // xマークのイベント
  const close = document.getElementsByClassName('close');
  for (let i = 0; i < close.length; i++) {
    close[i].onclick = function() {
      const parentEl = this.parentElement;
      parentEl.style.display = 'none';
    }
  }
}

// 「add」ボタンをクリックするとリストが追加される
document.querySelector('.add-btn').addEventListener('click', newElement);

// インプットエリアでEnterを押すとリストが追加される
document.getElementById("list-input-area").addEventListener('keypress', e => {
  if(e.key === 'Enter') {
    newElement();
  }
});
作成フロー
-
addボタンのイベントリスナーを作成(リスト要素の作成)
- インプットしたタスクをリストに追加する処理を作成
- インプットエリアに何も入力されていない場合は、アラートを出す
- リストの右端に「×」マークを追加する処理を作成
- 「×」マークを押すとリストが消える処理を作成
-
リストのイベントリスナーを作成(完了済み ⇒ 未完了のトグル)
- クリックされた
LIタグのクラスをトグルする
- クリックされた
作ってみて
このアプリをつくってみて、DOM操作についての理解を深めることができました。
以前、現役エンジニアの方から「onclickよりもイベントリスナーの方がコードが読みやすい」というアドバイスを頂いたので、今回はイベントリスナーを使っています。
キーボードイベントや、クリックした要素を取得する方法についても理解する良いきっかけとなりました。
次回作成時は、リストに期限をつけたり、ソートをかけられたりなど、機能を追加した形で作成してみます!
「もっとこうした方が良い」など、アドバイス等ございましたらどしどしご教示頂けますと幸いです。