目的
実機を用意することなくCiscoルータ等の動作確認をするために、VIRLを使う。
手順
以下の通り。
VMware Fusionを購入 & Install
この辺からinstall。11.5 Proを使った。
https://www.vmware.com/jp/products/fusion.html
[2021/1/13追記] VMWare Fusionを12.1にupdateした
この辺からdownloadしてinstall
https://my.vmware.com/jp/web/vmware/downloads/info/slug/desktop_end_user_computing/vmware_fusion/12_0

VIRLを購入 & Download
この辺から購入。
https://learningnetworkstore.cisco.com/cisco-virtual-internet-routing-lab
購入後、VIRLのovaイメージをccoサイトからdownloadする。
ESXiとbere-metalとhost-based hypervisorの3種類のimageがある。
その中から、VMware Fusionで使えるhost-based hypervisorのovaファイルを選択する。
ファイル名: virl.1.6.65.pc.ova
VIRLのLisence Fileもdownloadしておく。
[2021/1/13追記] ccoにloginして以下あたりからvirlとvirlのライセンスをdownloadできた。
https://learningnetworkstore.cisco.com/myaccount
downloadと書いているのがvirlのisoファイル、1.x Licenseと書いているのがvirlのライセンス(あとでvirlのisoをvmwareで起動した後のUWM上の画面でloadするのでdownloadしておく)
VIRLのDocuments
ここにある。
http://virl.cisco.com/
VMware Fusion環境へのinstall手順は以下にある。
http://virl.cisco.com/fusion.php
VIRLの初期セットアップ
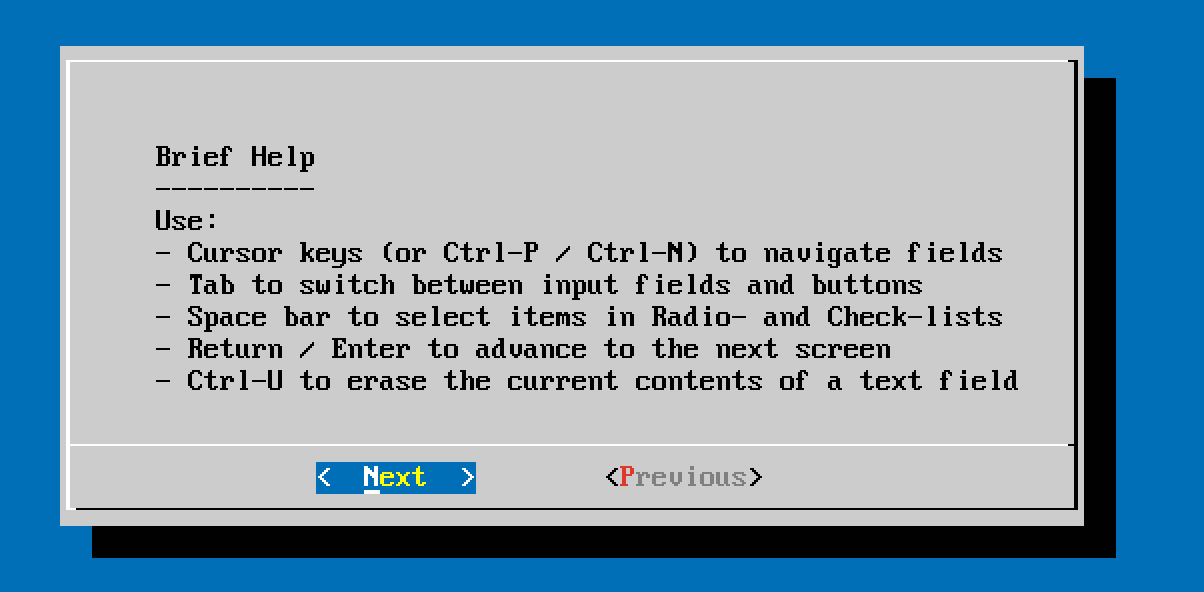
VMware FusionからVIRLのovaをimportし、VMを起動すると、以下の画面が出る。OKを押す。

ハマりポイント
[2021/1/13追記] 最初にVMwareからvirlのisoイメージから初回VMを立ち上げる時に、VMのconfigは以下のようにしておくこと。詳細オプションの"この仮想マシンでハイパーバイザーアプリケーションを有効にする"のチェックを外してしまうとVIRL上で仮想ルータをエミュレーションできなかった。理由は、VIRL自体もVIRLのVMの中で仮想マシンとしてルータを動作させるが、それを可能にするためには、ここにチェックを入れておかないといけな買ったみたい。
Ref: https://www.speaknetworks.com/cisco-virl-installation-troubleshooting-common-issues/
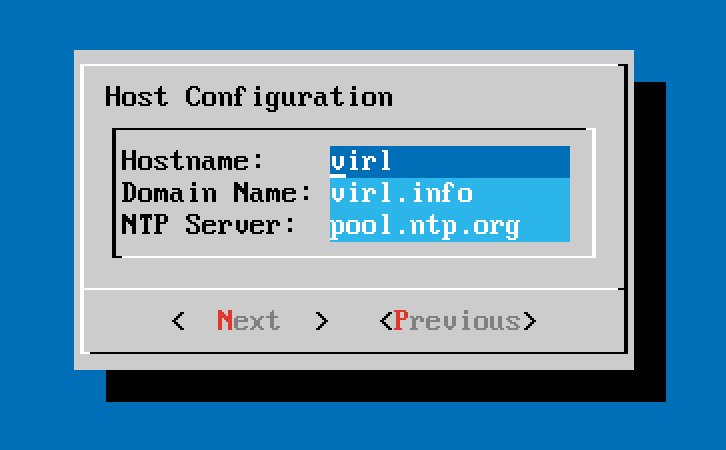
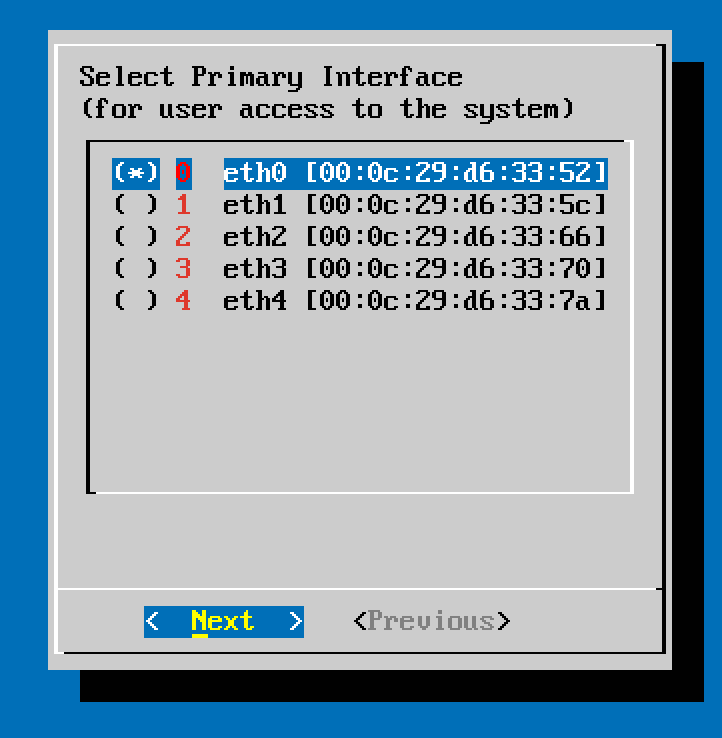
再起動が始まり、以下の画面が出ればOK。コンソールに出てるURLとID/passwordをメモしておく。(次のステップで使う)

VIRLをActivateする
Webブラウザで、先ほどメモしたURLにアクセスし、ID/Passwordを入力する。
自分の環境の場合は、http://172.16.76.128でID=uwmadminでpassword=password

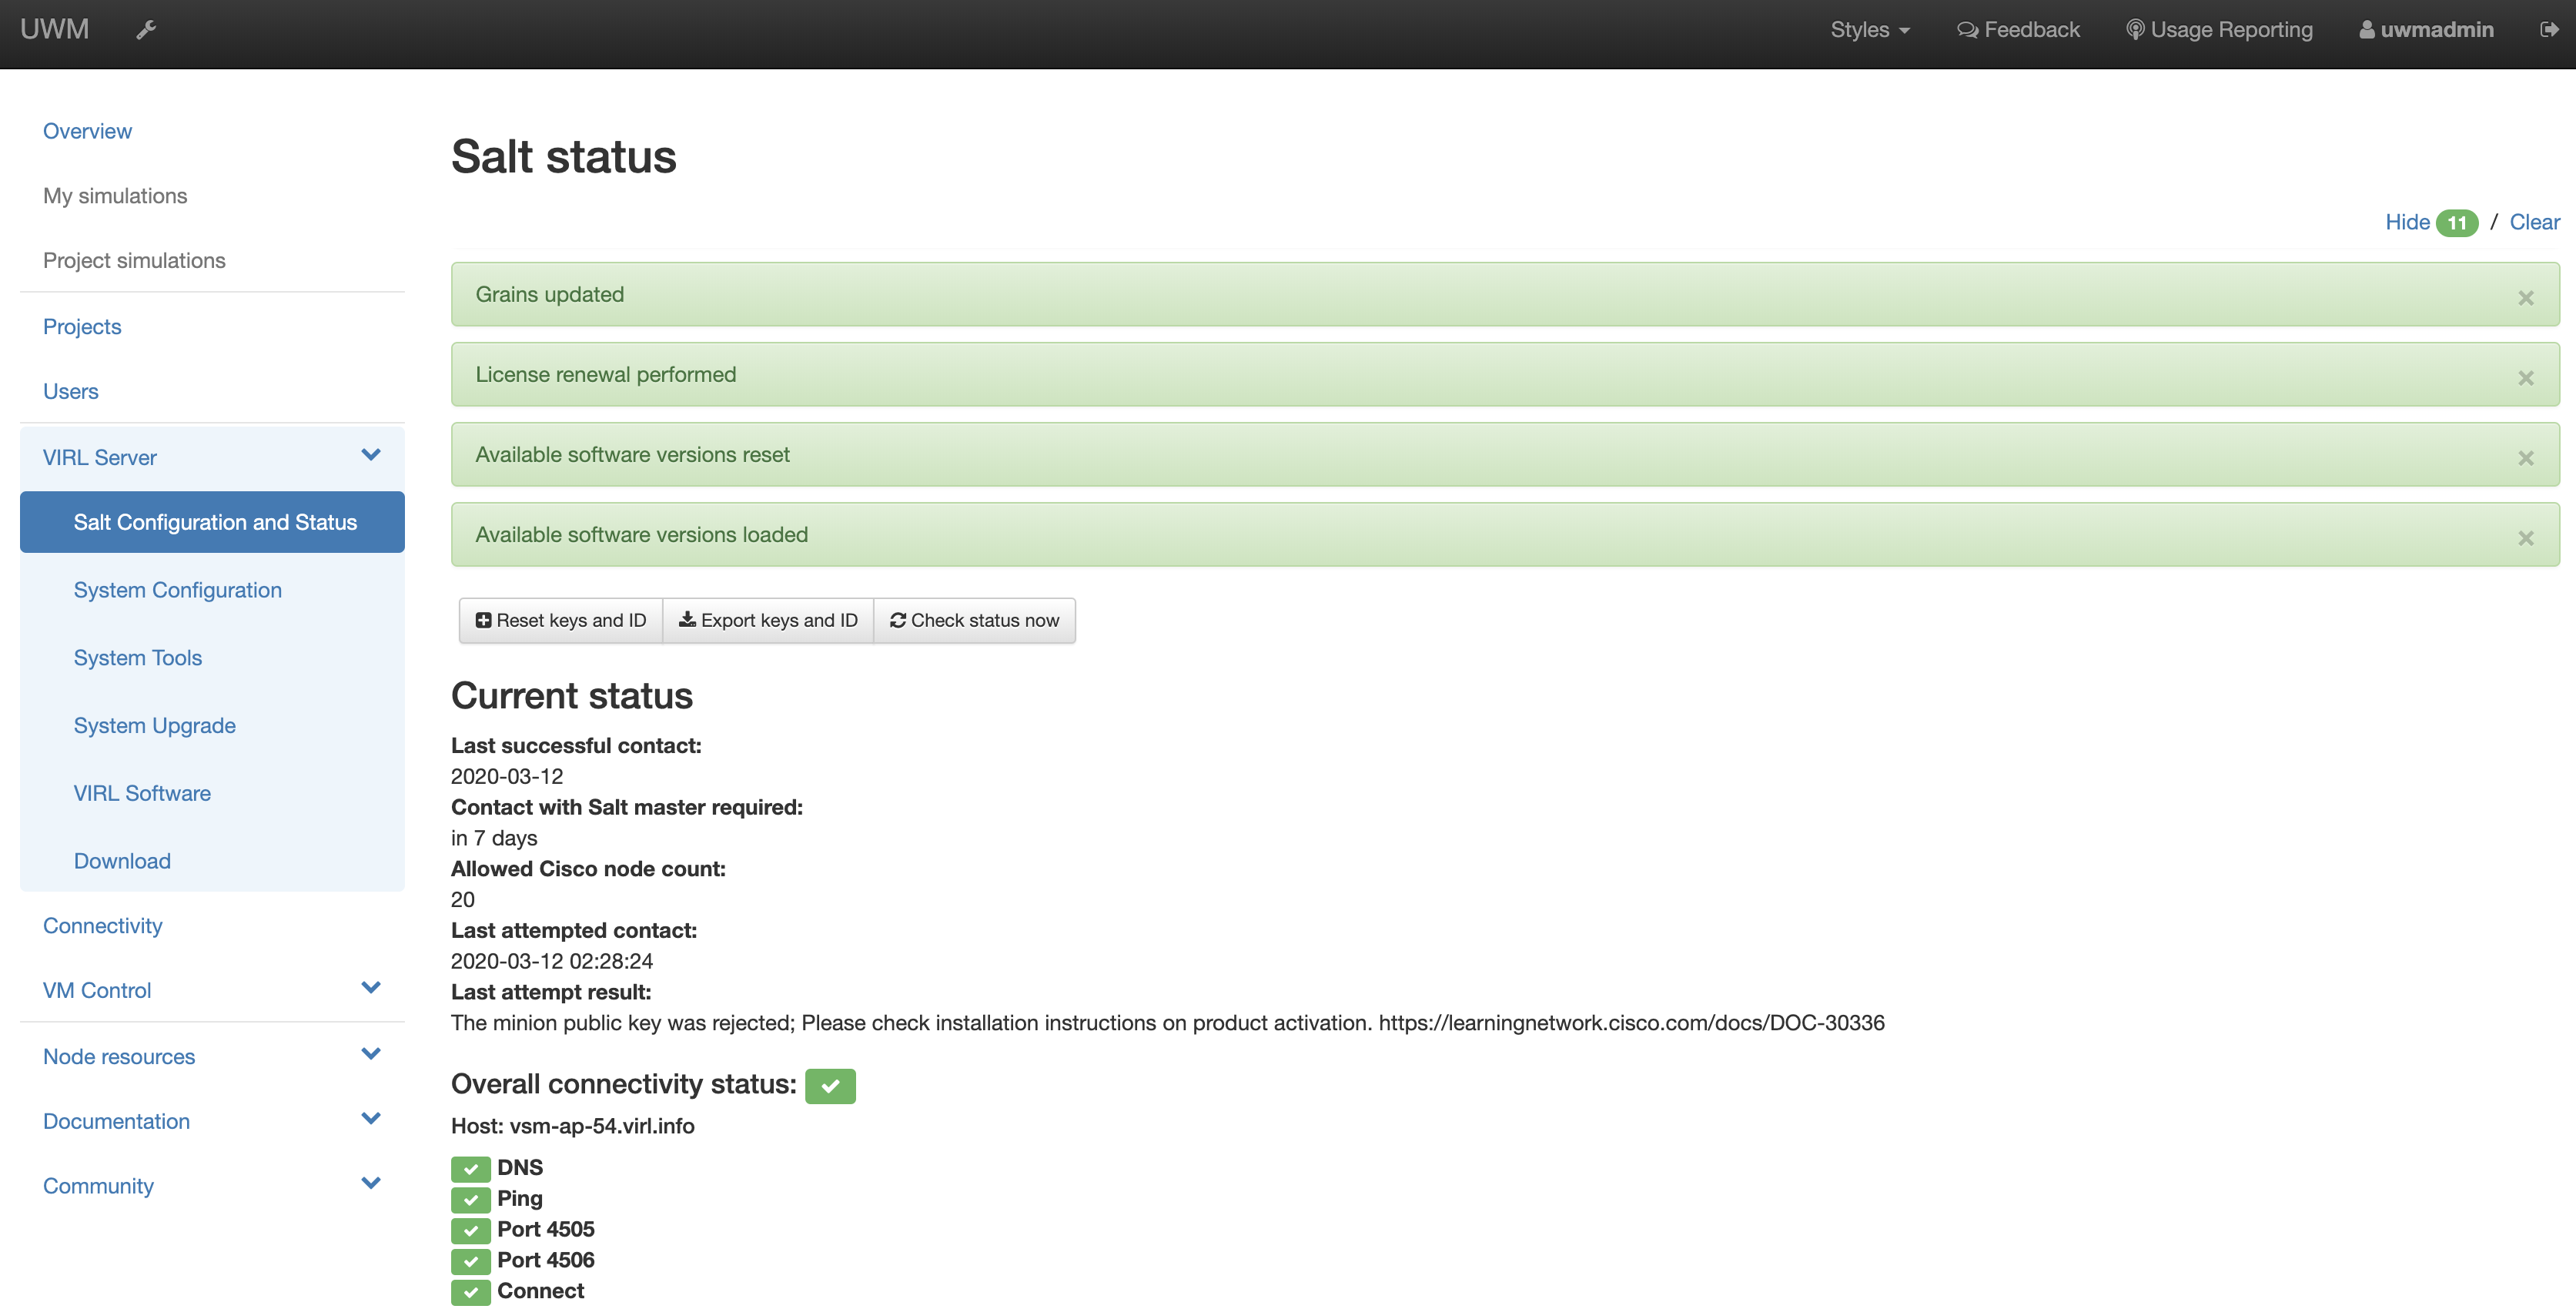
VIRL Server > Salt Configuration and Statusに進む。

Load config fileをクリックして、事前にdownloadしておいたライセンスファイルを選択する。
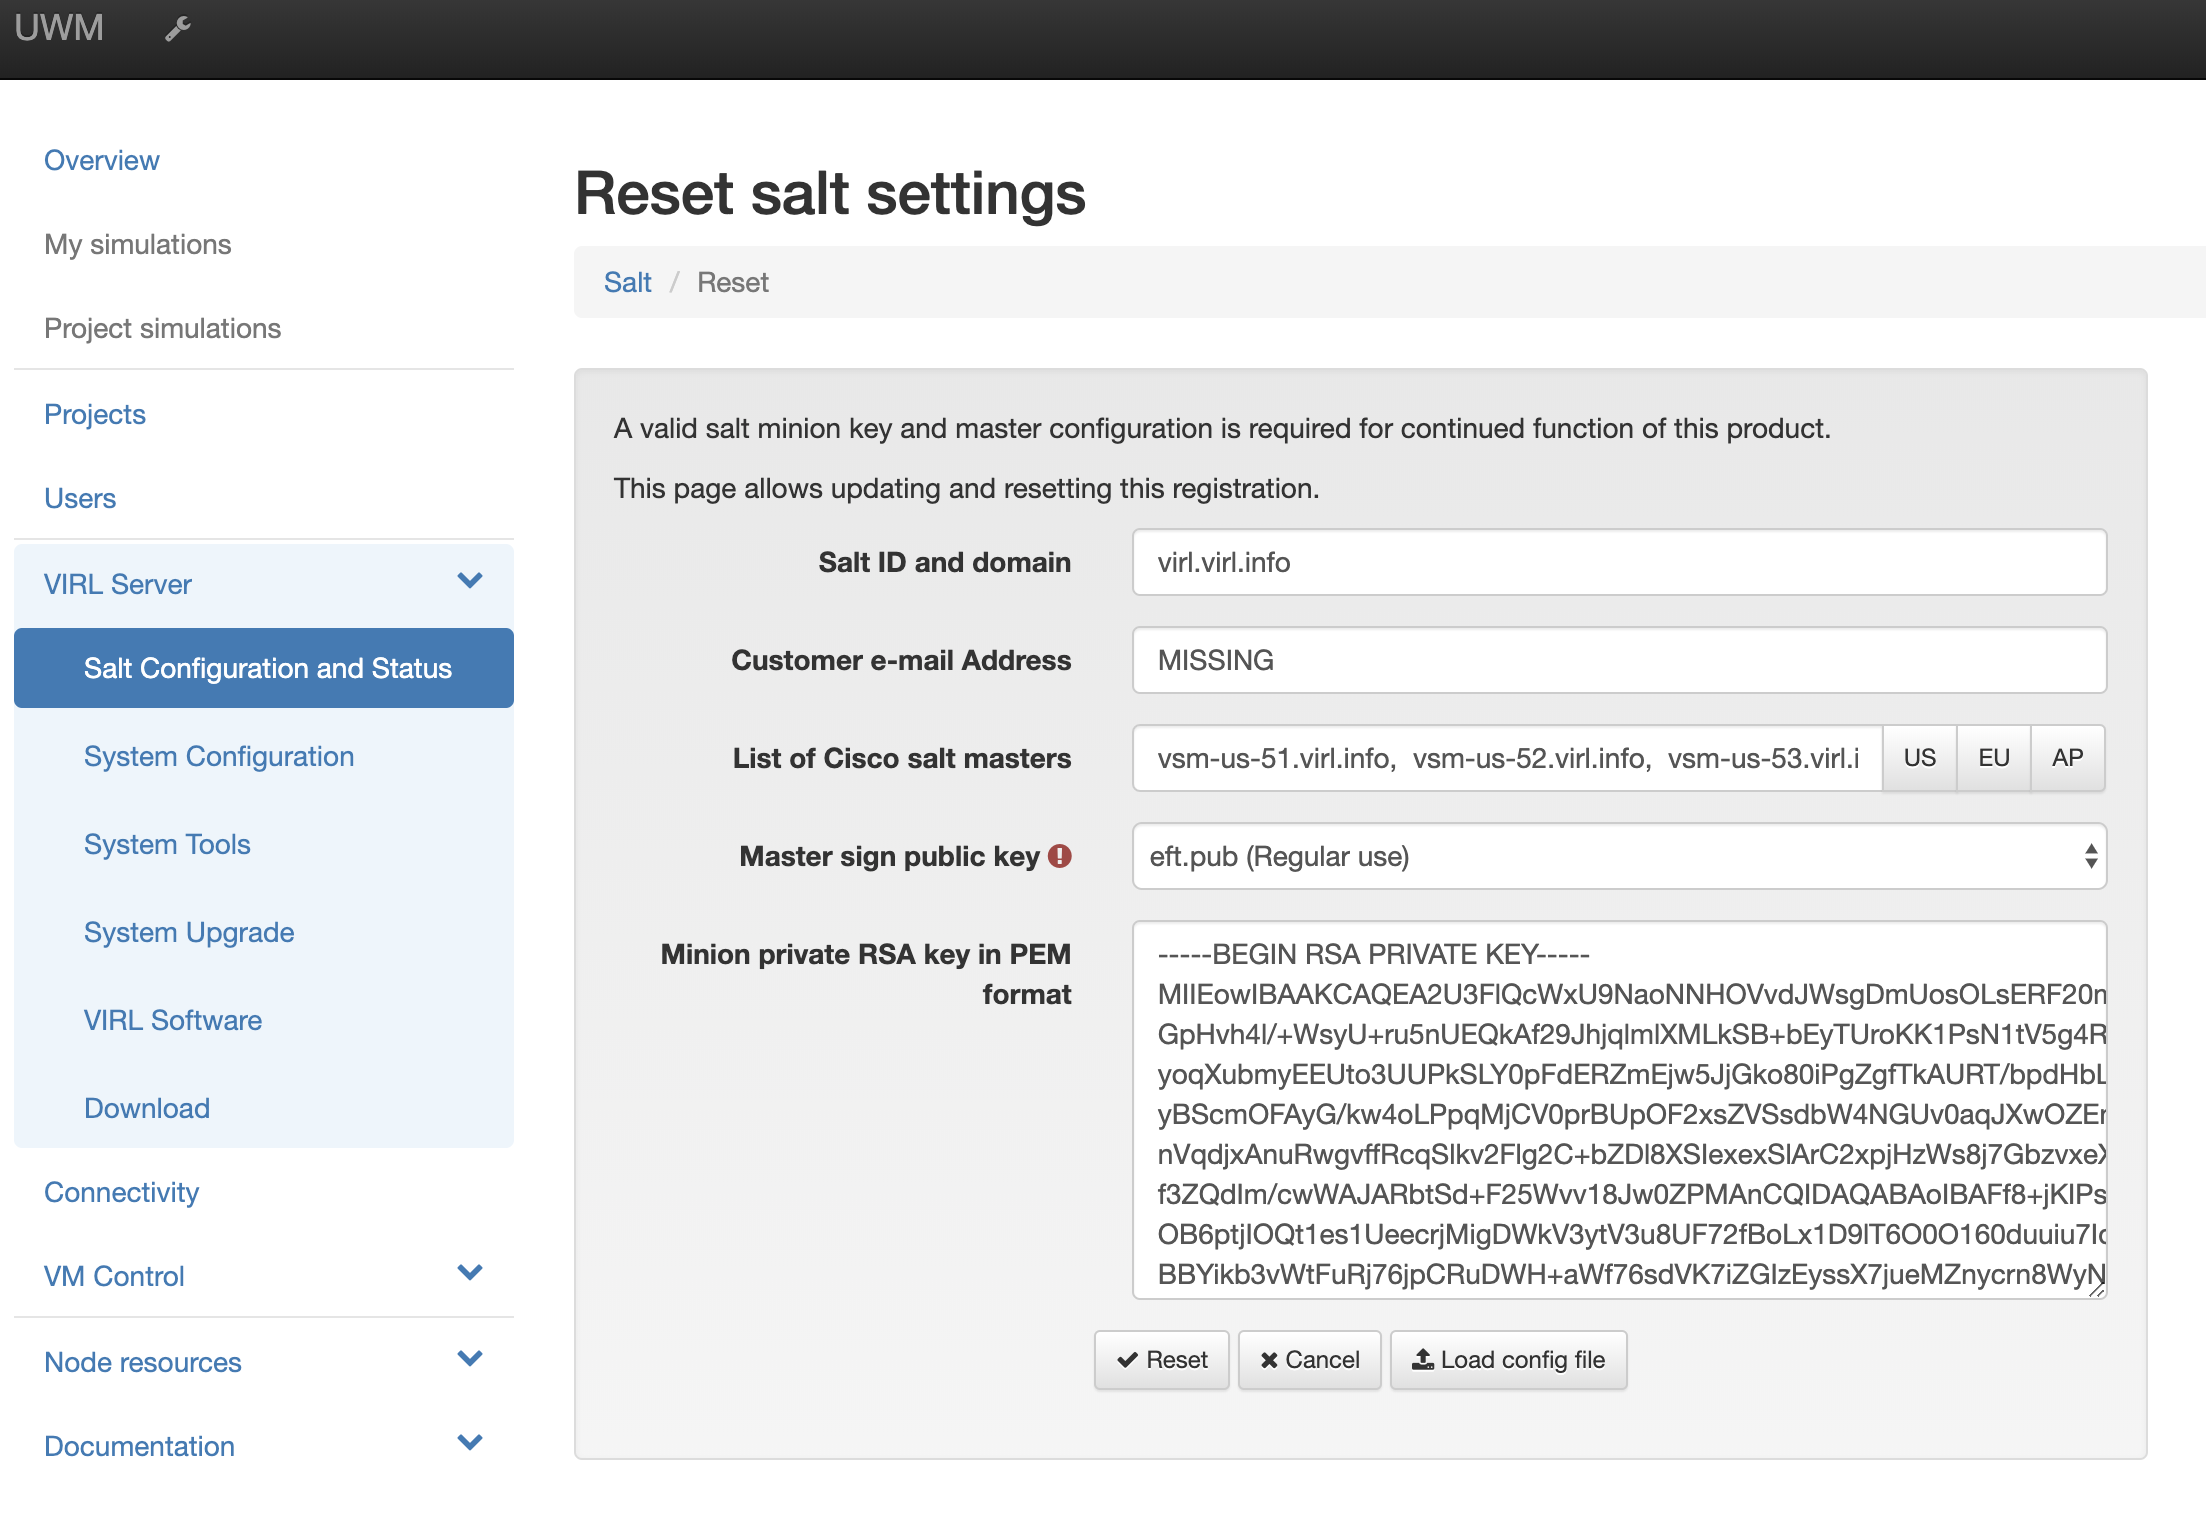
[2021/1/13追記] List of Cisco salt mastersがAPだとうまくいかない(Cisco salt masterと疎通できない)場合は、USにするとうまくいった。
List of Cisco salt mastersからAPを選択。Master sign public keyはeft.pubを選択する。その後、resetボタンを押す。

うまくいくと以下の画面が出る。Last successful contactsの日付を確認する。
VM Maestro (VMM)をinstallする
UWMのweb画面からVIRL Server > Downloadと進むと以下の画面になる。

Maestroをdownloadする。
自分のPCはMACなので、拡張子が.dmgのVMMaestro-dev-1.6.0-534.sp.dmgをdownloadする。
dmgファイルをダブルクリック => アプリをApplicationフォルダにドラッグ&ドロップしてMACにinstallする。
[2021/1/13追記] Maestroをクリーンインストールするには、Appを削除して、改めてUWMの画面からdownload & applicationフォルダに格納した上で、$HOME/vmmaestro (Mac OSの自分の場合は、/Users/xxxx/vmmaestro)のフォルダを削除する
以下のような画面が出るので、VIRLのIP addressを入力し、guest部分はそのままにする。

パスワード忘れた時の質問と回答が聞かれるので、入力する。
使ってみる。
Maestroの右下の鍵マークをクリックすると以下のような画面が出る。 OKをおす。

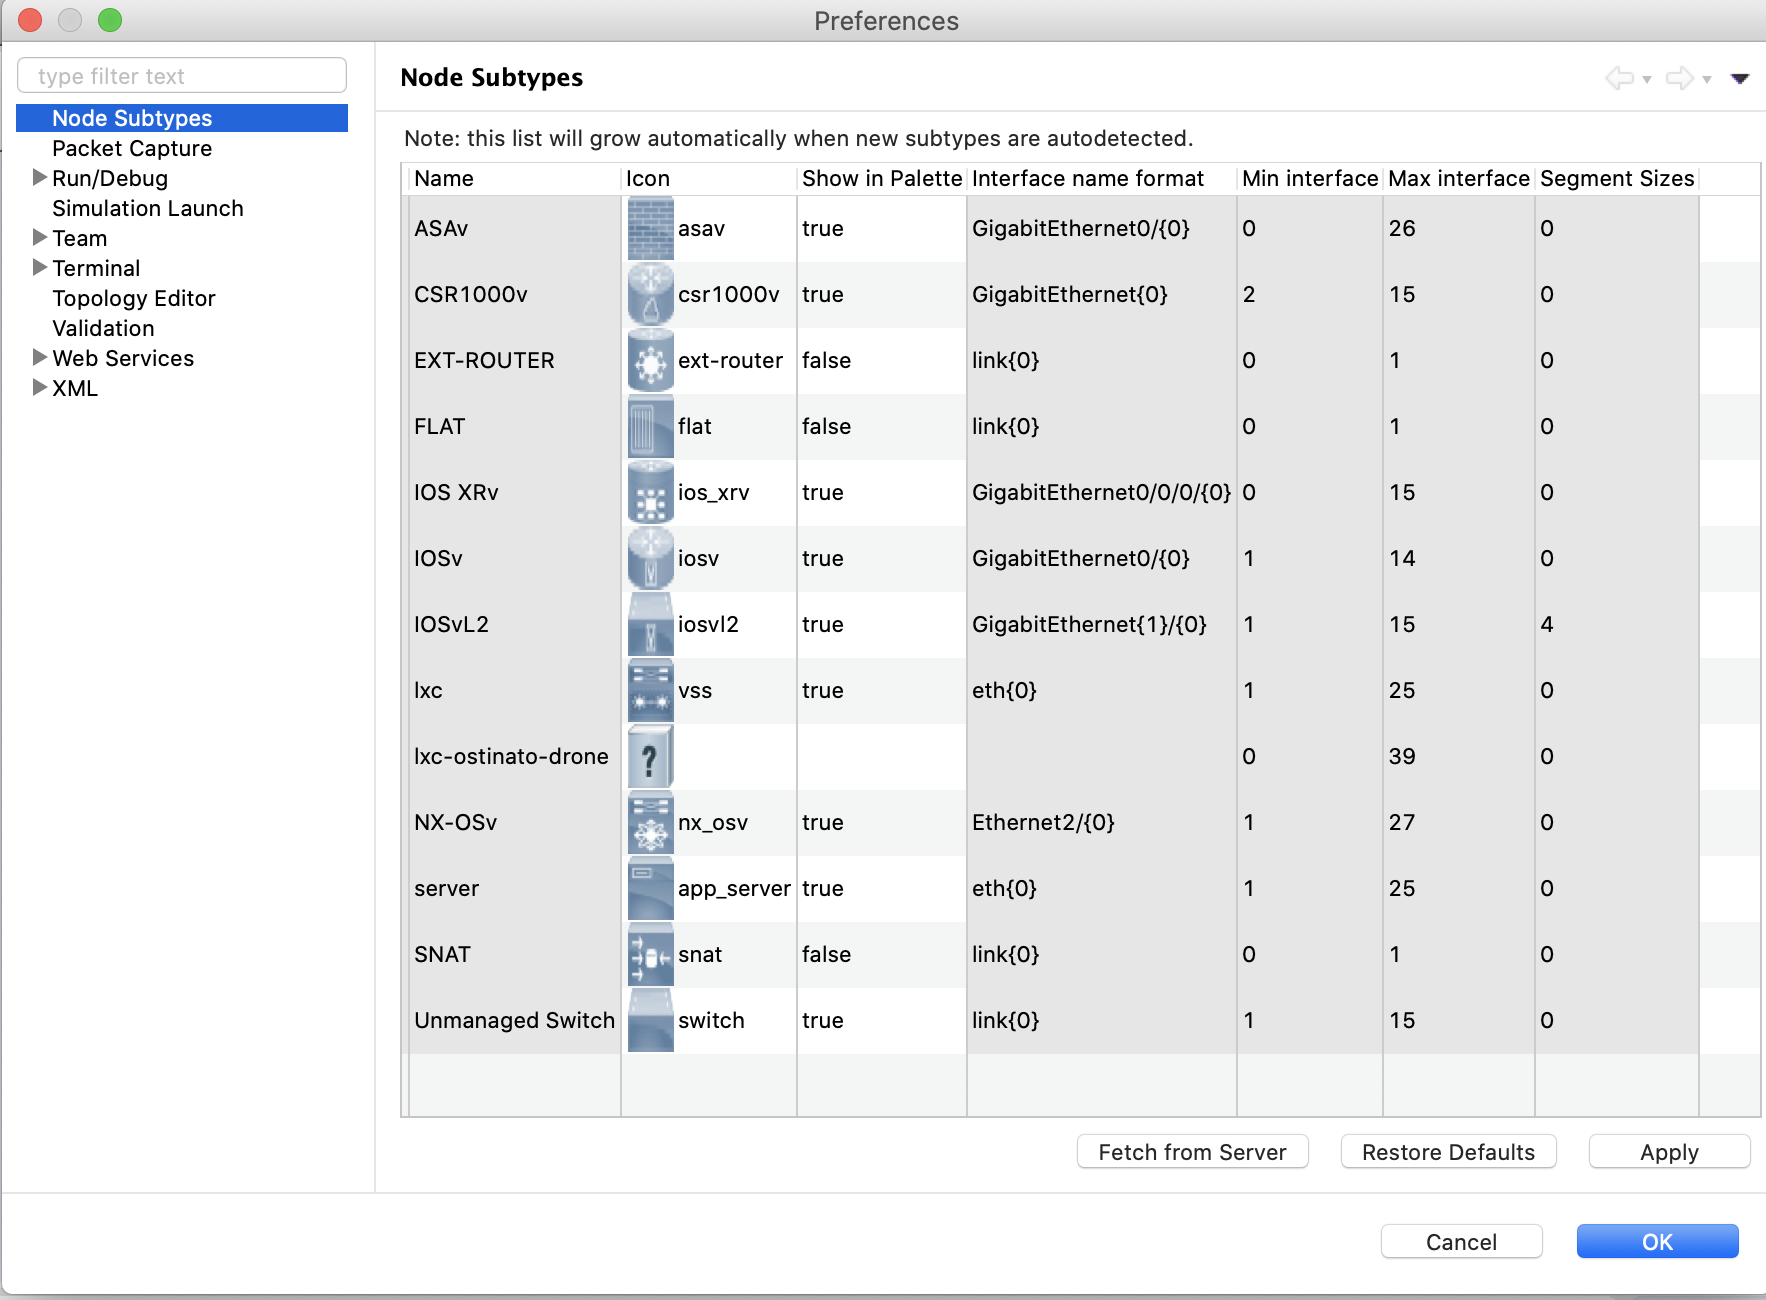
VIRL サーバから仮想ノードリストを同期する。Maestroのmenu > 環境設定 > nodesubtypeと進み、Fetch from Serverをクリックする。listが更新されたらOKを押す。
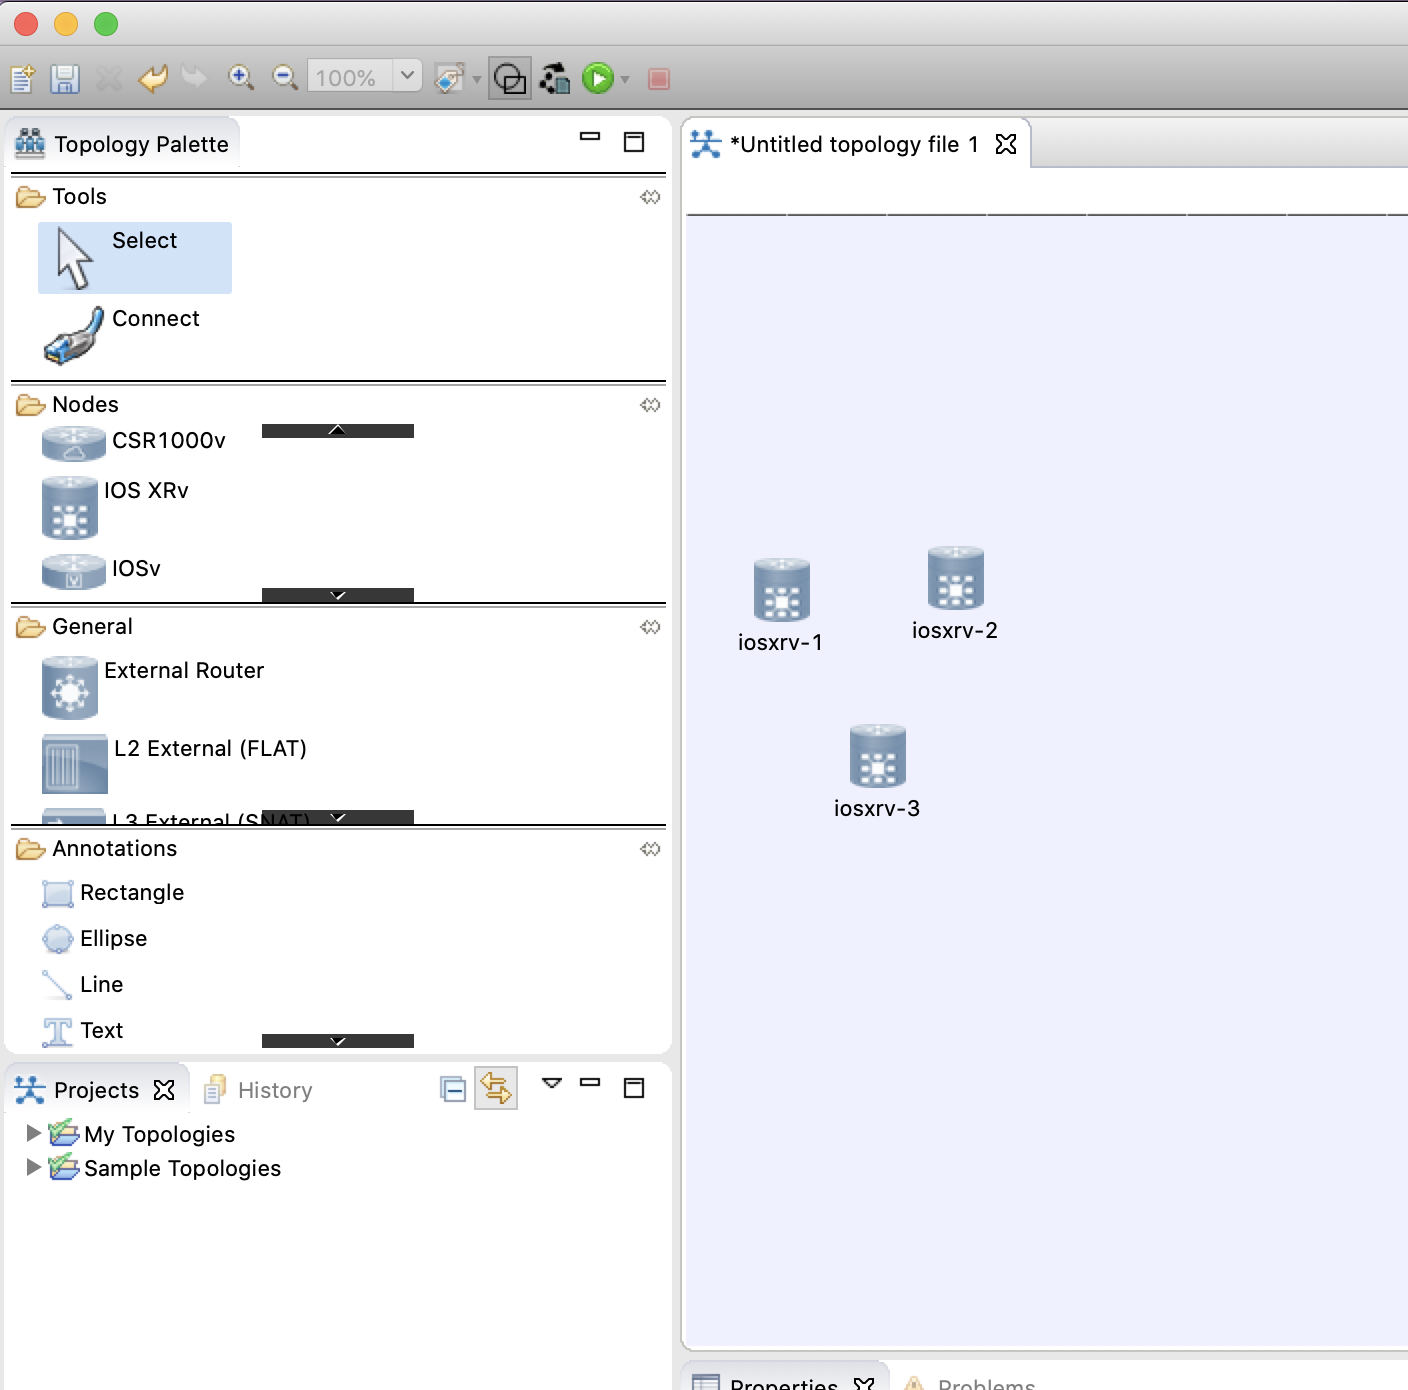
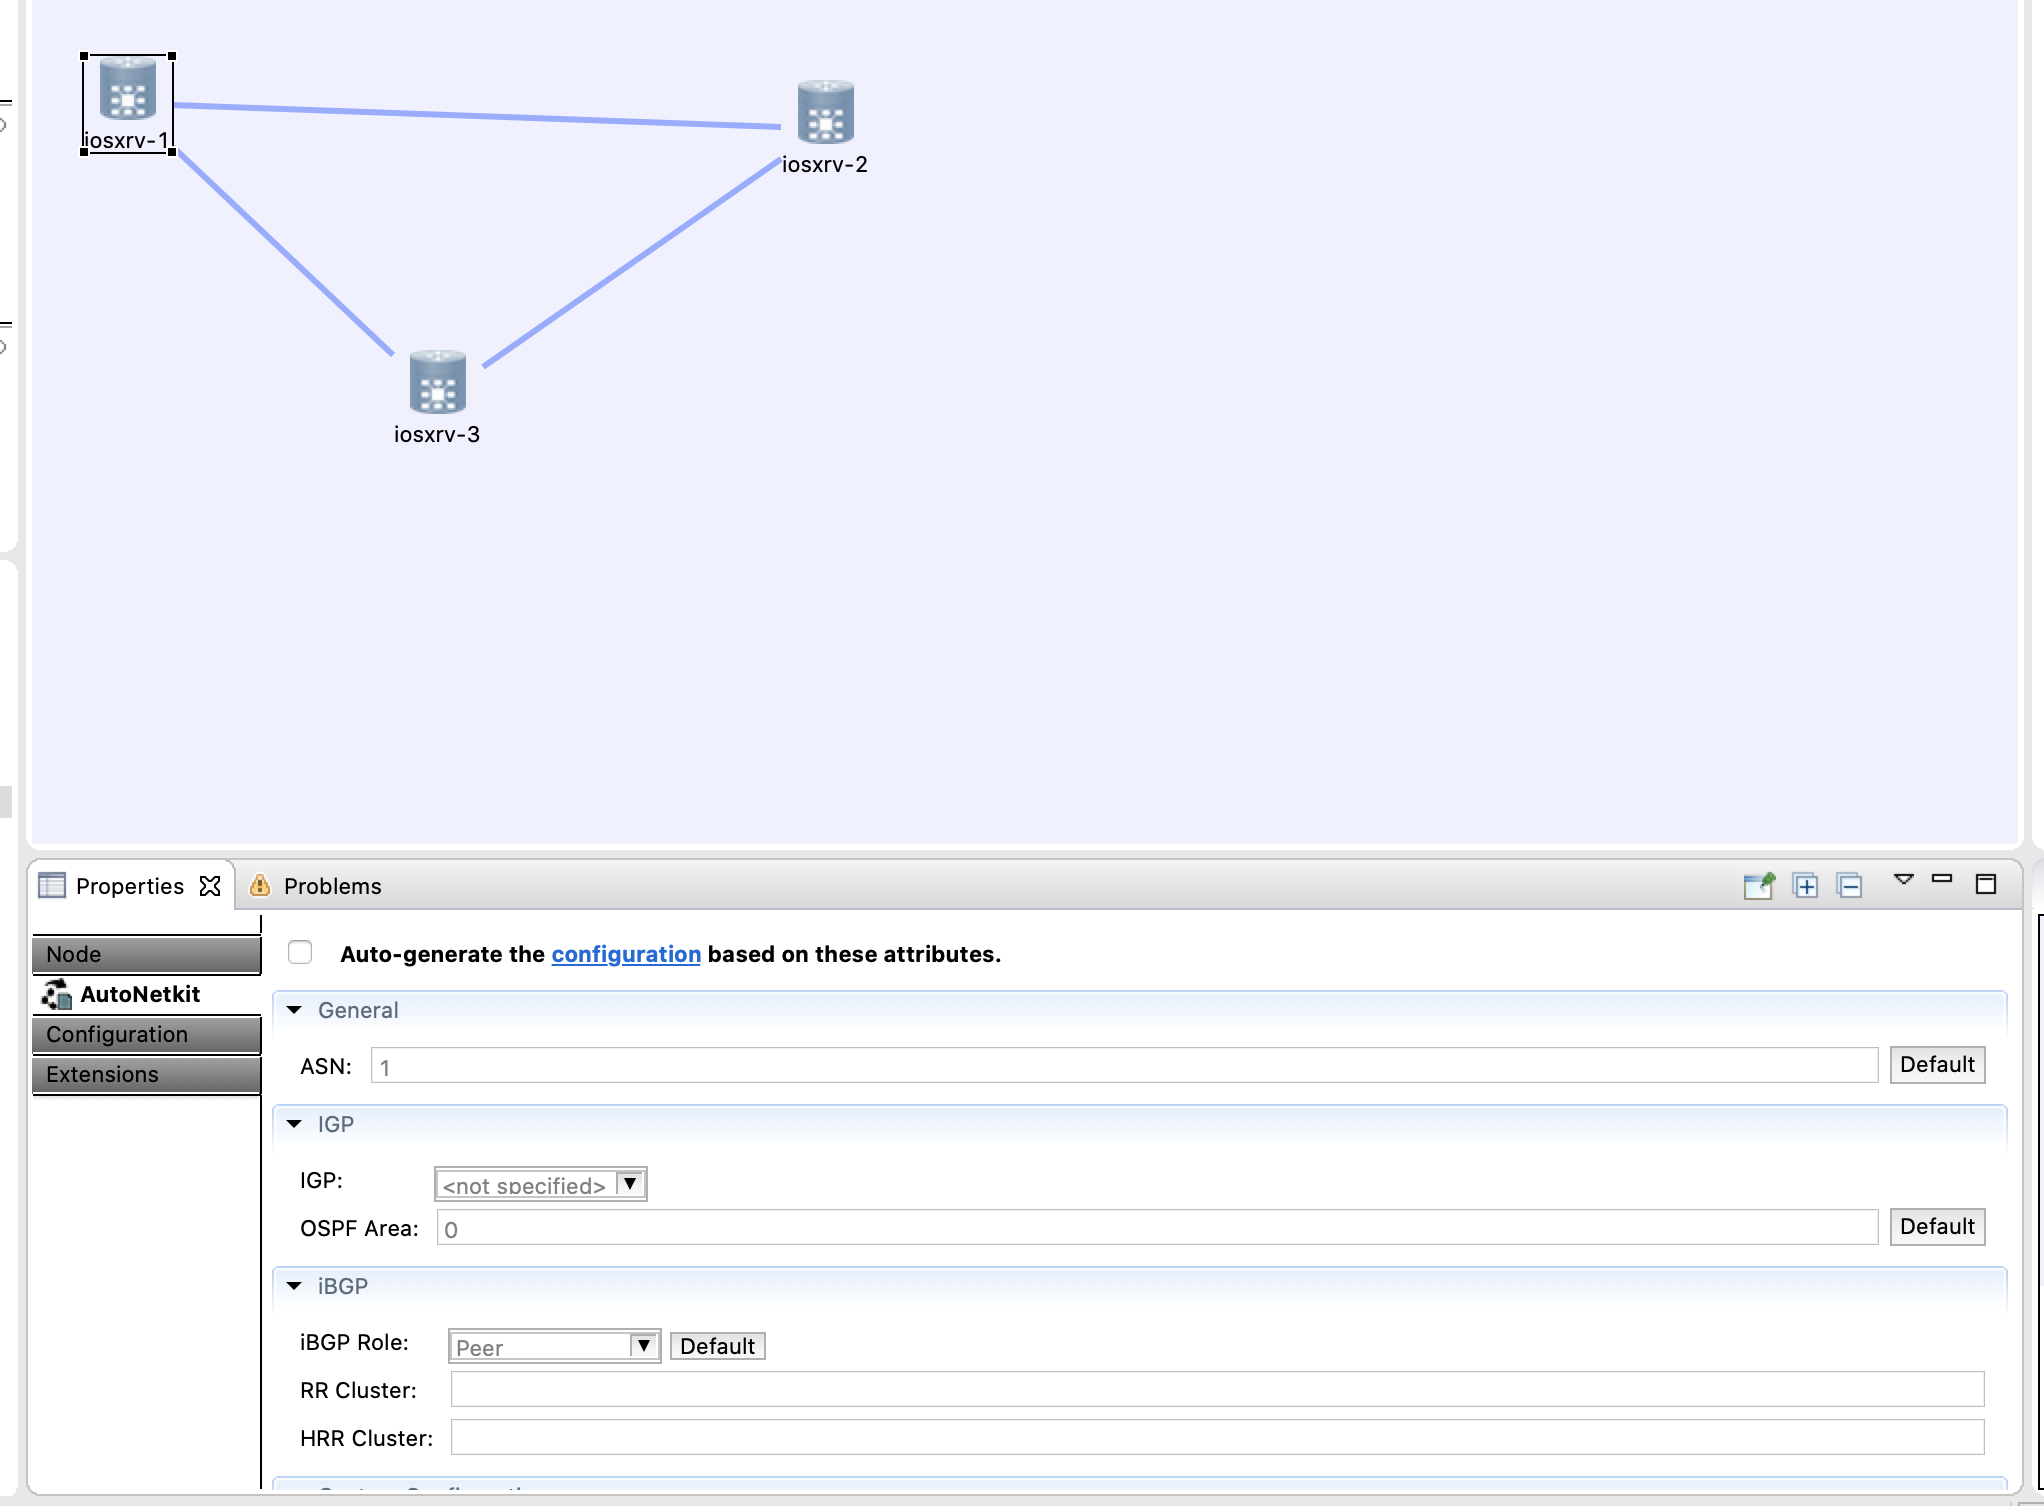
左のメニューからIOS XRvを真ん中の広いマップ部分にドラッグ&ドロップする。3つ作った。
パレットの Tools から Connect を選んで、そのまま、リンクをつなぎたいノードを順番にクリックする。これでノード間を接続できる。
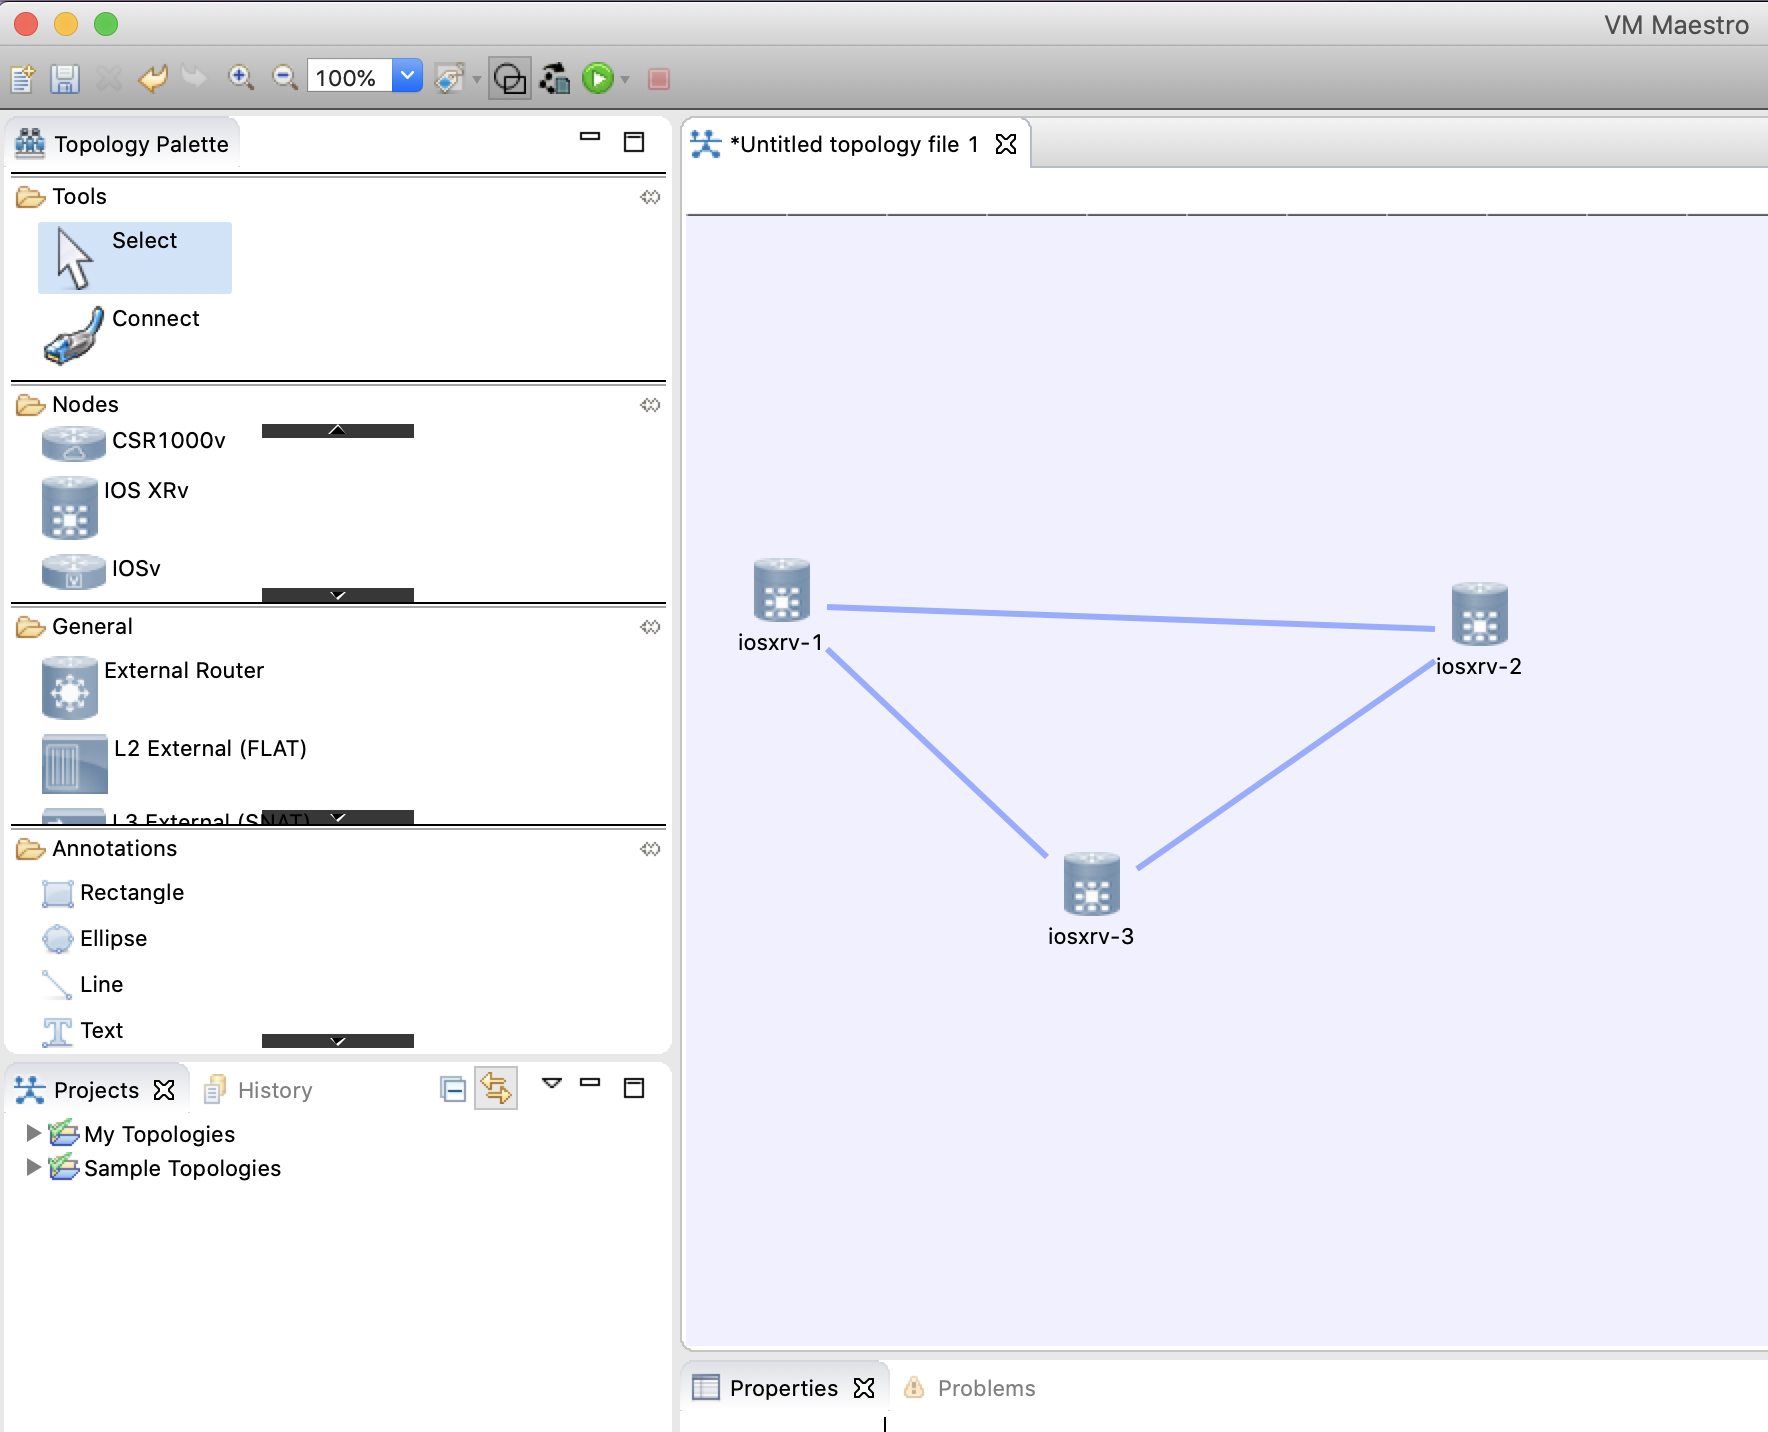
これでいったん完成として、このトポロジを「プロジェクト」として保存する。
左上の Save アイコンを押すと、保存場所を選択する画面が出る。今回は Sample Topology フォルダを選んで、デフォルトの topology.virl という名前で保存する。

VIRL にはルータコンフィグを自動生成する機能である "AutoNetKit" という機能が備わっています。これを使うと、自分であとからコンフィグを投入しなくても IGP や BGP のピアリングまで完了した状態でシミュレーションを開始する、といったことが実現できる。
ただし、今回は、この自動config生成AutoNodekitのチェックを外す。
画面上部のメニューから、シミュレーション開始のアイコン(再生ボタン)をクリックします。
無事に起動すると、右メニューの緑丸が見えます。
その後、装置を右クリックしてtelnetやsshでloginします。(右下にlogin後の画面が出ます)
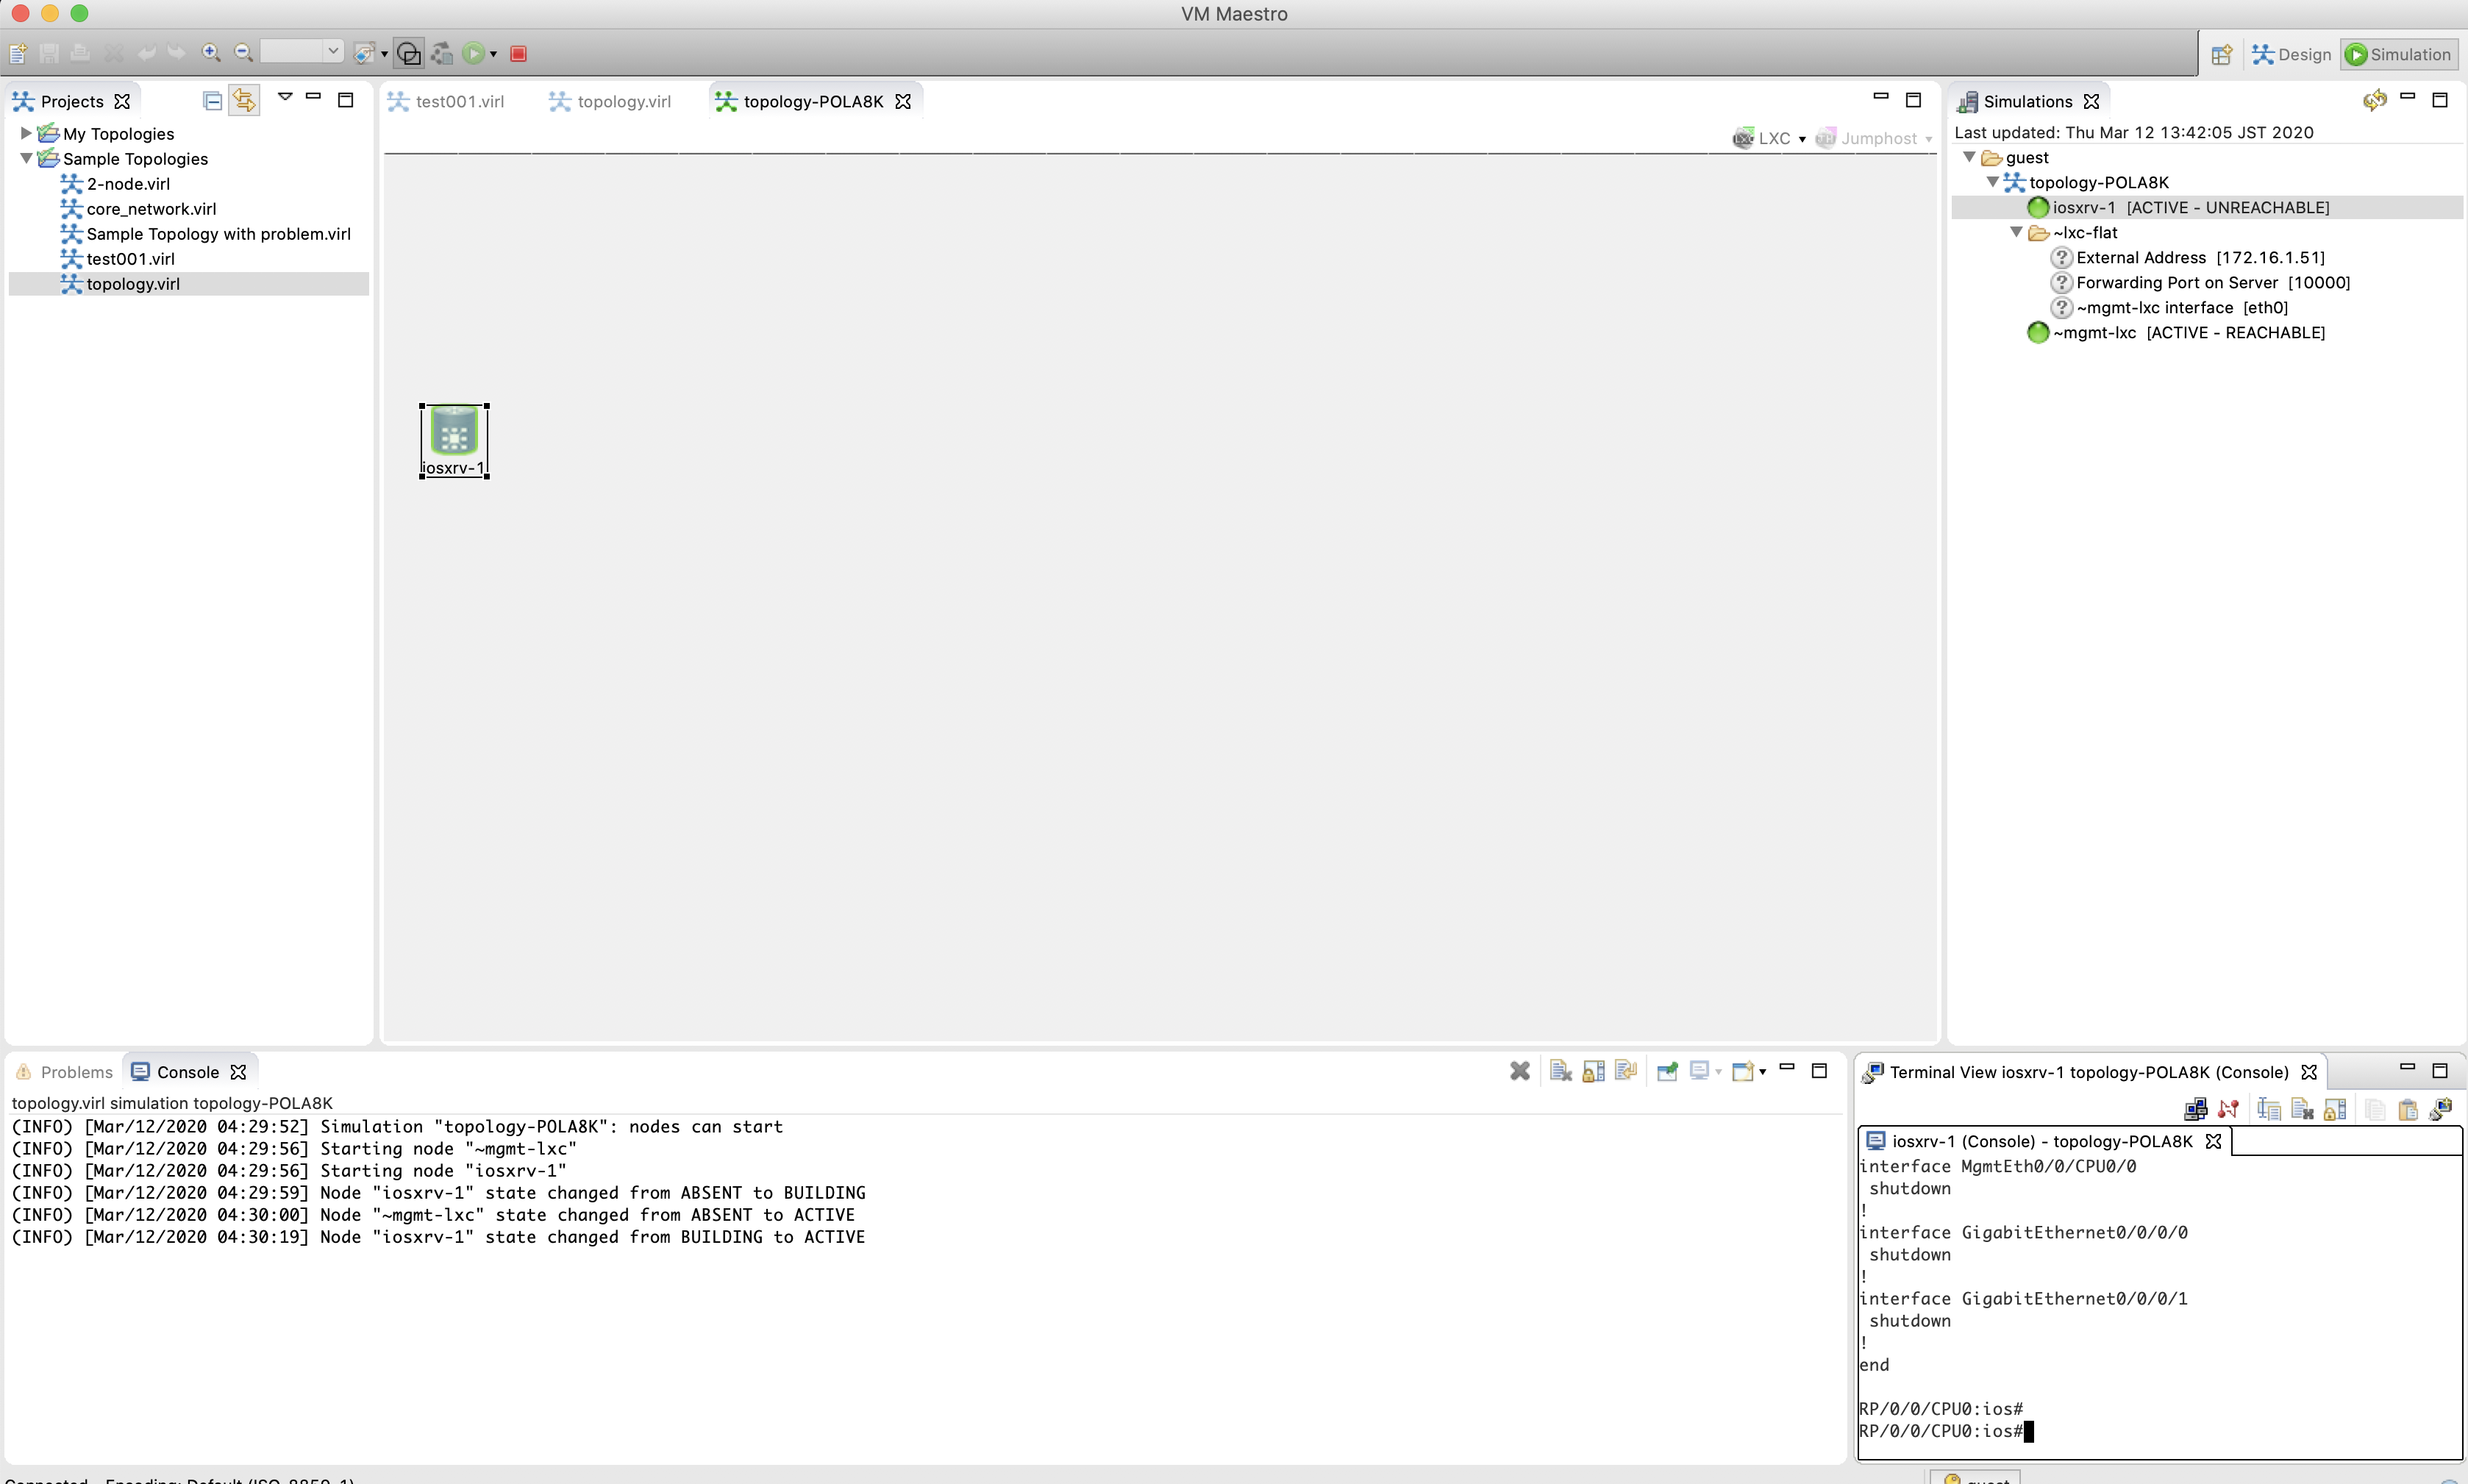
装置へのloginのID/passwordについて
この辺を参考に。IOS-XRの場合はadmin/adminでlogin出来た。
http://sig9.hatenablog.com/entry/2015/06/07/020001
MACのterminalからルータにloginする
telnetをinstallする
$ brew install telnet
起動したrouterのport番号を確認する。このルータの場合はconsoleへのtelnetは172.16.76.128:17000で行けそう。

telnetを使ってrouterにloginする
$ telnet 172.16.76.128 17000
VIRLが動いているVMにloginする
$ ssh virl@172.16.76.128
(passwordはVIRL)
試しにEVPNを設定してみる
CE8のconfig
interface GigabitEthernet0/1
 ip address 192.168.89.1 255.255.255.252
 duplex auto
 speed auto
 media-type rj45
!
PE1のconfig
hostname pe1
interface Loopback0
 ipv4 address 1.1.1.1 255.255.255.255
!
interface MgmtEth0/0/CPU0/0
 shutdown
!
interface GigabitEthernet0/0/0/0
 ipv4 address 10.0.12.1 255.255.255.252
!
interface GigabitEthernet0/0/0/1
 description to_ce8
 l2transport
 !
!
router ospf 1
 router-id 1.1.1.1
 segment-routing mpls
 segment-routing forwarding mpls
 fast-reroute per-prefix
 fast-reroute per-prefix ti-lfa enable
 microloop avoidance
 area 0
  interface Loopback0
   passive enable
   prefix-sid index 1
  !
  interface GigabitEthernet0/0/0/0
   network point-to-point
  !
 !
!
router bgp 65000
 address-family l2vpn evpn
 !
 neighbor 3.3.3.3
  remote-as 65000
  update-source Loopback0
  address-family l2vpn evpn
  !
 !
!
evpn
 evi 6005
  bgp
   rd 65000:6005
   route-target import 65000:6005
   route-target export 65000:6005
  !
 !
 interface GigabitEthernet0/0/0/1
  ethernet-segment
   identifier type 0 00.00.00.00.00.00.00.00.01
  !
 !
!
l2vpn
 bridge group BG_6005
  bridge-domain BD_6005
   mac
    limit
     maximum 50
     action no-flood
     notification both
    !
   !
   interface GigabitEthernet0/0/0/1
   !
   evi 6005
   !
  !
 !
!
segment-routing
 global-block 36000 55999
!
end
P2のconfig
hostname p2
interface Loopback0
 ipv4 address 2.2.2.2 255.255.255.255
!
interface MgmtEth0/0/CPU0/0
 shutdown
!
interface GigabitEthernet0/0/0/0
 ipv4 address 10.0.12.2 255.255.255.252
!
interface GigabitEthernet0/0/0/1
 ipv4 address 10.0.23.1 255.255.255.252
!
router ospf 1
 router-id 2.2.2.2
 segment-routing mpls
 segment-routing forwarding mpls
 fast-reroute per-prefix
 fast-reroute per-prefix ti-lfa enable
 microloop avoidance
 area 0
  interface Loopback0
   passive enable
   prefix-sid index 2
  !
  interface GigabitEthernet0/0/0/0
   network point-to-point
  !
  interface GigabitEthernet0/0/0/1
   network point-to-point
  !
 !
!
segment-routing
 global-block 36000 55999
!
end
PE3のconfig
hostname pe3
interface Loopback0
 ipv4 address 3.3.3.3 255.255.255.255
!
interface MgmtEth0/0/CPU0/0
 shutdown
!
interface GigabitEthernet0/0/0/0
 ipv4 address 10.0.23.2 255.255.255.252
!
interface GigabitEthernet0/0/0/1
 description to_ce9
 l2transport
 !
!
router ospf 1
 router-id 3.3.3.3
 segment-routing mpls
 segment-routing forwarding mpls
 fast-reroute per-prefix
 fast-reroute per-prefix ti-lfa enable
 microloop avoidance
 area 0
  interface Loopback0
   passive enable
   prefix-sid index 3
  !
  interface GigabitEthernet0/0/0/0
   network point-to-point
  !
 !
!
router bgp 65000
 address-family l2vpn evpn
 !
 neighbor 1.1.1.1
  remote-as 65000
  update-source Loopback0
  address-family l2vpn evpn
  !
 !
!
evpn
 evi 6005
  bgp
   rd 65000:6005
   route-target import 65000:6005
   route-target export 65000:6005
  !
 !
 interface GigabitEthernet0/0/0/1
  ethernet-segment
   identifier type 0 00.00.00.00.00.00.00.00.02
  !
 !
!
l2vpn
 bridge group BG_6005
  bridge-domain BD_6005
   mac
    limit
     maximum 50
     action no-flood
     notification both
    !
   !
   interface GigabitEthernet0/0/0/1
   !
   evi 6005
   !
  !
 !
!
segment-routing
 global-block 36000 55999
!
end
CE9のconfig
interface GigabitEthernet0/1
 ip address 192.168.89.2 255.255.255.252
 duplex auto
 speed auto
 media-type rj45
!


