参考になるかと思って開いた方、完全に自分用メモなので荒削りですいません。
軽い気持ちで Push 通知したくなって調べてみたら結構途方もない感じだったのでメモしました。
間違いもあるかもしれません。
Certification 準備
- https://developer.apple.com に移動、ログイン
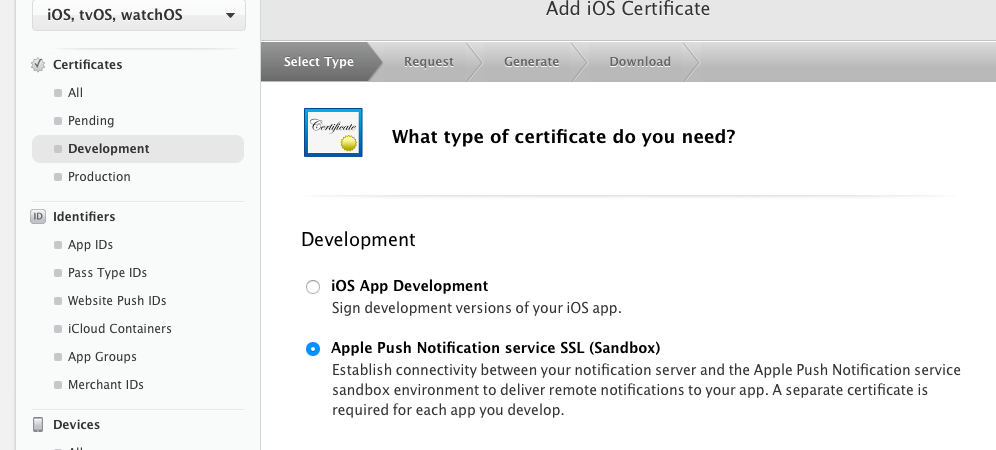
- Certificates から Development (Production) を選択して + ボタンを押す
- 「Apple Push Notification services SSL (Sandbox)」を選択して Continue

- 紐付ける Bundle ID を選択して Continue
- 「CSR をアップロードしろ」とでる(作り方の説明付き)ので、その通り作ってアップロードする
- .cer ダウンロード
- .cer をキーチェーンに取り込み
- p12 書き出し
- pem にする
$openssl pkcs12 -out dev2.pem -in dev2.p12 -nodes -clcerts - Server 側の pem ファイルが完成
Code for iOS
参考: What's New in iOS Notifications
- UIUserNotificationActionContext.Default or Minimal
- UIMutableUserNotificationCategory
- 複数の Action をまとめる
- UIMutableUserNotificationCategory:setActions:forContext
- Action とその Action が有効になる Context (通知ダイアログの状態?)を紐付ける
- registerUserNotificationSettings:
- ユーザーに通知の許可を得る
- aplication:didRegisterUserNotificationSettings:notificationSettings:
- registerForRemoteNotifications:
- application:didRegisterForRemoteNotificationsWithDeviceToken:
- Device token 取得 ( Push宛先 )
Code for server (Provider)
require 'apns'
# sandbox
APNS.pem = "/your/pem/file"
token = "your device token"
APNS.send_notification(token,"message")