他にも記事は色々ありますが、Unity6でメニューがいろいろ変わっていたりWebXRパッケージ周りでいろいろ手こずったのでメモです
私はUnityは初めてなので超基本的なところからメモっています。
WebGLモジュールが入っているか確認
Unity6(Unity Hub)を起動したら「Installs」を選択。
Unityの歯車アイコンからAdd Modules選択
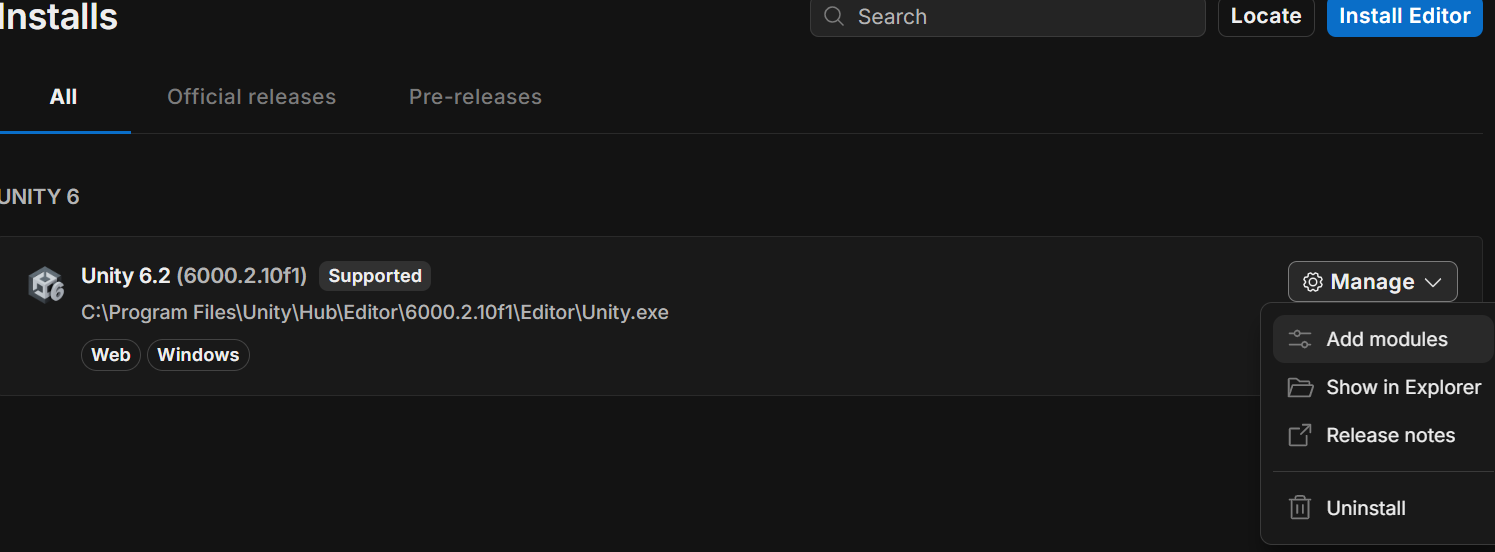
Web Build SupportがInstalledになっているか確認(なっていなかったらInstall)

プロジェクト作成
「Projects」からNew Project
TemplatesからUniversal 3Dを選択し、Create Projcts

Unity Editorが勝手に起動する
XR(VR)環境のセットアップ
WebXR Exportパッケージのインストール
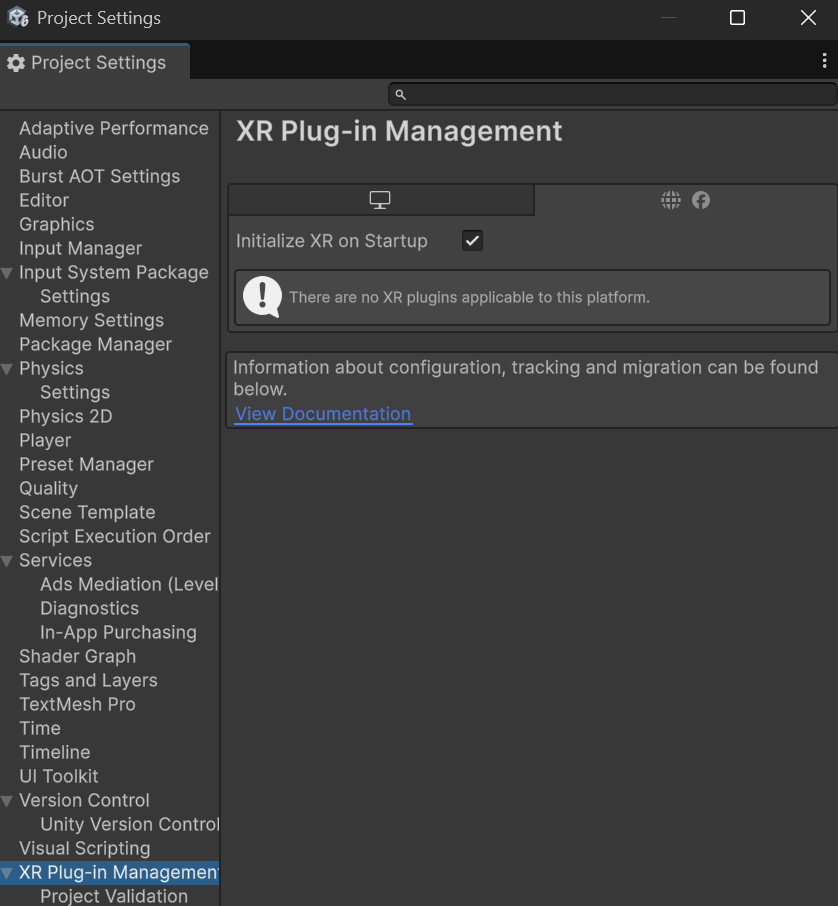
Unity純正のXR Plug-in Managementには対応するプラグインがないようなので
Unity EditorのWindowで上部メニューから Edit → Project Settings を開いて
左側のリストから XR Plug-in Management を選択しInstall・・・
・・・したが
Web用のXR Pluginはないと言われてしまった
代替手段としてUnity公式拡張パッケージWebXR Exporterを有志が再現したものを導入
https://github.com/De-Panther/unity-webxr-export/blob/master/Documentation/Getting-Started.md
Edit > Project Settings > Package Manager
から以下を入力してSave
Name: OpenUPM
URL: https://package.openupm.com
Scope(s): com.de-panther

Window > Package Management > Package Managerから
My Registries > OpenUPMに「WebXR Export」がいるはずなのでInstall

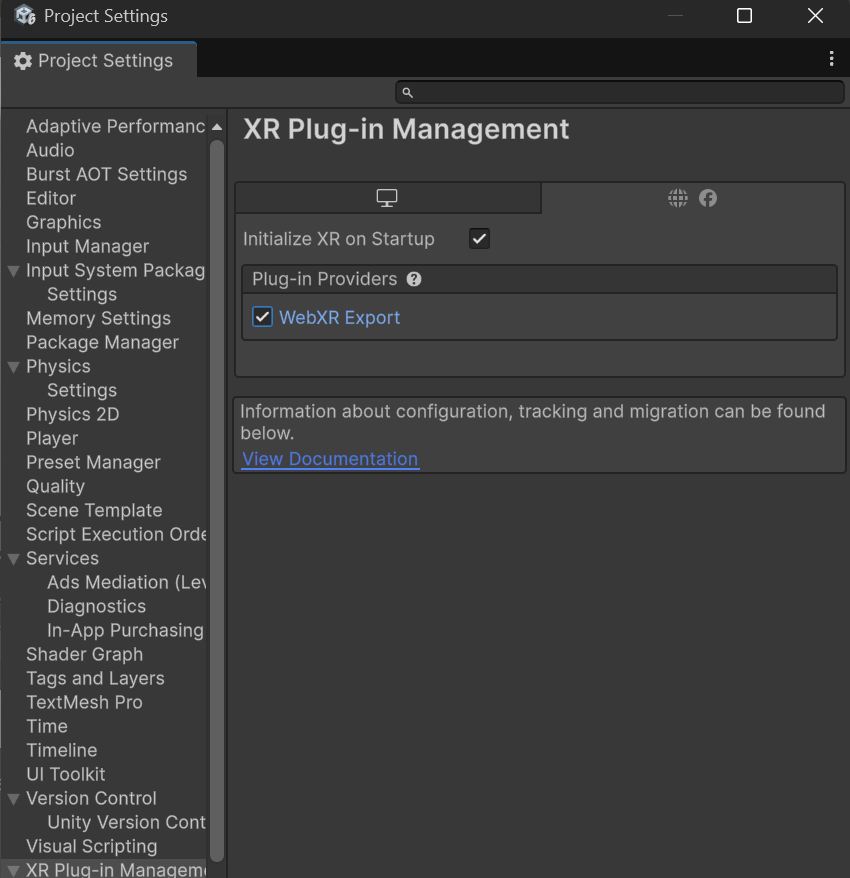
Intall後
Edit > Project Settings > XR Plug-in Management > WebGL > Plug-in Providers
にチェック
Window > WebXR > Copy WebGLTemplates
を選択
WebXR Interactionsパッケージのインストール
前項の手順を終えていれば
Window > Package Management > Package Managerから
My Registries > OpenUPMに「WebXR Interactions」がいるはずなのでInstall
サンプルシーンをインポートする場合は
Window > Package Manager > WebXR Interactions > Samples > Sample Scene > Import
を行った後
Project Windowにアセットが追加されているはずなので
Assets > Samples WebXR Interactions > バージョン > Saple Scene > ScenesのDesert.unityをダブルクリック

画面にサンプルシーンが反映されたらFile > Save
Templatesの設定
Editor > Project Settings > Player > webアイコン > Resolution and Presentation,
WebXR2020を選択

その他設定変更
上記リファレンスに説明はなかったが、以下が抜けると完成画面で操作ができない状態だった
Editor > Project Settings > Player > webアイコン > Other Settings
Auto Graphics API を OFF、WebGL2 のみ
Active Input Handling = Both
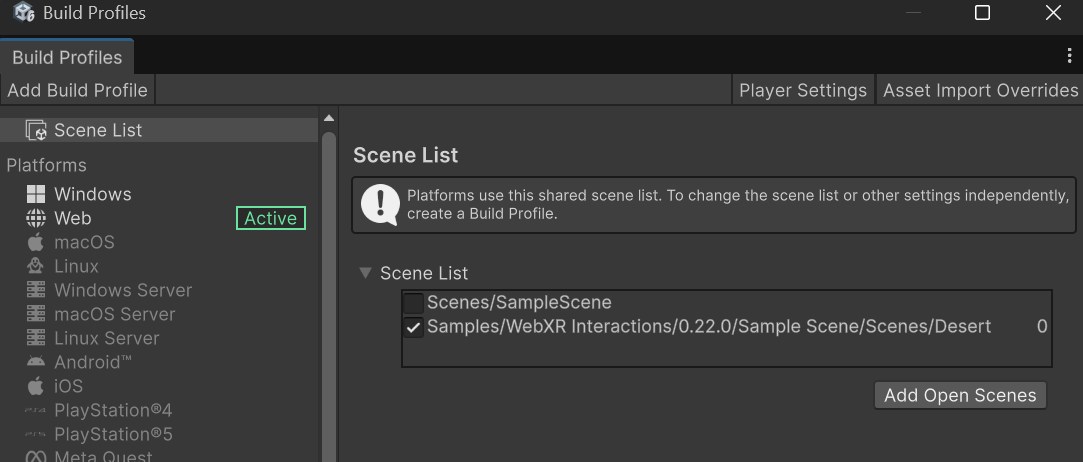
Build Profileの設定
File → Build Profilesを選択
Webを選んでSwitch Platformを選択

Platform作成が終わったら、Switch PlatformボタンがBuild & Runボタンに代わる
Desertのシーンに切り替えるためにOpen Scene Listを選択
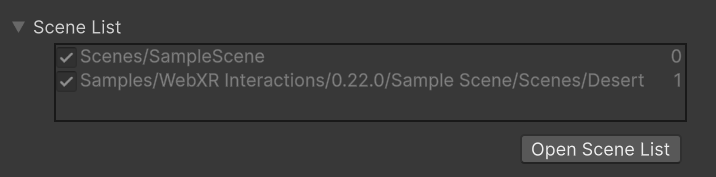
Add Open Sceneを押すてDesertのシーンを追加し、もともとのSampleSceneのチェックを外す
とりあえず起動テストのためにBuild & Runボタンを押す
Buildフォルダ選択画面に移行するので適当に「WebBuild」というフォルダ名でも作って選択する
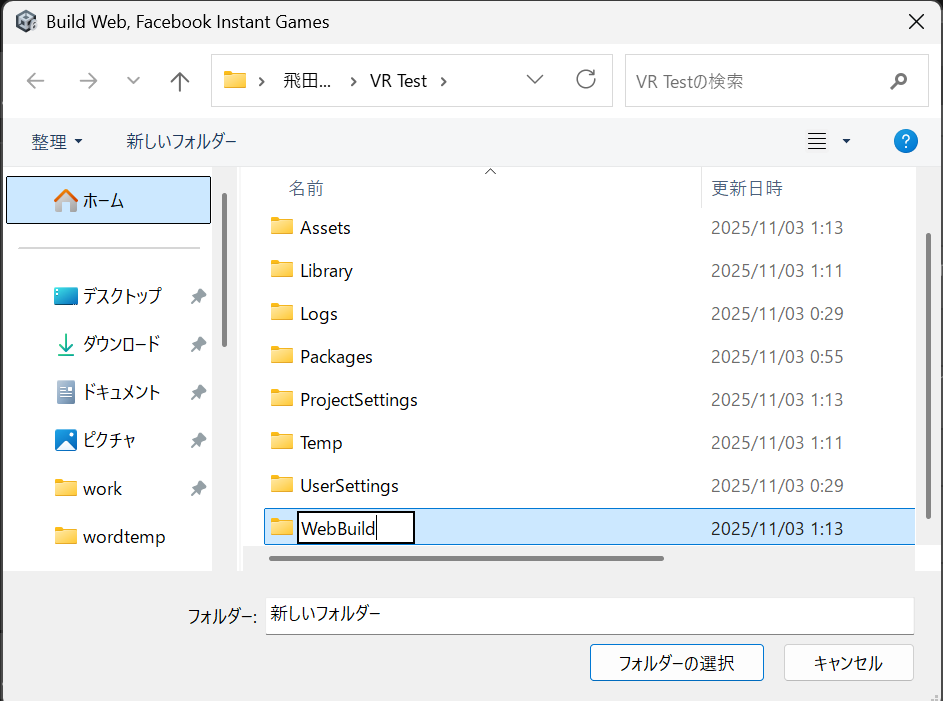
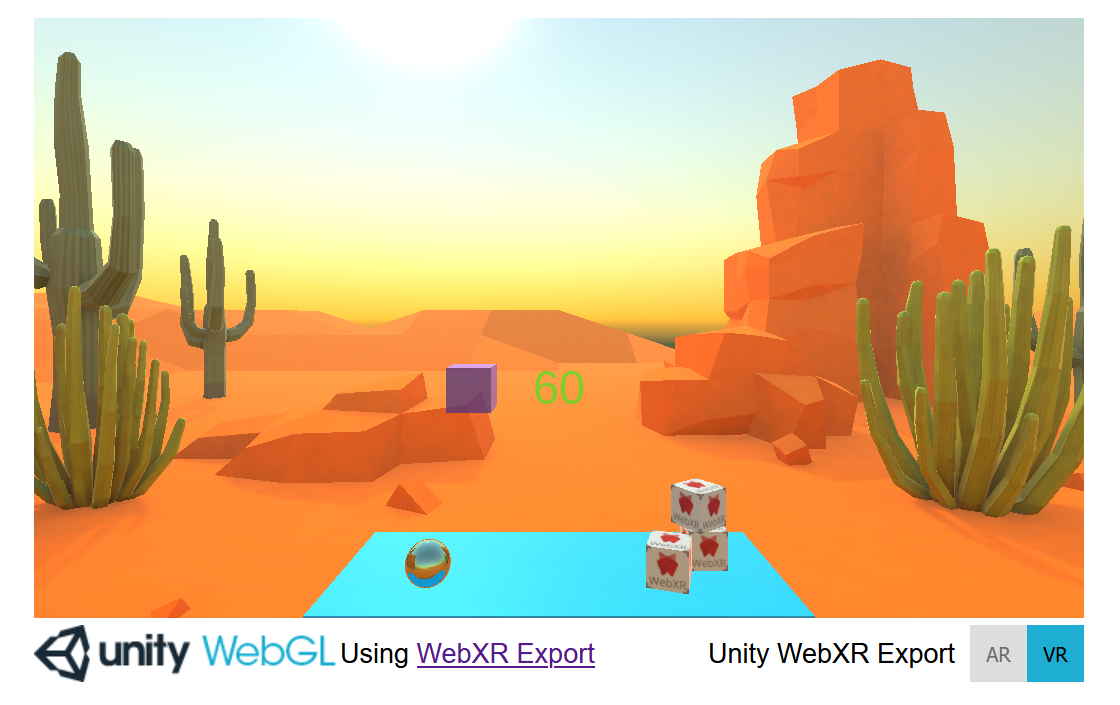
buildが終わるとlocalhostでページが表示された
deploy用の設定変更
上記ビルドしたソースをgithub pagesにデプロイしたらエラーが出た
installHook.js:1 Unable to parse Build/WebBuild.framework.js.br! This can happen if build compression was enabled but web server hosting the content was misconfigured to not serve the file with HTTP Response Header "Content-Encoding: br" present. Check browser Console and Devtools Network tab to debug.
Edit > Project Settings > Player > Webアイコン >Publishing Settings
Decompression Fallback: ON
これによりブラウザ側JSで自己解凍するはず・・・
だがそれでもうごかなかったので
Compression Format: Disabled
にして圧縮無効化(ファイルサイズは増える)
デプロイ後・・・
PC上のChromeだとVRボタンがグレーアウトしたままだが(VRがらみのプラグインをChromeに入れればいけるかも)
スマホで見るとVRモードで閲覧できた
