Pythonで作ったCUIツールをGUI化するにあたって、
フレームワークとしてDjangoを使用し、
テンプレートとしてdjango-jetを使う事になりました。
検討材料はこちら。
https://qiita.com/odoku/items/e6112185f326cc9cea5b
で、
調べながらちょくちょく弄ってると、情報が少なくてどこがどうなってるのか...
という部分が多かったのでまとめました。
至らない部分多いですが、誰かの助けになれば...
前提
- Pythonの実行環境がある事(Python3系)
- Pythonの仮想環境がある事(Python3系)
- Pythonのパッケージ管理にpipを使っている事(以下の手順でpipコマンドを使うため)
プロジェクト作成〜起動確認まで
Djangoプロジェクトがないとdjango-jetも使えないため、まずはDjangoプロジェクトを作成するところから始める。
なお、説明の簡素化のため、必要最低限な手順のみ抜粋して記載する。
まずはpipでdjangoをインストールする。
$ pip install django
あとは、公式の手順に沿って、プロジェクト作成〜起動確認まで行う。
(説明簡素化のため、最低限の手順のみ抜粋している)
# プロジェクト作成
# https://docs.djangoproject.com/ja/2.0/intro/tutorial01/#creating-a-project
$ django-admin startproject mysite
$ cd mysite

# DB設定(default: SQLite)
# https://docs.djangoproject.com/ja/2.0/intro/tutorial02/#database-setup
$ python manage.py migrate

# 管理ユーザ作成
# https://docs.djangoproject.com/ja/2.0/intro/tutorial02/#creating-an-admin-user
$ python manage.py createsuperuser

# アプリケーション作成
# アプリケーション適用
# モデル作成
# テーブル追加
# https://docs.djangoproject.com/ja/2.0/intro/tutorial01/#creating-the-polls-app
$ python manage.py startapp polls
# https://docs.djangoproject.com/ja/2.0/intro/tutorial02/#activating-models
$ vim mysite/settings.py
# https://docs.djangoproject.com/ja/2.0/intro/tutorial02/#creating-models
$ vim polls/models.py
# https://docs.djangoproject.com/ja/2.0/intro/tutorial02/#activating-models
$ python manage.py makemigrations polls
$ python manage.py migrate

# 起動確認
# https://docs.djangoproject.com/ja/2.0/intro/tutorial01/#the-development-server
$ python manage.py runserver
http://127.0.0.1:8000/
起動できてる事の確認
http://127.0.0.1:8000/admin/
ログイン画面の表示
→先程のcreatesuperuserで設定した、UsernameとPasswordでログイン
→ログインが出来て、野暮ったい管理画面が表示されてればOK
django-jet適用
Djangoプロジェクトが出来たら、ようやくdjango-jetの登場。
こちらもまずは、公式の手順通りに設定していく。
https://github.com/geex-arts/django-jet#installation
https://github.com/geex-arts/django-jet#dashboard-installation
# まずはpipインストール
$ pip install django-jet

# settings.py::INSTALLED_APPSに、必要項目を追加
# - `jet.dashboard`
# - `jet`
$ vim mysite/settings.py

# settings.py::TEMPLATESの確認。`django.template.context_processors.request`がなければ追加。
$ vim mysite/settings.py

# urls.pyに必要項目を追加
# 手順に加えて`from django.conf.urls import url, include`も追加する必要あり
# - `url(r'^jet/', include('jet.urls', 'jet')),  # Django JET URLS`
# - `url(r'^jet/dashboard/', include('jet.dashboard.urls', 'jet-dashboard')),  # Django JET dashboard URLS`
$ vim mysite/urls.py

# DBにdjango-jetのテーブル作成
$ python manage.py migrate jet
$ python manage.py migrate dashboard

# 起動確認
$ python manage.py runserver
http://127.0.0.1:8000/admin/
ダッシュボードの見た目がdjango-jet仕様になっている事を確認。
django-jetの使用
ここまではチュートリアル。
ここからのカスタマイズで苦戦した...
ダッシュボードのカスタマイズ
ドキュメントはこちら。
http://jet.readthedocs.io/en/latest/dashboard_custom.html
まず、プロジェクト直下にdashboard.pyというファイルを作成。
(vi/vimで新規ファイル作ればよいかと)
$ vim dashboard.py
次に、手順書にあるソースコードをまるままコピペ。
(変更箇所が分かりやすくなるように、少しだけ弄ってるとGood)
from django.utils.translation import ugettext_lazy as _
from jet.dashboard import modules
from jet.dashboard.dashboard import Dashboard, AppIndexDashboard


class CustomIndexDashboard(Dashboard):
    columns = 3

    def init_with_context(self, context):
        self.available_children.append(modules.LinkList)
        self.children.append(modules.LinkList(
            # _('Support'),  # <========= 画面に表示される内容が変わってると分かりやすいよね!
            _('Support :^)'),  # <========= なので、顔でも付けておこう:^)
            children=[
                {
                    'title': _('Django documentation'),
                    'url': 'http://docs.djangoproject.com/',
                    'external': True,
                },
                {
                    'title': _('Django "django-users" mailing list'),
                    'url': 'http://groups.google.com/group/django-users',
                    'external': True,
                },
                {
                    'title': _('Django irc channel'),
                    'url': 'irc://irc.freenode.net/django',
                    'external': True,
                },
            ],
            column=0,
            order=0
        ))
最後に、settings.pyに、dashboard.py内でDashboardを継承したクラスを設定し、読み込ませる。
(上記の例だとCustomIndexDashboard)
$ vim mysite/settings.py
...
JET_INDEX_DASHBOARD = 'dashboard.CustomIndexDashboard'
...
起動して確認。
$ python manage.py runserver
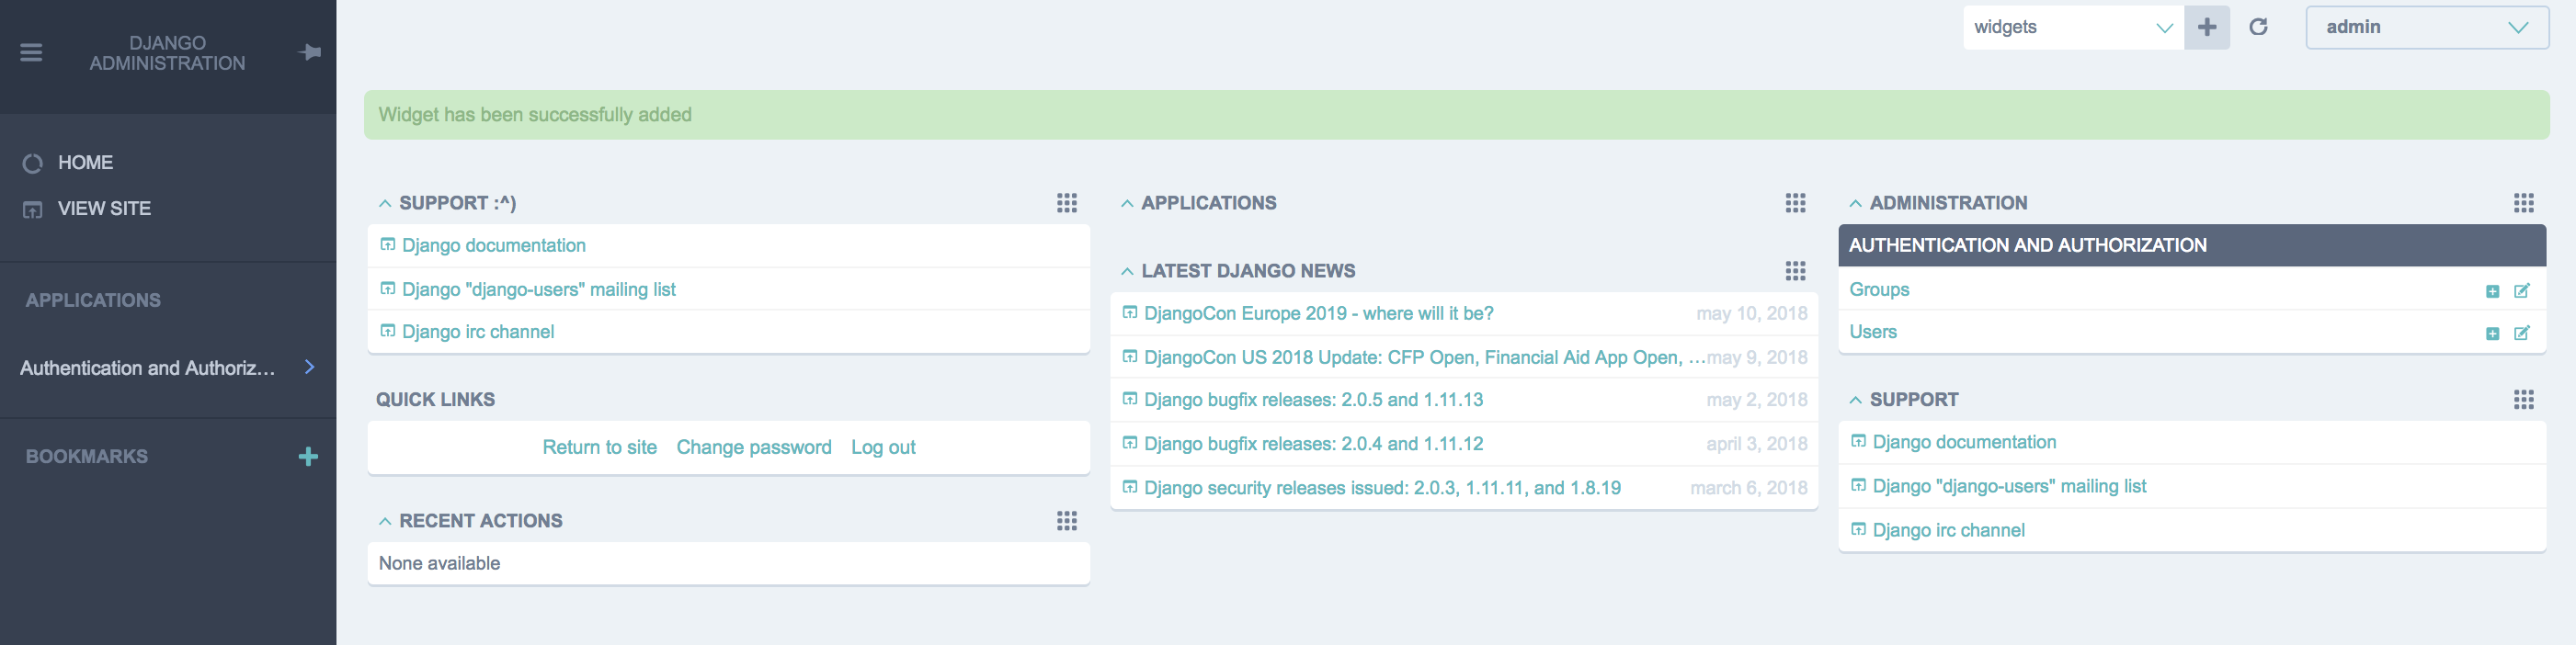
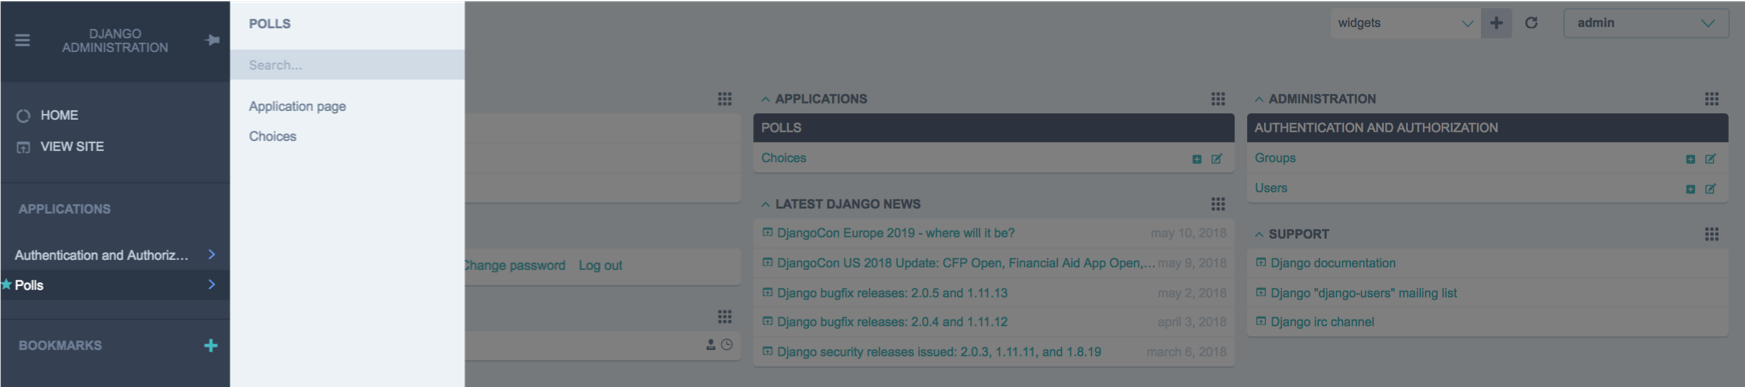
上部のプルダウンに「Support :^)」が出現。
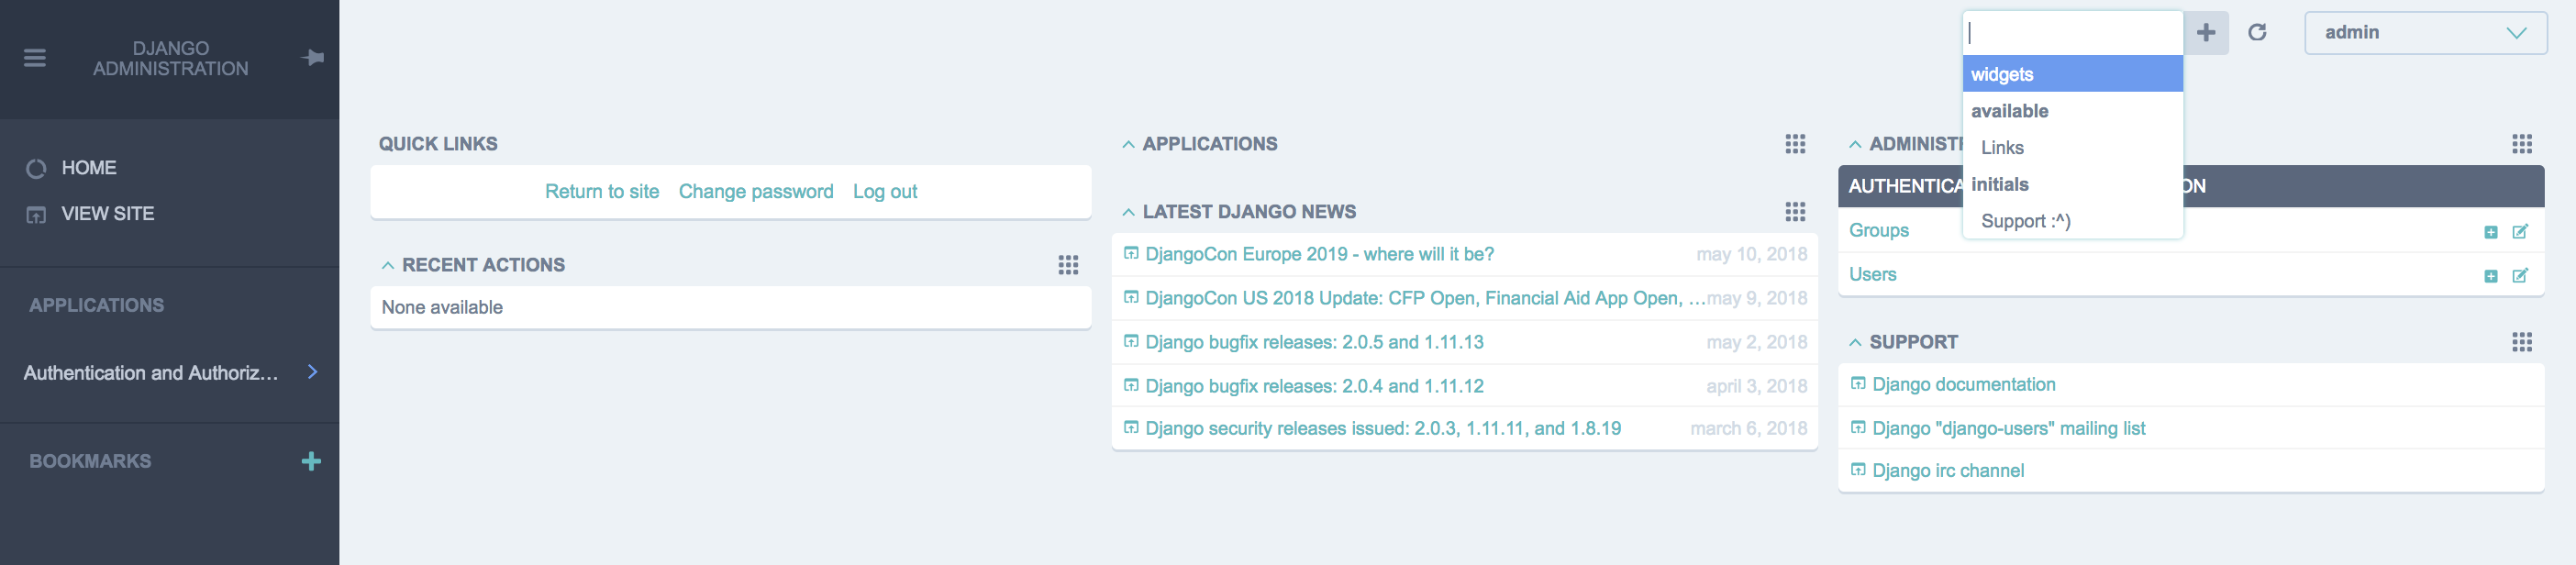
選択して[+]を押下すると、ダッシュボードに追加される。(左上に追加されてるのが分かる。)
サイドバーにアプリケーションを並べたい
django-jetのライブデモを見てみると、サイドバーにアプリケーション一覧がある事が分かる。
ライブデモ => http://demo.jet.geex-arts.com/admin/
どうしたら追加できるのか調べたところ、admin.site.register()を追加すると出来た。
公式ドキュメントには乗っておらず、ライブデモのGithubのソースコードを見て解析した。
https://docs.djangoproject.com/ja/2.0/intro/tutorial07/#customize-the-admin-form
ちなみに、django-jetの公式ドキュメントに「settings.pyにJET_SIDE_MENU_ITEMSを追加すればいいよ」みたいなのが書かれてるが、
外部リンクにはよいかもしれないが、SPAには出来なさそうだったので、注意。(出来る方法など教えて下さい...)
http://jet.readthedocs.io/en/latest/config_file.html#custom-menu
という事で、
まず、対象アプリケーションのadmin.pyを修正する。
$ vim polls/admin.py
# encoding: utf-8
from django.contrib import admin
from .models import Question, Choice


class QuestionAdmin(admin.ModelAdmin):
    # model=Questionの管理をするよー、というクラス
    all_field_names = (
        "question_text",
        "pub_date",
    )
    list_display    = all_field_names
    search_fields   = all_field_names
    fields          = all_field_names


class ChoiceAdmin(admin.ModelAdmin):
    # model=Choiceの管理をするよー、というクラス
    all_field_names = (
        "question",
        "choice_text",
        "votes"
    )
    list_display    = all_field_names
    search_fields   = all_field_names
    fields          = all_field_names


# クラス定義だけでは意味がないので、管理サイトに追加する
admin.site.register(Question, QuestionAdmin)
admin.site.register(Choice, ChoiceAdmin)
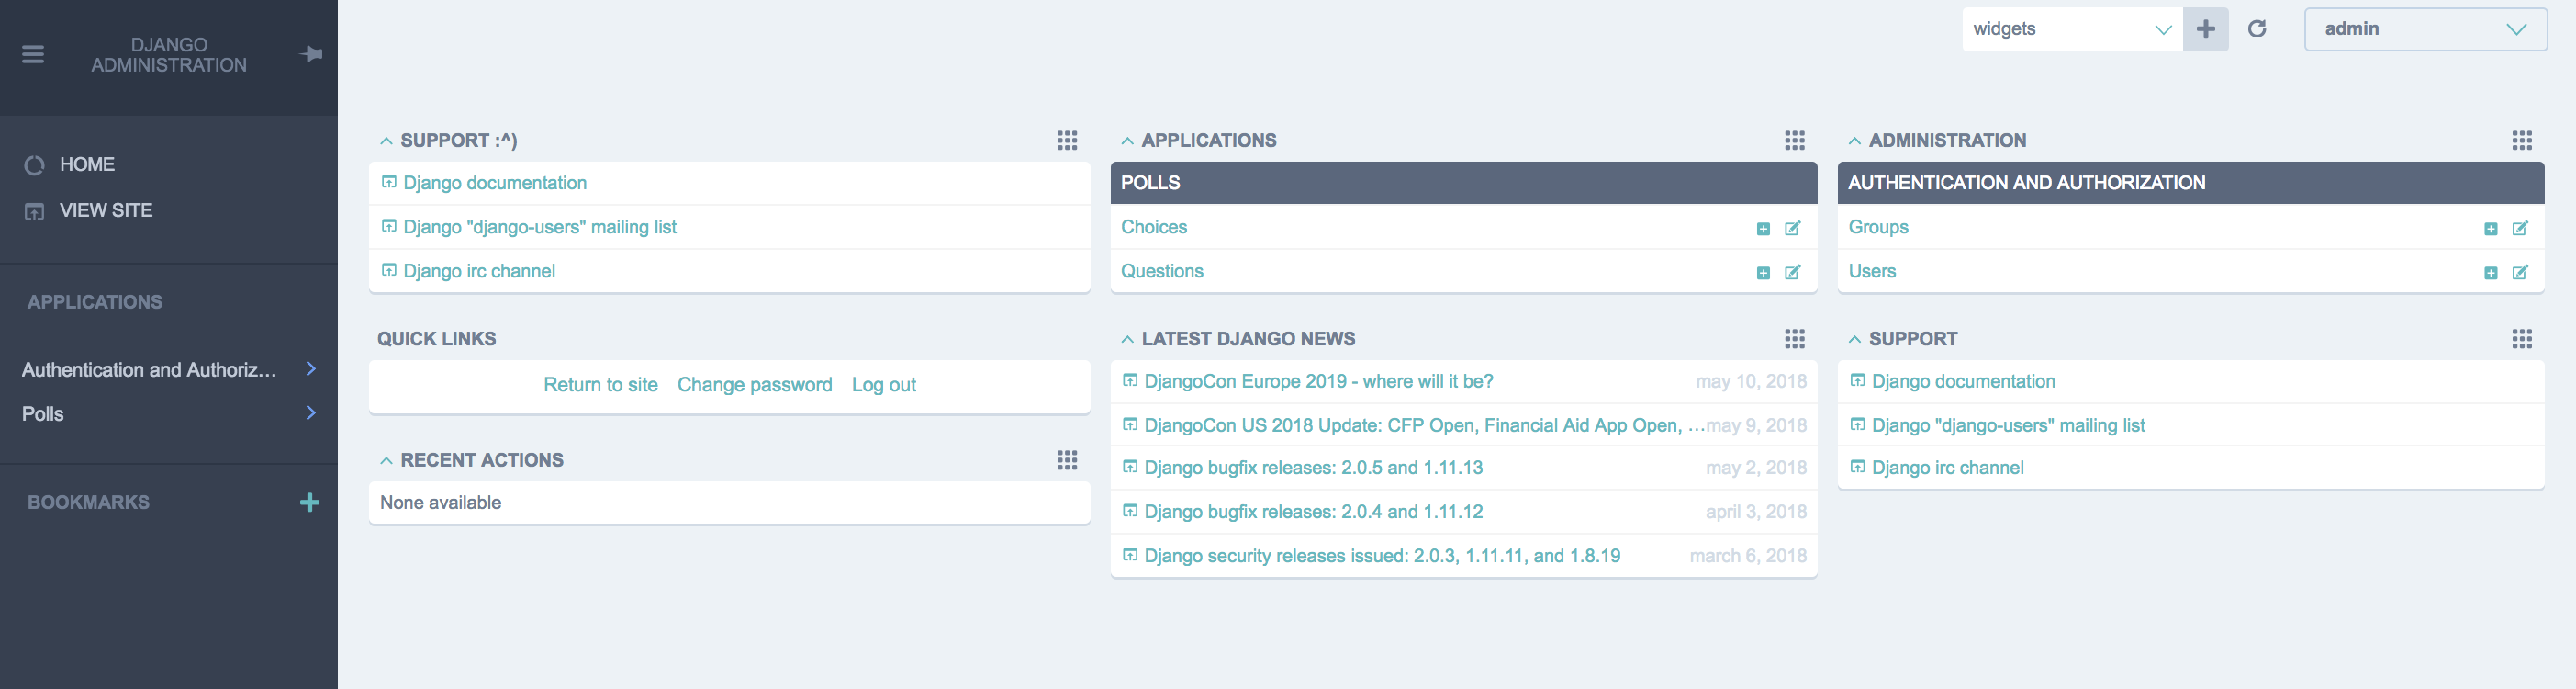
起動して確認すると、サイドバーにアプリケーションが現れる。
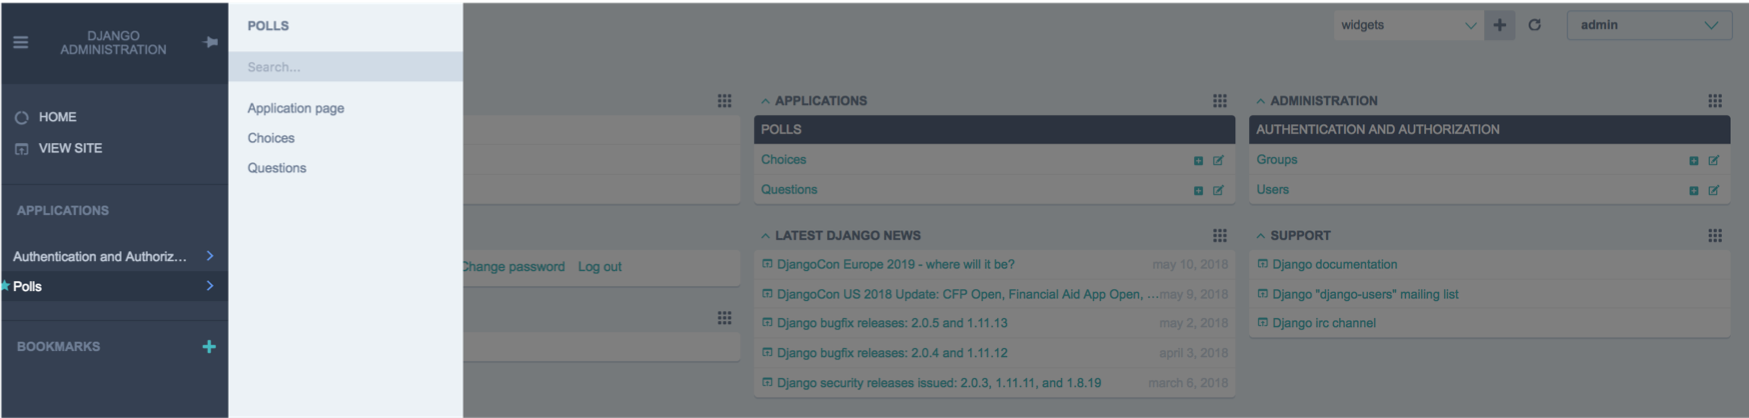
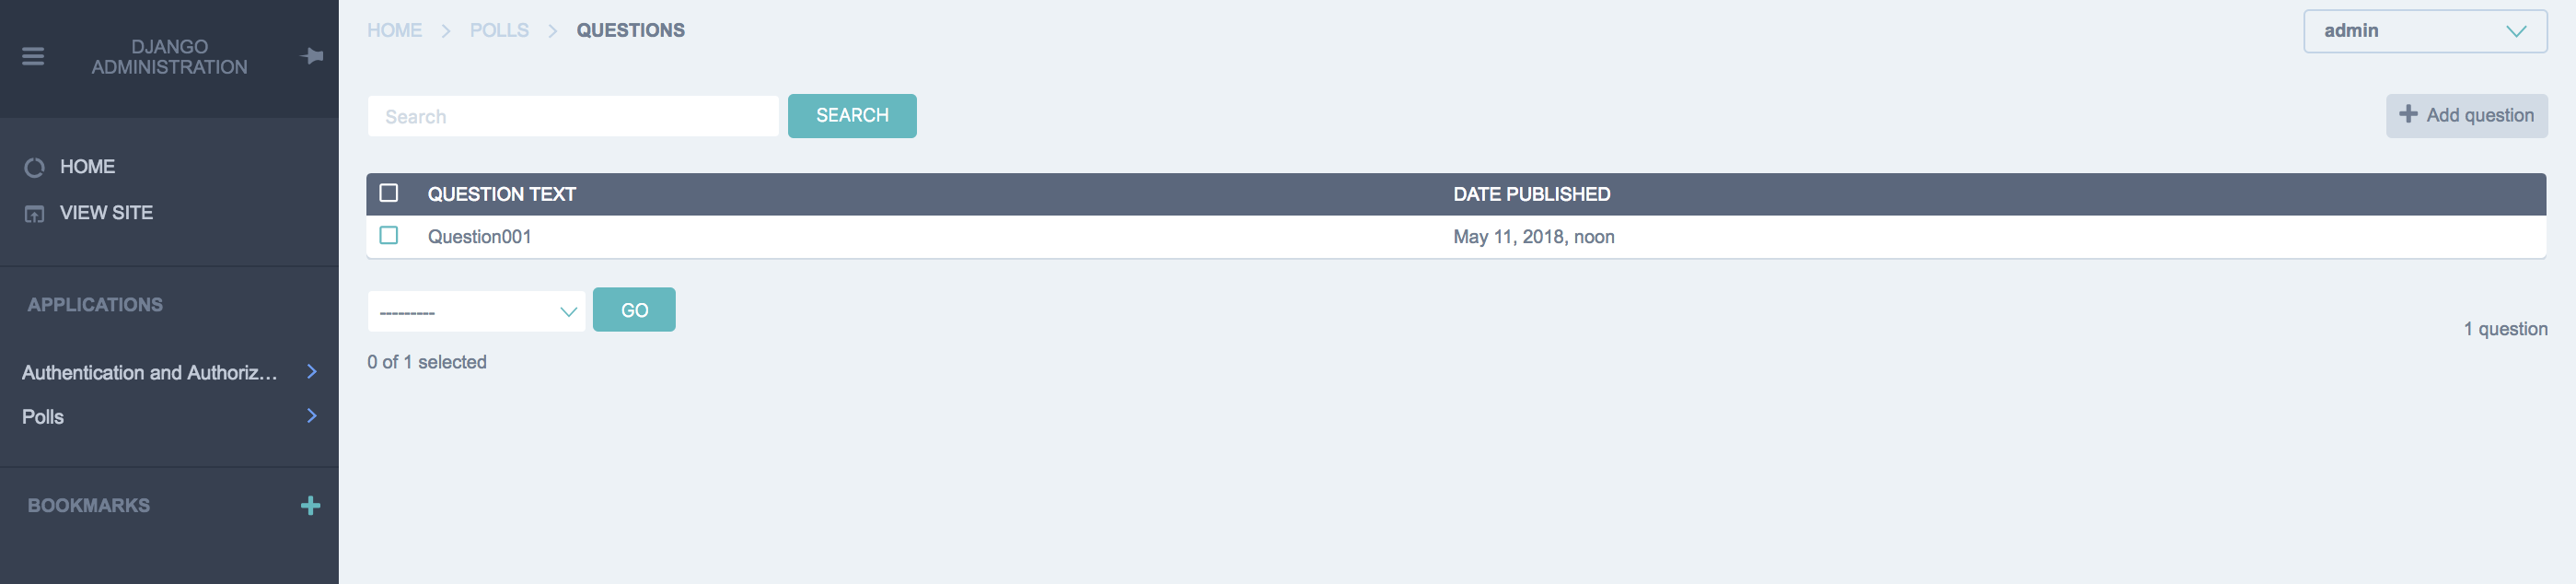
試しにQuestionを開いてみる。
最初はQuestionテーブルにデータが入ってないのですっからかんだが、
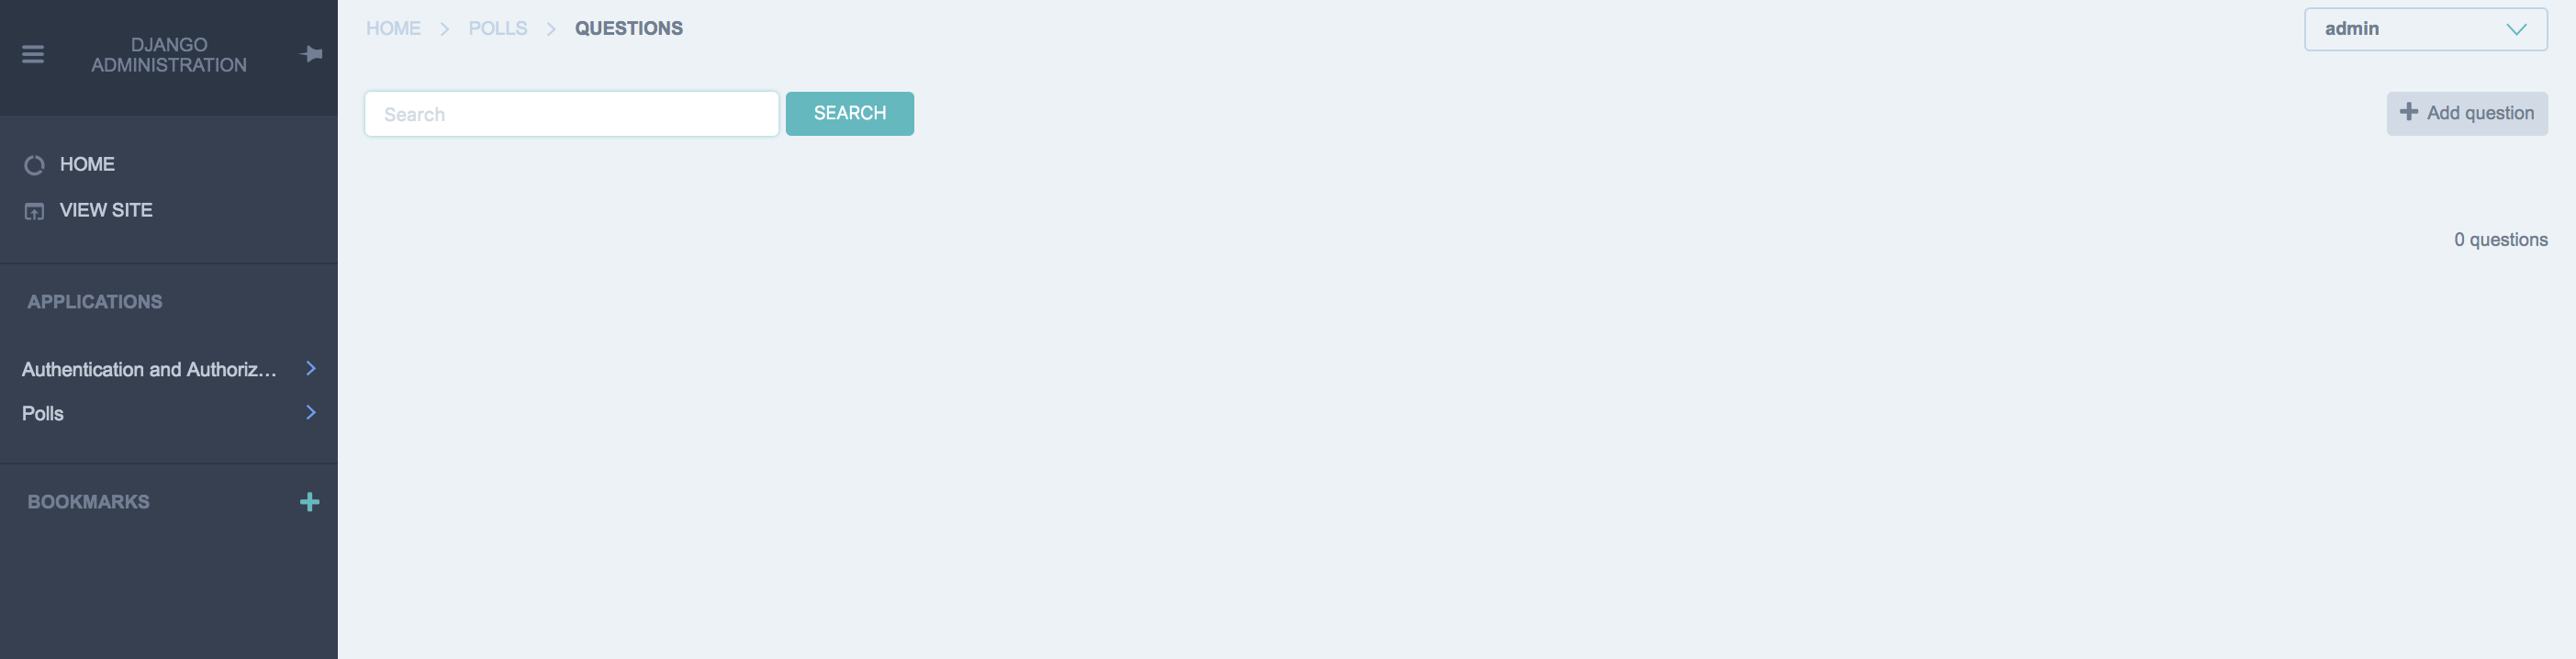
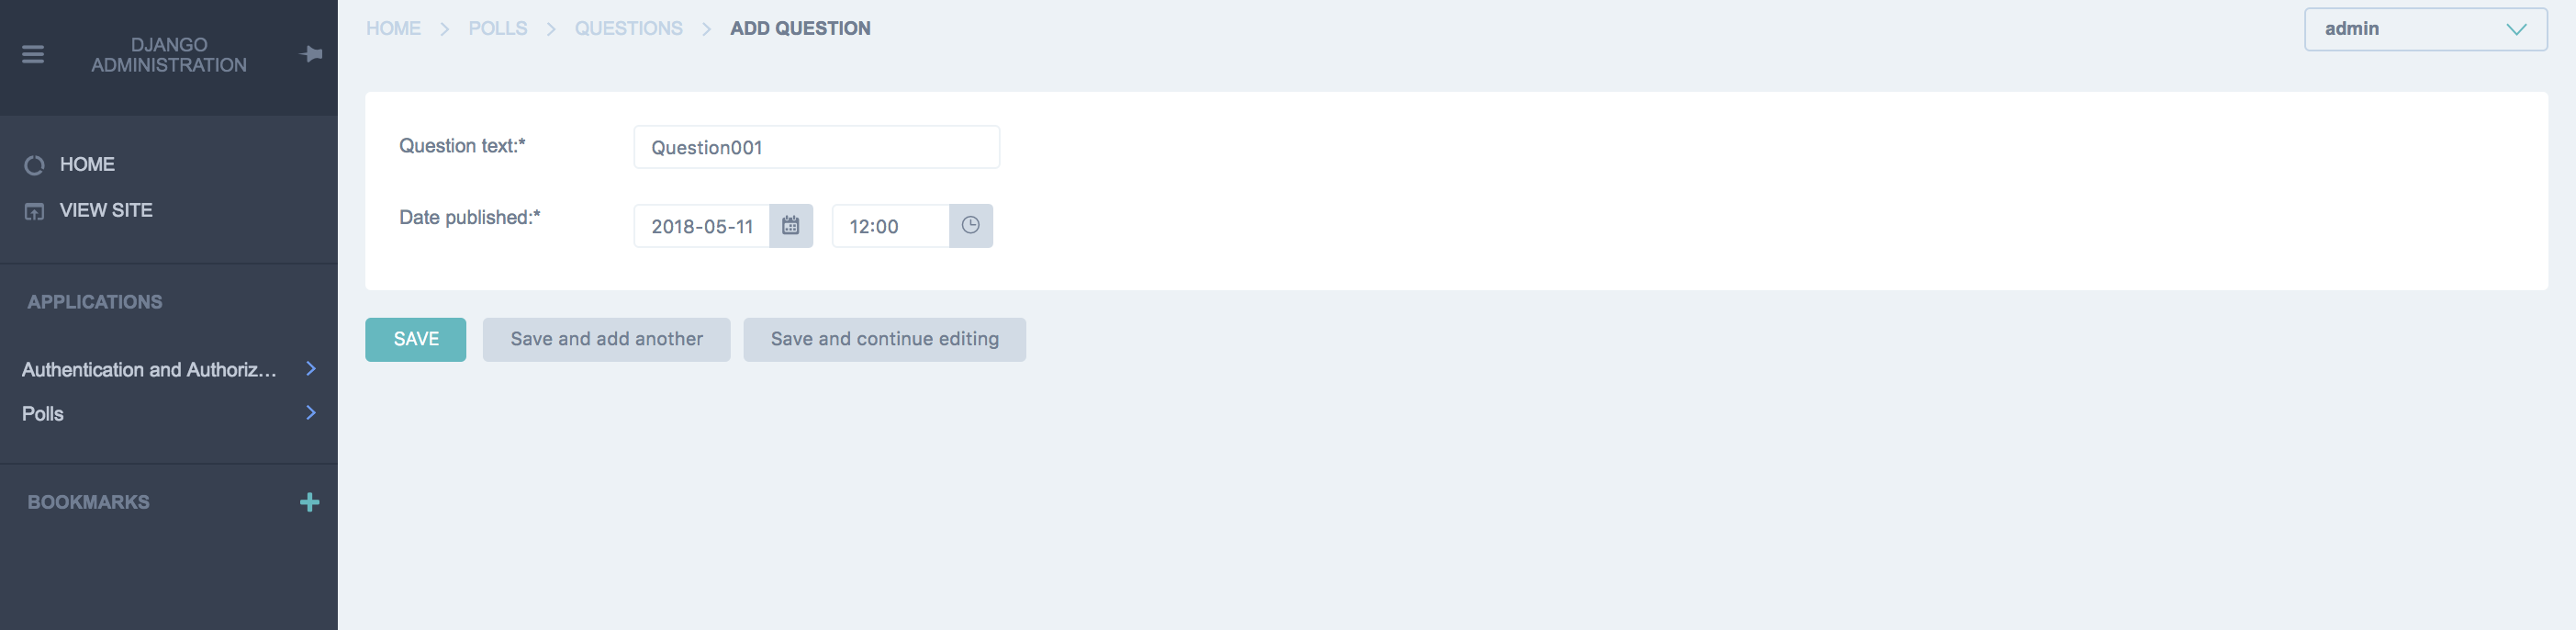
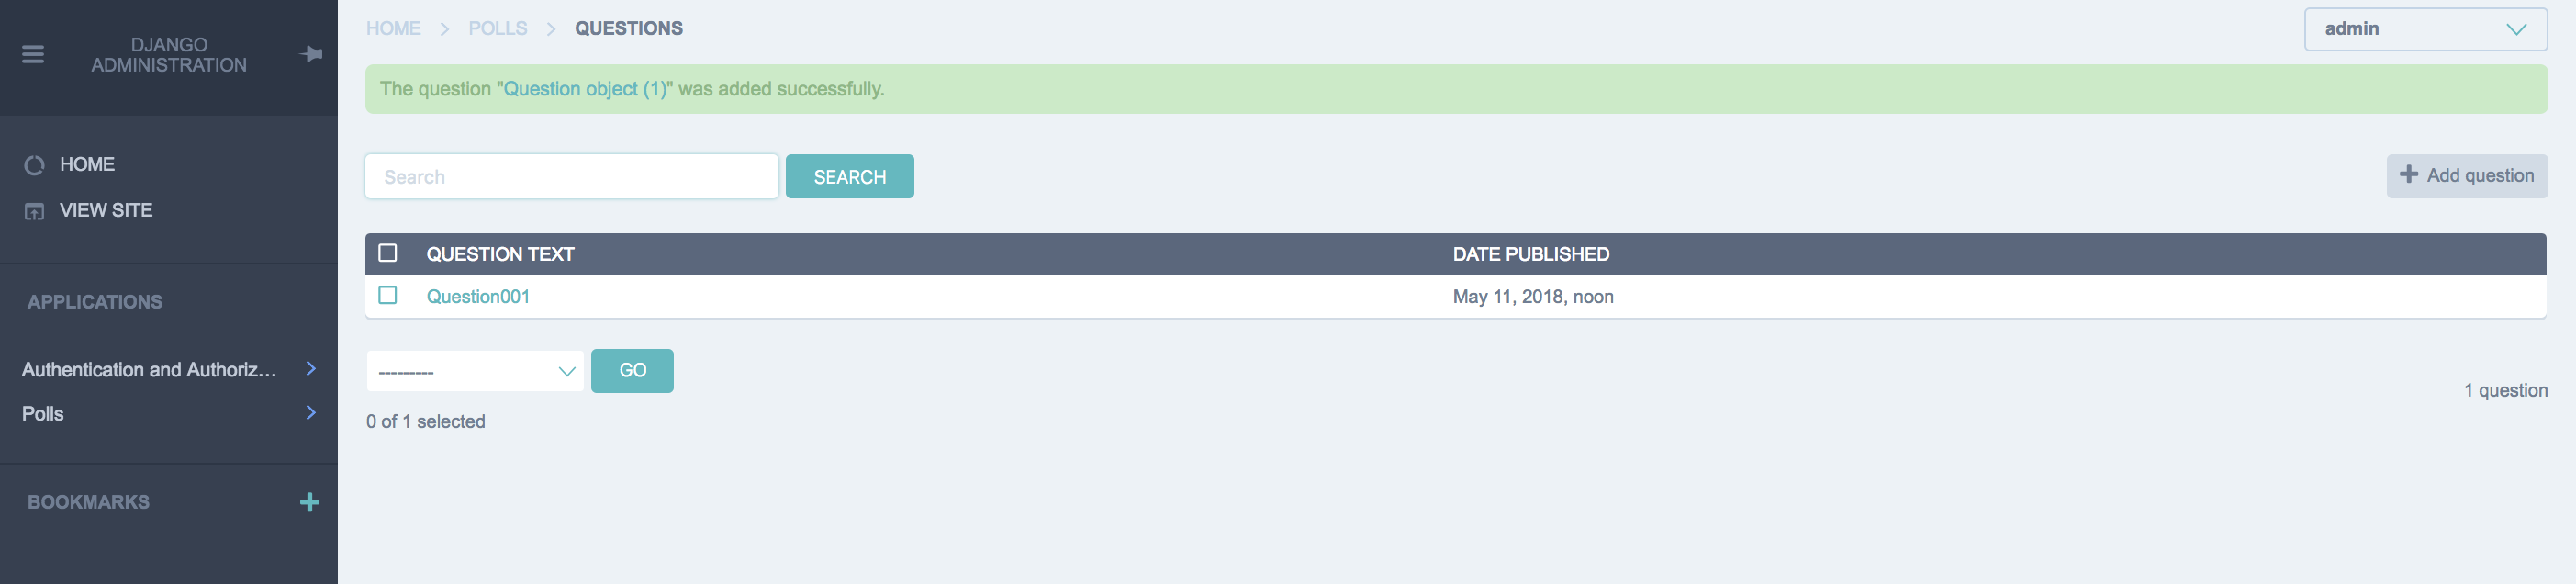
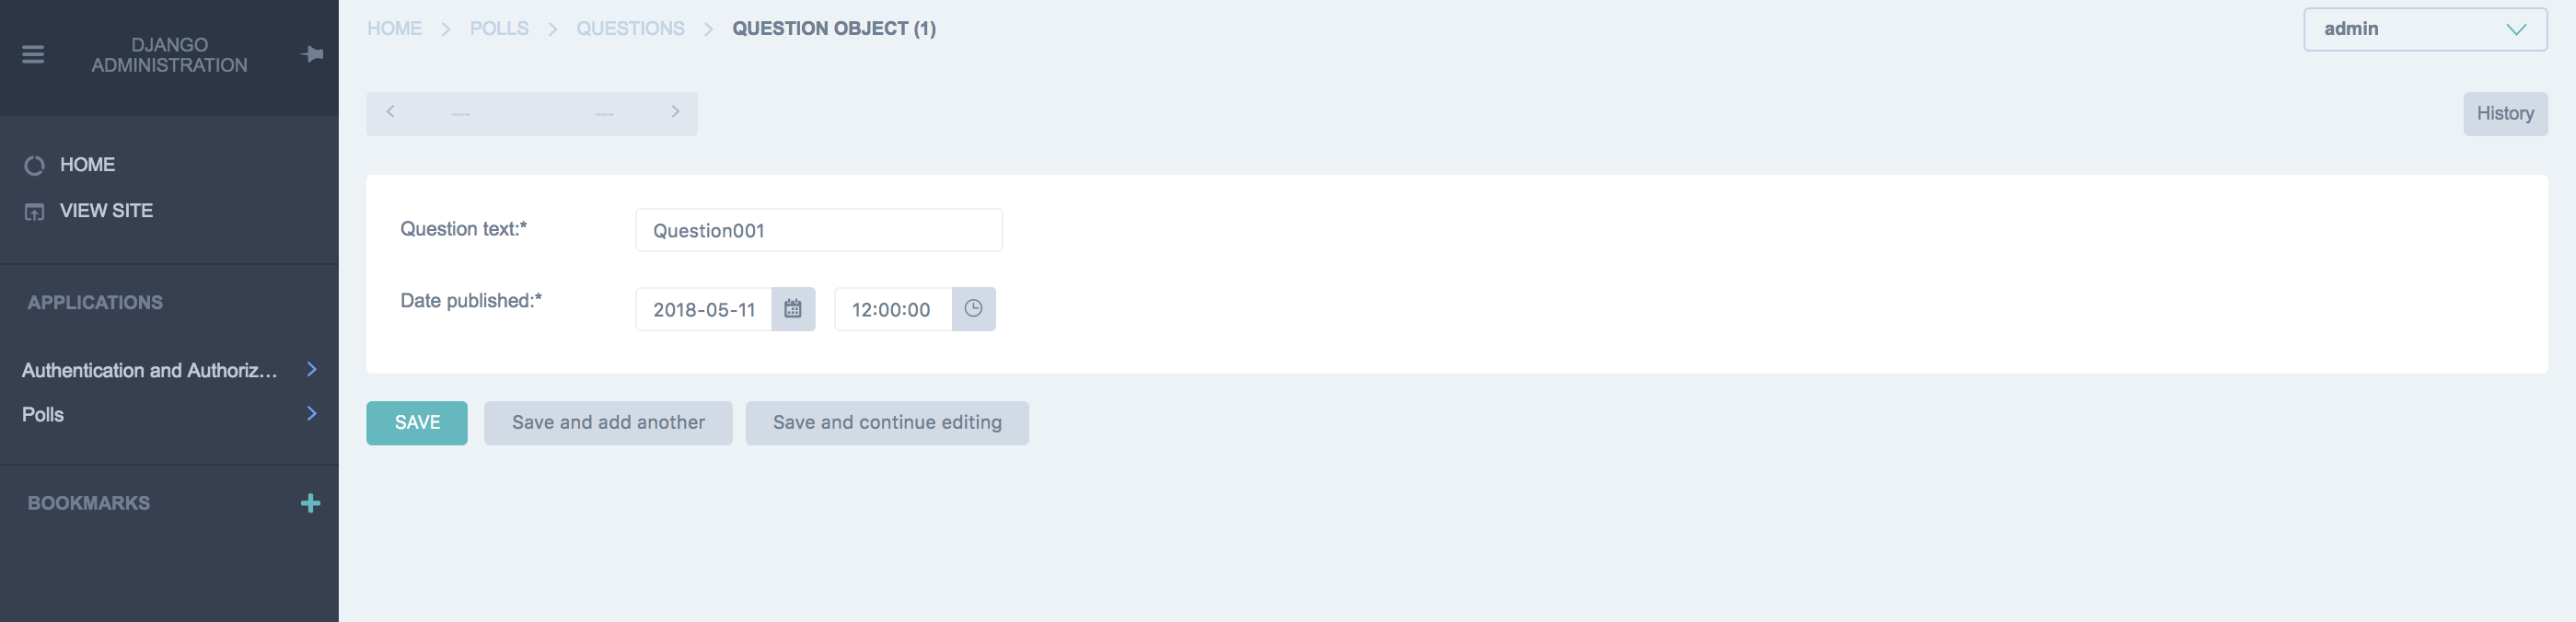
右上の[+ Add question]から、新規で追加すれば、一覧にも現れる。
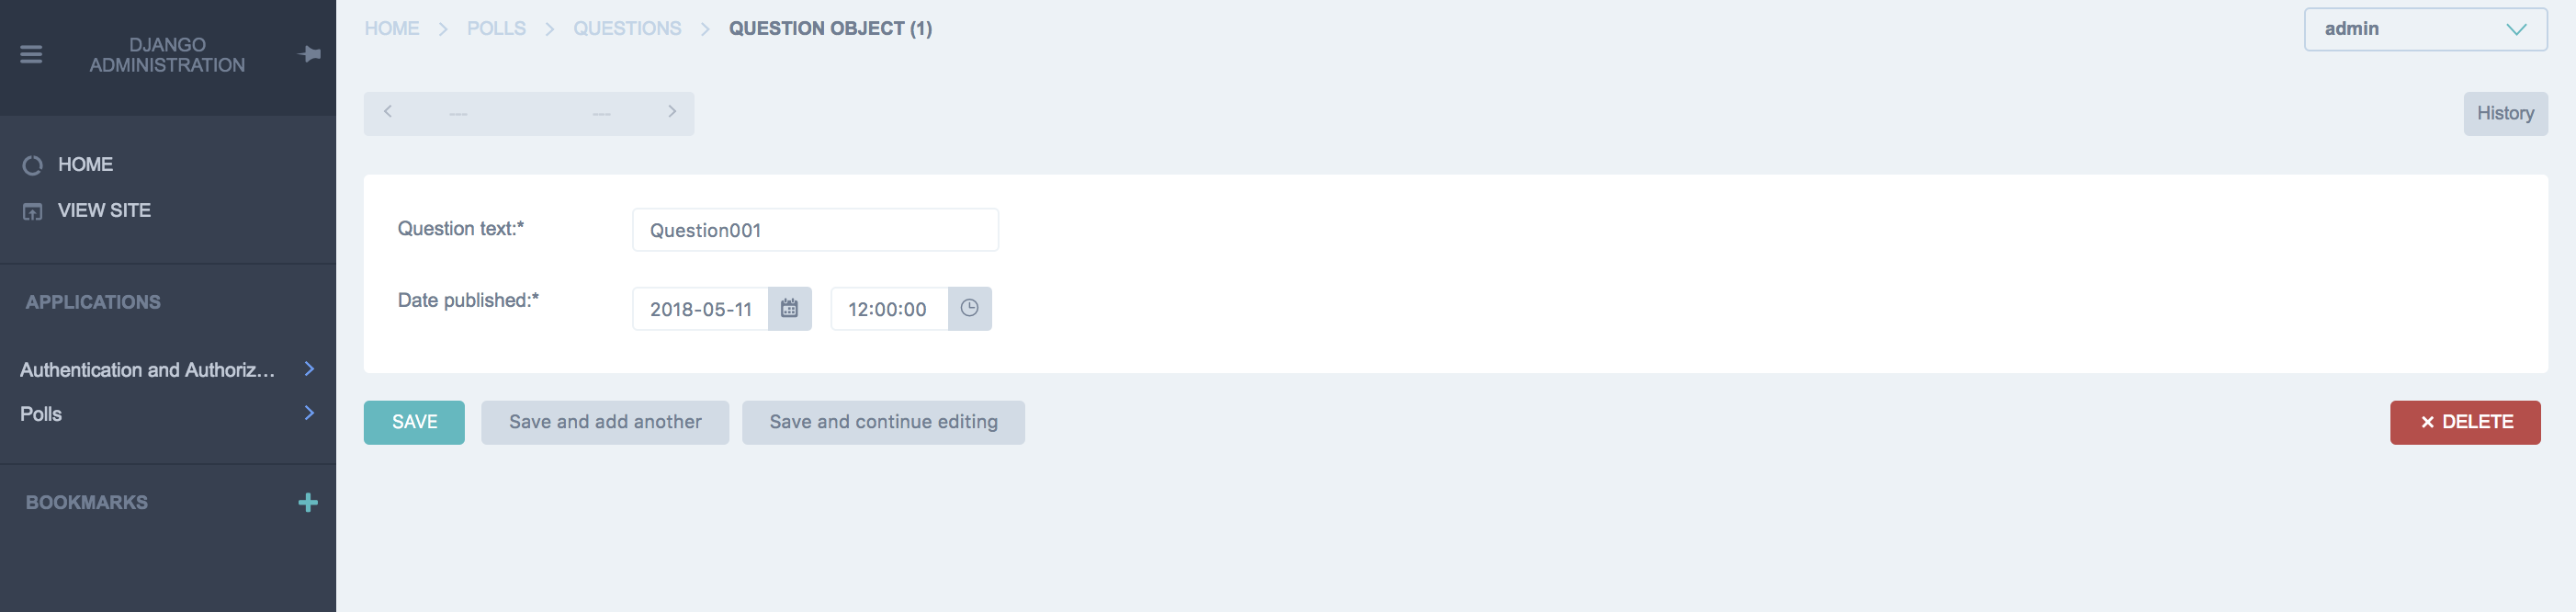
一覧に現れたデータを選択すると、編集も出来るし、削除も出来る。
CRUDボタンの制御をしたい
上記の手順で、モデルに対する、追加(C)、閲覧(R)、更新(U)、削除(D)ができる事が分かった。
しかしながら、システムによっては「RUは出来ていいけど、CDはダメ」「Rだけで、CUDはダメ」といった要件もあるだろう。
という事で、それぞれの制御の紹介をする。
なお、説明簡素化のため、polls/admin.pyからChoiceを除いた除いたソースコードで記載する。
C: 追加
admin.ModelAdminを継承している事がポイントとなる。
admin.ModelAdmin::has_add_permissionをオーバーライドして、Falseを返すようにすれば、追加ボタンが表示されなくなる。
# encoding: utf-8
from django.contrib import admin
from .models import Question


# overrideして、Falseを返す
def has_add_permission(self, request):
    return False


class QuestionAdmin(admin.ModelAdmin):
    all_field_names = (
        "question_text",
        "pub_date",
    )
    list_display    = all_field_names
    search_fields   = all_field_names
    fields          = all_field_names
    has_add_permission = has_add_permission  # overrideしたメソッドを設定


admin.site.register(Question, QuestionAdmin)
右上から追加ボタンが消え去った。
R: 閲覧
閲覧については、前の手順にあるadmin.site.register(xxx, xxxAdmin)をコメントアウトまたは削除すればOK。
# encoding: utf-8
from django.contrib import admin
from .models import Question


class QuestionAdmin(admin.ModelAdmin):
    all_field_names = (
        "question_text",
        "pub_date",
    )
    list_display    = all_field_names
    search_fields   = all_field_names
    fields          = all_field_names


# admin.site.register(Question, QuestionAdmin)  # コメントアウト
一覧からQuestionが消え去った。
U: 更新
更新については、編集画面に遷移しなければ良い。
一覧画面では、デフォルトで最左部の項目にリンクが設定され、任意でリンクの箇所を変更する事も出来るが、Noneを設定すればリンクが貼られなくなる。
# encoding: utf-8
from django.contrib import admin
from .models import Question


class QuestionAdmin(admin.ModelAdmin):
    all_field_names = (
        "question_text",
        "pub_date",
    )
    list_display    = all_field_names
    search_fields   = all_field_names
    fields          = all_field_names
    list_display_links = None  # Noneを設定する事でリンクが貼られなくなる


admin.site.register(Question, QuestionAdmin)
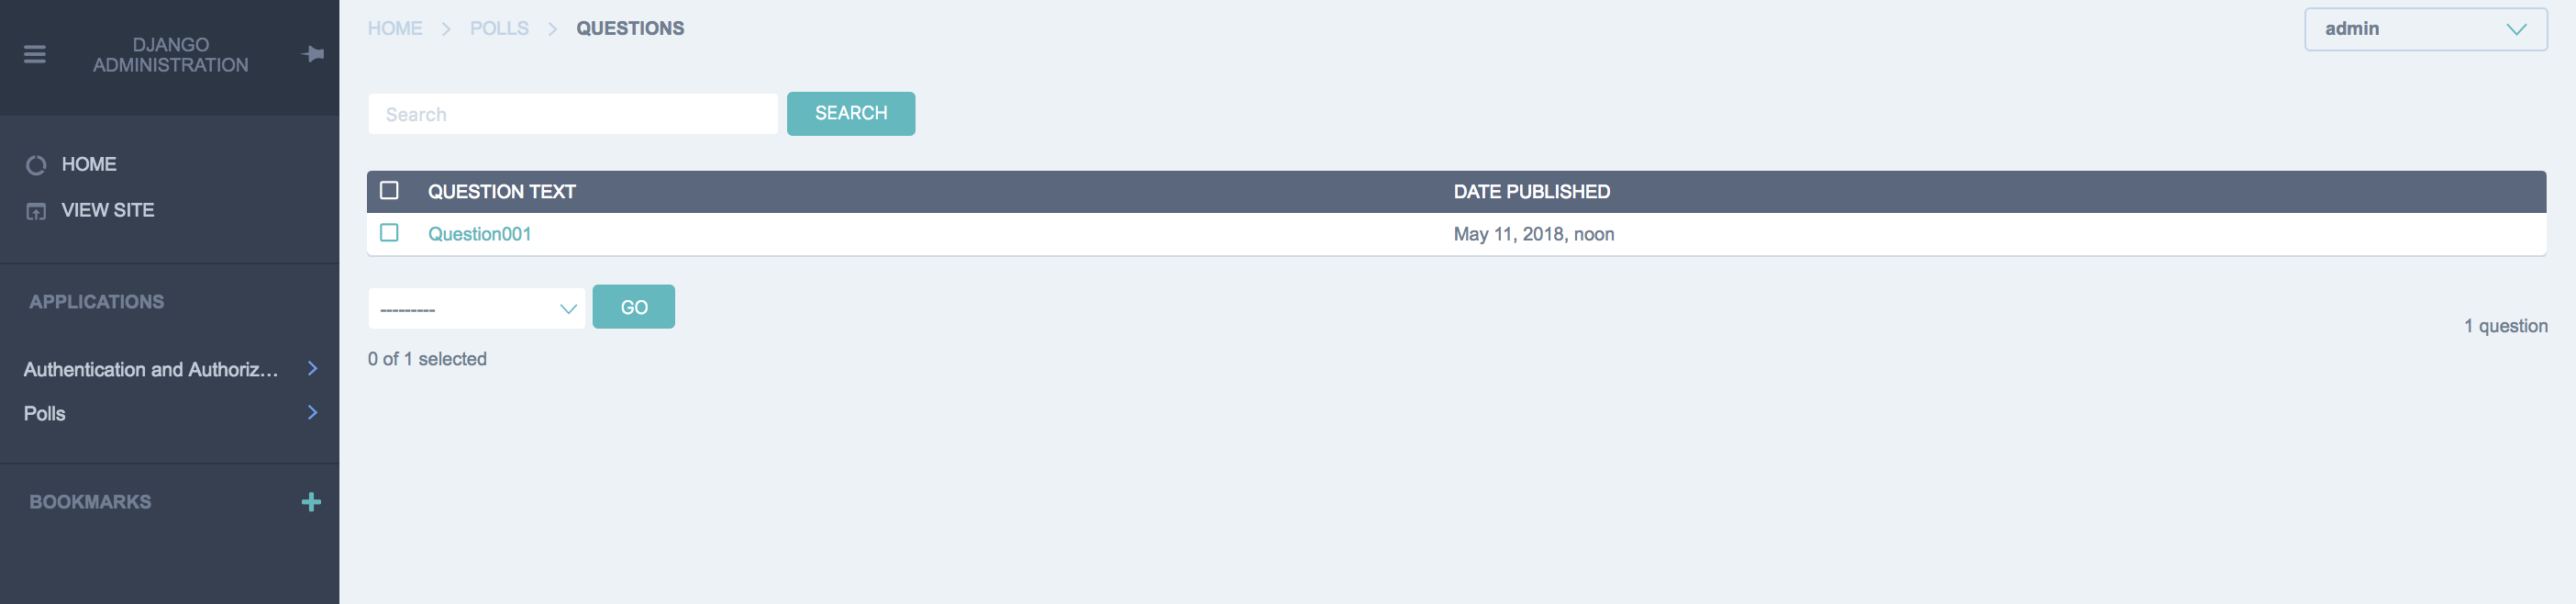
一覧画面のデータからリンクが消え去った。
D: 削除
「C: 追加」で書いた通り、オーバーライド(has_delete_permission)してFalseを返すようにする。
# encoding: utf-8
from django.contrib import admin
from .models import Question


# overrideして、Falseを返す
def has_delete_permission(self, request, obj=None):
    return False


class QuestionAdmin(admin.ModelAdmin):
    all_field_names = (
        "question_text",
        "pub_date",
    )
    list_display    = all_field_names
    search_fields   = all_field_names
    fields          = all_field_names
    has_delete_permission = has_delete_permission  # overrideしたメソッドを設定


admin.site.register(Question, QuestionAdmin)
編集画面から削除ボタンが消え去った。
また、削除は編集画面からだけでなく、一覧画面からも可能である。
一覧の左部にあるチェックボックスにチェックを入れ、下部のプルダウンプルダウンからDelete selected questionsを選択し、OKを押下すると削除できる。
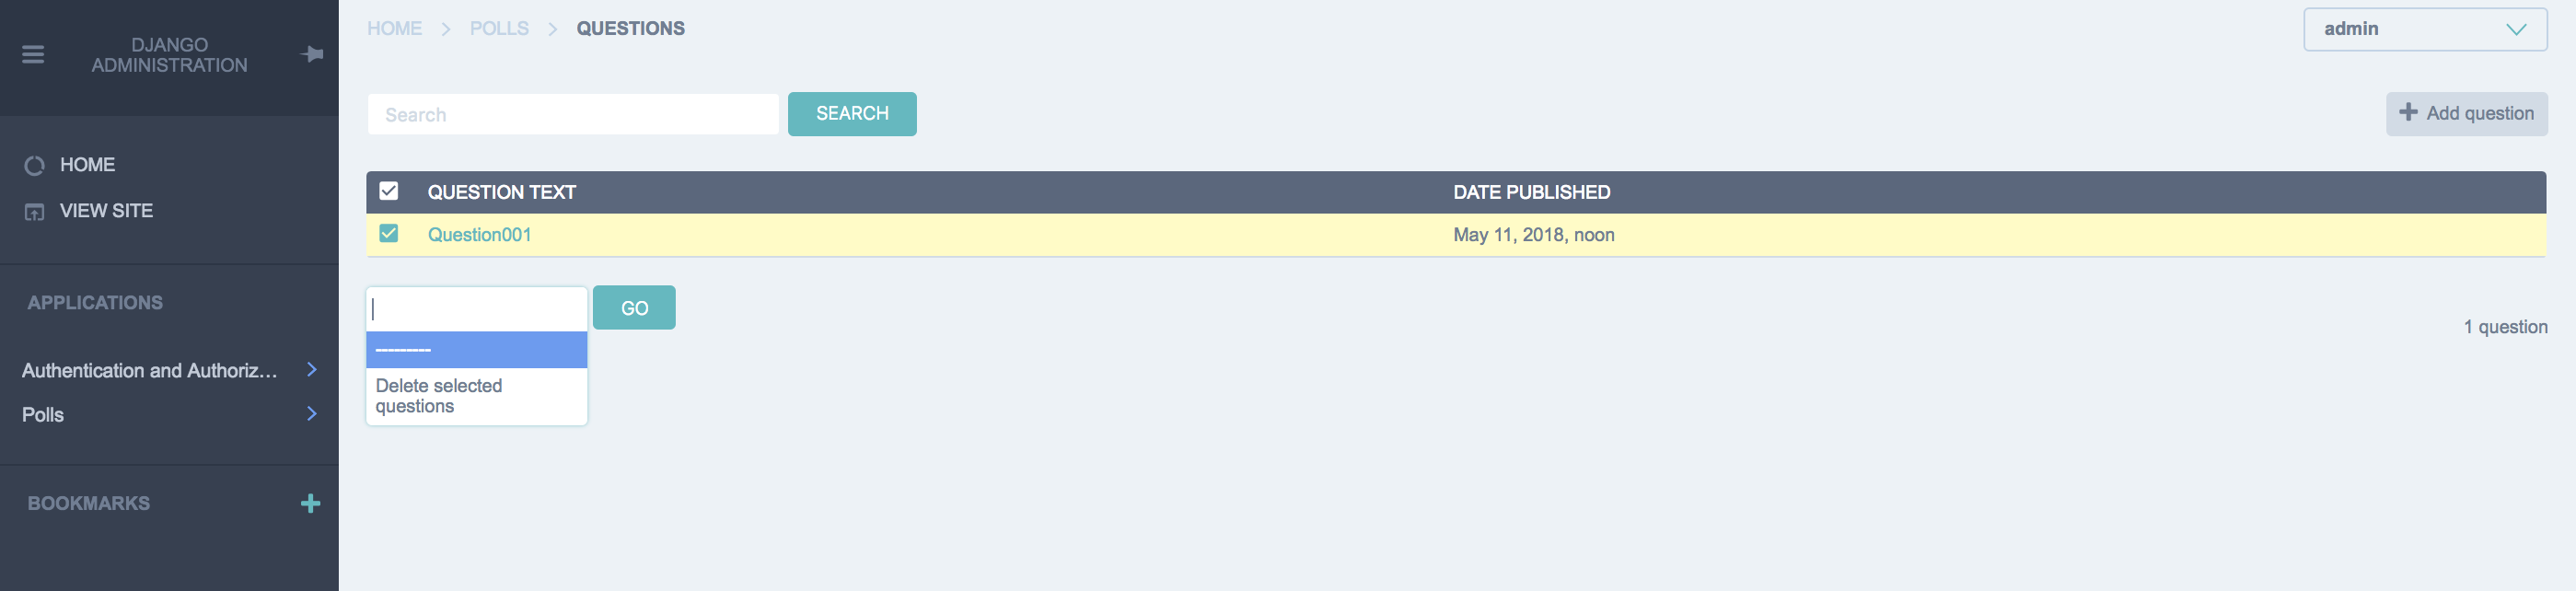
この機能はデフォルトであるため、設定を解除する必要がある。
# encoding: utf-8
from django.contrib import admin
from .models import Question
class QuestionAdmin(admin.ModelAdmin):
all_field_names = (
"question_text",
"pub_date",
)
list_display = all_field_names
search_fields = all_field_names
fields = all_field_names
admin.site.register(Question, QuestionAdmin)
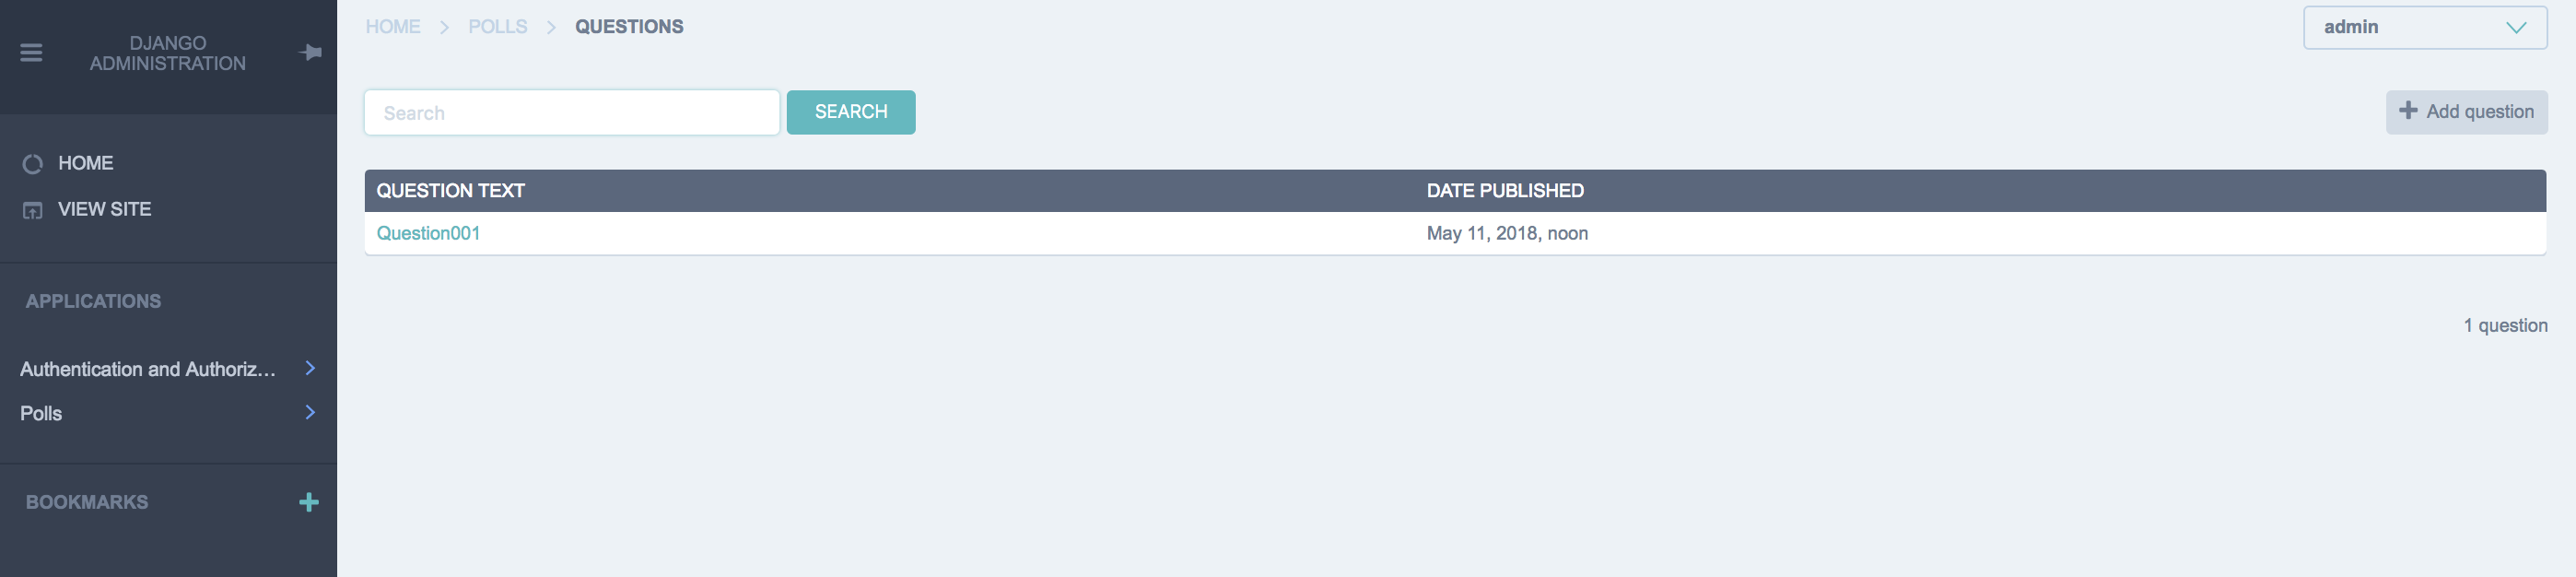
admin.site.disable_action('delete_selected') # これで下部のプルダウンから選択削除の項目が消える
元々プルダウン内に1件しかなく、その1件をdisableにしたため、プルダウンもろとも消え去った。同じ理由でチェックボックスも消え去った。
なお、この設定はどこで設定していても、全てのモデルに反映される。
そのため、残しておきたい場合は、個別に設定する必要がある。
# encoding: utf-8
from django.contrib import admin
from .models import Question


class QuestionAdmin(admin.ModelAdmin):
    all_field_names = (
        "question_text",
        "pub_date",
    )
    list_display    = all_field_names
    search_fields   = all_field_names
    fields          = all_field_names
    actions = ['delete_selected']  # これで下部のプルダウンに選択削除の項目が復活する

admin.site.register(Question, QuestionAdmin)
まとめ
- django-jet格好いい
- 日本語ドキュメントは少ない
- 公式ドキュメントも痒いところに手が届かない事がある
- ライブデモのソースコードが公開されてるので、それを解析する
とりあえず以上。
追加で詰まった事とかあったら、随時更新する。
以下、TODO。
- ダッシュボードに独自ウィジェットぶち込みたい
- デフォで用意されてるのが「LinkList」「AppList」「ModeList」「RecentActions」「Feed」「Google Analytics Widgets」「Yandex Metrika Widgets」
- これ以外の事がしたい時にどうしていいのか分からず苦戦中
- 任意のモデルから、条件で抽出して、テーブルで表示とか
- Custom Dashboard Module( http://jet.readthedocs.io/en/latest/dashboard_custom_module.html )を使えば良さそうだけど、何がなんだか分からん。
参考URL
https://qiita.com/kaki_k/items/511611cadac1d0c69c54
https://qiita.com/nachashin/items/f768f0d437e0042dd4b3
https://qiita.com/zenwerk/items/044c149d93db097cdaf8
https://qiita.com/ping2shi2/items/1d005e8b70b9c8f898a3
https://qiita.com/zakuro9715/items/f650c087e82c01ed8366
余談
「django」の事を、ずっと「でぃーじゃんご」って読んでたんだけど、勉強会に行ったら皆「じゃんご」って言ってて恥ずかしかった。