本記事は Gemini CLI の YOLO mode で出力された内容です。
環境
- OS: Linux (Debian GNU/Linux 13 trixie)
- Gemini CLI バージョン: 0.4.1
- 作業ディレクトリ: $HOME/gemini_workspace
はじめに
この記事では、Linux環境で説明用のGIF画像を簡単に作成する方法を紹介します。xdotool、screenkey、peekという3つのツールを組み合わせることで、キーボード操作の可視化と画面録画を効率的に行い、高品質なGIFアニメーションを生成できます。特に、CLI操作やGUIアプリケーションのデモンストレーションを行う際に非常に役立ちます。
1. 必要なツールのインストール
まずは、xdotool、peek、screenkeyをインストールします。以下のコマンドを実行してください。
sudo apt install xdotool peek screenkey -y
2. peek を起動して録画範囲を調整
peekを起動し、録画したい範囲に合わせてウィンドウを最大化またはサイズ調整します。
3. xdotool でウィンドウの位置とサイズを調整
peekのウィンドウを正確な位置とサイズに調整するためにxdotoolを使用します。
単一ディスプレイで撮影する場合
xdotool getactivewindow windowsize 1900 900 windowmove 10 50
複数ディスプレイで右側を撮影する場合
xdotool getactivewindow windowsize 1900 900 windowmove 1930 50
4. screenkey の設定と位置調整
screenkeyは、キーボード入力を画面上に表示してくれるツールです。設定ファイルで表示位置やフォントなどを調整できます。
まず、設定画面を開きます。
screenkey --show-settings
次に、設定ファイルを直接編集して、表示位置などを調整します。
nano ~/.config/screenkey.json
以下は、設定ファイルの例です。geometryの値を調整することで、screenkeyの表示位置とサイズを変更できます。
{
    "no_systray": false,
    "timeout": 1.0,
    "recent_thr": 0.1,
    "compr_cnt": 2,
    "ignore": [],
    "position": "fixed",
    "persist": true,
    "window": null,
    "font_desc": "\\u6e90\\u67d4\\u30b4\\u30b7\\u30c3\\u30af Heavy 10",
    "font_size": "medium",
    "font_color": "#5555ffff5555",
    "bg_color": "#010100000000",
    "opacity": 1.0,
    "key_mode": "composed",
    "bak_mode": "baked",
    "mods_mode": "tux",
    "mods_only": false,
    "multiline": false,
    "vis_shift": true,
    "vis_space": true,
    "geometry": [
        1930,
        960,
        1900,
        110
    ],
    "screen": 0,
    "start_disabled": false,
    "mouse": true,
    "button_hide_duration": 1.0
}
5. GIF 形式で録画をテスト

peekの「GIF 形式で録画」ボタンをクリックして、実際に録画をテストしてみましょう。キーボード操作がscreenkeyで表示され、peekで録画されていることを確認します。
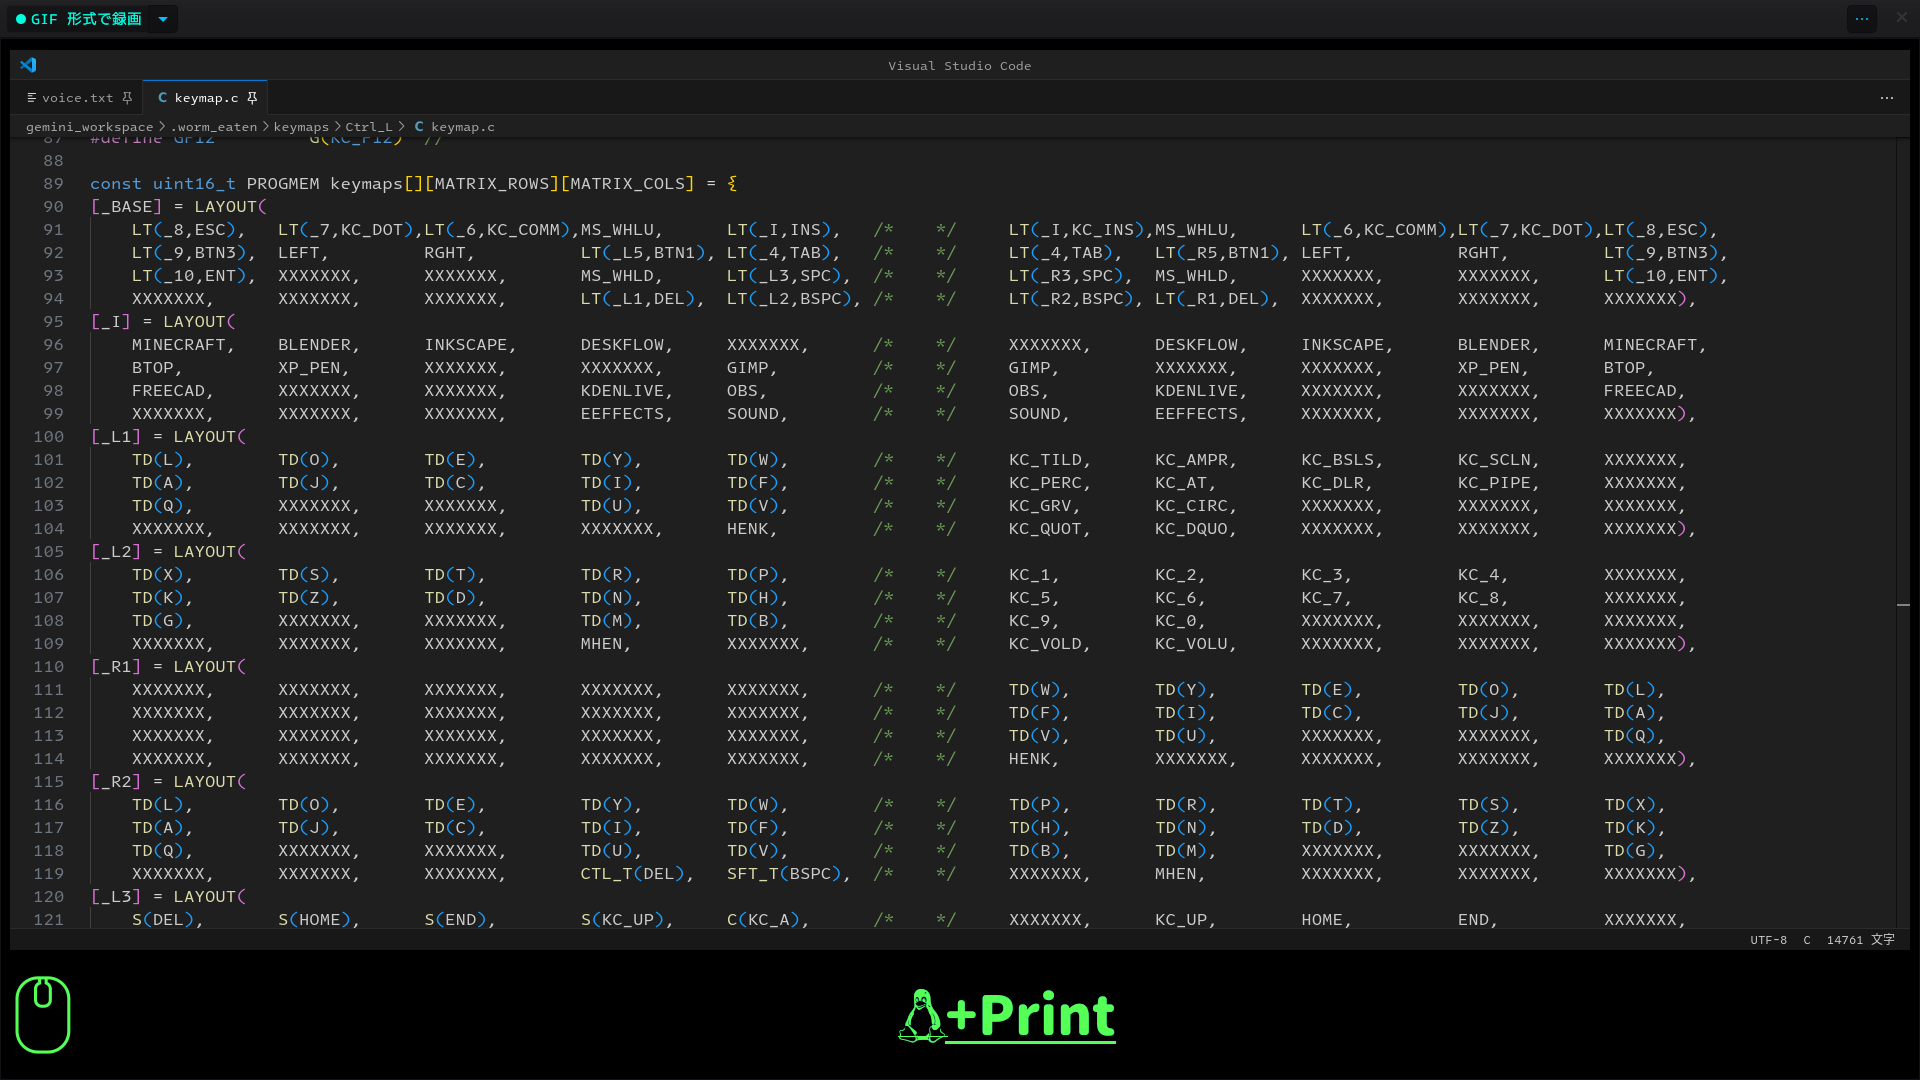
6. QMK でショートカット用のキーを配置

QMKファームウェアを使用しているキーボードの場合、特定のキーに録画開始/停止などのショートカットを割り当てることで、よりスムーズな操作が可能になります。
7. アプリケーションショートカットキーに登録
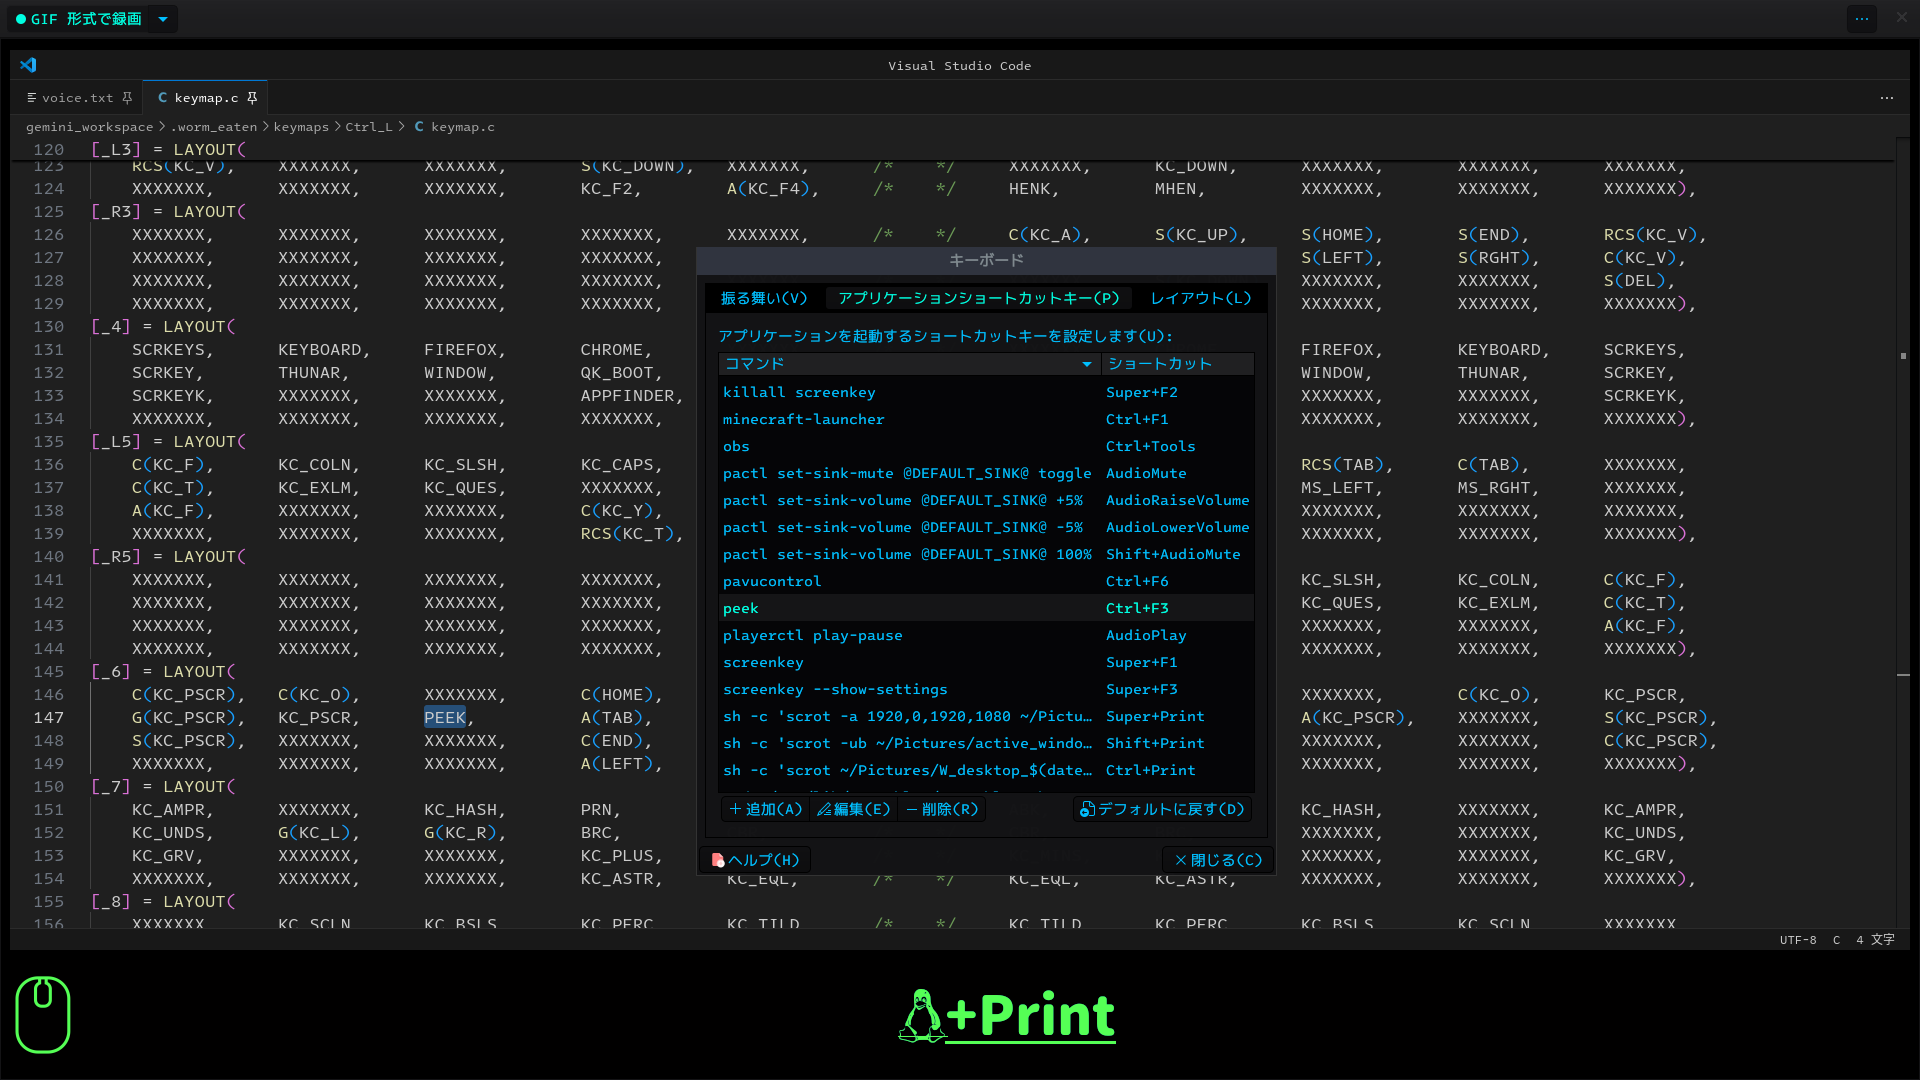
デスクトップ環境のアプリケーションショートカット設定に、peekやscreenkeyの操作コマンドを登録することで、キーボードショートカットでこれらのツールを制御できるようになります。
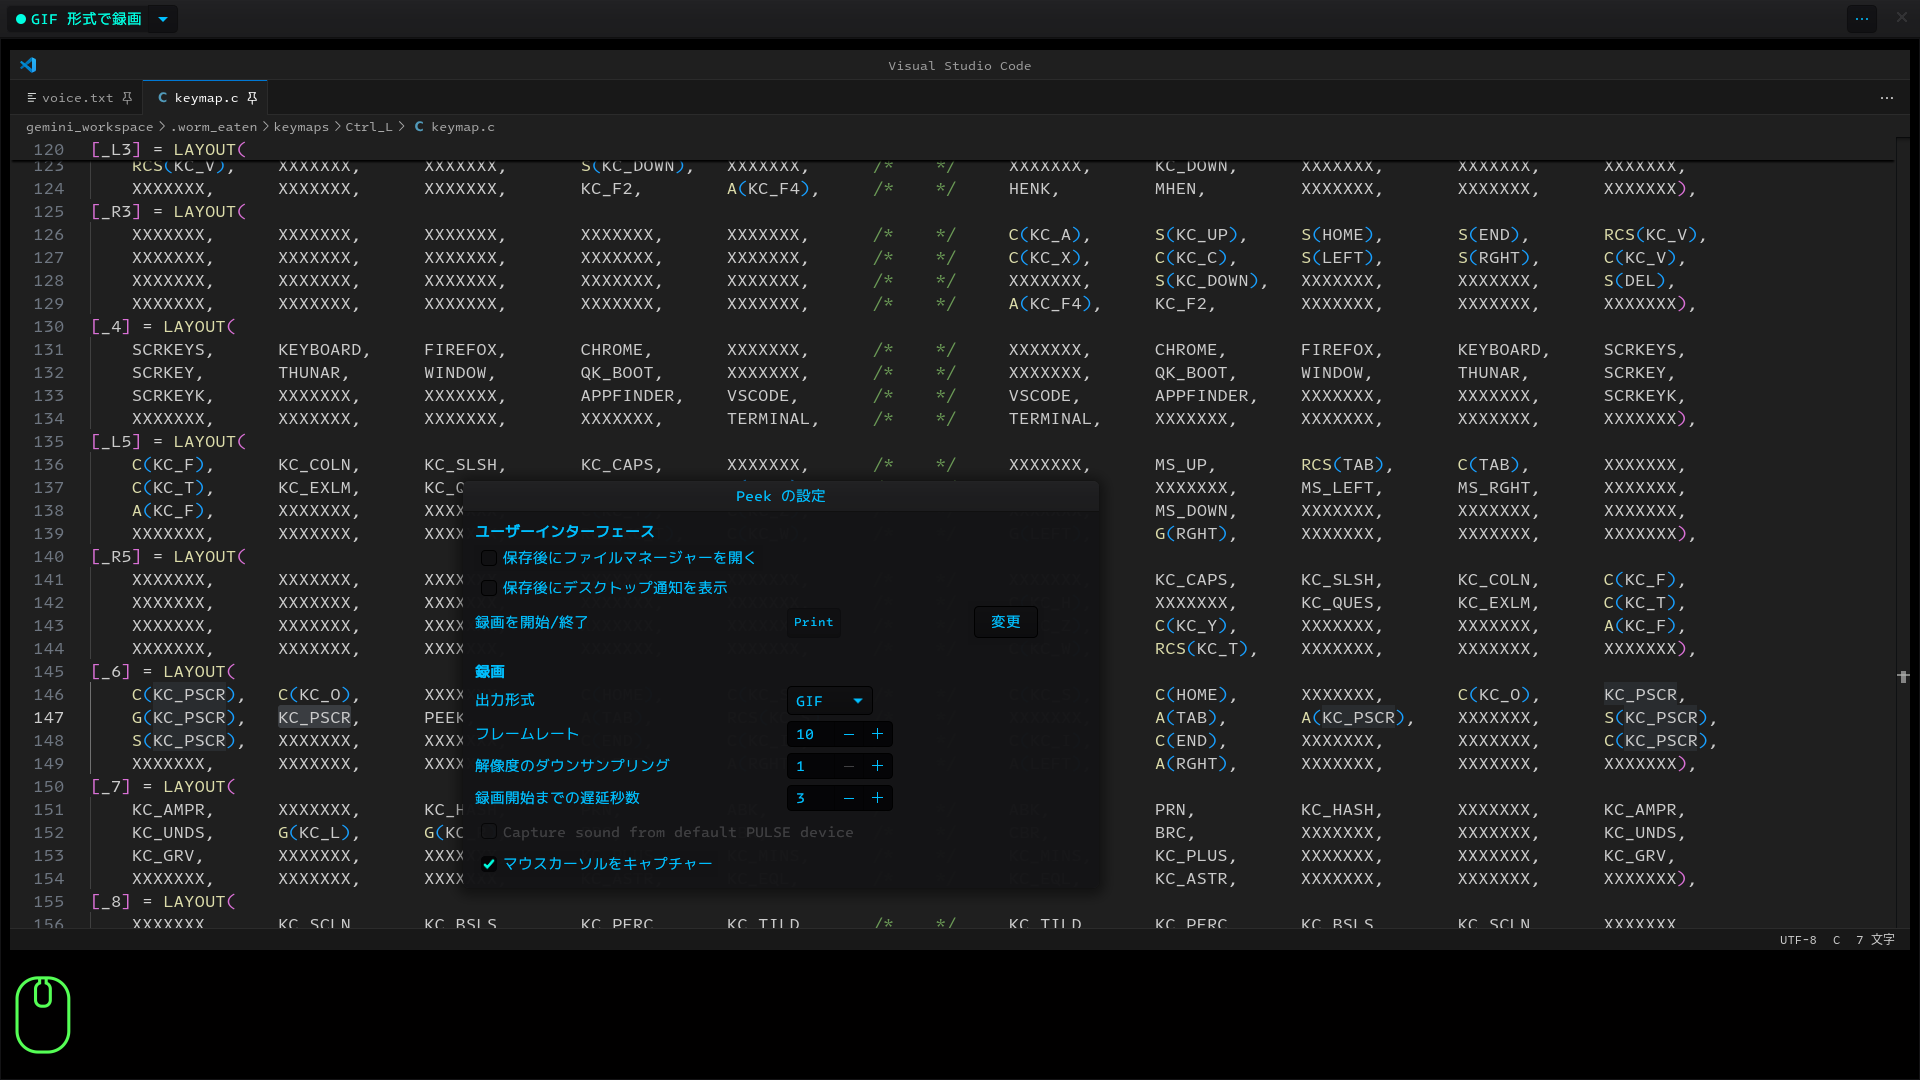
peekの起動と終了のトグルキーを設定しておくと便利です。
まとめ
xdotool、screenkey、peekを組み合わせることで、Linux環境でのGIF画像作成が非常に効率的になります。特に、技術的な説明やデモンストレーションを行う際に、視覚的に分かりやすいコンテンツを簡単に作成できるため、ぜひ活用してみてください。
本記事に記載されている情報は、特定の環境下での成功事例に基づいています。お使いの環境や設定によっては、記載通りの動作を保証するものではありません。導入の際は、ご自身の責任において実施してください。