この記事は、「【連載】初めてのWindows用Laravel 5.7開発環境構築入門」の孫記事です。環境などの条件は、親記事をご覧ください。
この記事は、「XAMPPで動くLaravelのサンプルアプリを作成する 2018年12月版」の子記事です。
今回は、これまで作った環境上にCRUDアプリを作成します。
データベースは前回の記事で作成しているので、そこにあるusersテーブルのレコード一覧と詳細閲覧画面を作ります。つまり、CRUDといってもR(=読み込み)だけ作ります。
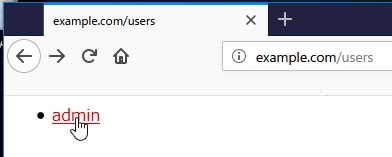
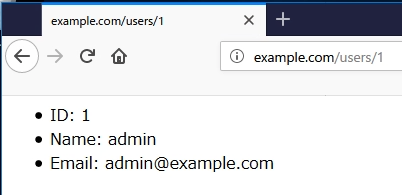
作成するページは以下の2つです。
コントローラを作る
まずコントローラを作ります。
※コントローラって何?という方は、とりあえず「そーなんだーふーん」で進んで、あとでMVCの勉強をされるとよいかと。
コントローラの雛形は、artisanで作れます。Visual Studio Codeでlaravelexampleプロジェクトを開いたら、Ctrl + @でターミナルを開き、次のコマンドを実行します。
php artisan make:controller UserController --resource
作られたコントローラは、app\Http\Controllersに配置されます。
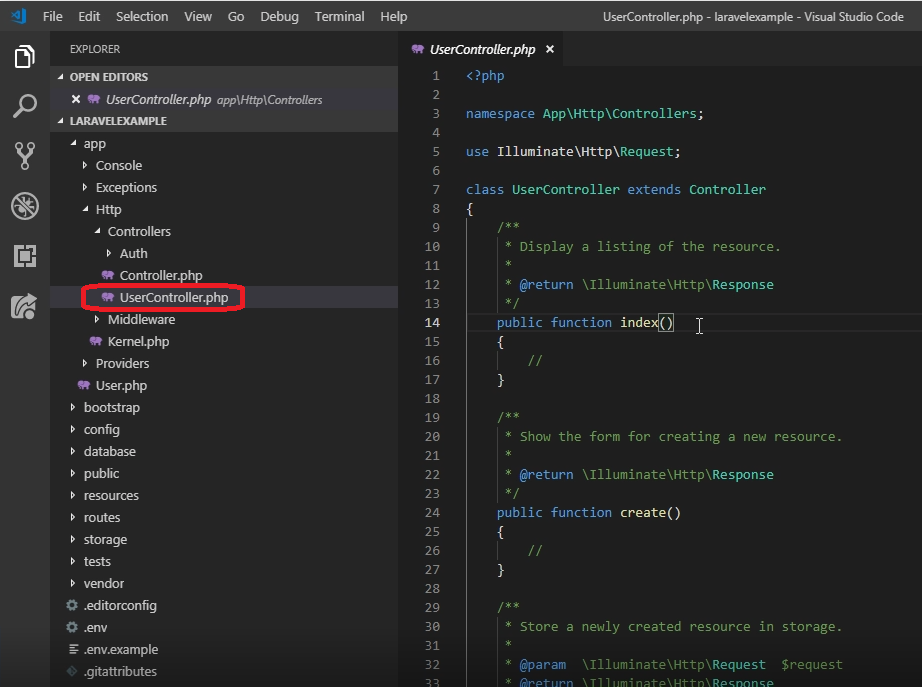
中にあるindex()やcreate()が、アクションです。
取り急ぎ、http://example.com/usersに対応するべく、index()だけ作りましょう。
app\Http\Controllers\UserController.php の冒頭に、Userモデルを使うことを明示しておきます。
use App\User;
index()には、ユーザーを一覧すべく、データベースから全ユーザーを読み込んでビューに渡すコードを書きます。
    public function index()
    {
        //
        $users = User::all();
        return view('users.index', ['users' => $users]);
    }
ここで、ビューの名称はusers.indexとしました。あとでこのBladeを作る必要があります。
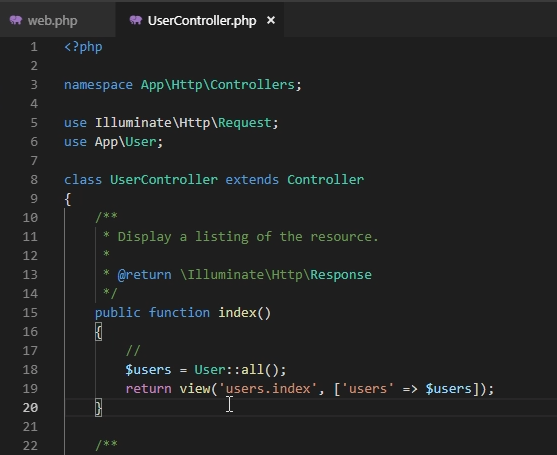
こんな感じになります。
ビュー(Blade)を作る
LaravelのビューはBladeで記述します。置き場所はresources\viewsです。
resources\viewsのフォルダを右クリックし、New Folderでusersフォルダを作成します。
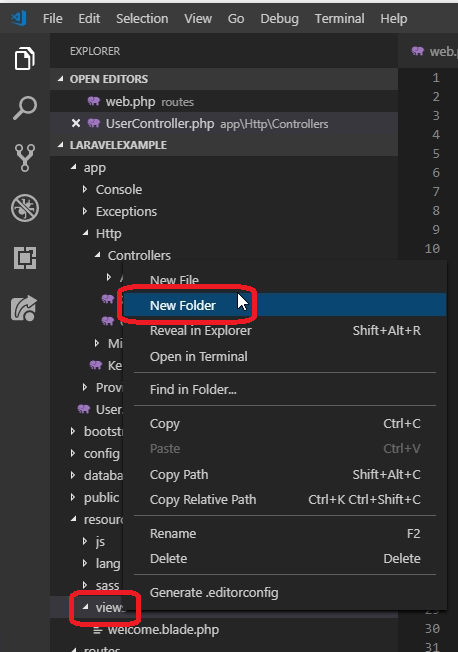

続けて作ったusersフォルダを右クリック、New Fileでindex.blade.phpを作ります。
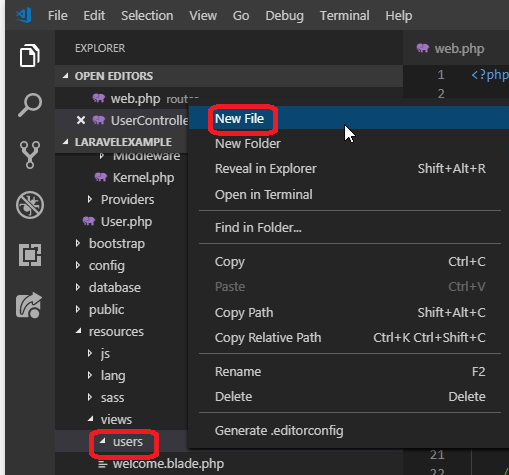

index.blade.php に以下を記述します。(手抜きコードなので本番では真似しないように。。。)
<ul>
    @foreach ($users as $user)
        <li><a href="{{ url('users/'.$user->id) }}">{{ $user->name }}</a></li>
    @endforeach
</ul>
ここで大事なのは、コントローラで記述した['users' => $users]によって、Blade側でforeachしながらユーザーオブジェクトを取り扱っていることです。
ルートを作る
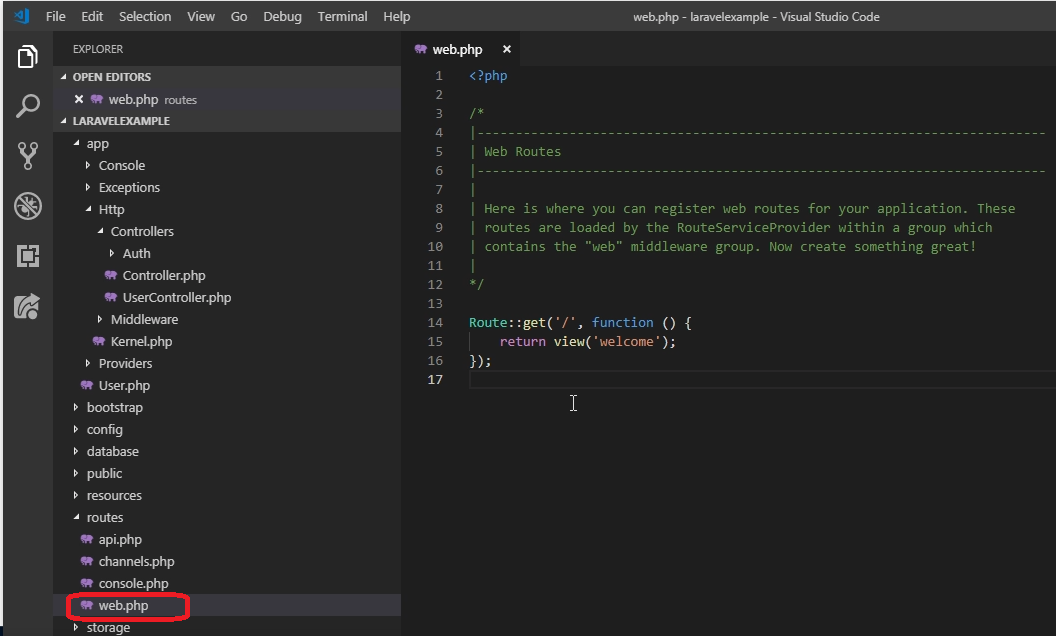
LaravelがUserControllerのindexやcreateアクションにルーティングする(http://example.com/users を、UserControllerコントローラのindex関数につなぐ)ためには、ルートの設定が必要です。ルーティングは、routes\web.phpに設定します。
この末尾に、以下を追加します。
Route::resource('users', 'UserController');
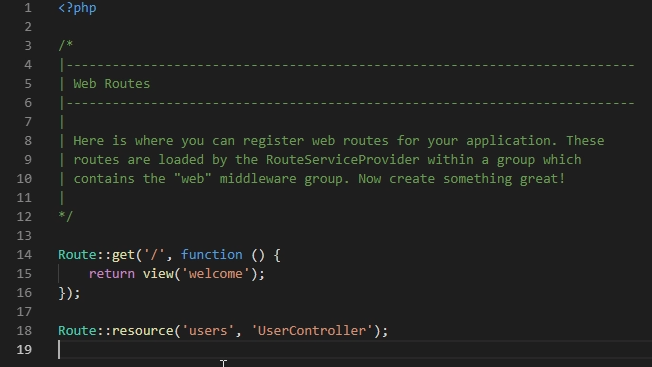
以下のようになります。
保存を忘れないように。
動作テストする
XAMPPでApacheとMySQL(実はMariaDB)が起動していることを確認し、ブラウザを開けて http://example.com/users にアクセスしてみます。
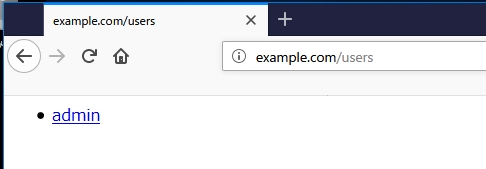
ちゃんと動作しました。
詳細表示画面を作る
次に、http://example.com/users/[id] の画面を作ります。[id]には、ユーザーIDが入ります。
まずusersコントローラのshow()に、以下のように記述します。
    public function show(User $user)
    {
        //
        return view('users.show', ['user' => $user]);
    }
ここで大事なのは、引数にUserオブジェクトを指定している箇所です。本当ならIDがアクションパラメータとして入ってくるはずですが、「モデル結合ルート」を利用することで、直接モデルをパラメータとして受け取っています。このため、コントローラではユーザーレコードをデータベースから読み込んでくる処理を書かなくてすみます。
show.blade.php を作って、以下のコードを書き込みます。
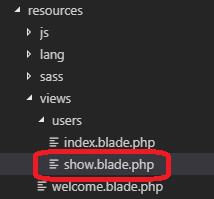
<ul>
    <li>ID: {{ $user->id }}</li>
    <li>Name: {{ $user->name }}</li>
    <li>Email: {{ $user->email }}</li>
</ul>
保存を確認したら、先程のブラウザに戻って、adminをクリックしてみましょう。
うまく動作しましたね。
これで、とても簡単ですがLaravelのCRUDアプリが動作しました。

