SpriteKitとは
Appleが提供している2Dのゲームを作るためのフレームワーク。
SpriteKitは、形状、パーティクル、テキスト、画像、ビデオを2次元で描画するための汎用フレームワーク。
SpriteKitを使ってみよう!
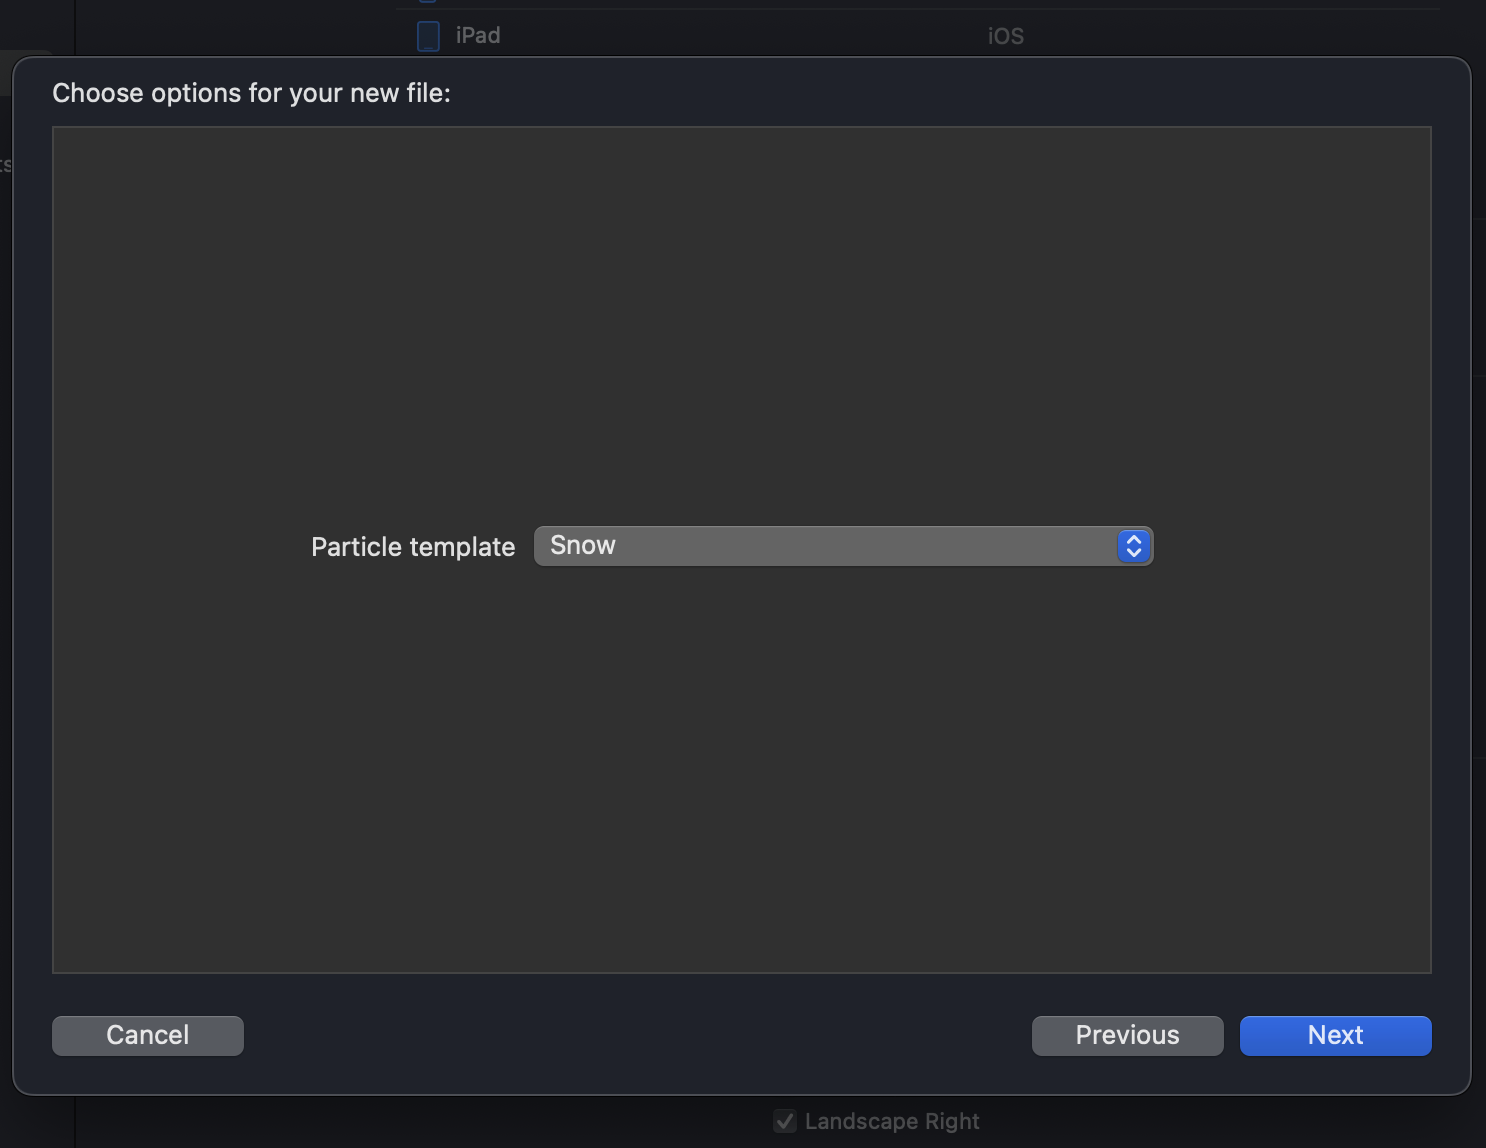
下記の画像のように雪を降らせてみます!
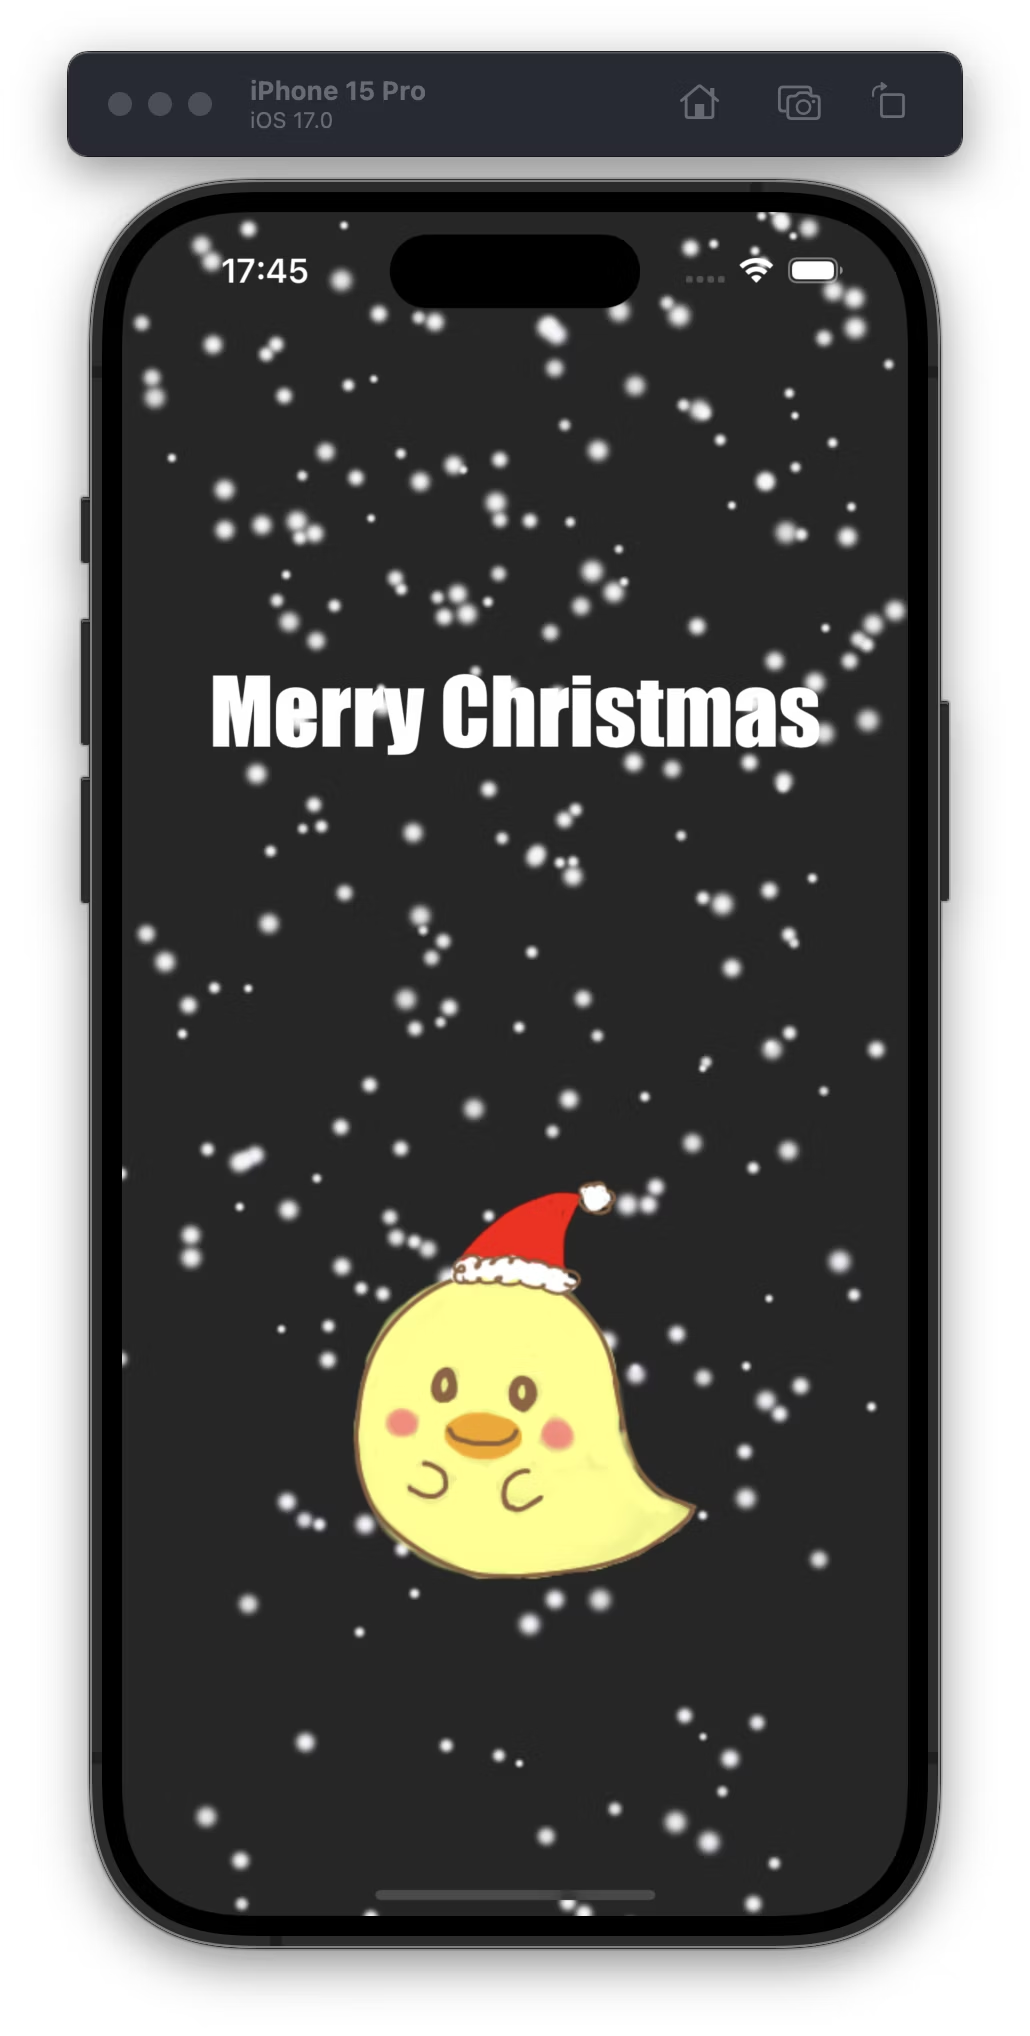
今回はUIKitのプロジェクトにSpriteKit Practice Fileを追加します!
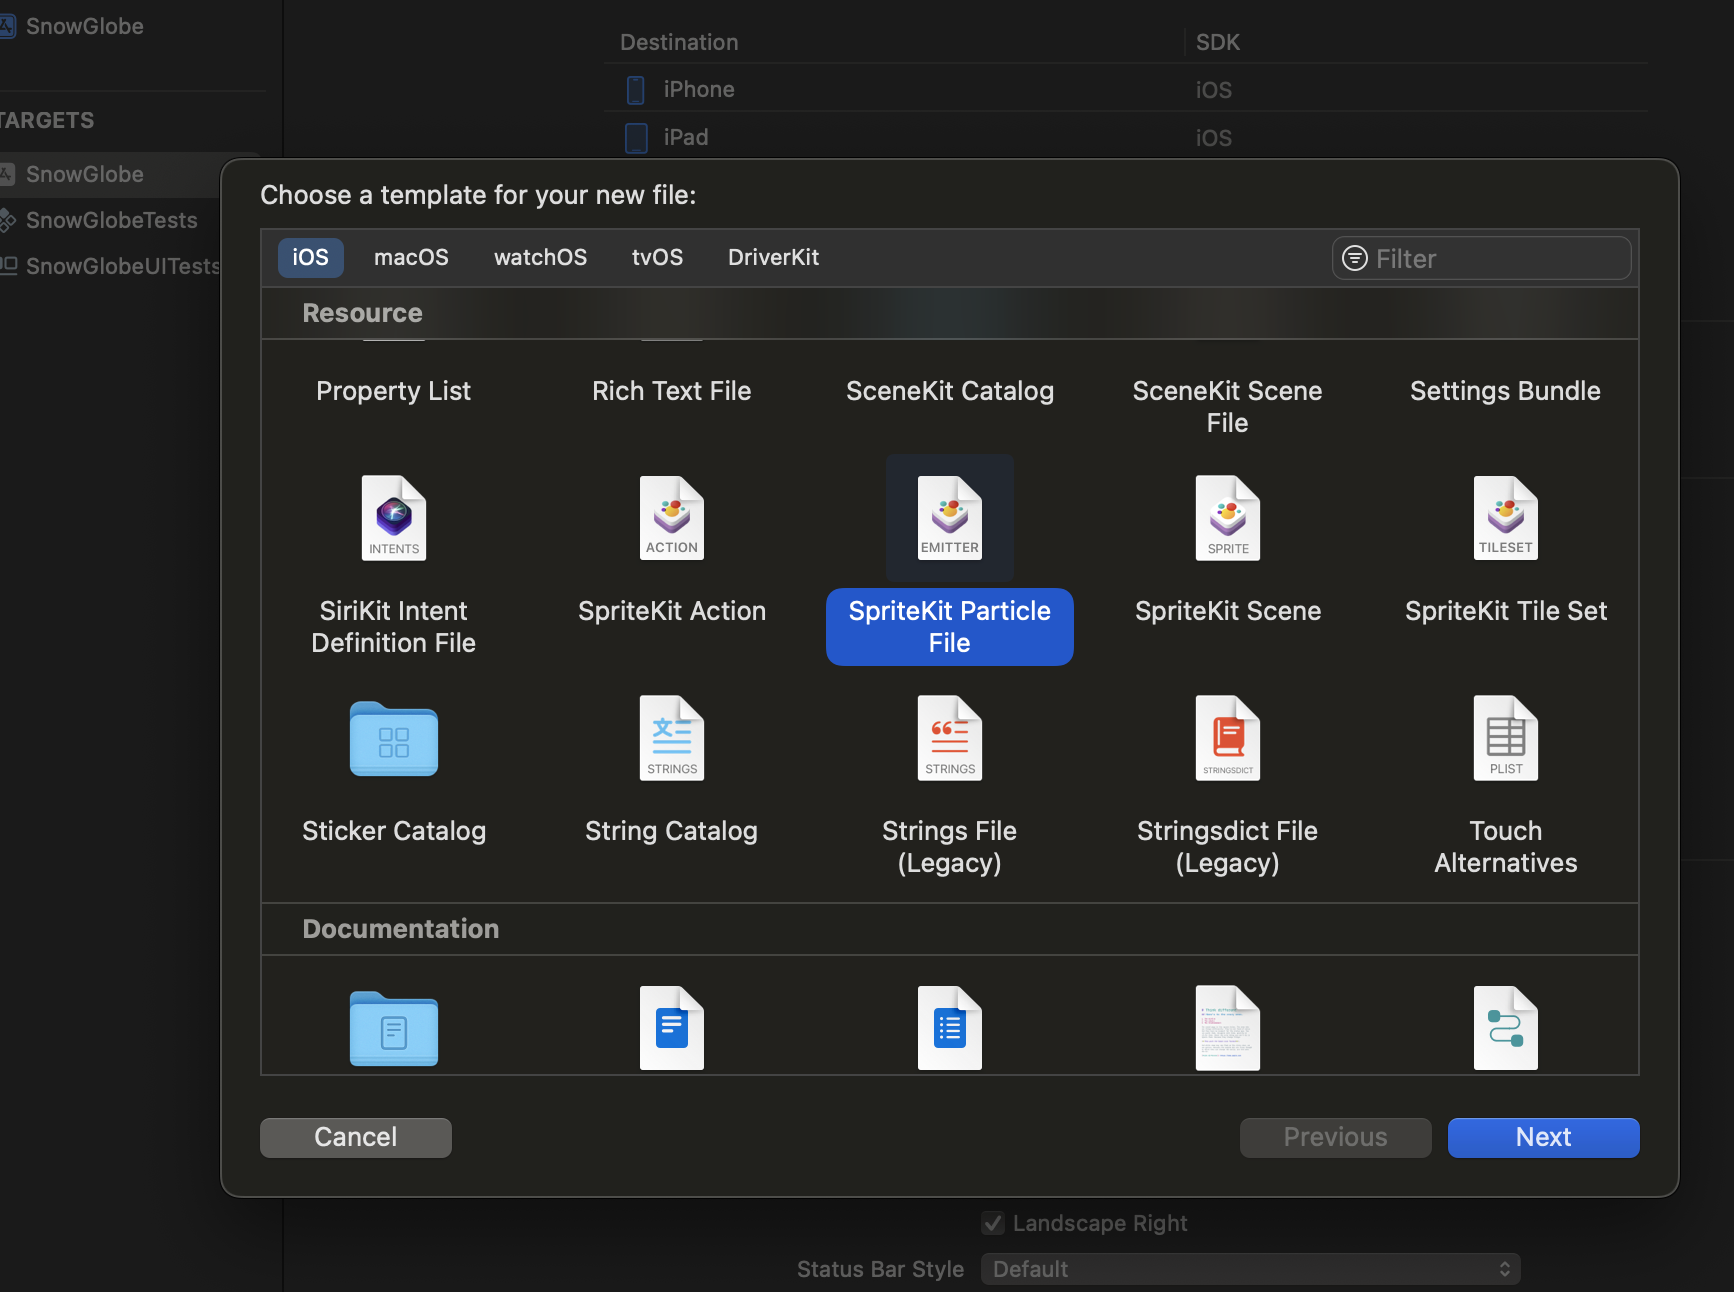
下記のような新しいファイルが作成されます!
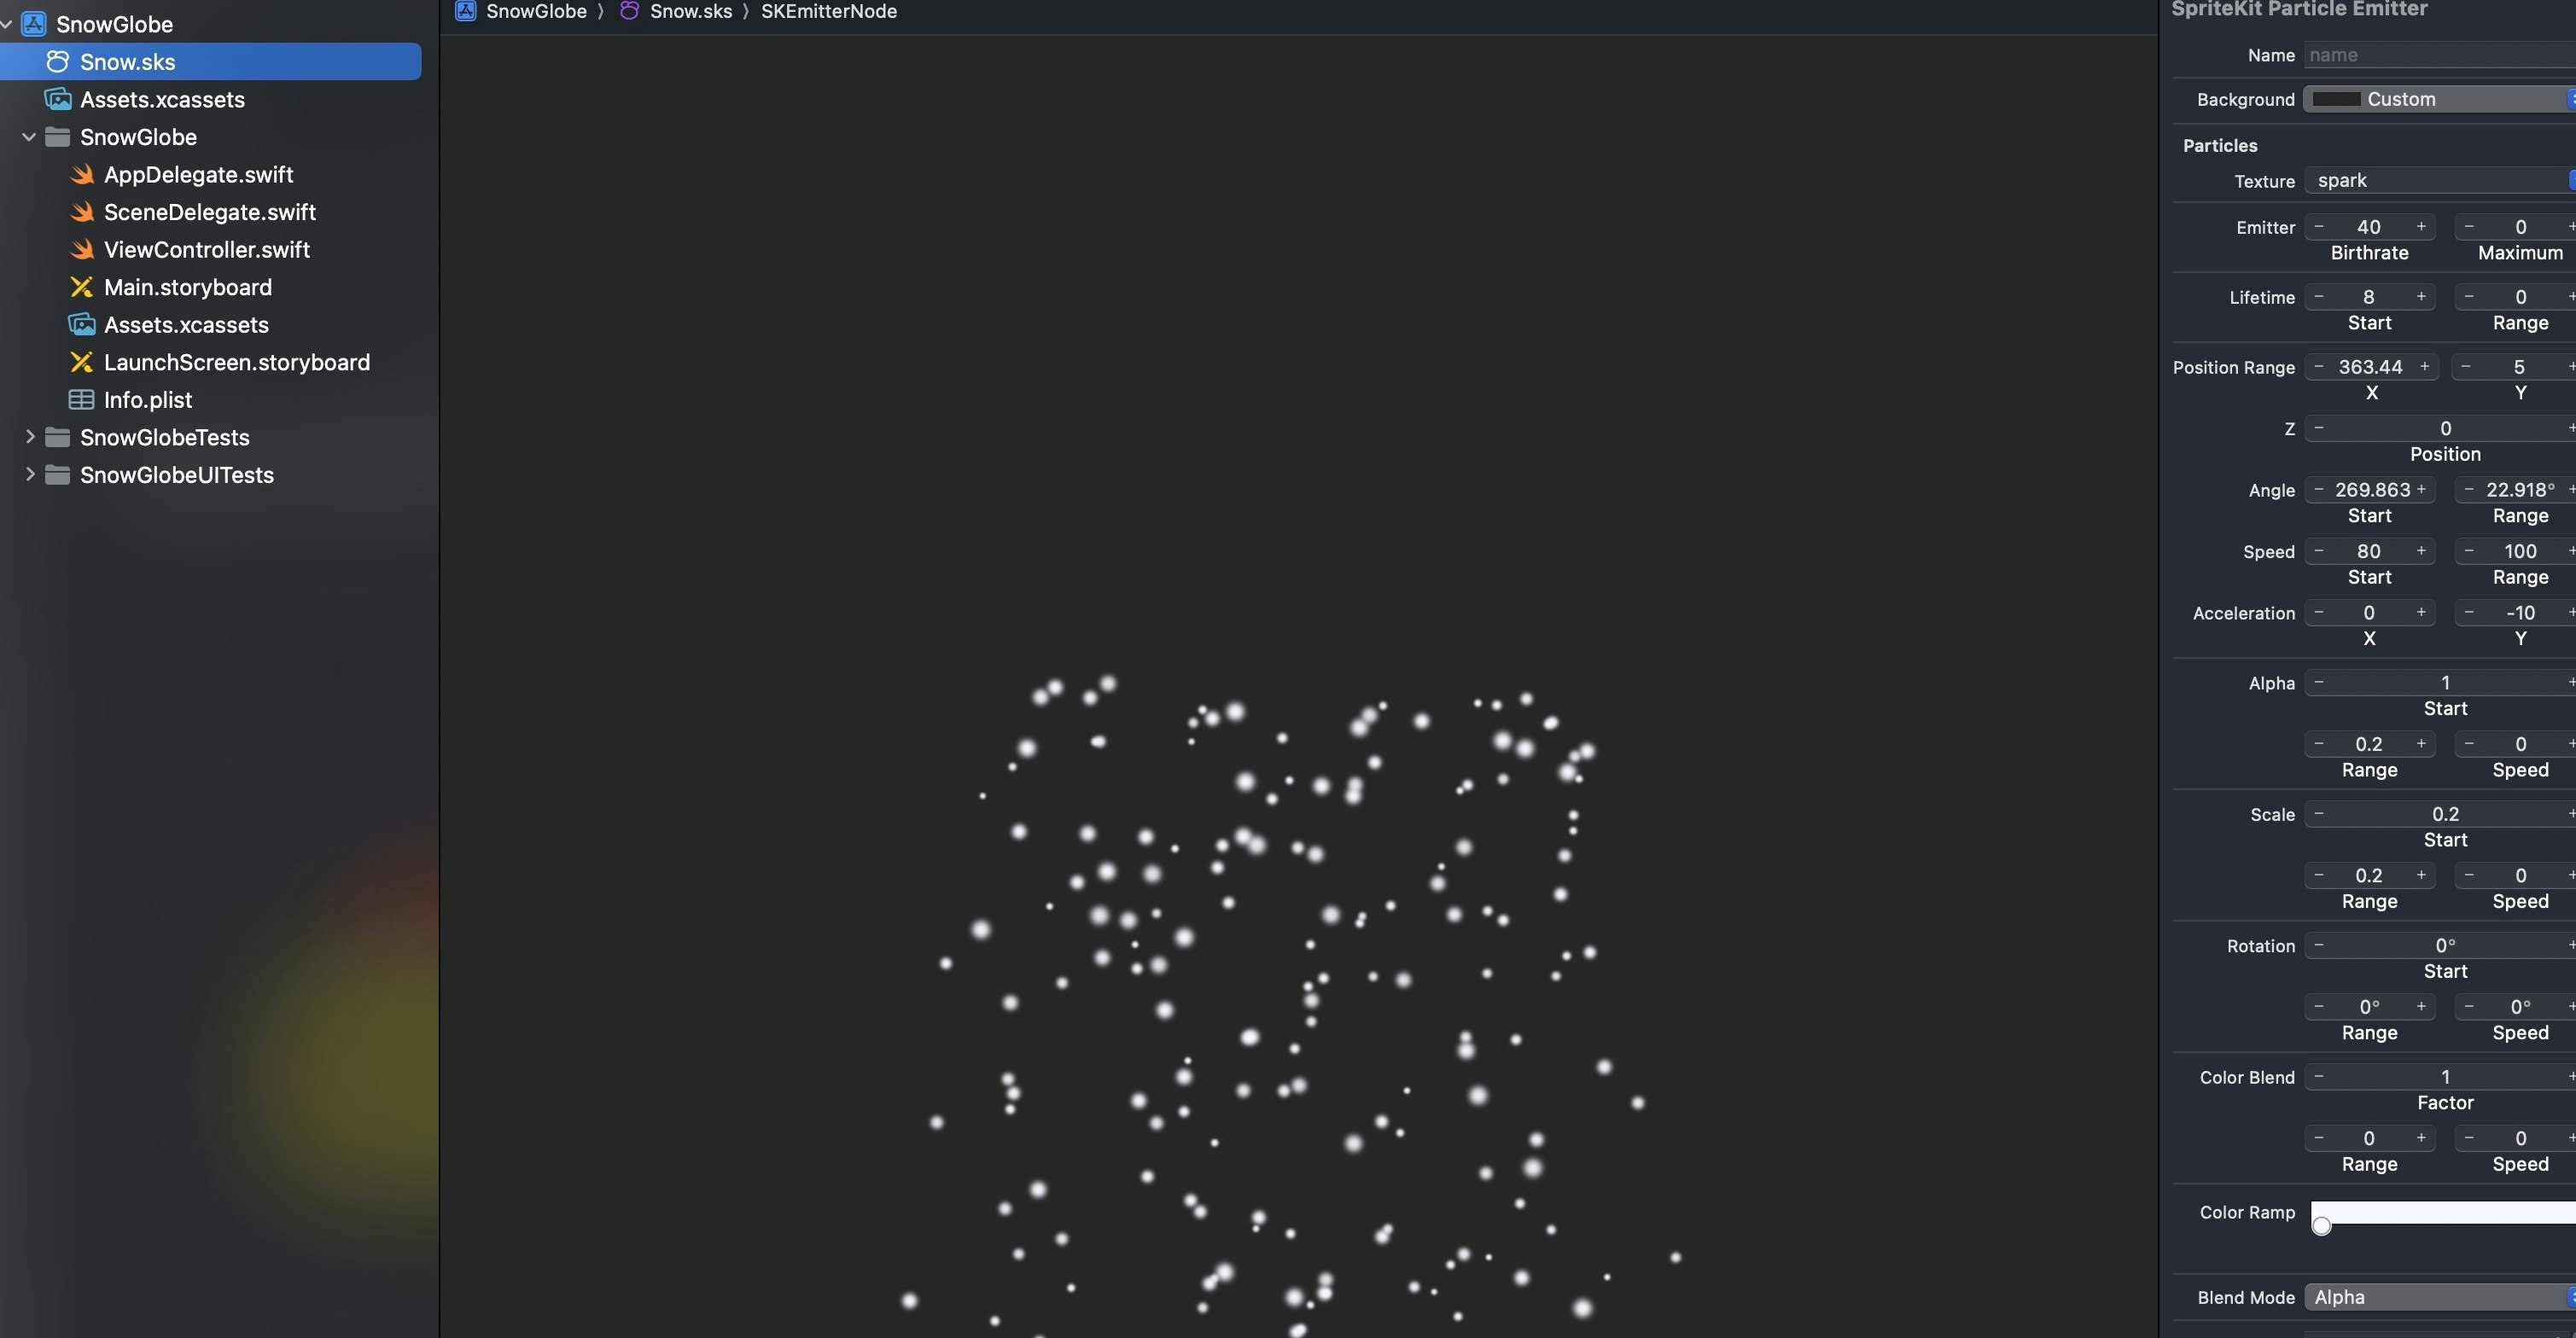
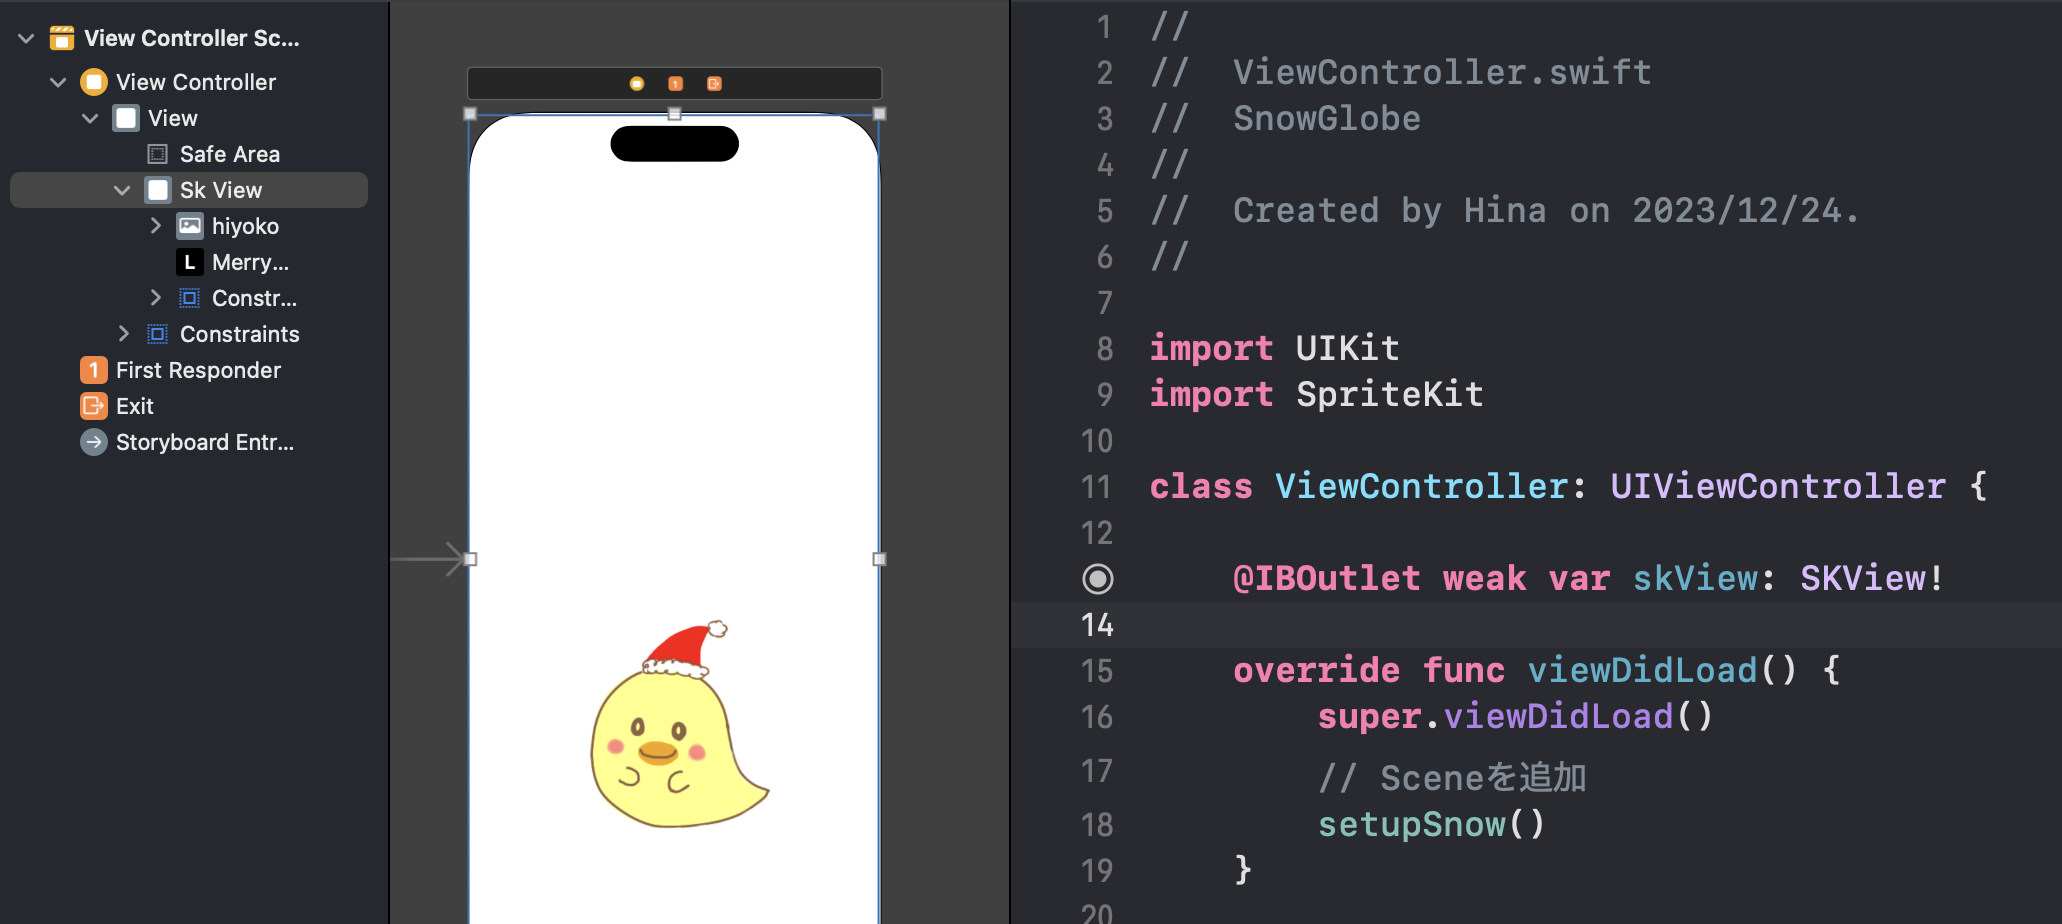
IBOutletでskViewを接続します!
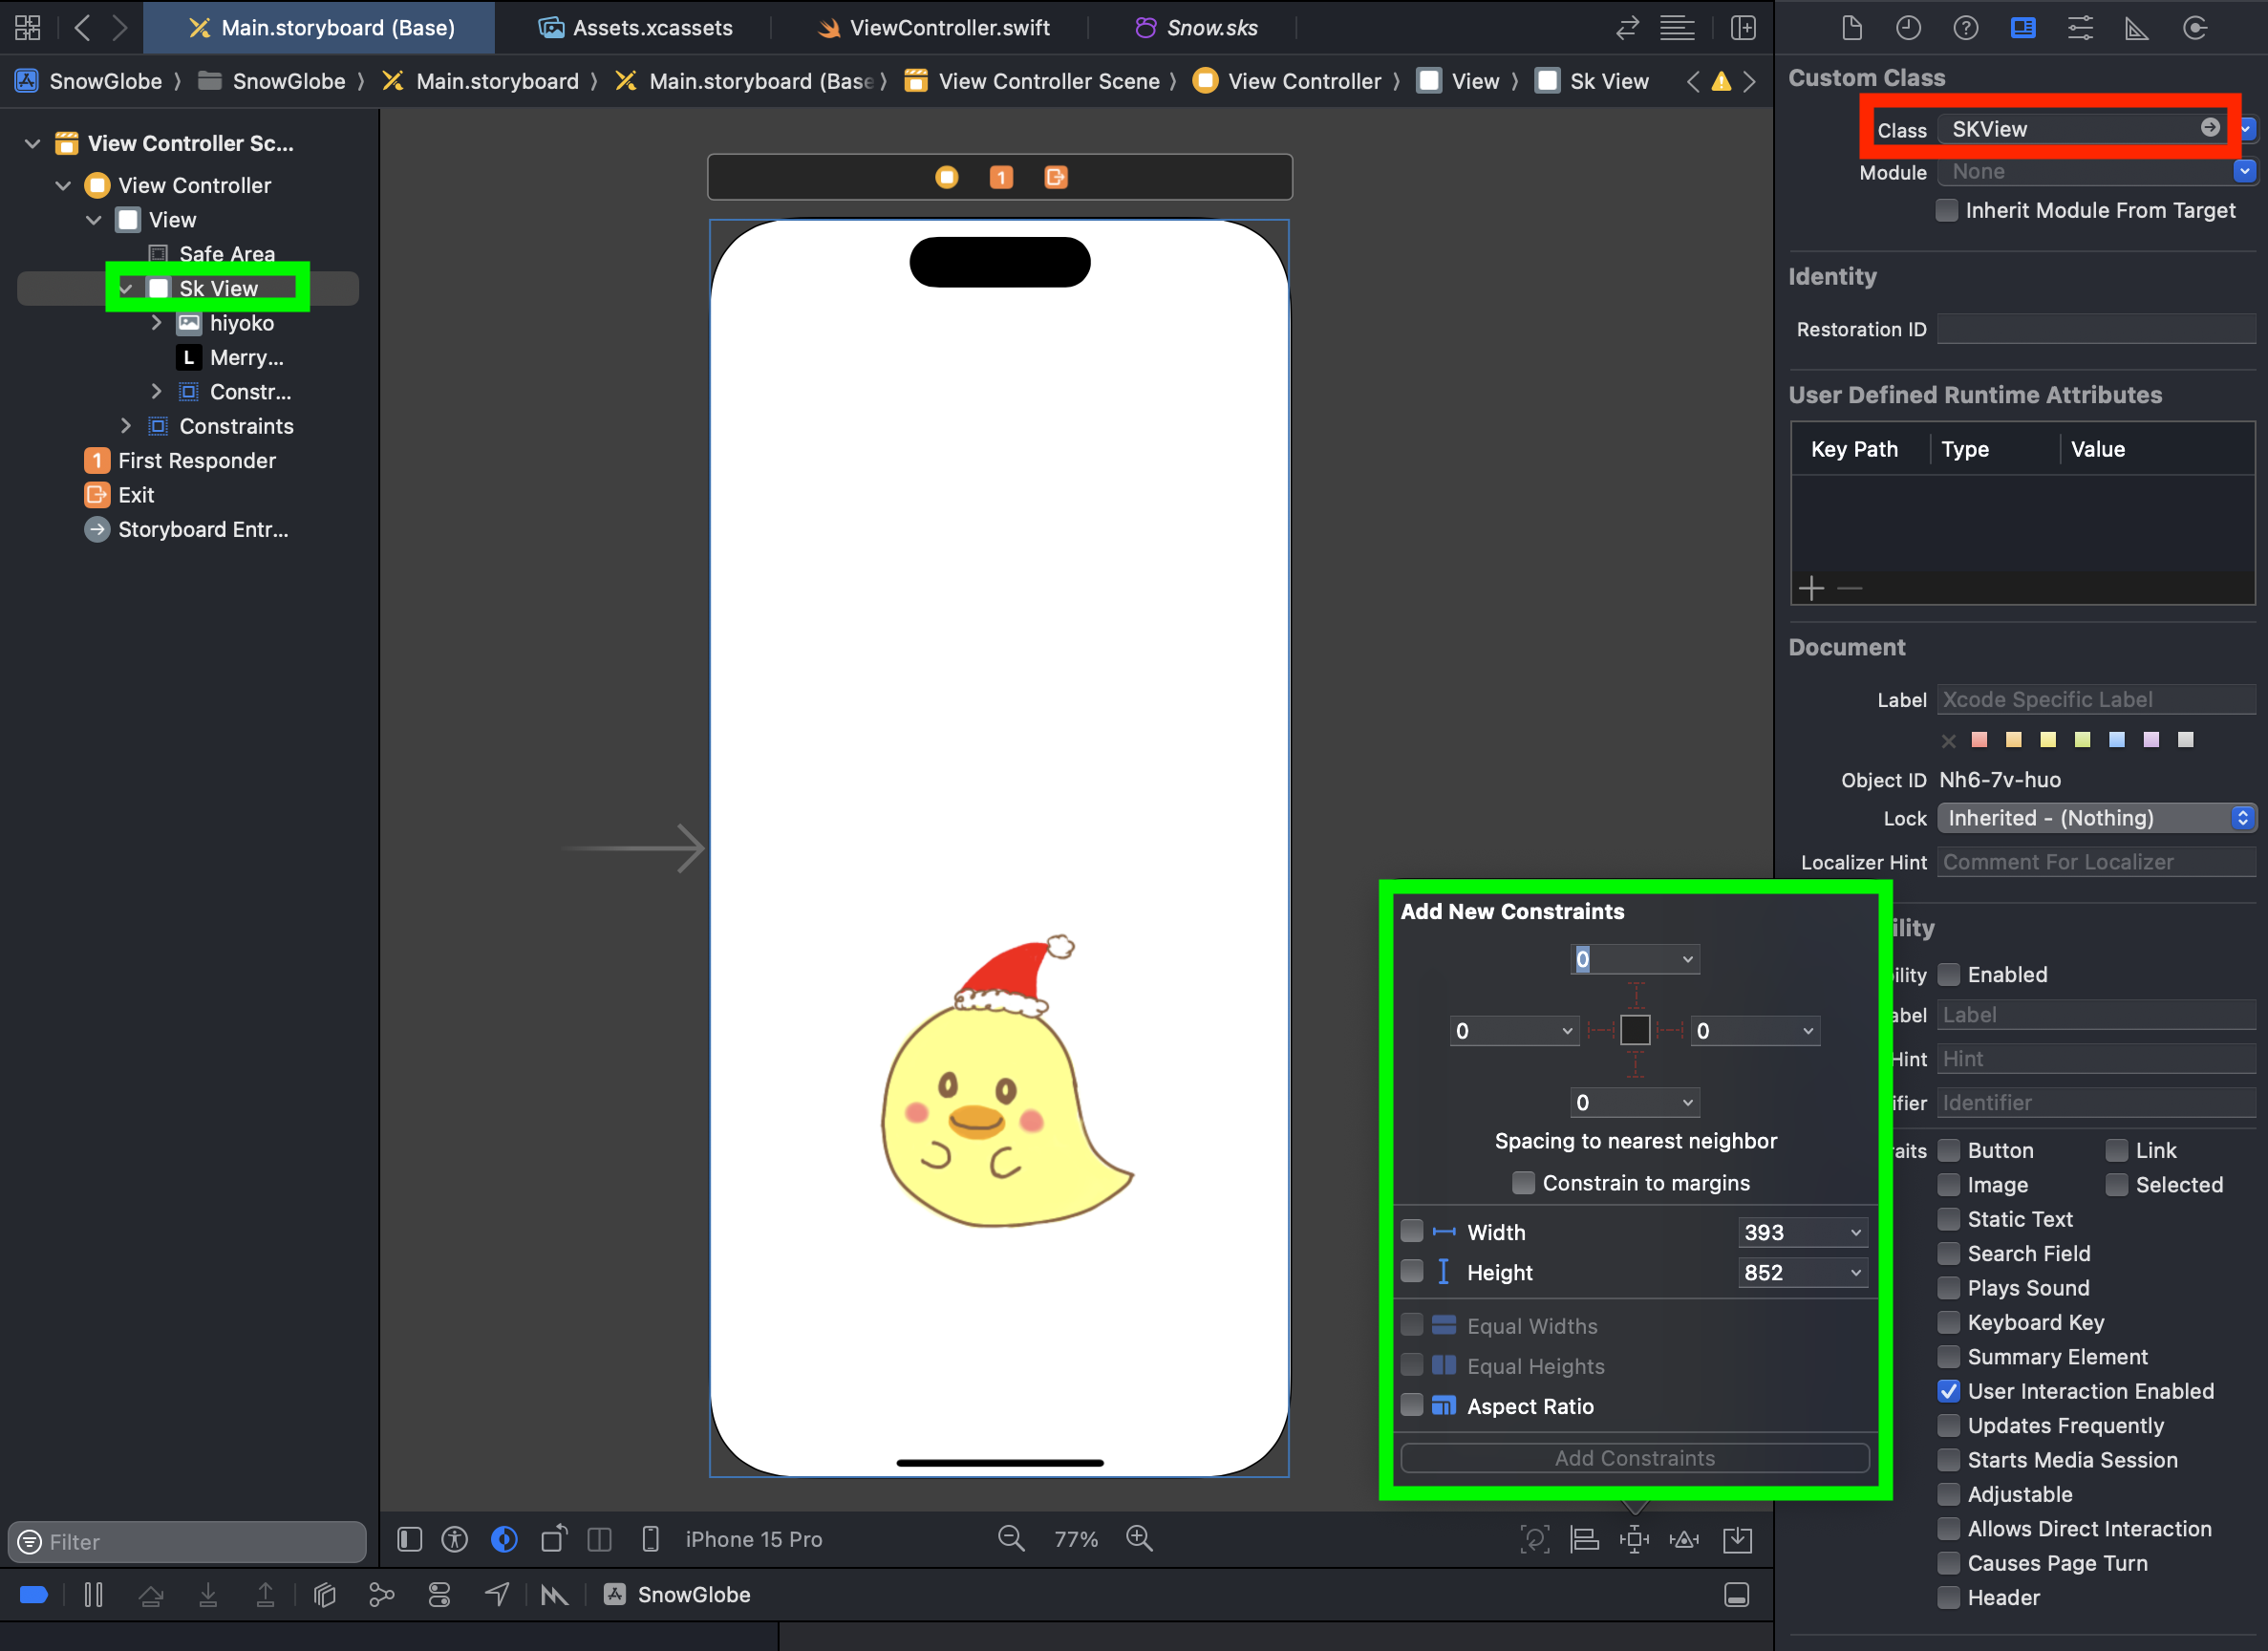
UIViewを追加し、画面全体に広げ、ClassをSKViewに準拠させる!その上にLabelとImageを追加させます!
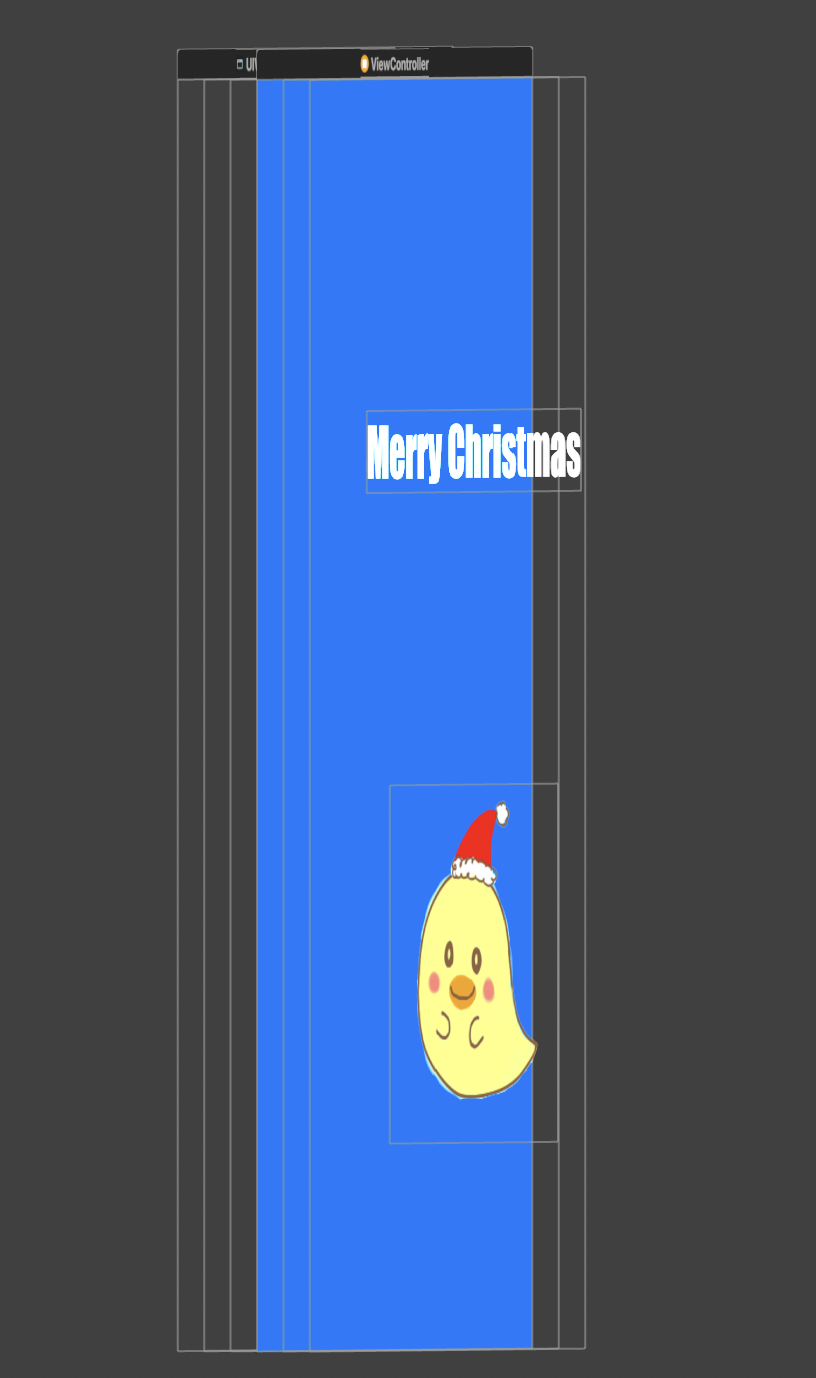
青色のUIView、その上にSKView、その上にSKScene、その上にLabel・Imageといった階層です!
コードは下記のように書きました!
import UIKit
import SpriteKit

class ViewController: UIViewController {

    @IBOutlet weak var skView: SKView!
    override func viewDidLoad() {
        super.viewDidLoad()
        // Sceneを追加
        setupSnow()
    }
    func setupSnow() {
        let scene = SKScene(size: self.view.frame.size)
        let path = Bundle.main.path(forResource: "Snow", ofType: "sks")
        let particle = NSKeyedUnarchiver.unarchiveObject(withFile: path!) as! SKEmitterNode
        particle.name = "Snow"
        particle.position = CGPointMake(self.view.frame.width / 2, self.view.frame.height)
        scene.addChild(particle)
        self.skView!.presentScene(scene)
        self.view.addSubview(self.skView!)
    }
}
SpriteKitインポートします!
SKScene(size: CGSize)を作成する!
すべてのアクティブな SpriteKit コンテンツを編成するオブジェクト
path(forResource:ofType:inDirectory:)
指定された名前とファイル拡張子で識別され、指定されたバンドル サブディレクトリにあるリソースの絶対パス名を返す。
func path(
    forResource name: String?,
    ofType ext: String?,
    inDirectory subpath: String?
) -> String?
NSKeyedUnarchiver
unarchiveObject(with:)
SKEmitterNodeとしてデコードして返す!
指定されたオブジェクトによって以前にエンコードされ、格納されていたオブジェクト グラフをデコードして返す!
SKEmitterNode
さまざまなパーティクル エフェクトのソース。
オブジェクトは、小さなパーティクル スプライトを自動的に作成してレンダリングするノード
パーティクル表示をする際には SKEmitterNode を使う!
position(_:)
このビューの中心を親の座標空間内の指定された点に配置する。
func position(_ position: CGPoint) -> some View
CGPointMake(_:_:)
指定された座標の点を返す!
func CGPointMake(
    _ x: CGFloat,
    _ y: CGFloat
) -> CGPoint
addChild(_:)
指定されたビューコントローラーを現在のビューコントローラーの子として追加。
particle:SKEmitterNodeを子として追加する!
func addChild(_ childController: UIViewController)
presentScene(_:transition:)
現在のシーンから新しいシーンに遷移する!
func presentScene(
    _ scene: SKScene,
    transition: SKTransition
)
addSubview(_:)
受信者のサブビューのリストの最後にビューを追加。
SKViewを追加。
func addSubview(_ view: UIView)
参考文献
