ArduinoでmicroSDカードを読み書きする方法です。
準備
-
Arduino (UNOまたはDuemilanove)
-
microSDカード (FATでフォーマットされたもの)
-
8ビット双方向ロジックレベル変換モジュール(FXMA108)
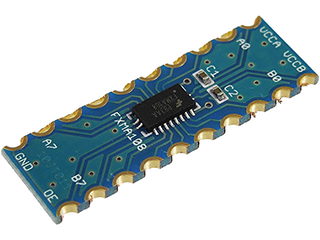
microSDカードの電源および通信仕様は3.3Vのため、ポート電圧5VのArduinoと直結させるとmicroSDカードを破損させてしまいます。そのため、ロジックレベル変換モジュールをArduinoとmicroSDの間に挟んでいます。ポート電圧3.3VのArduinoであればロジックレベルの変換は必要ありません。また、microSDに関してはTranscendのSDHC 8GBで動作確認をしています。
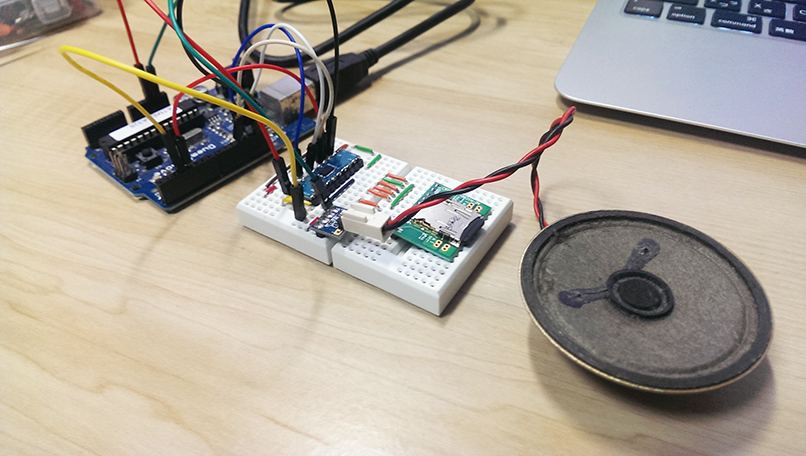
接続
各部品を以下の図のように接続します。
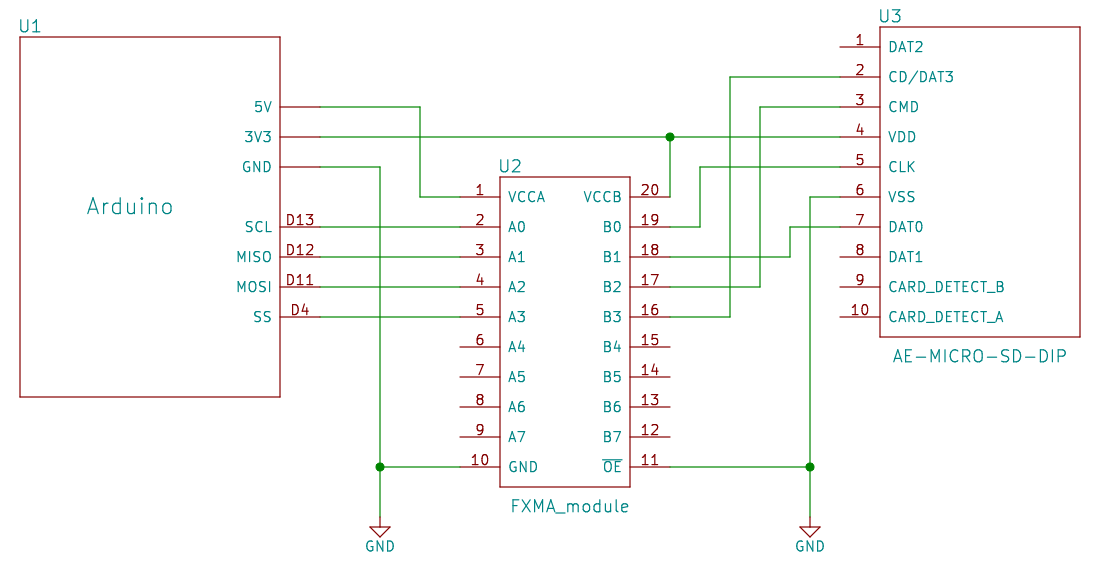
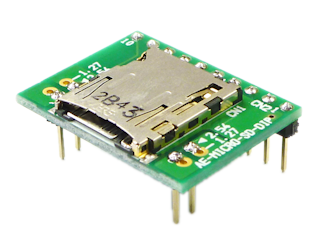
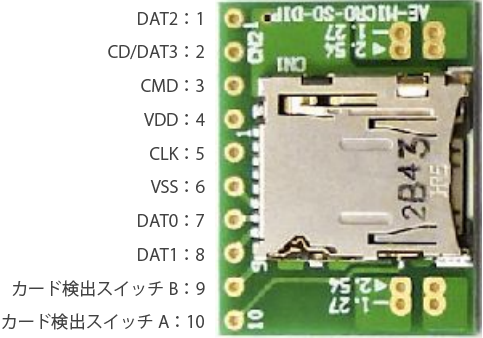
秋月電子のmicroSDスロットDIP化キットのピン配置は以下のようになっています。
ArduinoとmicroSDとの接続対応です。ロジックレベルを変換させない場合は以下のように接続します。
| SPI | Arduino | microSD |
|---|---|---|
| SCL | 13:SCL | 5:CLK |
| MISO | 12:MISO | 7:DAT0 |
| MOSI | 11:MOSI | 3:CMD |
| SS | 4:D4 | 2:CD/DAT3 |
| 3.3V | 3V3 | 4:VDD |
| GND | GND | 6:VSS |
プログラム
Arduino IDEのメニューから[ファイル] > [スケッチの例] > [SD] > [ReadWrite]を選択します。表示されない場合は、メニューの[ツール]のボードから「Arduino/Genuino Uno」または「Arduino Duemilanove or Diecimila」を選択してからスケッチ例を選択してみてください。
myFile.println("testing 1, 2, 3.");で追記書き込み
myFile.read();で読み込みます
/*
  SD card read/write

 This example shows how to read and write data to and from an SD card file
 The circuit:
 * SD card attached to SPI bus as follows:
 ** MOSI - pin 11
 ** MISO - pin 12
 ** CLK - pin 13
 ** CS - pin 4

 created   Nov 2010
 by David A. Mellis
 modified 9 Apr 2012
 by Tom Igoe

 This example code is in the public domain.

 */

# include <SPI.h>
# include <SD.h>

File myFile;

void setup() {
  // Open serial communications and wait for port to open:
  Serial.begin(9600);
  while (!Serial) {
    ; // wait for serial port to connect. Needed for native USB port only
  }


  Serial.print("Initializing SD card...");

  if (!SD.begin(4)) {
    Serial.println("initialization failed!");
    return;
  }
  Serial.println("initialization done.");

  // open the file. note that only one file can be open at a time,
  // so you have to close this one before opening another.
  myFile = SD.open("test.txt", FILE_WRITE);

  // if the file opened okay, write to it:
  if (myFile) {
    Serial.print("Writing to test.txt...");
    myFile.println("testing 1, 2, 3.");
    // close the file:
    myFile.close();
    Serial.println("done.");
  } else {
    // if the file didn't open, print an error:
    Serial.println("error opening test.txt");
  }

  // re-open the file for reading:
  myFile = SD.open("test.txt");
  if (myFile) {
    Serial.println("test.txt:");

    // read from the file until there's nothing else in it:
    while (myFile.available()) {
      Serial.write(myFile.read());
    }
    // close the file:
    myFile.close();
  } else {
    // if the file didn't open, print an error:
    Serial.println("error opening test.txt");
  }
}

void loop() {
  // nothing happens after setup
}
結果
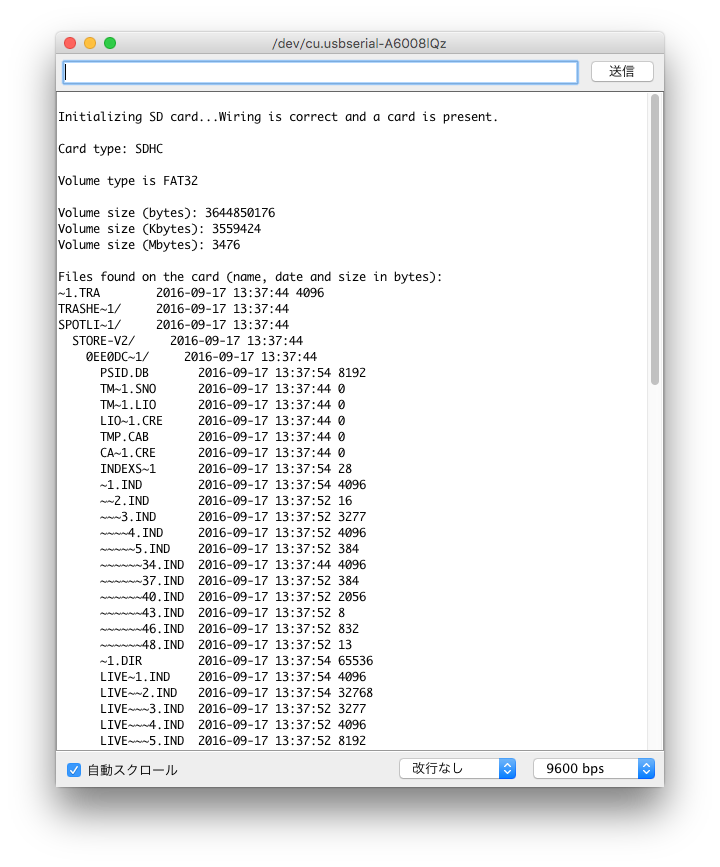
正常に動作すればシリアルモニタで以下のように表示されます。
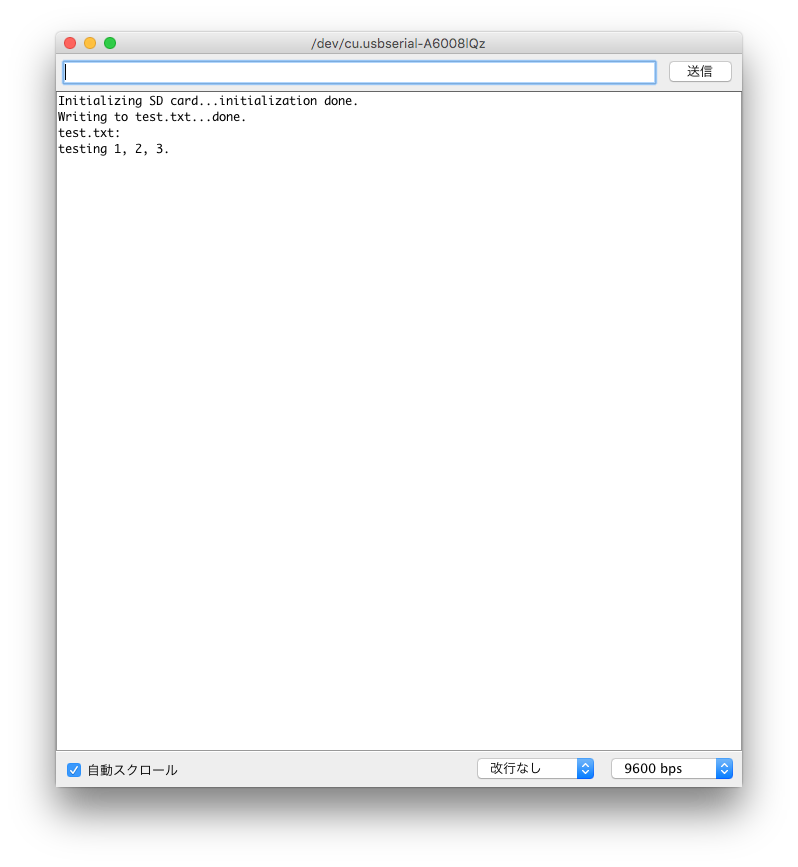
[スケッチの例]から[CardInfo]のプログラムを書き込んで実行すると、SDカードの情報を確認することができます。