概要
ローカルのMacでjavaのSpringBootを試してみる手順をまとめました。
今回は特にIDE等を使わずにコマンドラインからやる方法をまとめています。
Spring Bootとは
webサーバとしてTomcatが入っていてjavaで簡単にwebアプリケーションが開発できるフレームワークです。現状javaのフレームワークとしてはSpringBootが一番良さそうな気がします。
環境
| バージョン | |
|---|---|
| macOS | Sierra 10.12.3 |
| Spring Boot | 1.5.6 |
| java | 1.8.0_144 |
手順
1.javaのインストール
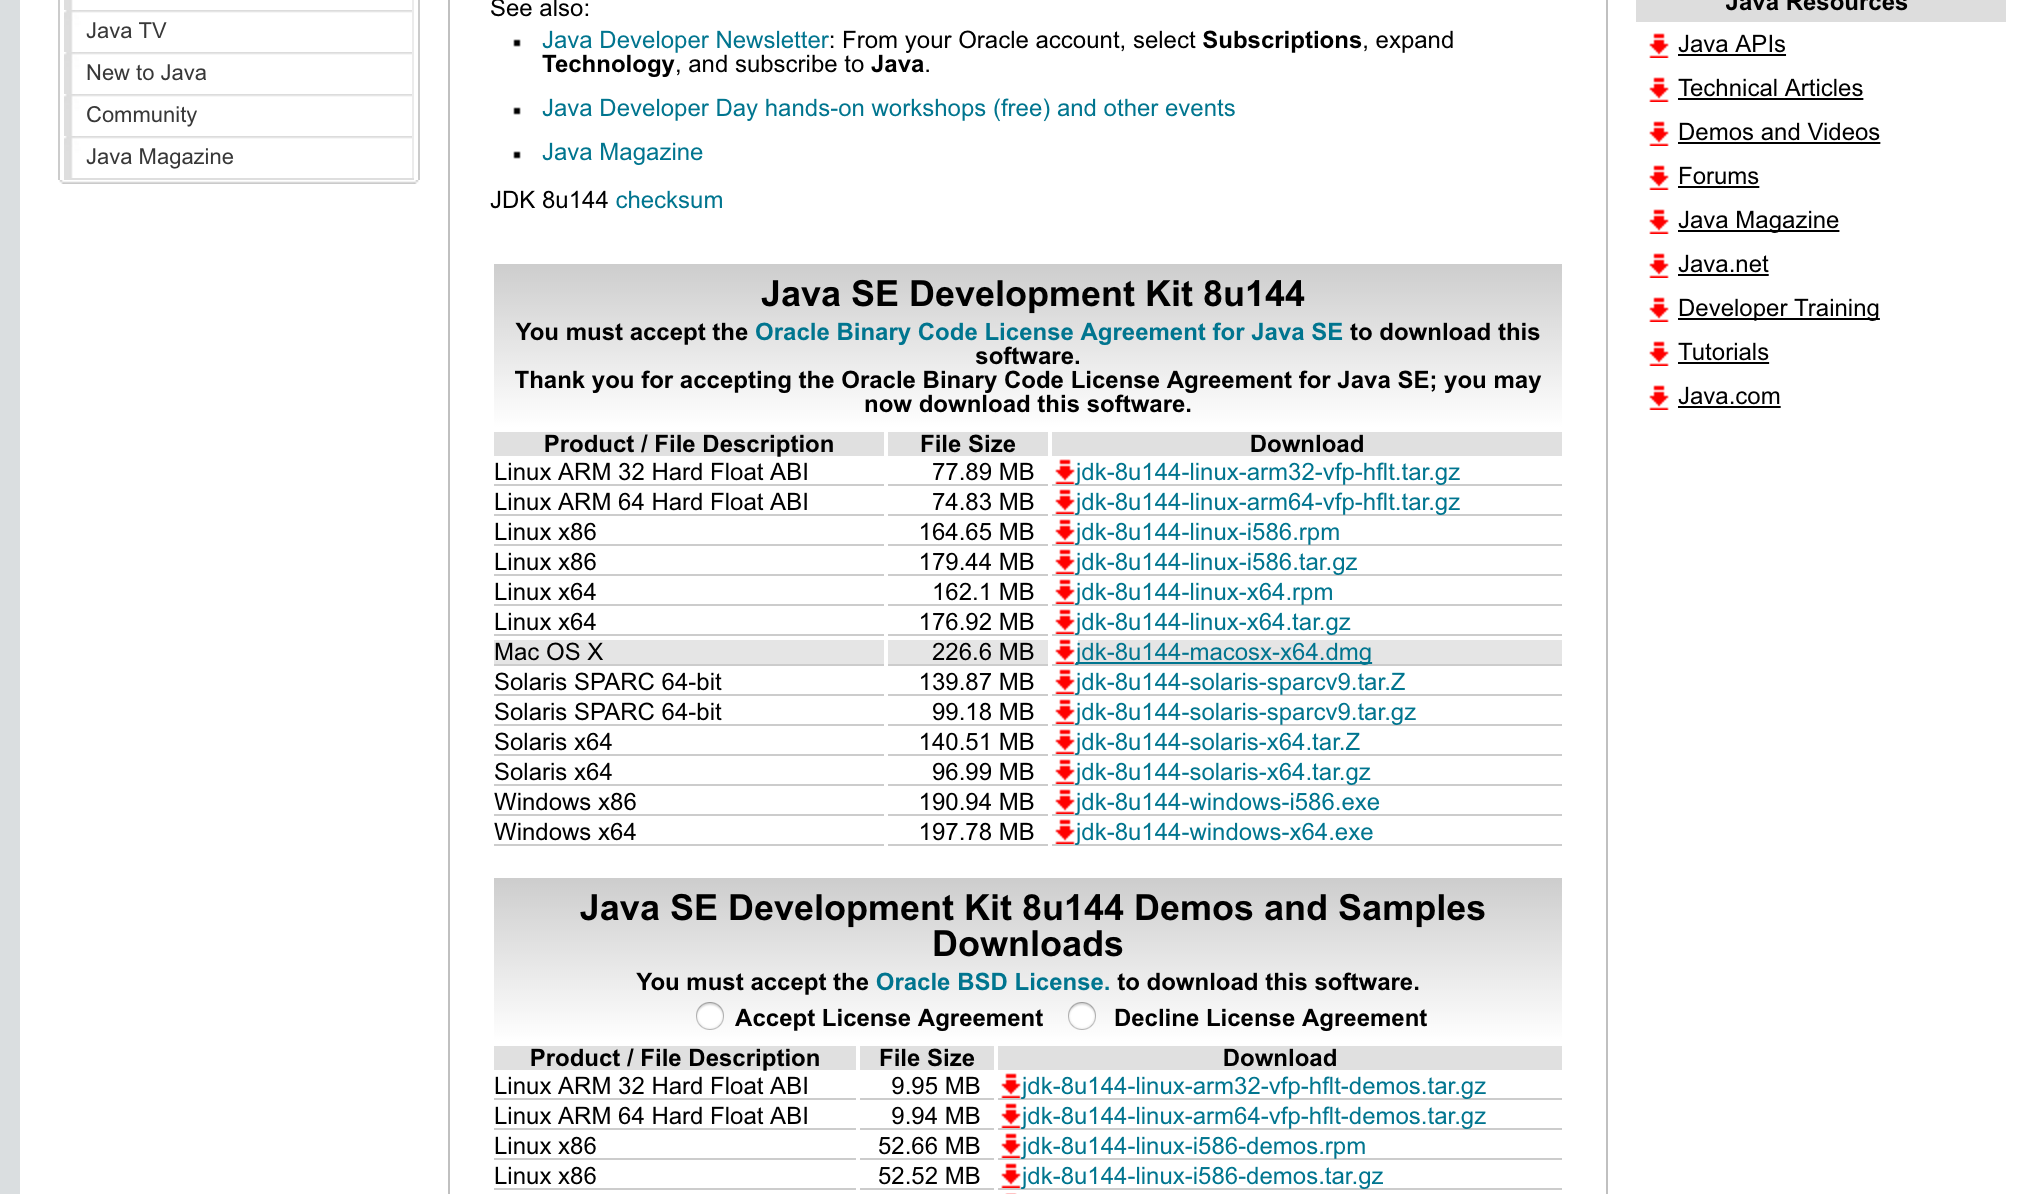
こちらからインストールします。
http://www.oracle.com/technetwork/java/javase/downloads/jdk8-downloads-2133151.html
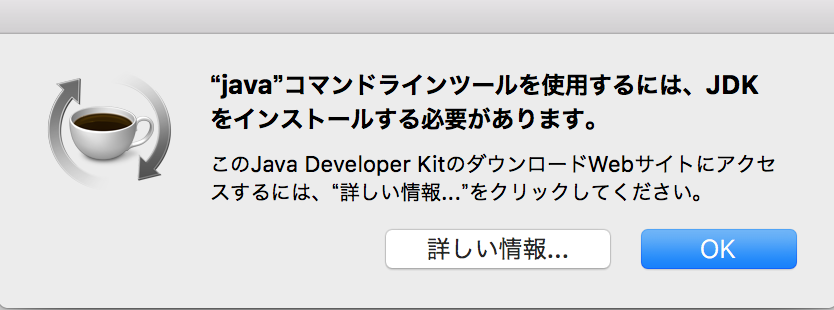
もしくはターミナルで
$ java -version
と打つとjavaが入ってない場合はダイアログが出てくるので、「詳しい情報」を押すとjavaのページに遷移できます。

インストールできたか確認します。
$ java -version
java version "1.8.0_144"
Java(TM) SE Runtime Environment (build 1.8.0_144-b01)
Java HotSpot(TM) 64-Bit Server VM (build 25.144-b01, mixed mode)
2.Mavenのインストール
Mavenとはライブラリをダウンロードするツールです。今回はこちらを使ってSpringBootをインストールしてきます。
brewを使ってMavenをインストールします。
$ brew update
$ brew install maven
インストールできたか確認します。
$ mvn --version
Apache Maven 3.5.0 (ff8f5e7444045639af65f6095c62210b5713f426; 2017-04-04T04:39:06+09:00)
Maven home: /usr/local/Cellar/maven/3.5.0/libexec
Java version: 1.8.0_144, vendor: Oracle Corporation
Java home: /Library/Java/JavaVirtualMachines/jdk1.8.0_144.jdk/Contents/Home/jre
Default locale: ja_JP, platform encoding: UTF-8
OS name: "mac os x", version: "10.12.3", arch: "x86_64", family: "mac"
3.プロジェクト作成
以下コマンドでプロジェクトを作成します。
$ mvn -B archetype:generate -DgroupId=edu.self -DartifactId=my_first_spring_boot -Dversion=1.0.0-SNAPSHOT -DarchetypeArtifactId=maven-archetype-quickstart
色々ダウンロードが始まる

$ cd my_first_spring_boot
4.設定ファイルの修正
生成されたpom.xmlを以下のように修正します。
<project xmlns="http://maven.apache.org/POM/4.0.0" xmlns:xsi="http://www.w3.org/2001/XMLSchema-instance"
  xsi:schemaLocation="http://maven.apache.org/POM/4.0.0 http://maven.apache.org/maven-v4_0_0.xsd">
  <modelVersion>4.0.0</modelVersion>
  <groupId>edu.self</groupId>
  <artifactId>my_first_spring_boot</artifactId>
  <packaging>jar</packaging>
  <version>1.0.0-SNAPSHOT</version>
  <name>my_first_spring_boot</name>
  <url>http://maven.apache.org</url>
  <!-- Spring Boot の利用を宣言し、バージョンを指定【追加】 -->
  <parent>
    <groupId>org.springframework.boot</groupId>
    <artifactId>spring-boot-starter-parent</artifactId>
    <version>1.5.6.RELEASE</version>
  </parent>
  <dependencies>
    <!-- Spring Boot の Web アプリケーションライブラリの利用を指定【追加】 -->
    <dependency>
      <groupId>org.springframework.boot</groupId>
      <artifactId>spring-boot-starter-web</artifactId>
    </dependency>
    <!-- Spring Boot の ユニットテストライブラリの利用を指定【追加】 -->
    <dependency>
      <groupId>org.springframework.boot</groupId>
      <artifactId>spring-boot-starter-test</artifactId>
    </dependency>
<!-- JUnitの指定を削除(Spring Boot に同梱されているため)【削除】
    <dependency>
      <groupId>junit</groupId>
      <artifactId>junit</artifactId>
      <version>3.8.1</version>
      <scope>test</scope>
    </dependency>
 -->
  </dependencies>
  <build>
    <plugins>
      <!-- Spring Boot の ビルド用 Maven プラグイン【追加】 -->
      <plugin>
        <groupId>org.springframework.boot</groupId>
        <artifactId>spring-boot-maven-plugin</artifactId>
      </plugin>
    </plugins>
  </build>
  <properties>
    <!-- Java バージョン指定【追加】 -->
    <java.version>1.8</java.version>
  </properties>
</project>
5.必要なライブラリのインストール
先ほど記載したライブラリをインストールします。すでにインストール済みの場合はライブラリ一覧が見れます。
$ mvn dependency:tree
6.アプリケーションファイルを修正
生成されたアプリケーションファイルを修正します。
package my_first_spring_boot;

import java.util.concurrent.atomic.AtomicLong;
import org.springframework.boot.SpringApplication;
import org.springframework.boot.autoconfigure.EnableAutoConfiguration;
import org.springframework.web.bind.annotation.RequestMapping;
import org.springframework.web.bind.annotation.RequestParam;
import org.springframework.web.bind.annotation.RestController;

@RestController // Webアプリのリクエストを受け付けるクラスであることの指定
@EnableAutoConfiguration // 様々な設定を自動的に有効化
public class App {
    @RequestMapping("/") // URLのパスの指定
    public String index() {
        return "Hello Spring Boot!";
    }

    public static void main(String[] args) {
      // Spring Bootによるアプリケーションを起動するための処理です。
      SpringApplication.run(App.class, args);
    }
}
7.SpringBootの起動
以下コマンドで起動します。
$ mvn spring-boot:run
8.アクセス
ビルドが成功したらブラウザでアクセスして確認します
http://localhost:8080/

以上でおしまいです。
