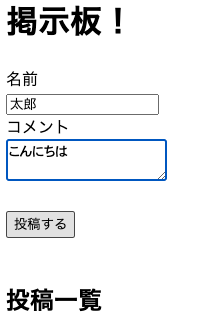
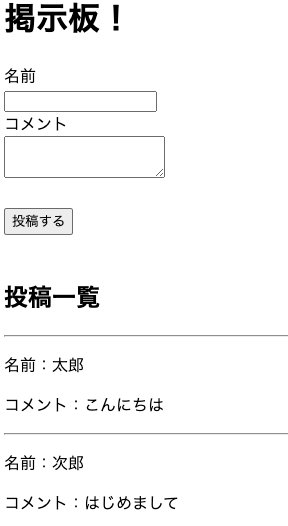
この記事の概要
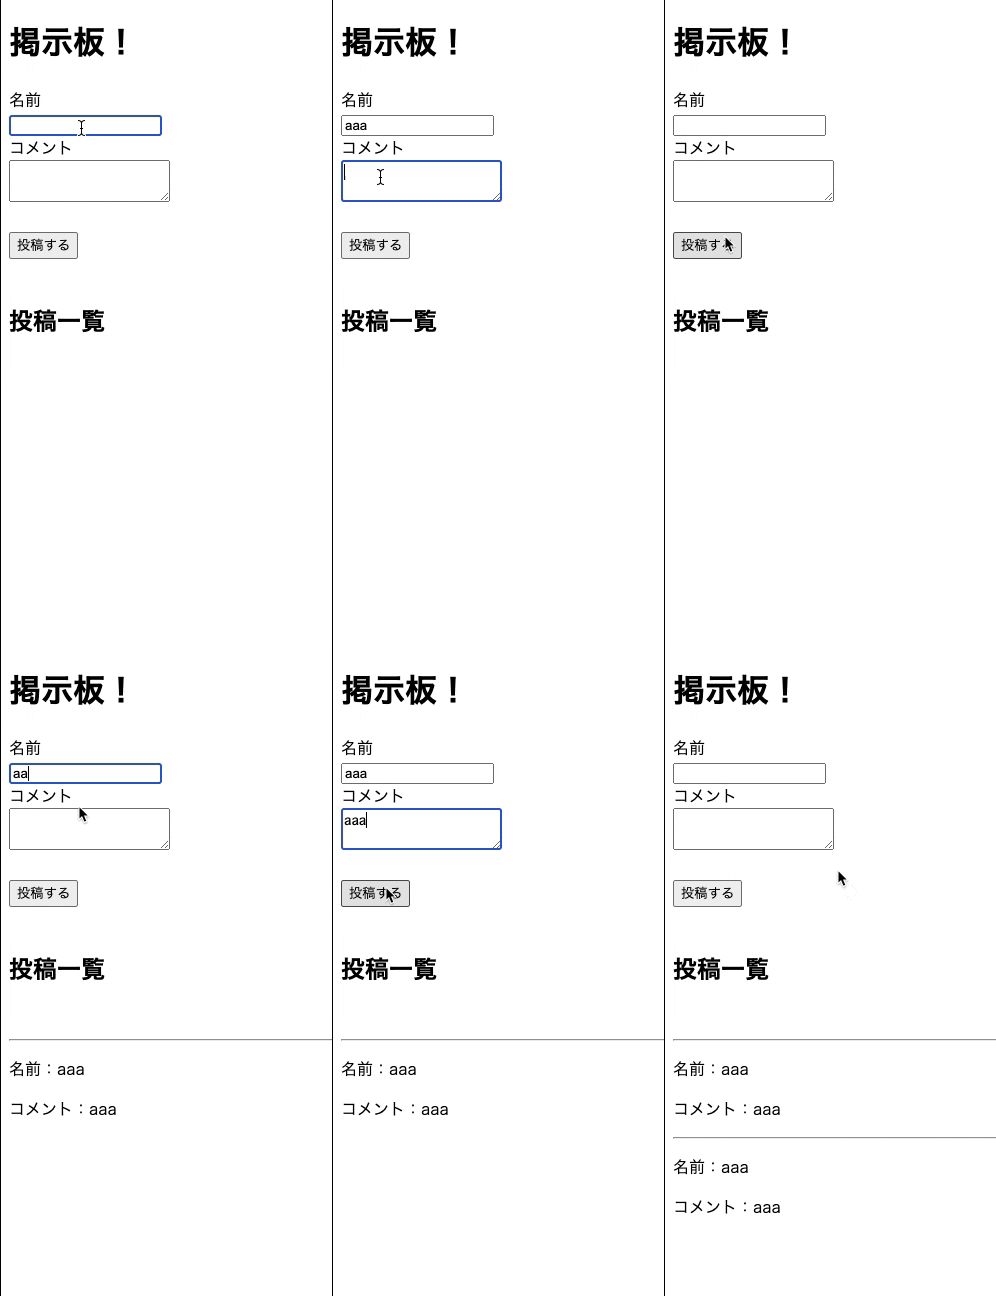
超簡単な掲示板アプリをパパっと作成します。
細かいことはいいからとりあえずVue.jsで何かアプリを作ってみたいという方にオススメです。
目標物
開発環境
・macOS Catalina 10.15.7
・@vue/cli 4.5.6
・npm 6.9.0
・node v10.16.0
前提
・node、npm、vue-cli環境が整っている。
・firebaseのアカウントを作成している。
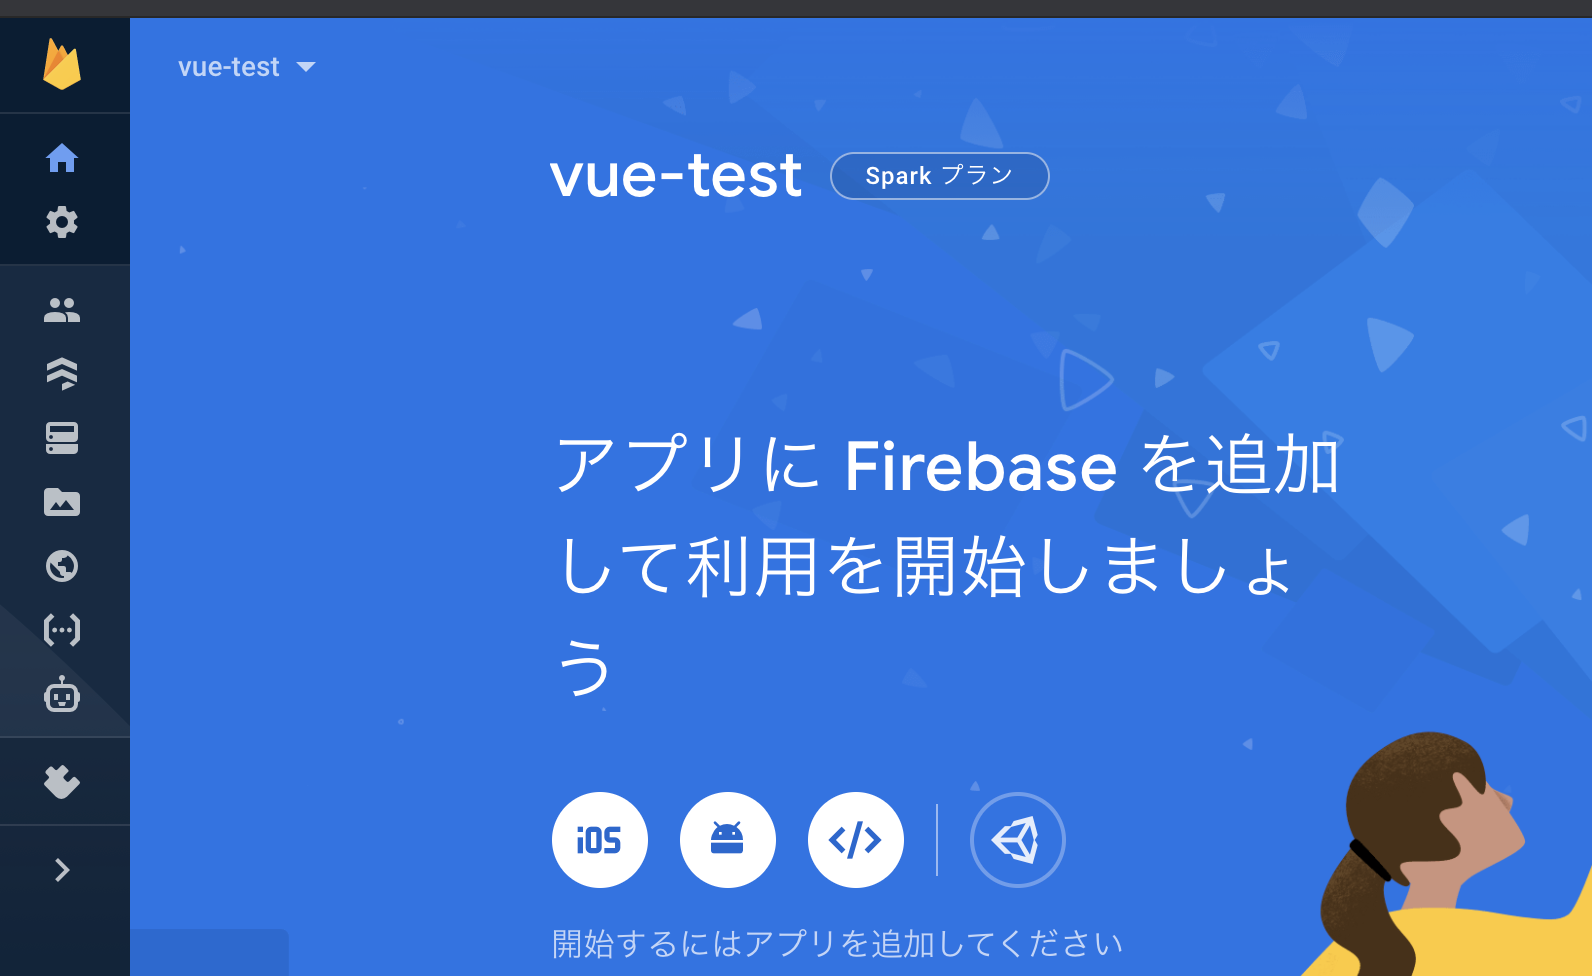
firebaseのプロジェクト作成。
firebaseに行き
【コンソールへ移動】
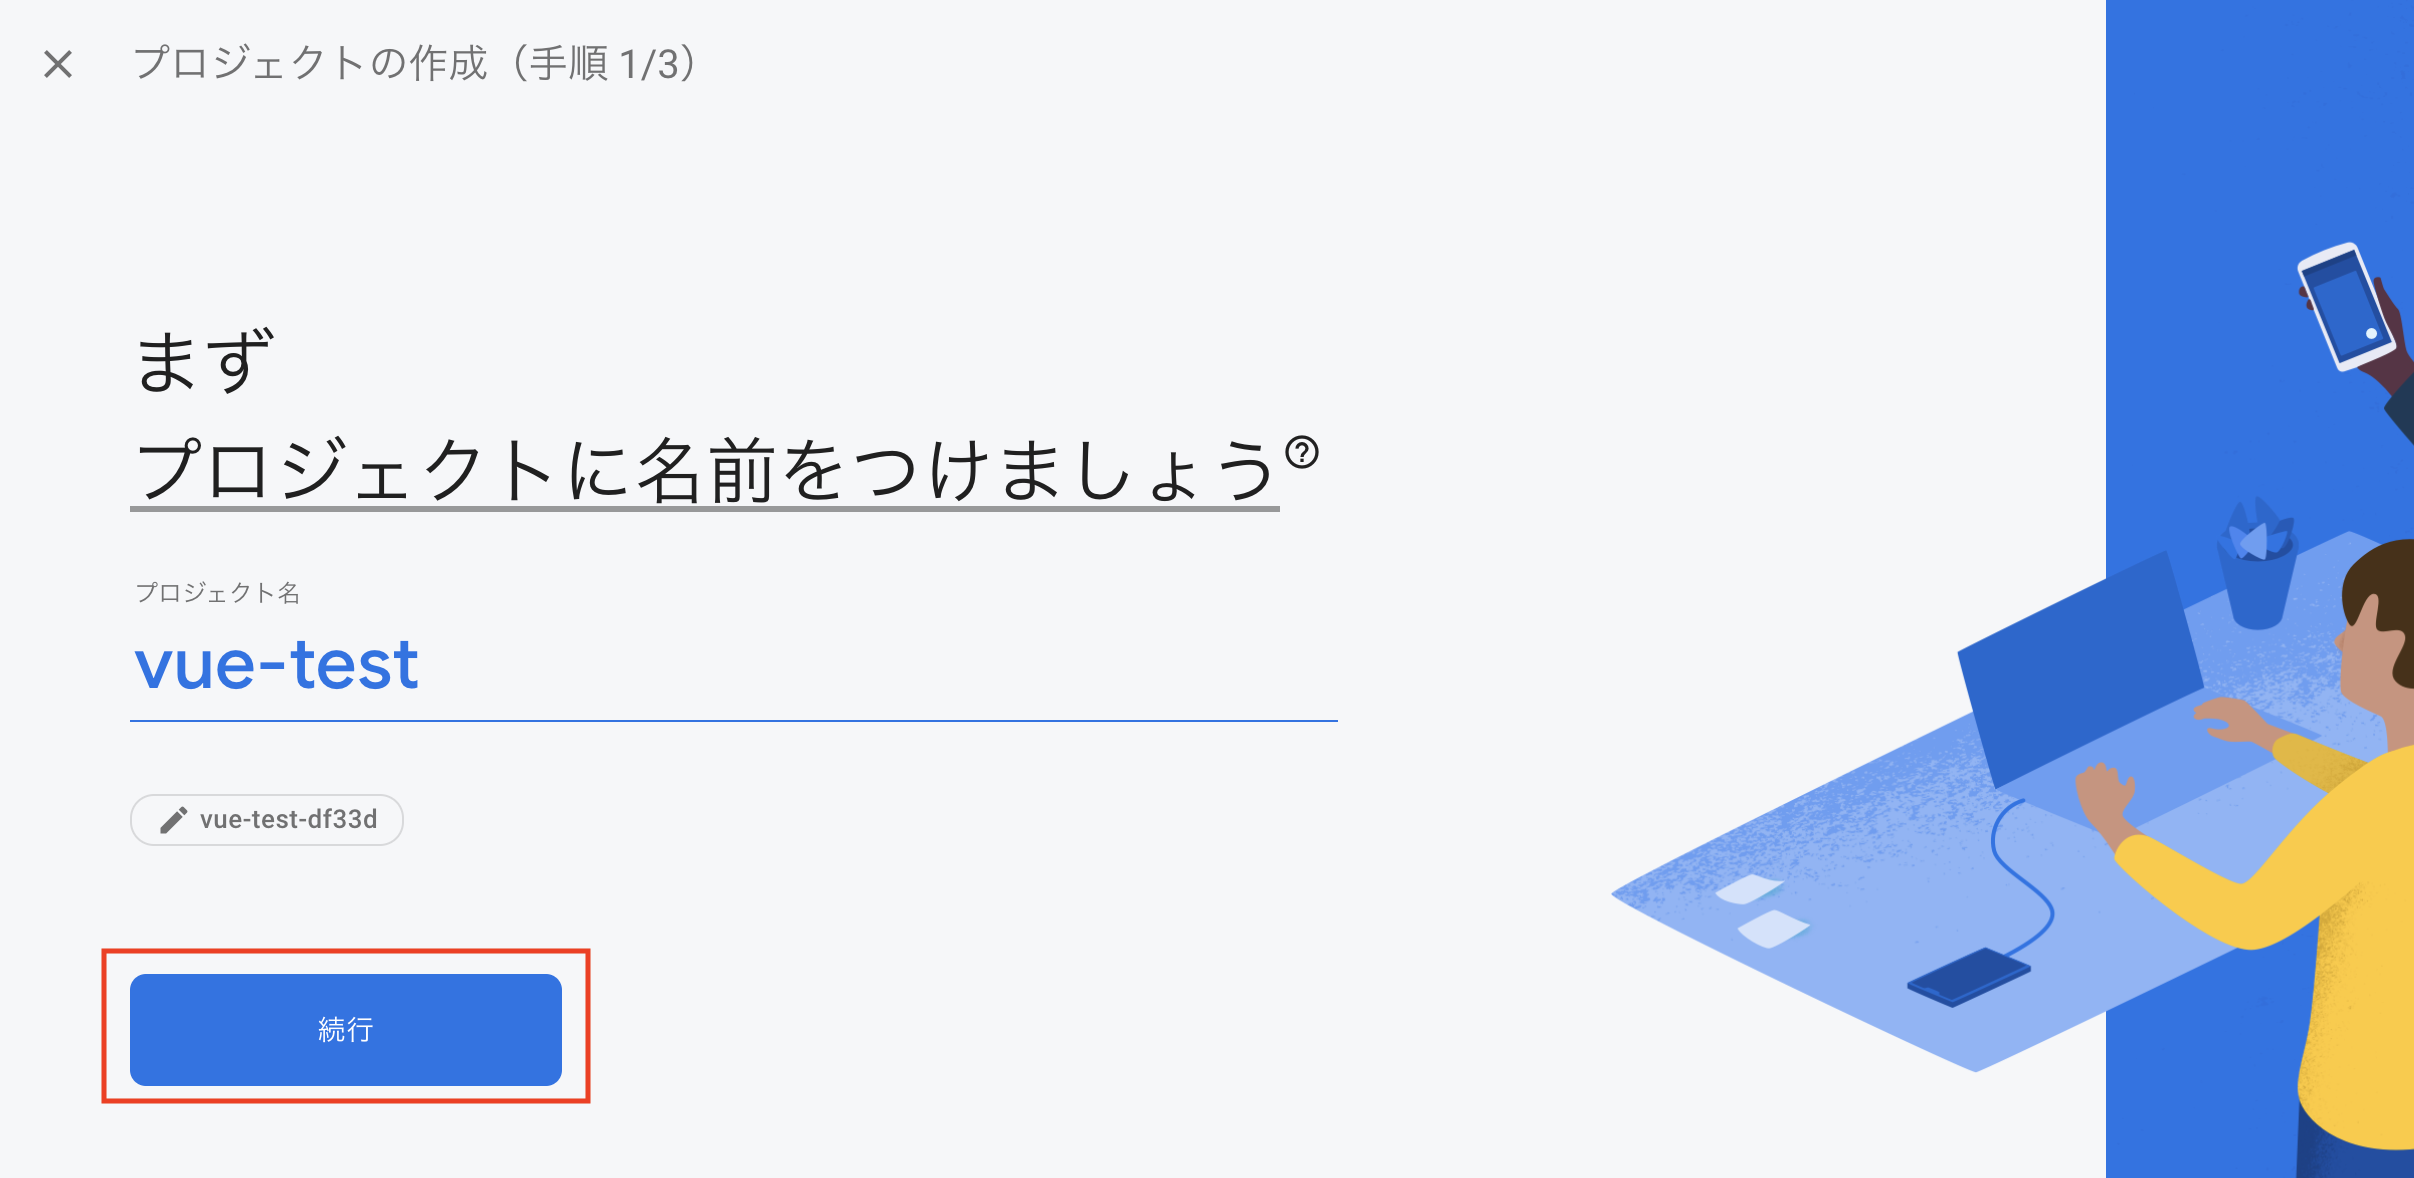
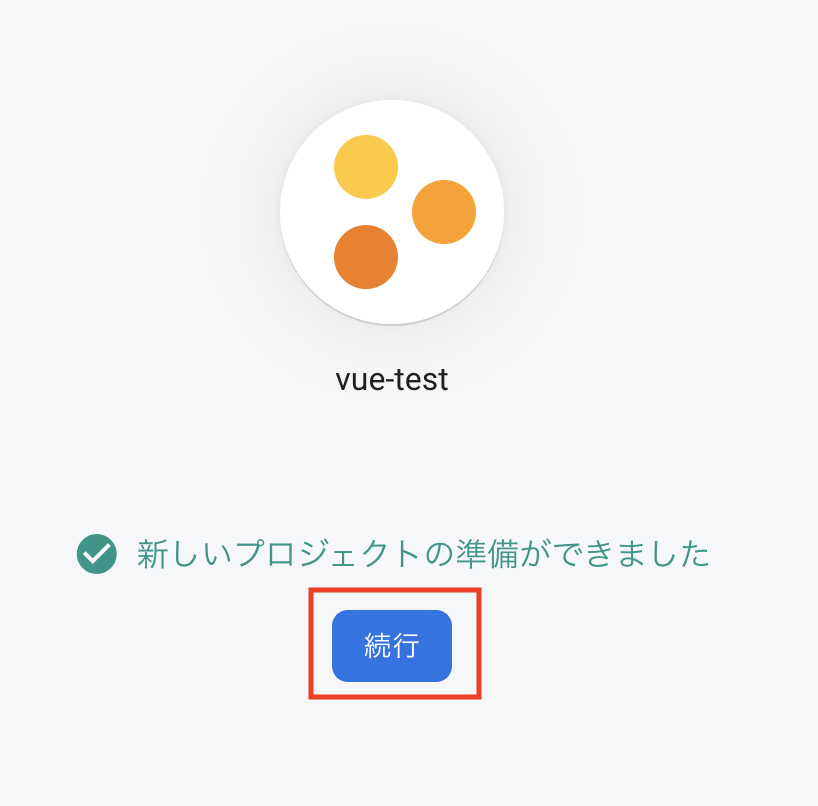
→【プロジェクトの作成】または【プロジェクトの追加】
プロジェクト名は「vue-test」としておきます。
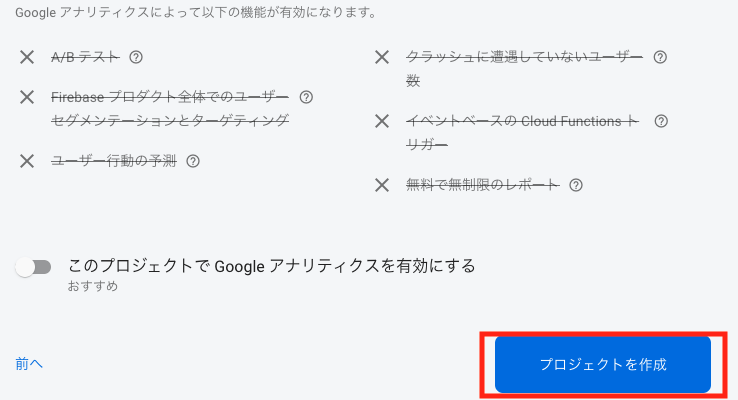
アナリティクスは無効でOKです。
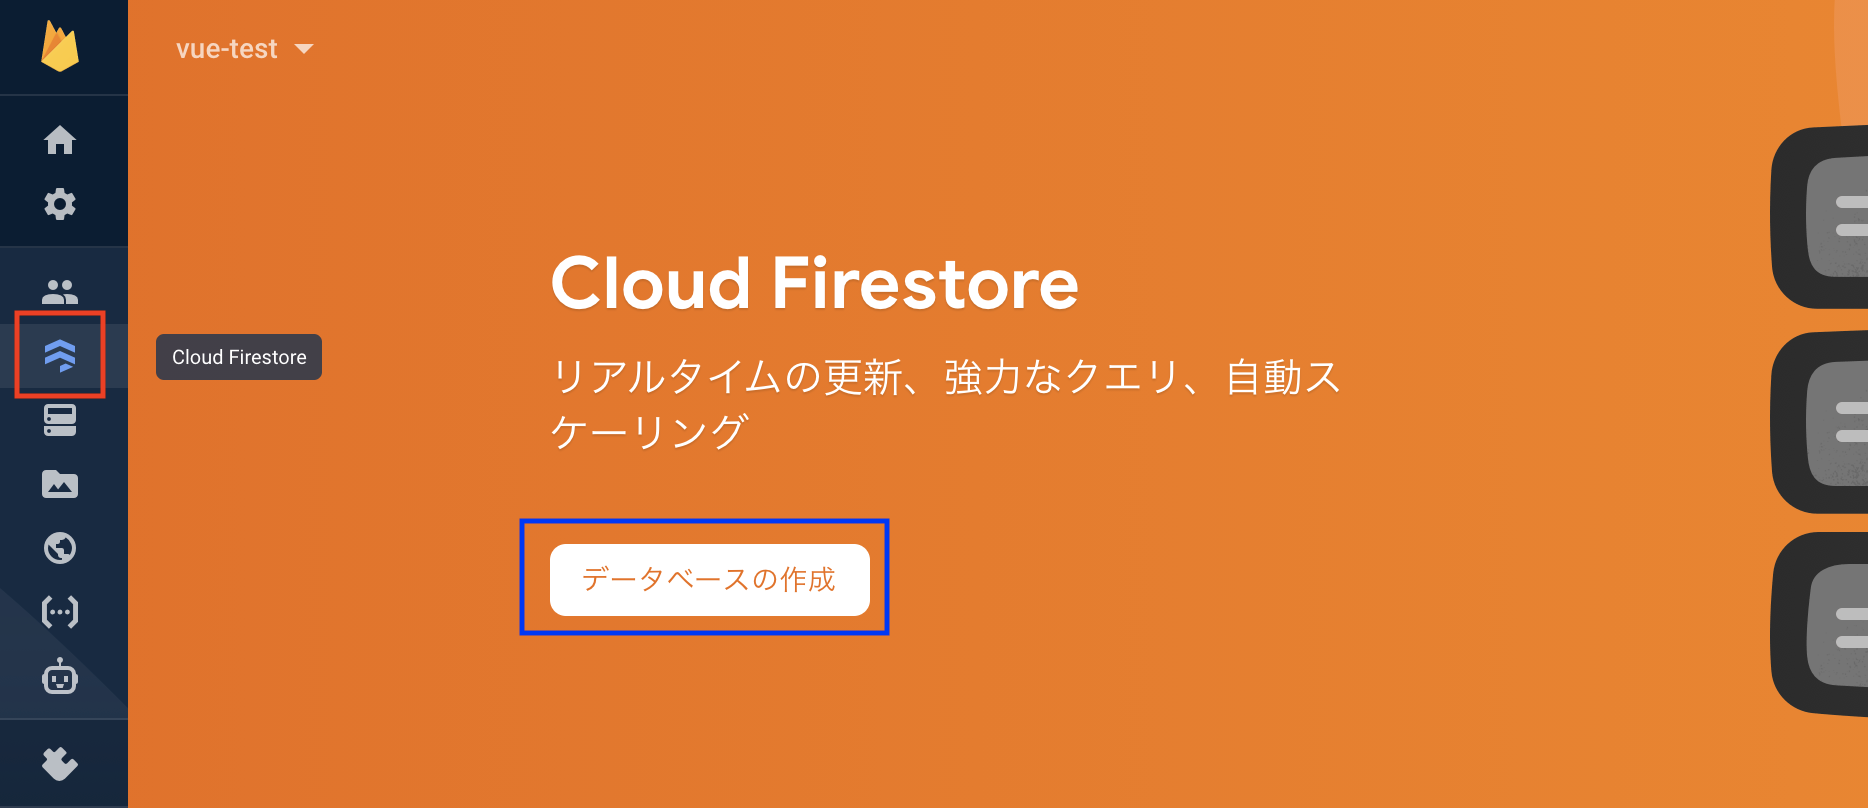
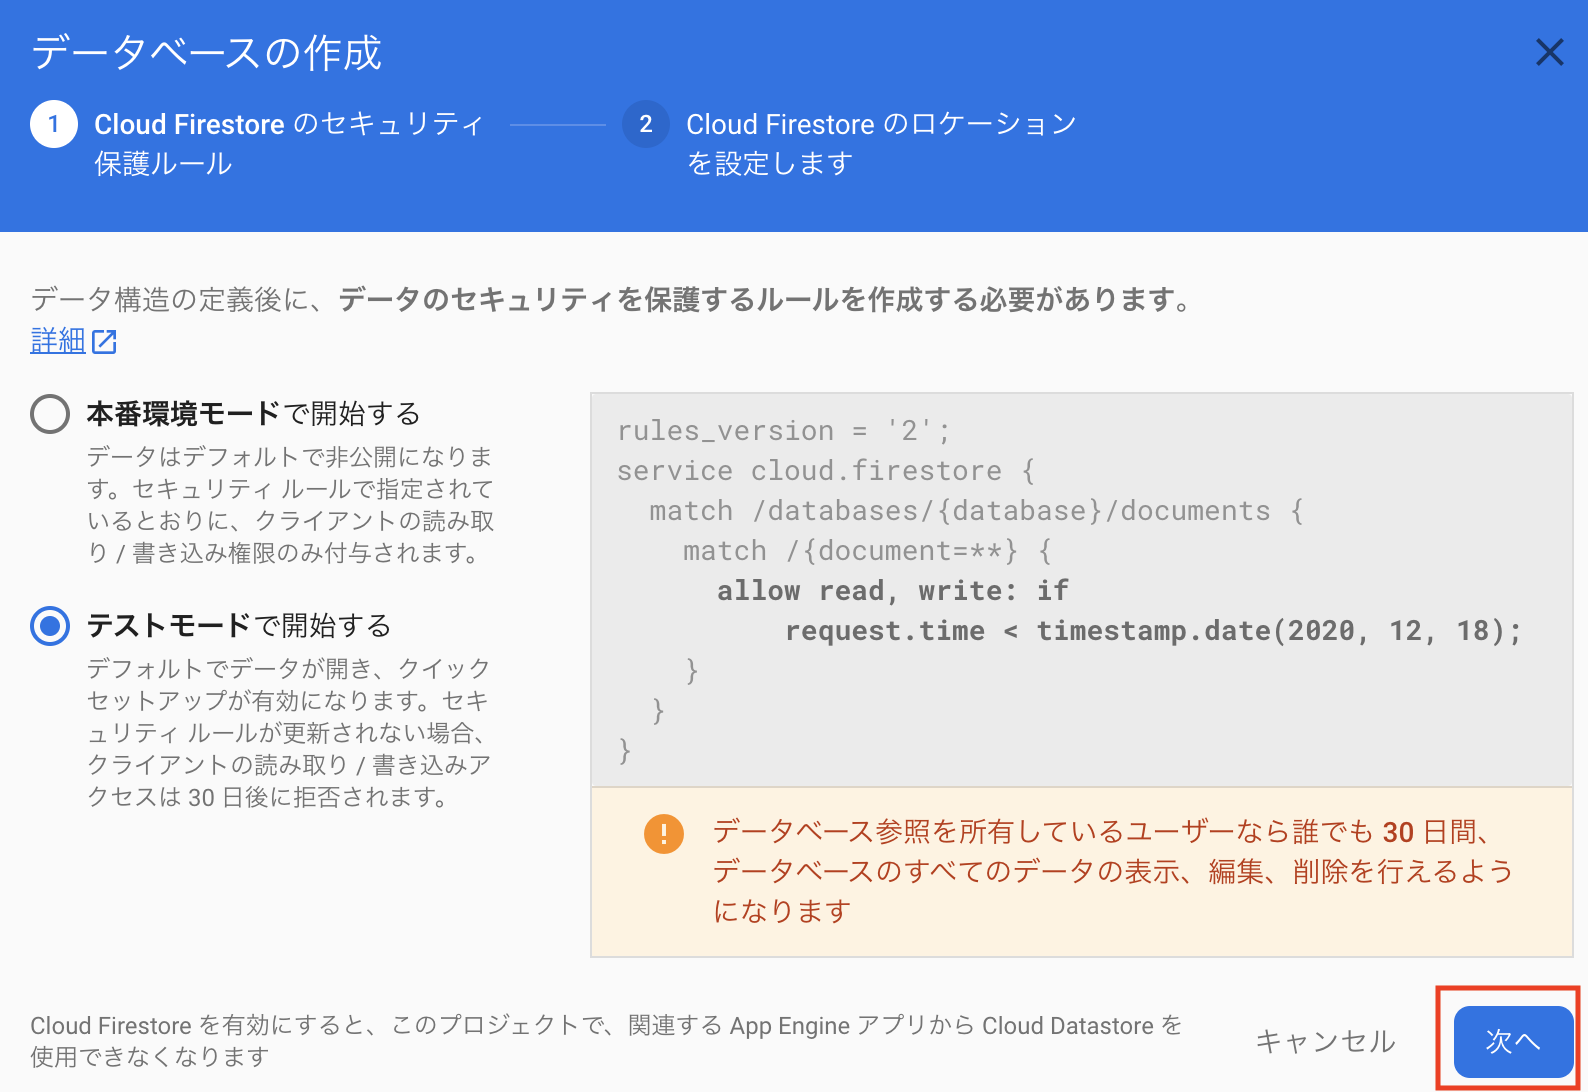
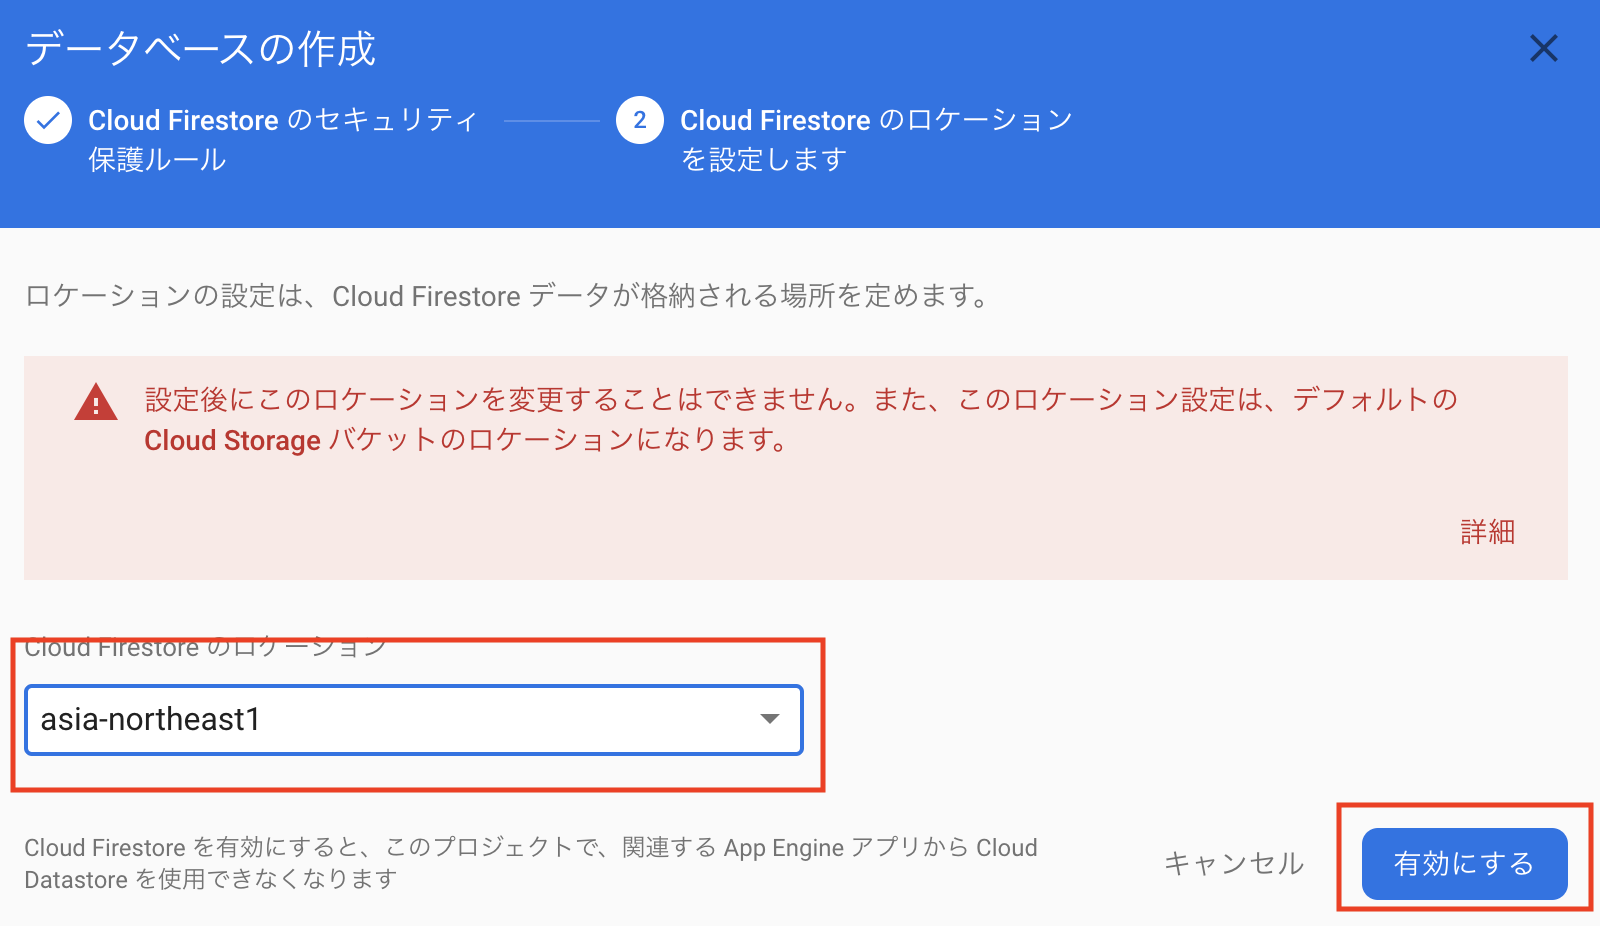
DBの作成
ロケーションを「asia-norheast1(東京)」に設定。
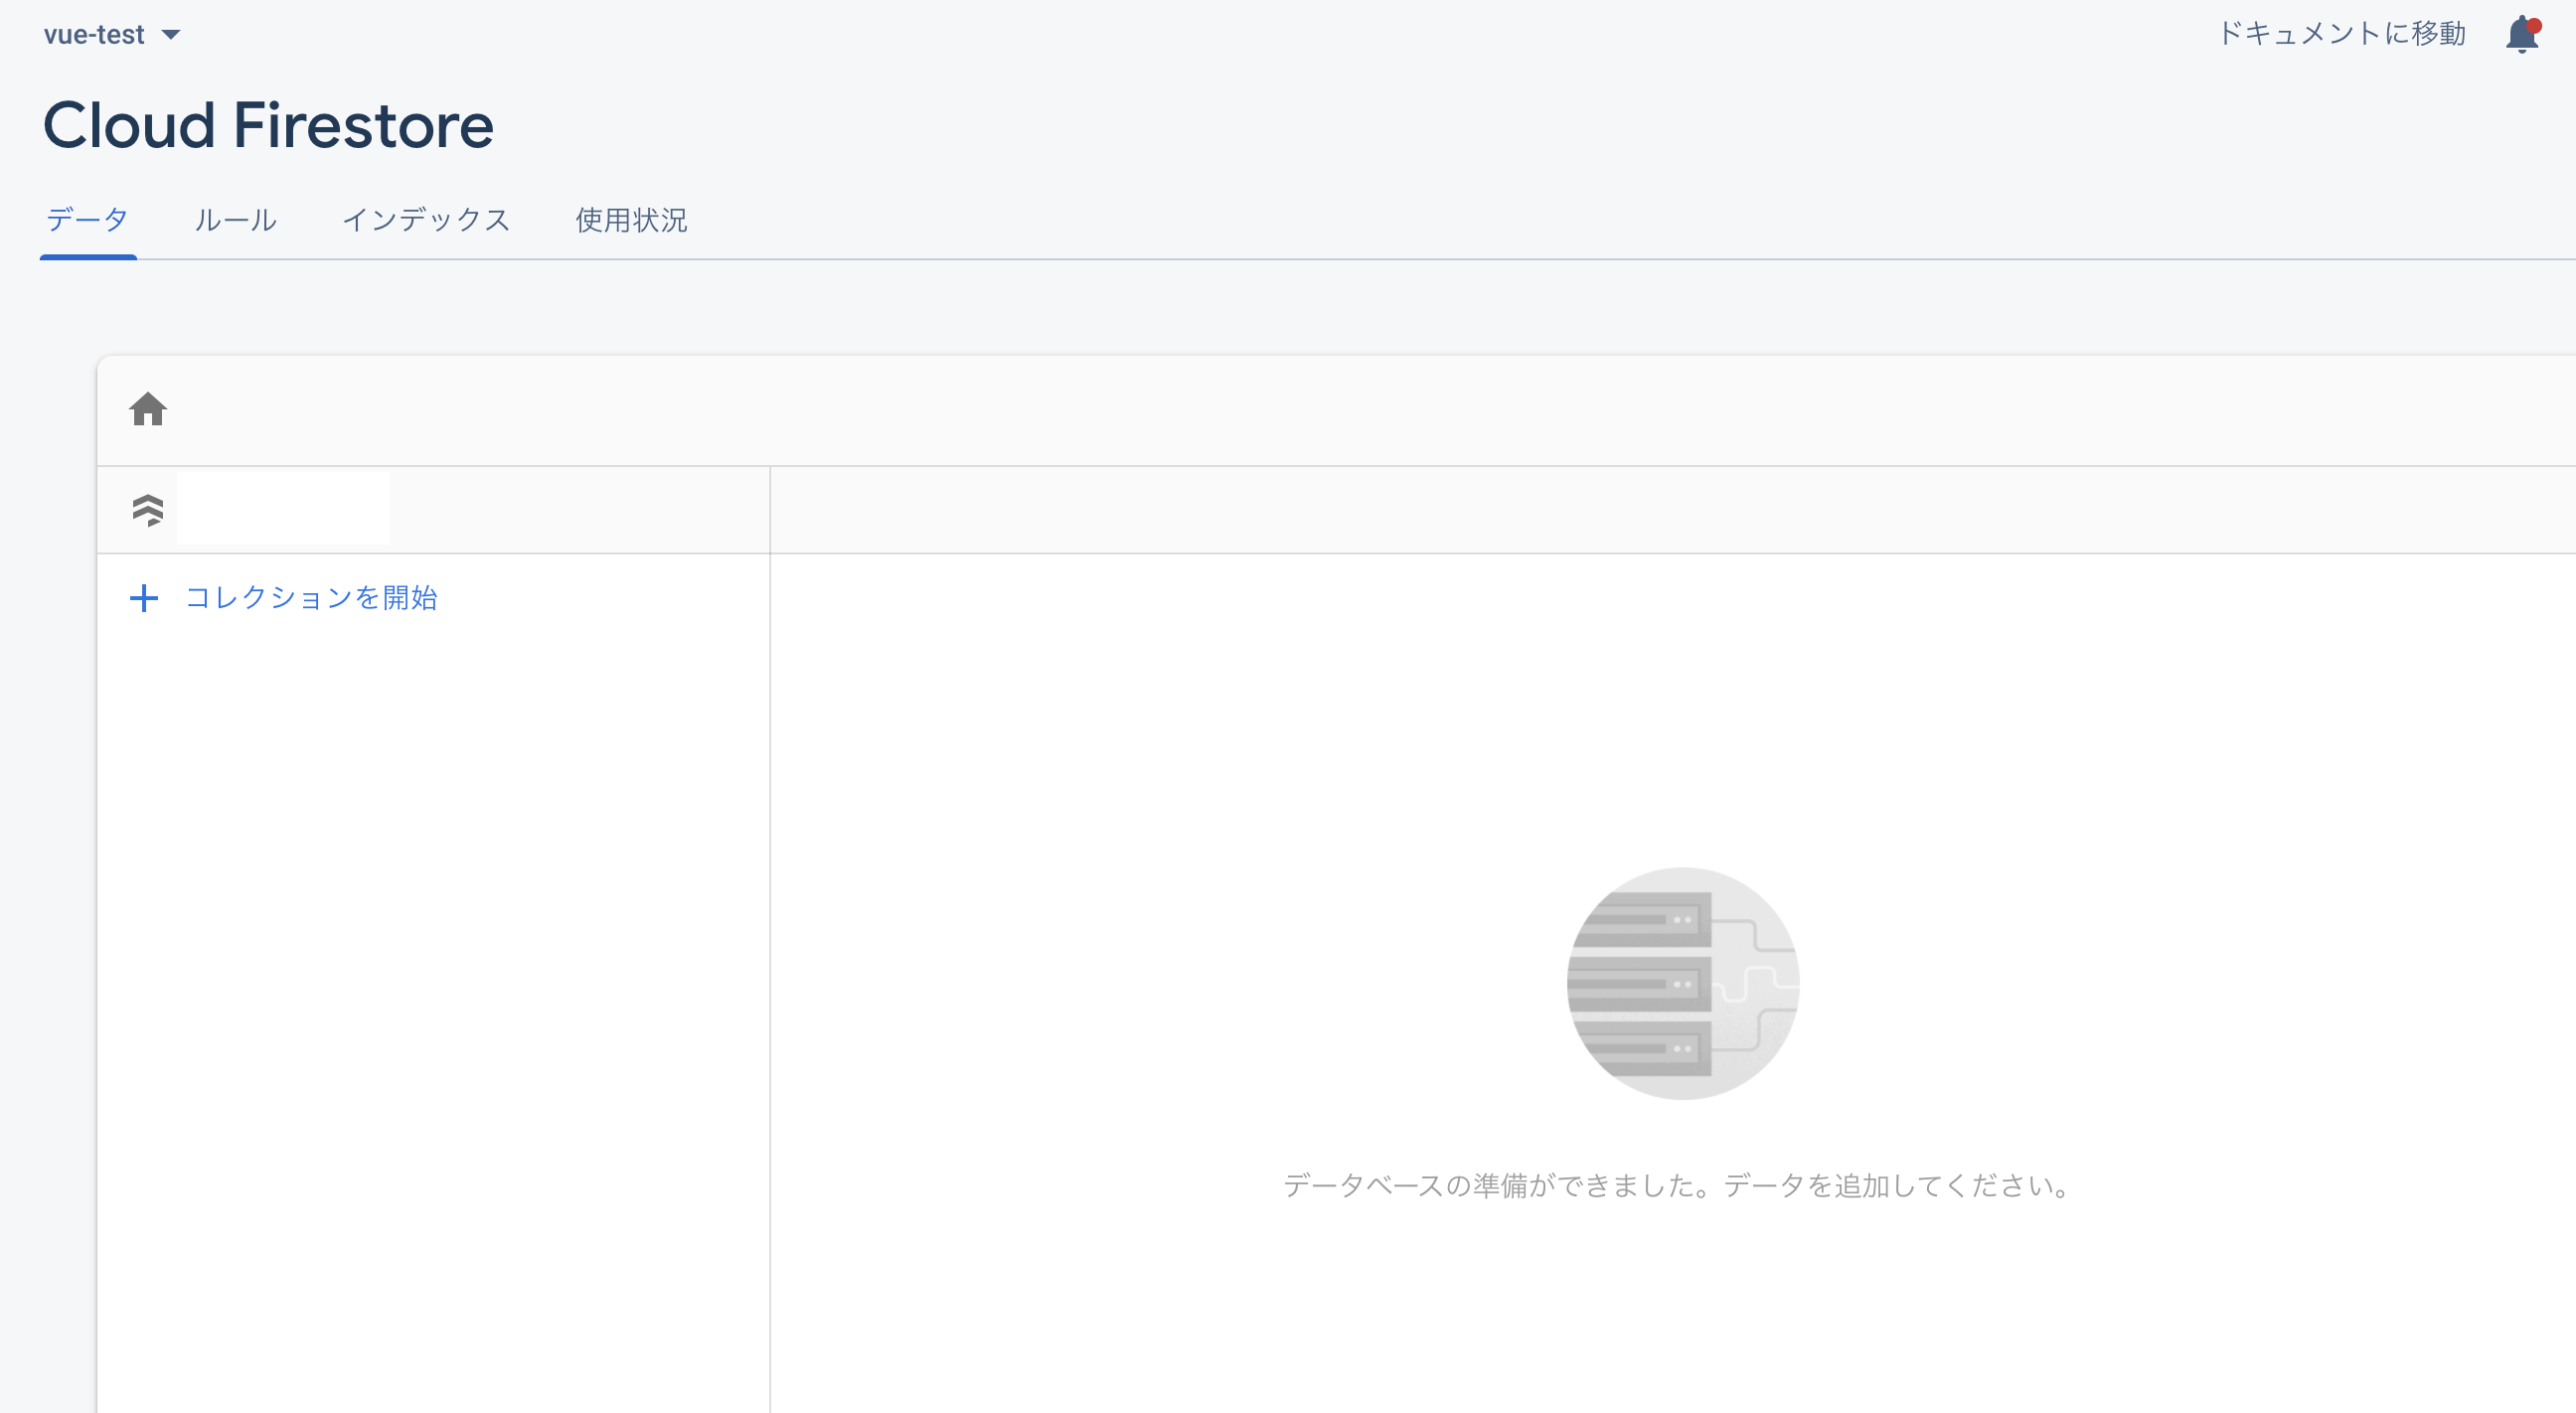
DBができました。
これでfirebaseの設定は終わりです!
プロジェクト作成
$ vue create vue-test
$ cd vue-testcd
vue-test$
axiosをインストール
vue-test$ npm install axios
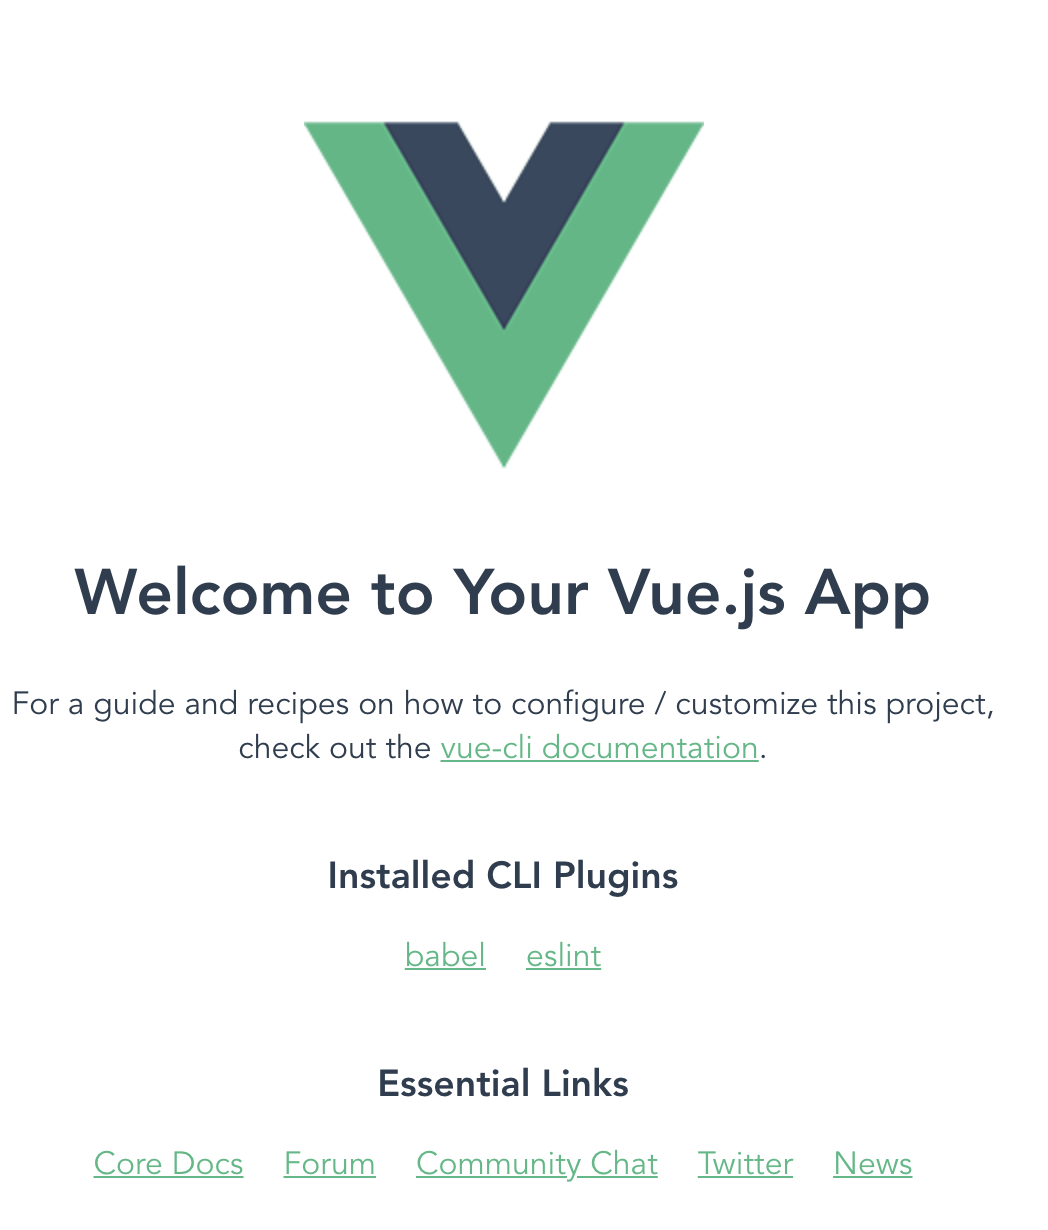
アプリ立ち上げ。
vue-test$ npm run serve
View作成
<template>
  <div>
    <h1>掲示板!</h1>
    名前
    <div><input type="text" v-model="name"></div>
    コメント
    <div><textarea v-model="comment"></textarea></div>
    <br>
    <button @click="submitPosts">投稿する</button>
    <br><br>
    <h2>投稿一覧</h2>
  </div>
</template>

<script>
export default {
  data() {
    return {
      name: '',
      comment: ''
    }
  },
  methods: {
    submitPosts() {
      console.log('submit');
    }
  }
}
</script>
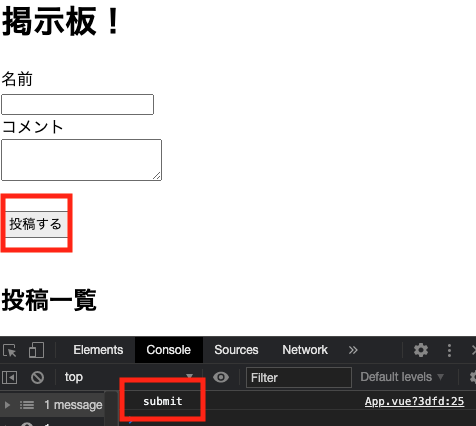
とりあえず【投稿】ボタンを押したら【submit】と出力させておきましょう。
データを送る
まずaxiosをimportする必要があります。
<script>
import axios from 'axios'//         <-
export default {
  data() {
    return {
      name: '',
      comment: ''
    }
  },
</script>
データを送る為にaxios.post()を使用します。
第一引数:サーバーのURL
第二引数:データの内容
第三引数:オプション(任意)
<script>
import axios from 'axios'
export default {
  data() {
    return {
      name: '',
      comment: ''
    }
  },
  methods: {
    submitPosts() {
//----↓ここから--------------
      axios.post(
        "https://firestore.googleapis.com/v1/projects/YOUR_PROJECT_ID/databases/(default)/documents/posts",
        {
          fields: {
            name: {
              stringValue: this.name
            },
            comment: {
              stringValue: this.comment
            }
          }
        }
      ).then(() => {
        this.name = '';
        this.comment = '';
      });
//---↑ここまで--------------
    }
  }
}
</script>
今回オプションは取りません。
.thenには通信が成功したときの処理を指定できます。
今回はthis.nameとthis.commentを空にしています。
URLは
https://firestore.googleapis.com/v1/projects/YOUR_PROJECT_ID/databases/(default)/documents/cities/LA
↑を入れます。
こちらに乗ってあるのを持って来ただけです。
※※※
しかしこれでは不十分で、URL内のYOUR_PROJECT_IDの部分を自分のプロジェクトIDに置き換える必要があります。
以下、適宜YOUR_PROJECT_IDを自分のプロジェクトIDに置き換える必要があることに注意してください。
YOUR_PROJECT_IDのままだと以下のエラーが出ます。

次に、URL末尾のcities/LAを任意のコレクション名(データを格納する場所の名前)にします。
今回はpostsとします。
データが入っています!
データの取得
では今度はサーバーからデータを取ってきましょう。
データの取得はaxios.get()を使用します。
第一引数:サーバーのURL
第二引数:オプション(任意)
サーバーのURLはaxios.post()で使用したものと全く同じです。
取得するタイミングはロード時とデータ送信時に行いたいので、
getPostsメソッドを作り各所で呼び出しましょう。
<script>
import axios from "axios";
export default {
  data() {
    return {
      name: '',
      comment: ''
    };
  },
//----↓ここから--------------
  created() {
    this.getPosts();
  },
//----↑ここまで--------------
  methods: {
    submitPosts() {
      axios.post(
        "https://firestore.googleapis.com/v1/projects/YOUR_PROJECT_ID/databases/(default)/documents/posts",
        {
          fields: {
            name: {
              stringValue: this.name
            },
            comment: {
              stringValue: this.comment
            }
          }
        }
      )
      .then(() => {
        this.name = '';
        this.comment = '';
//----↓ここ--------------
        this.getPosts();
      });
    },
//----↓ここから--------------
    getPosts() {
      axios.get(
        "https://firestore.googleapis.com/v1/projects/YOUR_PROJECT_ID/databases/(default)/documents/posts"
      )
      .then(res => {
        console.log(res.data.documents);
      });
    }
//----↑ここまで--------------
  }
};
</script>
.then(res => { console.log(res.data.documents); });
このresの中に取得したデータが入っているので確認してみます。
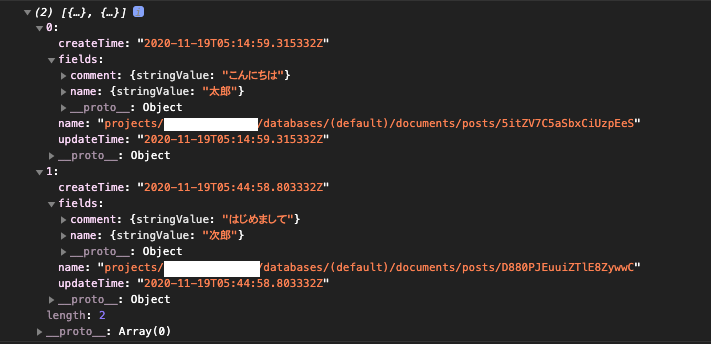
バッチリ入っています。
あとはこの配列をv-forで順番に表示させていきます。
データの表示
・dateに空配列postsを準備。
・getPostsが呼ばれたタイミングでres.data.documentsを配列postsに格納。
・配列postsをリストレンダリングしています。
<template>
  <div>
    <h1>掲示板!</h1>名前
    <div>
      <input type="text" v-model="name">
    </div>コメント
    <div>
      <textarea v-model="comment"></textarea>
    </div>
    <br>
    <button @click="submitPosts">投稿する</button>
    <br>
    <br>
    <h2>投稿一覧</h2>
<!-----↓ここから-------------------------------------------------------->
    <div v-for="post in posts" :key="post.name">
      <hr>
      <p>名前:{{post.fields.name.stringValue}}</p>
      <p>コメント:{{post.fields.comment.stringValue}}</p>
    </div>
<!-----↑ここまで-------------------------------------------------------->
  </div>
</template>

<script>
import axios from "axios";
export default {
  data() {
    return {
      name: '',
      comment: '',
//----↓ここ--------------------------
      posts: ''
    };
  },
  created() {
    this.getPosts();
  },
  methods: {
    submitPosts() {
      axios.post(
        "https://firestore.googleapis.com/v1/projects/YOUR_PROJECT_ID/databases/(default)/documents/posts",
        {
          fields: {
            name: {
              stringValue: this.name
            },
            comment: {
              stringValue: this.comment
            }
          }
        }
      ).then(() => {
        this.name = '';
        this.comment = '';
        this.getPosts();
      });
    },
    getPosts() {
      axios.get(
        "https://firestore.googleapis.com/v1/projects/YOUR_PROJECT_ID/databases/(default)/documents/posts"
      )
      .then(res => {
//----↓ここ--------------------------
        this.posts = res.data.documents;
      });
    }
  }
};
</script>
完成!
ここまで見て頂きありがとうございました!
とりあえず作って動かすを目的にしているので細かい解説はしていません(←できません)
コピペで動かす際はURLのYOUR_PROJECT_IDを適宜自身のプロジェクトIDに置き換えることを注意してください。
