ブラウザで VRM を表示するためのライブラリとして、pixivが three-vrm を公開してくれています。公式のビルド手順は html を直書きするものと、npm を使うものがあります。npm を使う方については three.js で VRM を表示する で詳しく解説してくださっていますので、本記事では html を直書きする方法を解説したいと思います。html や JavaScript 何もわからんマン(私もそれに近いですが)でもなんとかなるように書くつもりです。
完成イメージ
完成ツリー
フォルダ直下に以下のファイルが並ぶことになります。サブフォルダとかはないのでわかりやすいです。というか、フォルダとして完結してなくても、index.htmlと同じ階層にそれ以外の4つのファイルがあれば大丈夫です。
    AliciaSolid.vrm
    GLTFLoader.js
    index.html
    three.js
    three-vrm.js
素材あつめ
以下の4つの素材が必要です。
AliciaSolid.vrm
ニコニ立体からDLしてください。もちろん、好みの VRM が手元にある人はそれに差し替えてもいいです。
three.js
https://github.com/mrdoob/three.js/blob/master/build/three.js をDLしてください。
GLTFLoader.js
https://github.com/mrdoob/three.js/blob/dev/examples/js/loaders/GLTFLoader.js をDLしてください。
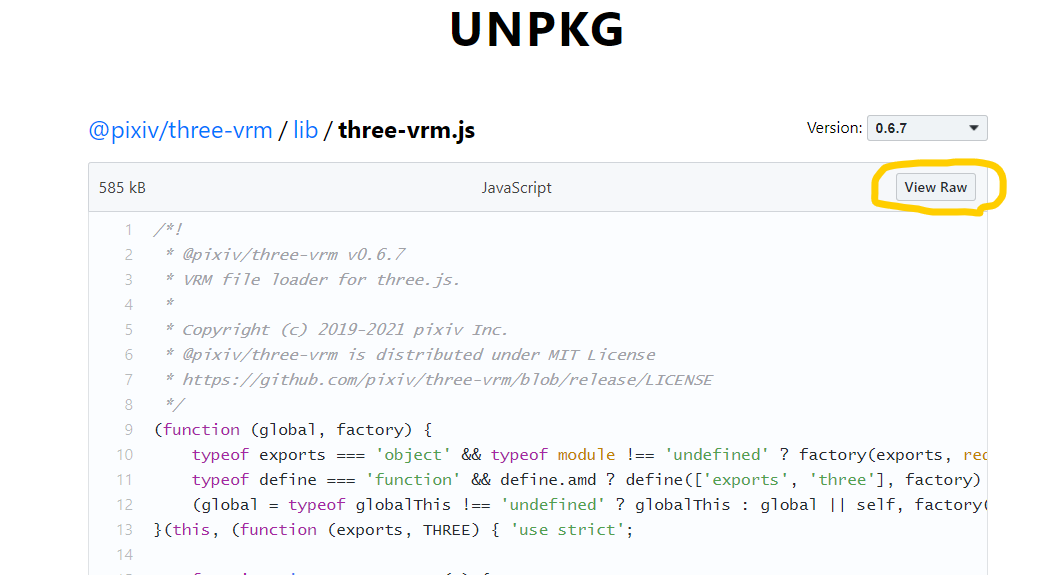
three-vrm.js
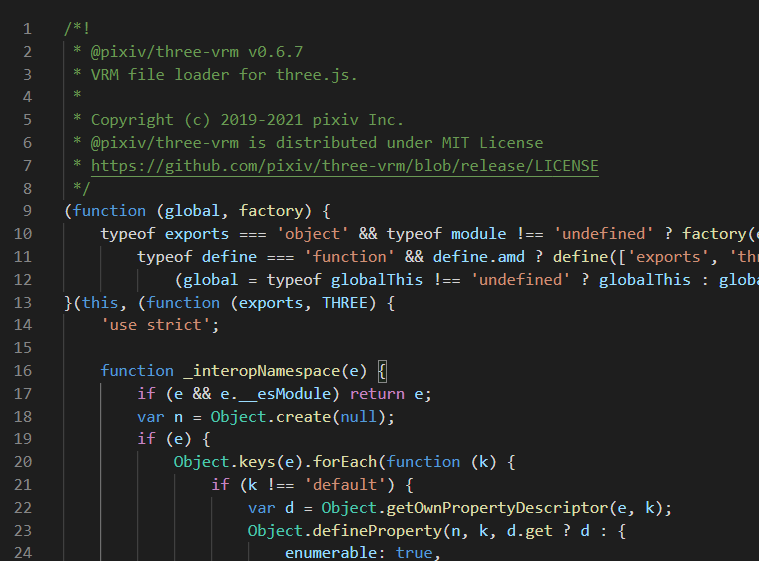
three-vrm.js のビルドデータ からDLしてください。注意点として、「名前をつけて保存」だと js ファイルなのに html のような形で保存されてしまい、上手くいきません。下の「View Raw」からコピペするのが確実だと思います。
エディタ上で開ける人は、エラーがないかを確認するのが確実です。
HTML作成
次にindex.htmlというファイルを作成します。公式ガイドによれば以下の文をコピペします。
<script src="three.js"></script>
<script src="GLTFLoader.js"></script>
<script src="three-vrm.js"></script>

<script>
const scene = new THREE.Scene();

const loader = new THREE.GLTFLoader();
loader.load(

	// URL of the VRM you want to load
	'/models/three-vrm-girl.vrm',

	// called when the resource is loaded
	( gltf ) => {

		// generate a VRM instance from gltf
		THREE.VRM.from( gltf ).then( ( vrm ) => {

			// add the loaded vrm to the scene
			scene.add( vrm.scene );

			// deal with vrm features
			console.log( vrm );

		} );

	},

	// called while loading is progressing
	( progress ) => console.log( 'Loading model...', 100.0 * ( progress.loaded / progress.total ), '%' ),

	// called when loading has errors
	( error ) => console.error( error )

);
</script>
これは JavaScript の部分だけなので、他に head とか body とかを追記する必要があります。
また、実はこれだけではキャンバスに描画するには不十分です。上のコードはデータを読み込んでいるだけで、どのカメラからどこを写すか、みたいな情報はないのです。そのため、Three.js の追加命令として、
- カメラ
- ライティング
- レンダラー
- アニメーション
といった処理を加える必要があります。
結論的には以下のようになります。
<!DOCTYPE html>
<html>

<head>
</head>

<body>
    <script src="three.js"></script>
    <script src="GLTFLoader.js"></script>
    <script src="three-vrm.js"></script>
    <script>
        // シーンの準備
        const scene = new THREE.Scene()

        // カメラの準備
        const camera = new THREE.PerspectiveCamera(45, 960 / 540, 0.1, 1000)
        camera.position.set(0, 1.4, -1.0)
        camera.rotation.set(0, Math.PI, 0)

        // レンダラーの準備
        const renderer = new THREE.WebGLRenderer()
        renderer.setSize(960, 540)
        document.body.appendChild(renderer.domElement)

        // ライトの準備
        const directionalLight = new THREE.DirectionalLight('#ffffff', 1)
        directionalLight.position.set(1, 1, 1)
        scene.add(directionalLight)

        const loader = new THREE.GLTFLoader();
        loader.load(

            // URL of the VRM you want to load
            'AliciaSolid.vrm',

            // called when the resource is loaded
            (gltf) => {

                // generate a VRM instance from gltf
                THREE.VRM.from(gltf).then((vrm) => {

                    // add the loaded vrm to the scene
                    scene.add(vrm.scene);

                    // deal with vrm features
                    console.log(vrm);

                });

            },
            // called while loading is progressing
            (progress) => console.log('Loading model...', 100.0 * (progress.loaded / progress.total), '%'),

            // called when loading has errors
            (error) => console.error(error)

        )

        // アニメーションループの開始
        function tick() {
            requestAnimationFrame(tick)
            renderer.render(scene, camera)
        }
        tick()
    </script>
</body>

</html>
コードについては three.js超入門 第1回 レンダリングまでの流れ について大元をお借りしました。
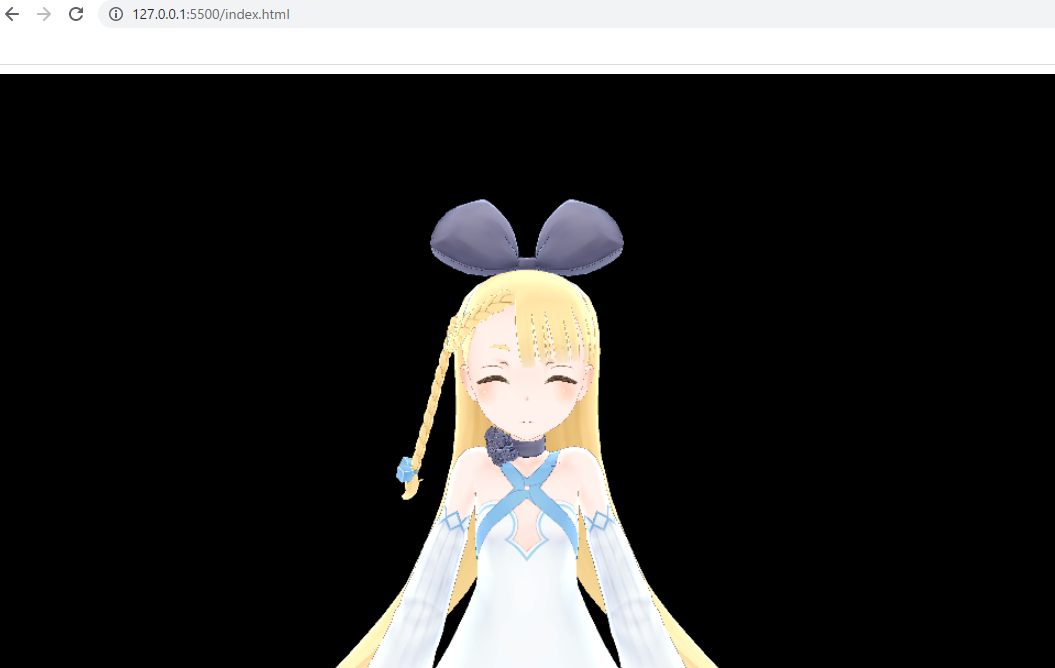
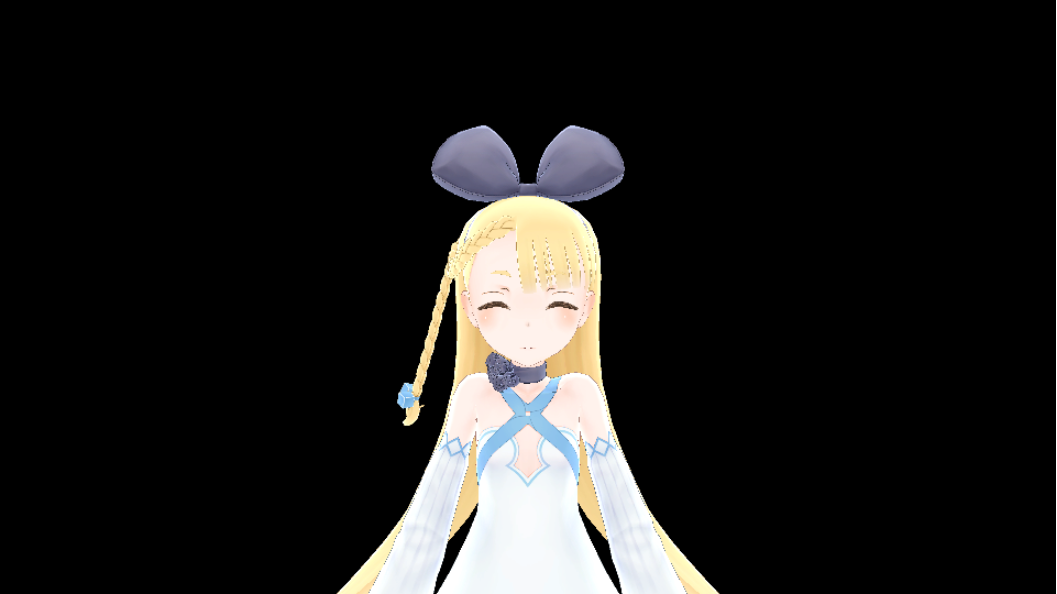
この時点で、index.htmlを開くと上手くいけば以下のように表示されているはずです。
なお、自分で用意した VRM を表示させたい方は、AliciaSolid.vrmの部分を対応する名前に変更してください。
上手くいかない場合
キャンバス(黒枠)が表示されない
上に書いた手順を間違えている可能性があります。
キャンバス(黒枠)はあるが人間が表示されない
実は、上の手順を忠実になぞった人のほとんどがこちらになっていると思われます。というのも、ブラウザによっては、ローカルファイルでは外部ファイル(つまりAliciaSolid.vrm)を読み込めないのです。ちなみに大体のブラウザはそうです。セキュリティ上の対策らしいです。
これを回避するにはローカルサーバーを立てる、という儀式を経る必要があります。色々手段はありますが、一番簡単だと思われる、VSCode を用いた手段を解説します。
VSCode をDLして、
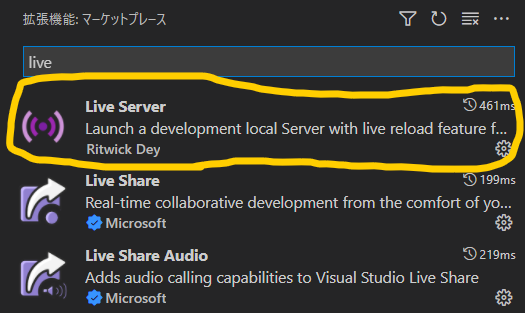
LiveServer という拡張機能をインストールして、
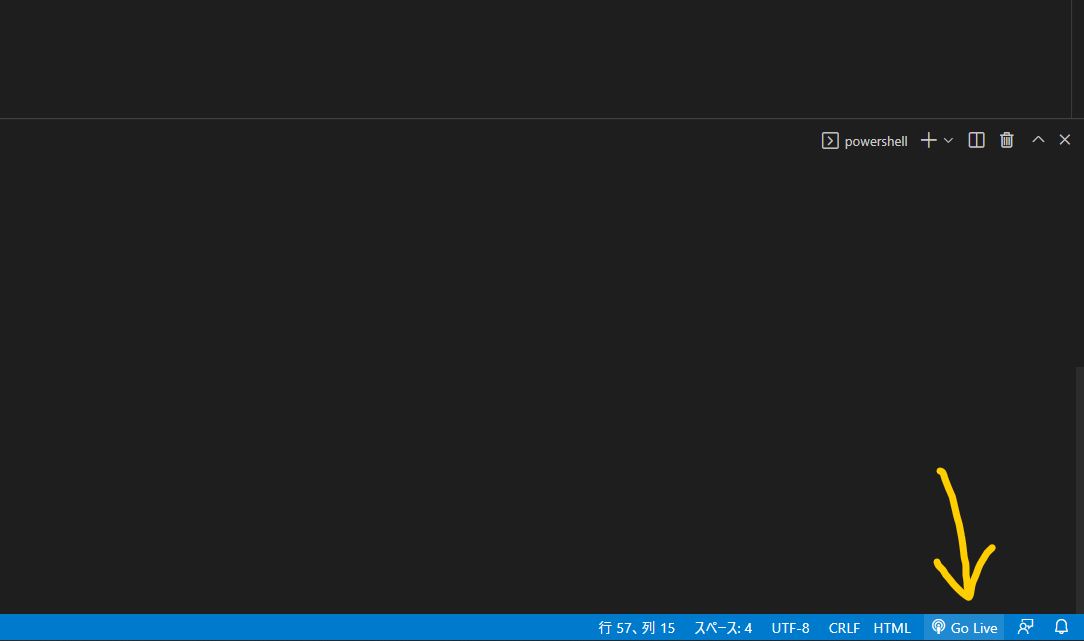
index.htmlを開いた状態で「Go Live」ボタンを押します。
そうすると、ローカルサーバーが立ち上がります。ブラウザのURLがfile:///C:/Users/xxx/xxx/index.htmlではなくhttp://127.0.0.1:5500/index.htmlになっていれば成功です。
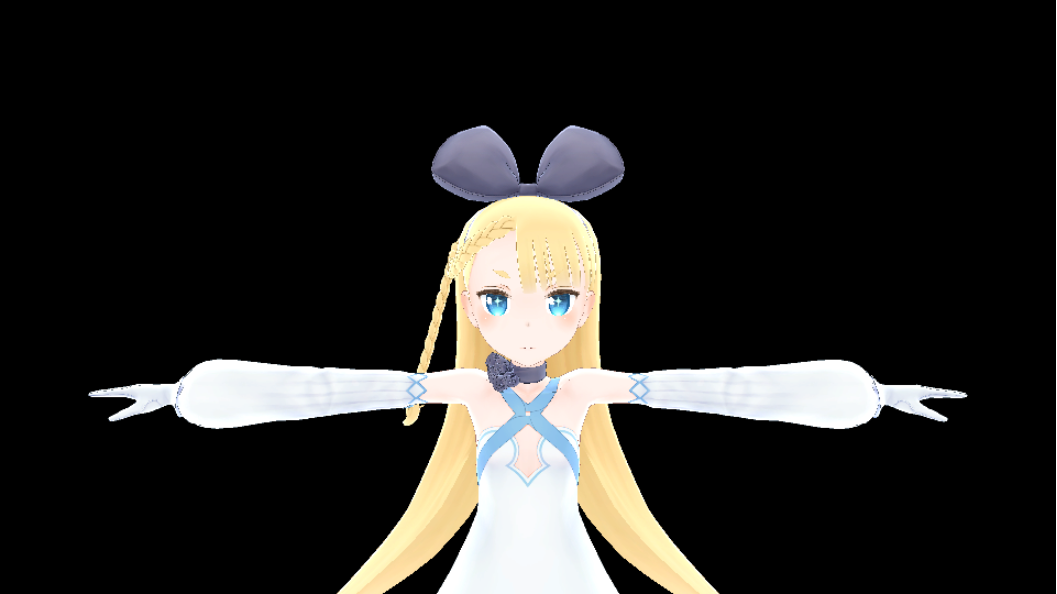
表情やポーズを変化させる
無事読み込めましたが、無表情なTポーズなので変化を加えたいです。
表情を変える
以下のコードを加えます。
vrm.blendShapeProxy.setValue(THREE.VRMSchema.BlendShapePresetName.Joy, 1.0)
vrm.blendShapeProxy.update()
ポーズを変える
こちら少し複雑になります。各ボーンを取得して、回転させるという手順になります。複数行になるので、以下のような別関数を用意します。
const normalPose = (vrm) => {
    const leftUpperArm = vrm.humanoid.getBoneNode(THREE.VRMSchema.HumanoidBoneName.LeftUpperArm)
    leftUpperArm.rotateZ(1.2)
    const rightUpperArm = vrm.humanoid.getBoneNode(THREE.VRMSchema.HumanoidBoneName.RightUpperArm)
    rightUpperArm.rotateZ(-1.2)
}
これを VRM をロードした時に作用させます。
normalPose(vrm);
結果
余裕がある人は、ポーズや表情を色々変えて遊んでみましょう。表情については https://pixiv.github.io/three-vrm/docs/enums/vrmschema.blendshapepresetname.html に、ボーンの名前については https://pixiv.github.io/three-vrm/docs/enums/vrmschema.humanoidbonename.html に詳しく載っています。
コード全体
index.htmlの最終的なコードは以下のようになります。
<!DOCTYPE html>
<html>

<head>
</head>

<body>
    <script src="three.js"></script>
    <script src="GLTFLoader.js"></script>
    <script src="three-vrm.js"></script>
    <script>
        // シーンの準備
        const scene = new THREE.Scene()

        // カメラの準備
        const camera = new THREE.PerspectiveCamera(45, 960 / 540, 0.1, 1000)
        camera.position.set(0, 1.4, -1.0)
        camera.rotation.set(0, Math.PI, 0)

        // レンダラーの準備
        const renderer = new THREE.WebGLRenderer()
        renderer.setSize(960, 540)
        document.body.appendChild(renderer.domElement)

        // ライトの準備
        const directionalLight = new THREE.DirectionalLight('#ffffff', 1)
        directionalLight.position.set(1, 1, 1)
        scene.add(directionalLight)

        const loader = new THREE.GLTFLoader();
        loader.load(

            // URL of the VRM you want to load
            'AliciaSolid.vrm',

            // called when the resource is loaded
            (gltf) => {

                // generate a VRM instance from gltf
                THREE.VRM.from(gltf).then((vrm) => {

                    // add the loaded vrm to the scene
                    scene.add(vrm.scene);

                    // deal with vrm features
                    console.log(vrm);

                    // 筆者追記、両手を下ろす
                    normalPose(vrm);

                    // 筆者追記、笑顔に
                    vrm.blendShapeProxy.setValue(THREE.VRMSchema.BlendShapePresetName.Joy, 1.0)
                    vrm.blendShapeProxy.update()

                });

            },
            // called while loading is progressing
            (progress) => console.log('Loading model...', 100.0 * (progress.loaded / progress.total), '%'),

            // called when loading has errors
            (error) => console.error(error)

        )

        const normalPose = (vrm) => {
            const leftUpperArm = vrm.humanoid.getBoneNode(THREE.VRMSchema.HumanoidBoneName.LeftUpperArm)
            leftUpperArm.rotateZ(1.2)
            const rightUpperArm = vrm.humanoid.getBoneNode(THREE.VRMSchema.HumanoidBoneName.RightUpperArm)
            rightUpperArm.rotateZ(-1.2)
        }


        // アニメーションループの開始
        function tick() {
            requestAnimationFrame(tick)
            renderer.render(scene, camera)
        }
        tick()
    </script>
</body>

</html>