概要
この記事では「three.js超入門」と題して、three.jsの基礎からシェーダーの利用までをやっていきます。
ターゲットは主に「canvas表現を触ったことがないフロントエンドエンジニア」を想定しているので、jsの構文などの説明は省略しています。
three.jsのバージョンは執筆時点で最新のr98を使用します。
three.js超入門 第0回 3Dコンピュータグラフィックスの基礎
three.js超入門 第1回 レンダリングまでの流れ
three.js超入門 第2回 アニメーションと時間ベースでの制御
three.js超入門 第3回 マウスやスクロールでのインタラクション
three.js超入門 第4回 getBoundingClientRect()を使ったDOM要素との連携
three.js超入門 第5回 シェーダー(GLSL)の基礎
three.js超入門 第6回 ShaderMaterialでメッシュを変形、着色する
three.js超入門 第7回 シェーダーに変数を渡す
three.js超入門 第8回 シェーダーをインタラクティブに動かす
three.js超入門 第9回 シェーダーでテクスチャにエフェクトをかける
前回はコードを書く前段階として、3Dコンピュータグラフィックスについて説明しました。
今回はthree.jsでの3Dオブジェクトのレンダリングまでの流れをやっていきます。
下準備
こちらのリポジトリからプロジェクトをクローンします。(各種コマンドはREADMEを参照)
npm installでインストール。
npm startでサーバーを起動しながらウォッチを開始します。
空のサンプルァイルを用意してあるので、このファイルに書き加えていきます。
src/00_empty/Canvas/index.jsにthree.jsを使ったWebGL表現の処理を書きます。
src/00_empty/index.jsには、canvasより外の処理(マウスイベントやリサイズイベントの登録など)を書きます。
// このクラス内に three.js のコードを書いていきます
export default class Canvas {
  constructor() {

  }
};
import Canvas from './Canvas';

// このクラス内にページごとのcanvas外の処理を書いていきます
export default class Page00 {
  constructor() {
    new Canvas();
  }
};
public/00_empty/index.htmlには、canvasが入るコンテナだけが用意されています。
<!DOCTYPE html>
<html lang="ja">
<head>
  <meta charset="UTF-8">
  <meta name="viewport" content="width=device-width">
  <title>00 - empty | three.js tutorial</title>

  <!-- canvasを全画面表示させるスタイル -->
  <link rel="stylesheet" href="/resource/css/common.css">
</head>
<body>
  <!-- この中にcanvasが入ります -->
  <div id="canvas-container"></div>

  <script src="/resource/js/vendor.bundle.js"></script>
  <script src="/resource/js/common.bundle.js"></script>
</body>
</html>
レンダリングに必要なもの
大きく分けてMesh Light Scene Camera Rendererの5つのクラスを使用します。
THREE.Mesh
THREE.GeometryとTHREE.Materialから成る3Dモデルです。
前回書いた「頂点バッファ」のpositionとnormalがTHREE.Geometryで制御され、colorがTHREE.Materialによって制御されます。
THREE.Geometry
頂点や法線など、モデルの形状を設定するデータです。
球体(THREE.SphereGeometry)や直方体(THREE.BoxGeometry)、平面(THREE.PlaneGeomentry)などいくつかのプリミティブ形状が組み込まれています。
THREE.Material
色やテクスチャなど、モデルの質感を設定するデータです。
colorを指定することで、モデルの色を一括で設定してくれます。
THREE.Light
モデルに陰影を表現するためのライトです。
環境光のTHREE.AmbientLight、点光源のTHREE.PointLight、方向光源のTHREE.DirectionalLightなど、いろんな種類のライトを目的によって使い分けます。
THREE.Scene
カメラで撮影するためのステージのようなものです。
THREE.MeshやTHREE.Lightをシーンに追加することでカメラに映るようになります。
THREE.Camera
シーン内の3Dモデルを撮影するためのカメラです。
いくつか種類がありますが、ほとんどの場合THREE.PerspectiveCameraを使います。
THREE.Renderer
カメラで撮影した3Dモデルを画面に表示するためのレンダラーです。
レンダラーにもいくつか種類がありますが、ほとんどの場合THREE.WebGLRendererを使います。
レンダラーのrender関数にTHREE.SceneとTHREE.Cameraを渡すことでcanvas要素にレンダリングします。
レンダリングの流れ
上記の逆順でインスタンスを作成していきます。
Canvasクラスのコンストラクタ内に以下を追記します。
(レンダリングまでの最短距離のコードなので、細かい設定などは省いています。)
import * as THREE from 'three';

export default class Canvas {
  constructor() {
    // ウィンドウサイズ
    this.w = window.innerWidth;
    this.h = window.innerHeight;

    // レンダラーを作成
    this.renderer = new THREE.WebGLRenderer();
    this.renderer.setSize(this.w, this.h);// 描画サイズ
    this.renderer.setPixelRatio(window.devicePixelRatio);// ピクセル比

    // #canvas-containerにレンダラーのcanvasを追加
    const container = document.getElementById("canvas-container");
    container.appendChild(this.renderer.domElement);

    // カメラを作成 (視野角, 画面のアスペクト比, カメラに映る最短距離, カメラに映る最遠距離)
    this.camera = new THREE.PerspectiveCamera(60, this.w / this.h, 1, 10);
    this.camera.position.z = 3;// カメラを遠ざける

    // シーンを作成
    this.scene = new THREE.Scene();

    // ライトを作成
    this.light = new THREE.PointLight(0x00ffff);
    this.light.position.set(2, 2, 2);// ライトの位置を設定

    // ライトをシーンに追加
    this.scene.add(this.light);

    // 立方体のジオメトリを作成(幅, 高さ, 奥行き)
    const geo = new THREE.BoxGeometry(1, 1, 1);

    // マテリアルを作成
    const mat = new THREE.MeshLambertMaterial({ color: 0xffffff });

    // ジオメトリとマテリアルからメッシュを作成
    this.mesh = new THREE.Mesh(geo, mat);

    // メッシュをシーンに追加
    this.scene.add(this.mesh);

    // 画面に表示
    this.renderer.render(this.scene, this.camera);
  }
};
Mesh Camera LightにはCSS Transformのように移動、回転、スケールを制御できるposition rotation scaleのプロパティがあります。
それぞれがx, y, zの値を持ったTHREE.Vector3型になっています。
一部の軸だけ設定するときはposition.x = newXと書き、全てを設定するときはposition.set(newX, newY, newZ)と書きます。
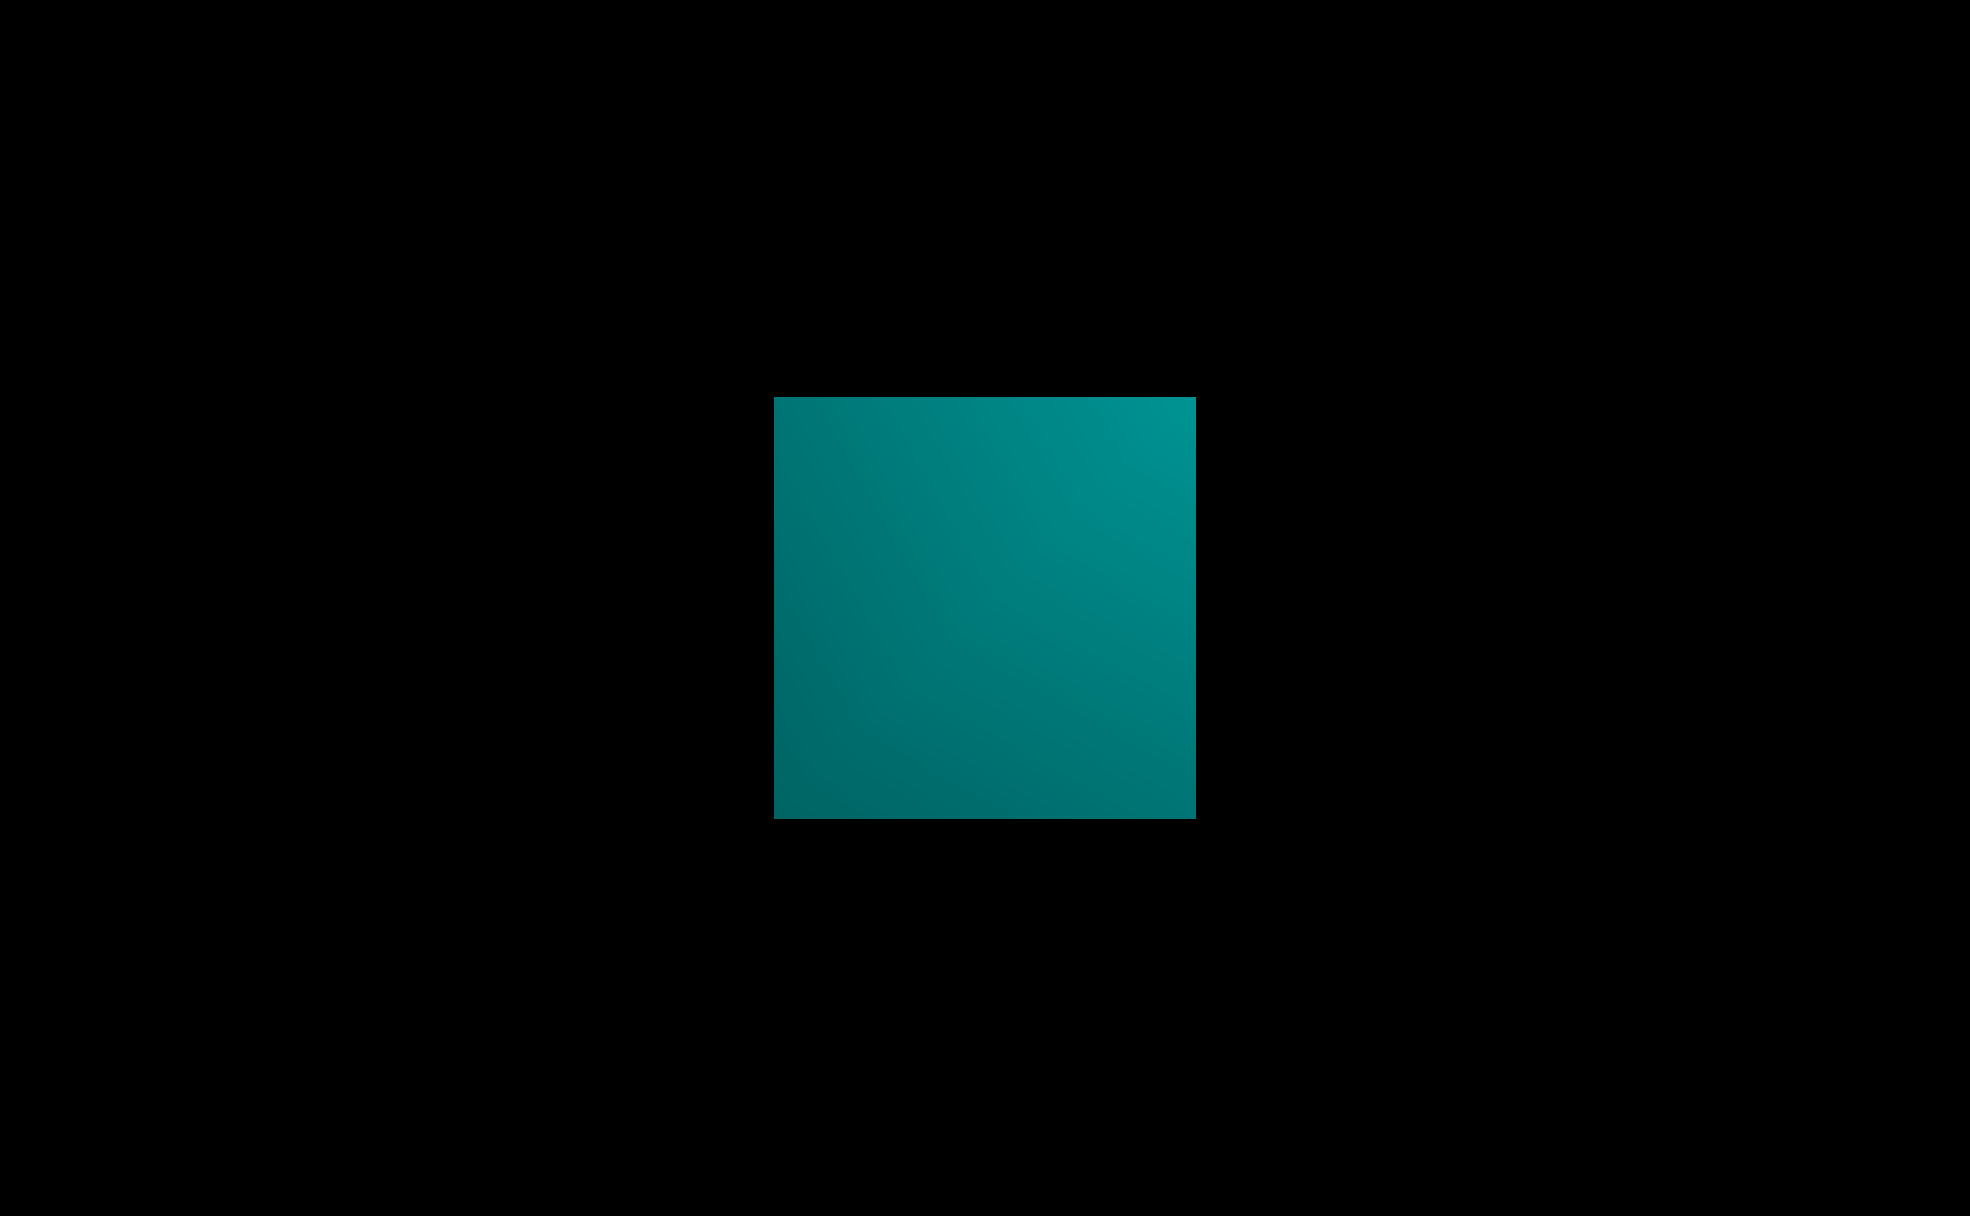
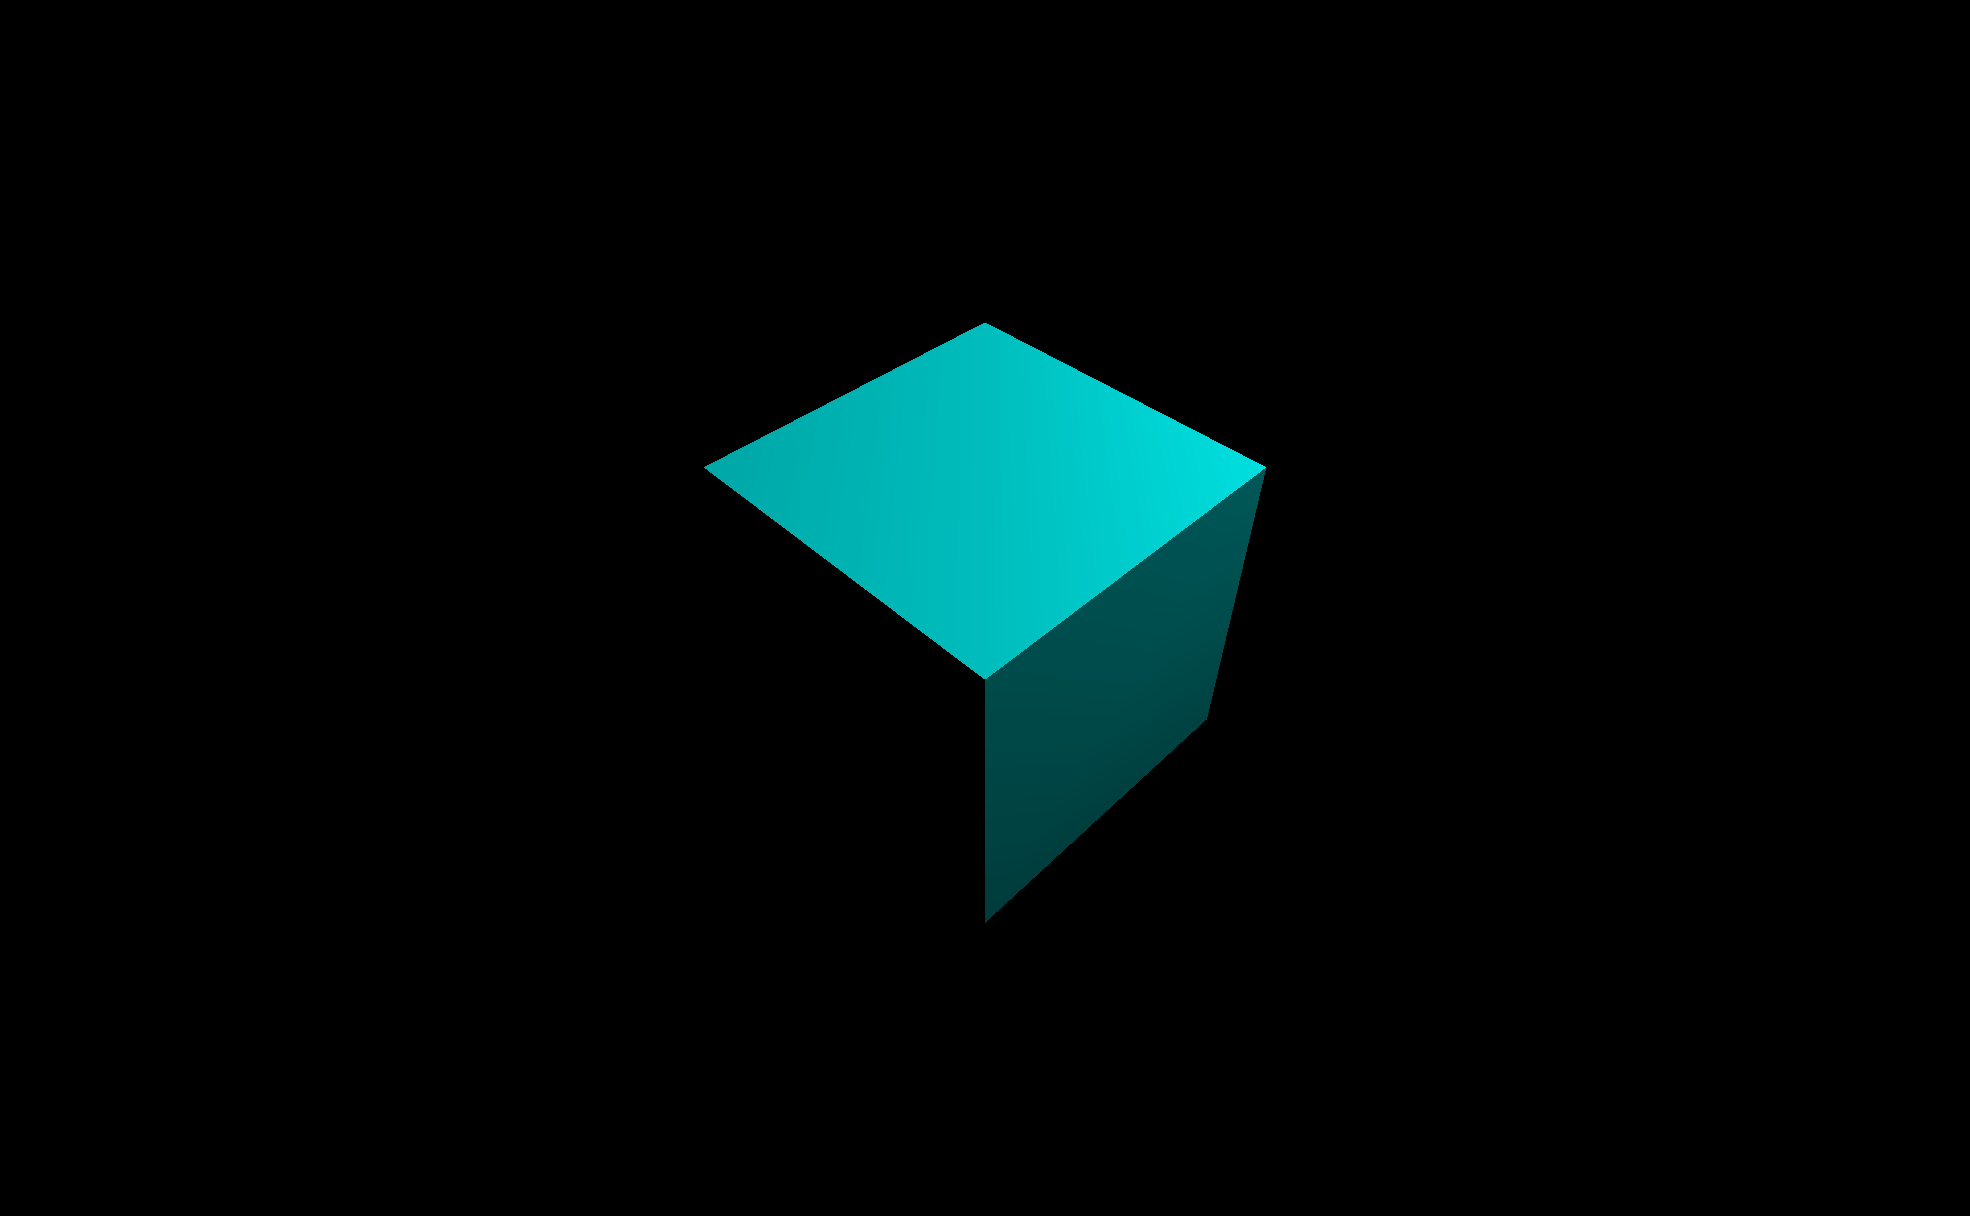
立方体が真正面を向いていてライティングがよくわからないので、メッシュを回転させてみましょう。
rotationの角度の単位はラジアンなので、Math.PIを使って計算します。
PI = 180°なので、180° / 4 = 45°になります。
// ジオメトリとマテリアルからメッシュを作成
this.mesh = new THREE.Mesh(geo, mat);
this.mesh.rotation.x = Math.PI / 4;
this.mesh.rotation.y = Math.PI / 4;
また、THREE.Math.DEG2RADを使えば度数法で指定することもできます。
// ジオメトリとマテリアルからメッシュを作成
this.mesh = new THREE.Mesh(geo, mat);
this.mesh.rotation.x = THREE.Math.DEG2RAD * 45;
this.mesh.rotation.y = THREE.Math.DEG2RAD * 45;
立方体が回転して、ちゃんとライティングされていることがわかりますね。
これで3Dオブジェクトの静止画のレンダリングができました。
色や座標を変えたり、メッシュやライトを追加してみましょう!
おまけ1:canvasの背景を透明にする
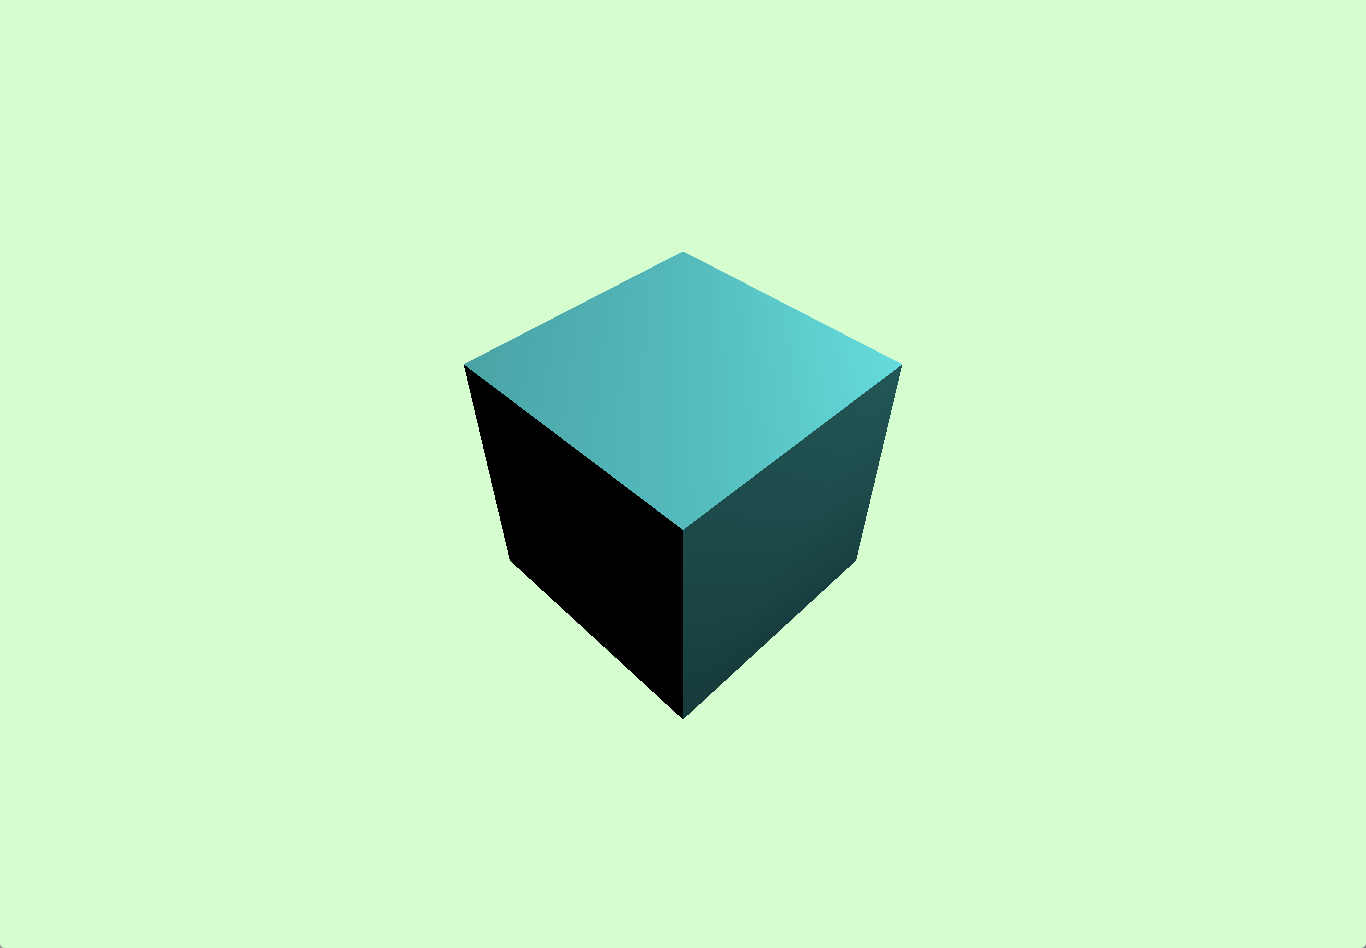
WebGLRendererにオプションでalpha: trueを入れると背景が透明になります。
this.renderer = new WebGLRenderer({ alpha: true });
確認用にbodyに背景色をつけてみます。
<body style="background-color: #cfc;">
おまけ2:必要なモジュールだけimportしてバンドル後の容量を削減する
上のコードでは、import * as THREE from 'three';でthree.jsの全ての機能をimportして、THREE.で使うクラスを呼び出していますが、以下のような書き方をすることでバンドル後のファイルサイズをグッと小さくすることができます。
import { WebGLRenderer } from 'three/src/renderers/WebGLRenderer';
import { PerspectiveCamera } from 'three/src/cameras/PerspectiveCamera';
import { Scene } from 'three/src/scenes/Scene';
import { PointLight } from 'three/src/lights/PointLight';
import { BoxGeometry } from 'three/src/geometries/BoxGeometry';
import { MeshLambertMaterial } from 'three/src/materials/MeshLambertMaterial';
import { Mesh } from 'three/src/objects/Mesh';

export default class Canvas {
  constructor() {
    // ウィンドウサイズ
    this.w = window.innerWidth;
    this.h = window.innerHeight;

    // レンダラーを作成
    this.renderer = new WebGLRenderer();
    this.renderer.setSize(this.w, this.h);// 描画サイズ
    this.renderer.setPixelRatio(window.devicePixelRatio);// ピクセル比

    // #canvas-containerにレンダラーのcanvasを追加
    const container = document.getElementById("canvas-container");
    container.appendChild(this.renderer.domElement);

    // カメラを作成 (視野角, 画面のアスペクト比, カメラに映る最短距離, カメラに映る最遠距離)
    this.camera = new PerspectiveCamera(60, this.w / this.h, 1, 10);
    this.camera.position.z = 3;// カメラを遠ざける

    // シーンを作成
    this.scene = new Scene();

    // ライトを作成
    this.light = new PointLight(0x00ffff);
    this.light.position.set(2, 2, 2);// ライトの位置を設定

    // ライトをシーンに追加
    this.scene.add(this.light);

    // 立方体のジオメトリを作成(幅, 高さ, 奥行き)
    const geo = new BoxGeometry(1, 1, 1);

    // マテリアルを作成
    const mat = new MeshLambertMaterial({ color: 0xffffff });

    // ジオメトリとマテリアルからメッシュを作成
    this.mesh = new Mesh(geo, mat);
    this.mesh.rotation.x = Math.PI / 4;
    this.mesh.rotation.y = Math.PI / 4;

    // メッシュをシーンに追加
    this.scene.add(this.mesh);

    // 画面に表示
    this.renderer.render(this.scene, this.camera);
  }
};


