概要
この記事では「three.js超入門」と題して、three.jsの基礎からシェーダーの利用までをやっていきます。
ターゲットは主に「canvas表現を触ったことがないフロントエンドエンジニア」を想定しているので、jsの構文などの説明は省略しています。
three.jsのバージョンは執筆時点で最新のr98を使用します。
three.js超入門 第0回 3Dコンピュータグラフィックスの基礎
three.js超入門 第1回 レンダリングまでの流れ
three.js超入門 第2回 アニメーションと時間ベースでの制御
three.js超入門 第3回 マウスやスクロールでのインタラクション
three.js超入門 第4回 DOM要素との連携
three.js超入門 第5回 シェーダー(GLSL)の基礎
three.js超入門 第6回 ShaderMaterialでメッシュを変形、着色する
three.js超入門 第7回 シェーダーに変数を渡す
three.js超入門 第8回 シェーダーをインタラクティブに動かす
three.js超入門 第9回 シェーダーでテクスチャにエフェクトをかける
前回はピクセルシェーダーのみで描いた発光する円をマウスでインタラクティブに動かしました。
今回はuniform変数でシェーダーにテクスチャ(画像)を渡して、ピクセルシェーダーでテクスチャにエフェクトをかける方法を紹介します。
下準備
テクスチャを読み込む
※ 以下はテクスチャの読み込み方の例なので、実際のコードに書く必要はありません。
TextureLoaderクラスのload()関数に画像のURLを渡して読み込みます。
import { TextureLoader } from 'three/src/loaders/TextureLoader';
import { ShaderMaterial } from 'three/src/materials/ShaderMaterial';

import vertexSource from './shaders/shader.vert';
import fragmentSource from './shaders/shader.frag';

const loader = new TextureLoader();// テクスチャローダーを作成
const texture = loader.load('/resource/img/img.jpg');// テクスチャ読み込み

const mat = new ShaderMaterial({
  uniforms: {
    uTex: { value: texture }// テスクチャを uTex として渡す
  },
  vertexShader: vertexSource,
  fragmentShader: fragmentSource
});
varying vec2 vUv;

uniform sampler2D uTex;// テクスチャは sampler2D 型

void main() {
  vec3 color = texture2D( uTex, vUv ).rgb;// texture2D() でテクスチャのuv座標地点の色 rgba を取得

  gl_FragColor = vec4( color, 1.0 );
}
テクスチャ画像のサイズについて
WebGLではメモリ効率化のため、テクスチャに使用する画像は縦横が2の累乗サイズの画像の利用が推奨されています。
例:256 x 256、512 x 1024、2048 x 128 など
非推奨サイズの画像を使った場合、以下のようなアラートがコンソールに出ます。
⚠️ THREE.WebGLRenderer: image is not power of two (2048x826). Resized to 2048x512
アスペクト補正
テクスチャのアスペクト補正は、CSSのbackground-size: cover;みたいに画面中心からスケールして全体を覆い尽くすようにしたいので、普通の座標を補正するときとは計算方法が異なります。
import { TextureLoader } from 'three/src/loaders/TextureLoader';

// 省略

export default class Canvas {
  constructor() {
    // 省略

    const loader = new TextureLoader();// テクスチャローダーを作成
    const texture = loader.load('/resource/img/img.jpg');// テクスチャ読み込み

    // uniform変数を定義
    this.uniforms = {
      uTime: {
        value: 0.0
      },
      uMouse: {
        value: new Vector2(0.5, 0.5)
      },
      uRadius: {
        value: this.targetRadius
      },
      uFixAspect: {
        value: this.h / this.w// 逆アスペクト
      },
      uTex: {
        value: texture// テクスチャ
      }
    };

    // 省略
  }

  // 省略
};
前回まではピクセルシェーダーでUV座標のアスペクト補正をしていましたが、頂点シェーダーでも同じ処理が書けるので今回は頂点シェーダーでvUvを送る前に補正をかけます。
varying vec2 vUv;

uniform float uFixAspect;

void main() {
  // 余白ができないようにアスペクト補正
  vUv = uv - .5;
  vUv.y *= uFixAspect;
  vUv += .5;

  gl_Position = vec4( position, 1.0 );
}
varying vec2 vUv;

uniform sampler2D uTex;

void main() {
  vec3 color = texture2D( uTex, vUv ).rgb;

  gl_FragColor = vec4( color, 1.0 );
}
エフェクトを作る準備
uRadiusとtargetRadiusをuPercentとtargetPercentに変更して、デフォルト値を0.0、最大値を1.0に変更します。
constructor() {
  // 省略

  this.targetPercent = 0.0;// Radius -> Percent

  const loader = new TextureLoader();// テクスチャローダーを作成
  const texture = loader.load('/resource/img/img.jpg');// テクスチャ読み込み

  // uniform変数を定義
  this.uniforms = {
    // 省略
    uPercent: {// Radius -> Percent
      value: this.targetPercent// Radius -> Percent
    },
    // 省略
  };
}

// 省略
mousePressed(x, y) {
  this.mouseMoved(x, y);
  this.targetPercent = 1.;// マウスを押したら進捗度の目標値を 1.0 に
}
mouseReleased(x, y) {
  this.mouseMoved(x, y);
  this.targetPercent = 0.0;// マウスを離したら進捗度の目標値を 0.0 に
}
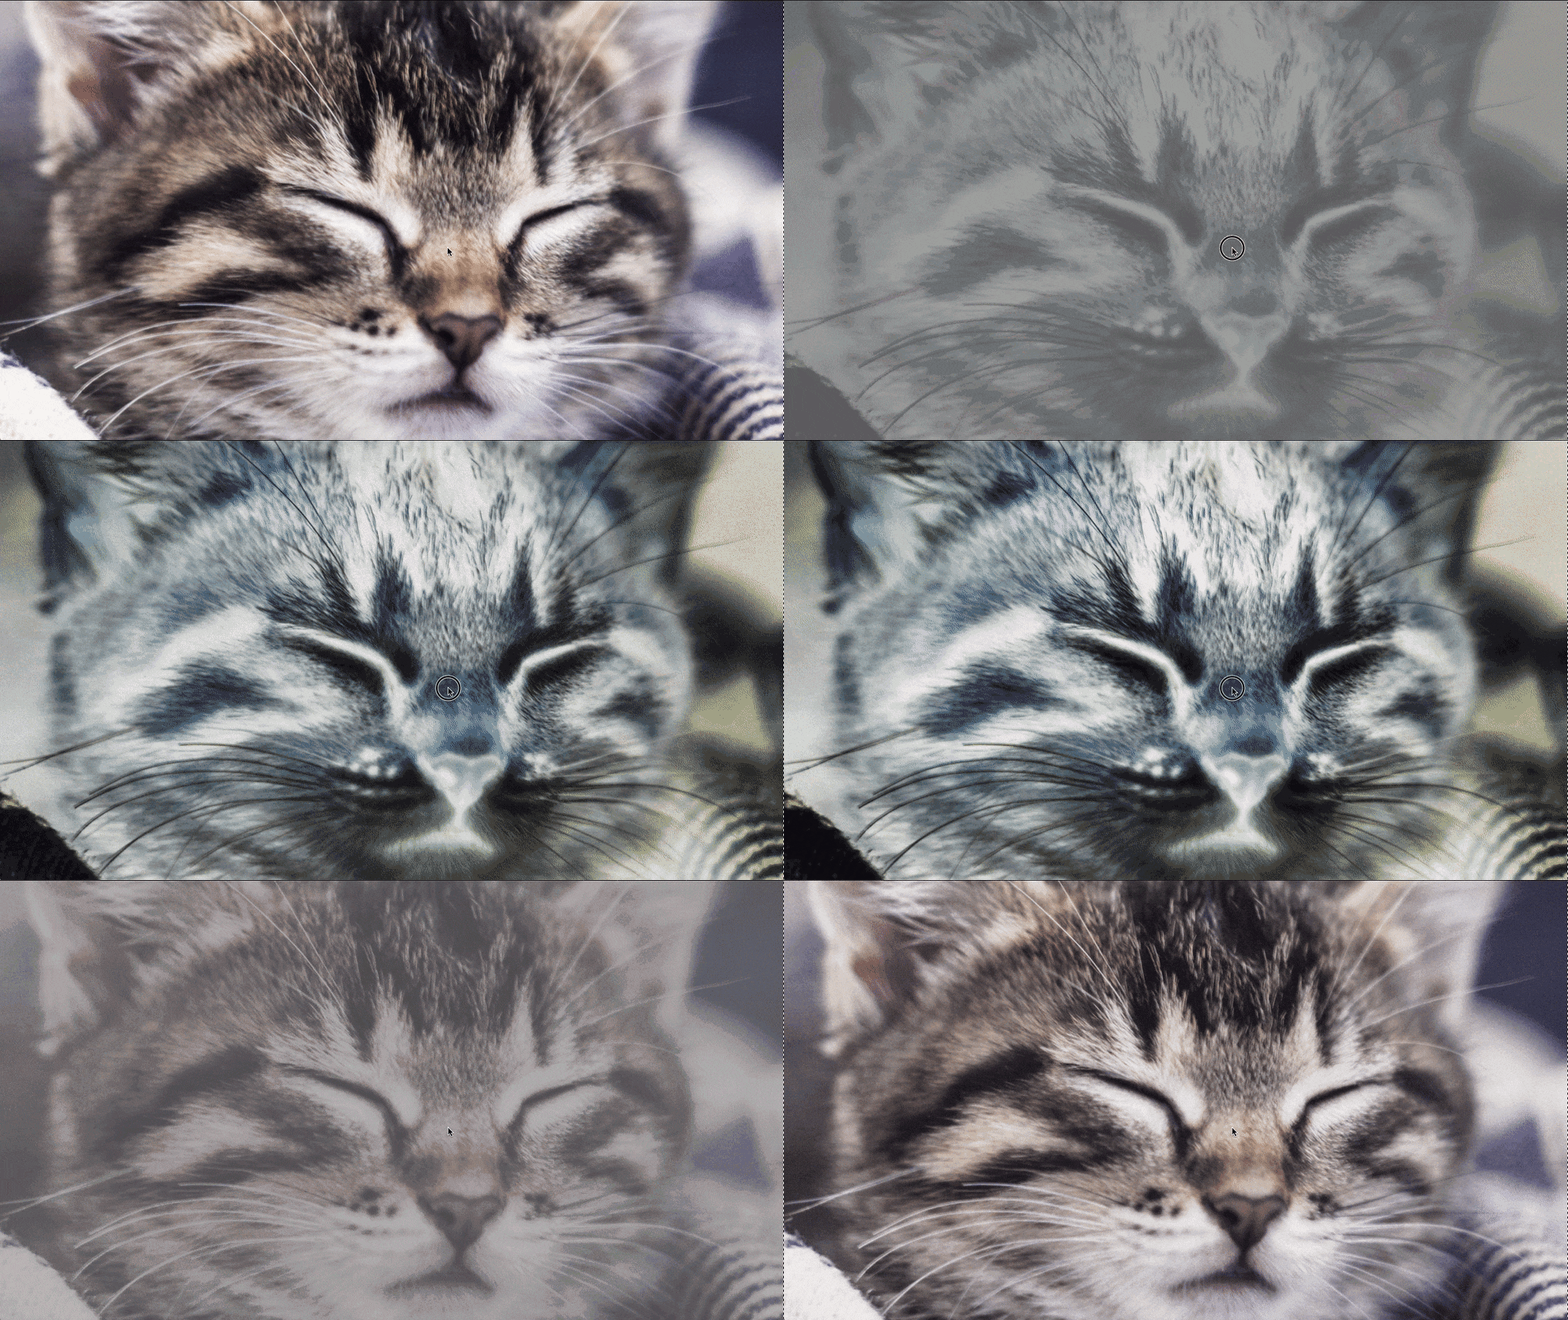
エフェクト:階調反転
GLSLは色を0.0 ~ 1.0で表現するので、1.0 - colorとすることで色が反転します。
mix()関数は第一、第二引数に入れたふたつの色(色でなくでも可)を第三引数のfloat値をパーセントとして混ぜる関数です。
参考:The Book of Shaders: mix
varying vec2 vUv;

uniform sampler2D uTex;
uniform float uPercent;

void main() {
  vec3 color = texture2D( uTex, vUv ).rgb;
  vec3 invert = 1. - color;

  color = mix( color, invert, uPercent );

  gl_FragColor = vec4( color, 1.0 );
}
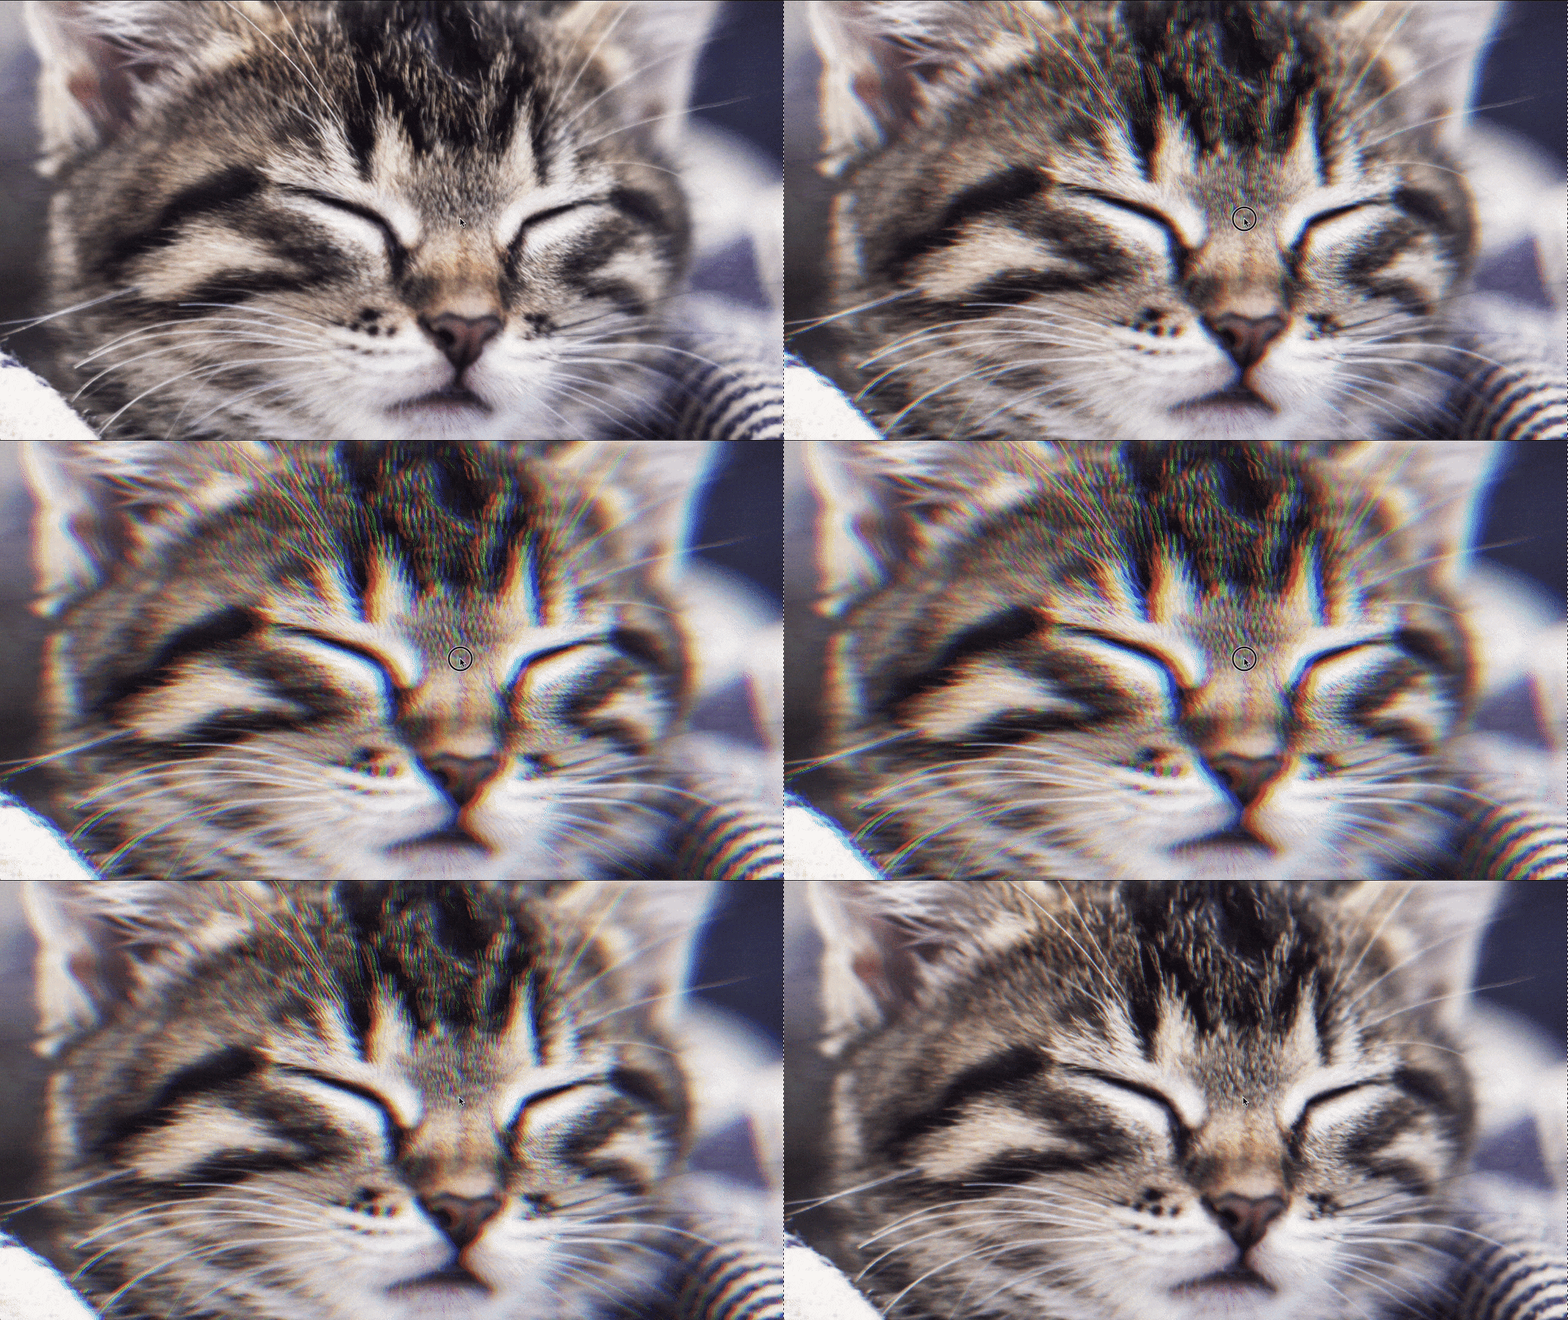
エフェクト:チャンネルシフト
RとBのUV座標を左右に少しずらすと色収差みたいなエフェクトができます。
varying vec2 vUv;

uniform float uPercent;
uniform sampler2D uTex;

void main() {
  float shift = uPercent * .01;

  float r = texture2D( uTex, vUv + vec2( shift, 0.0 ) ).r;
  float g = texture2D( uTex, vUv ).g;
  float b = texture2D( uTex, vUv - vec2( shift, 0.0 ) ).b;

  vec3 color = vec3( r, g, b );

  gl_FragColor = vec4( color, 1.0 );
}
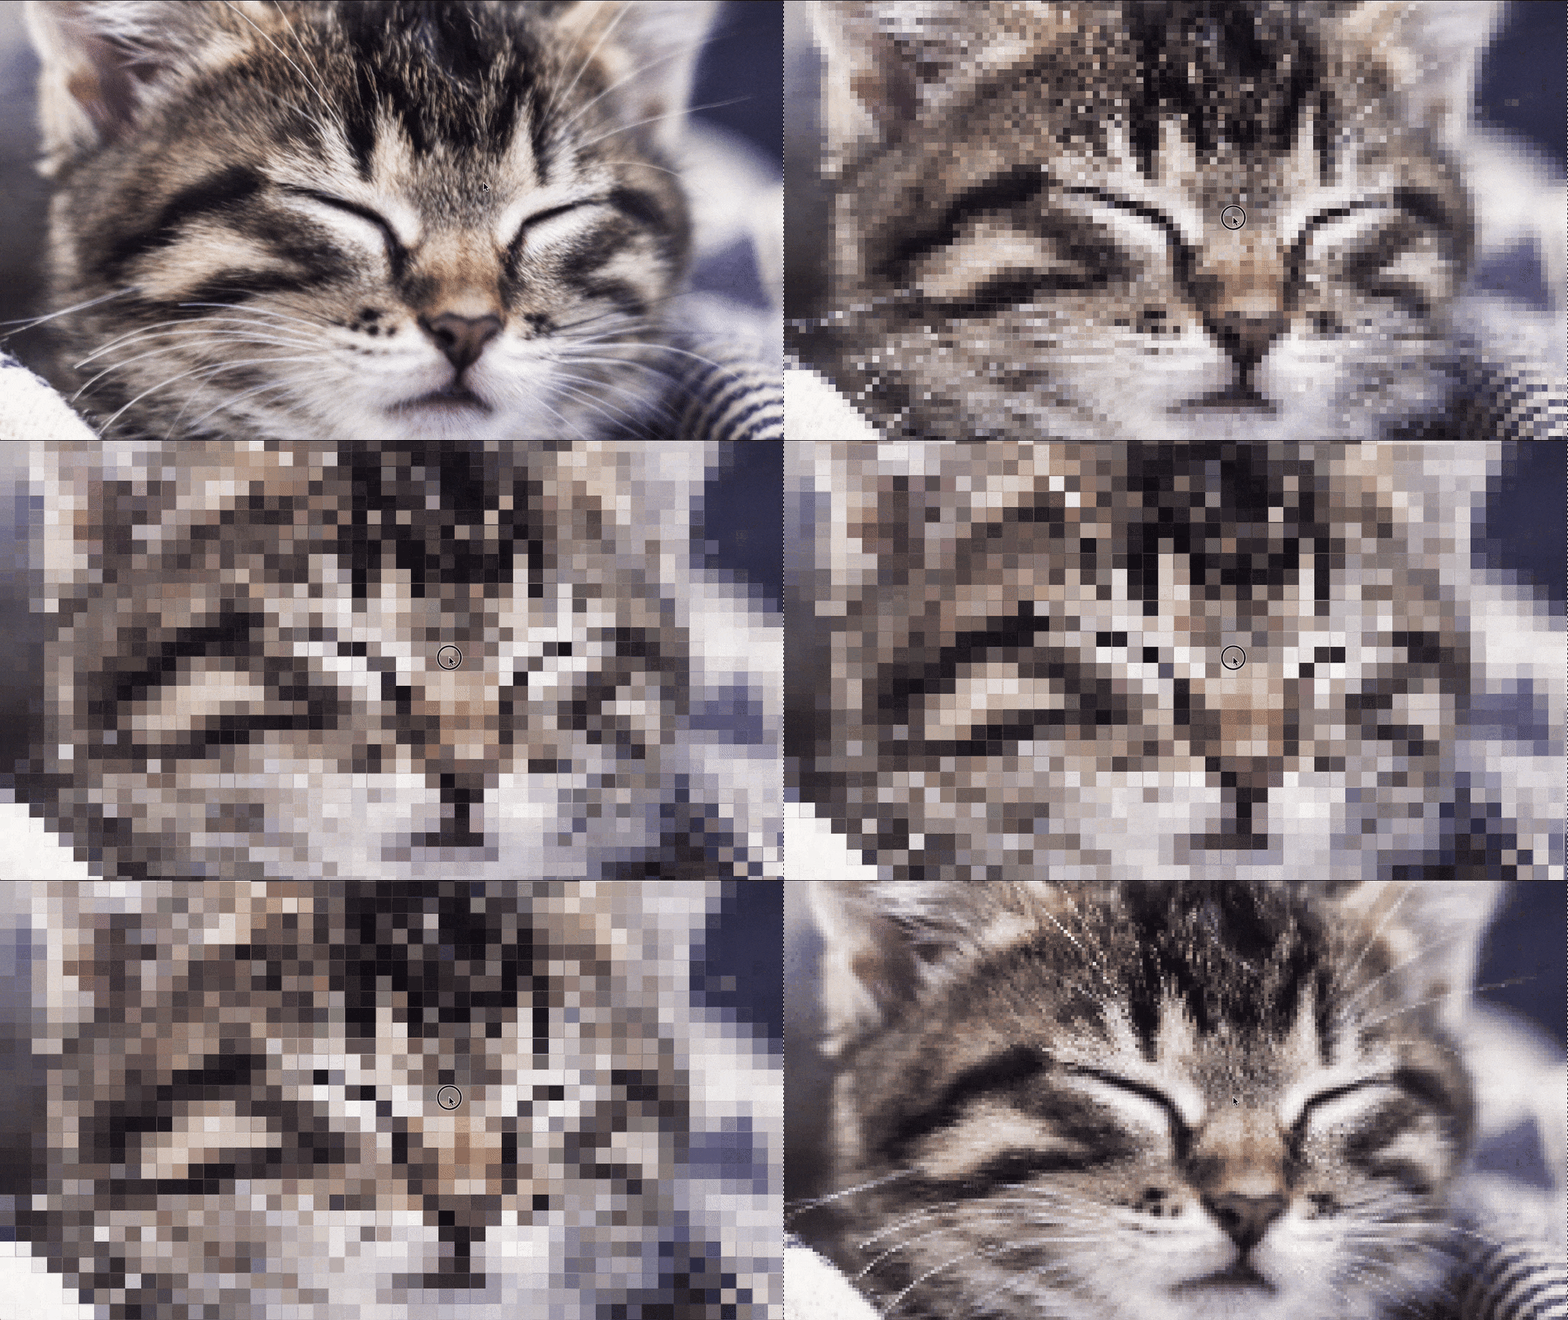
エフェクト:モザイク
指定した数値でUV座標を縦横に分割して、分割された中心の色を取得します。
varying vec2 vUv;

uniform float uPercent;
uniform sampler2D uTex;

void main() {
  vec2 uv = vUv;

  float moz = uPercent * 0.02;

  if( moz > 0. ) {// 0では割れないので、if文で保護
    uv = floor( uv / moz ) * moz + ( moz * .5 );
  }

  vec3 color = texture2D( uTex, uv ).rgb;

  gl_FragColor = vec4( color, 1.0 );
}
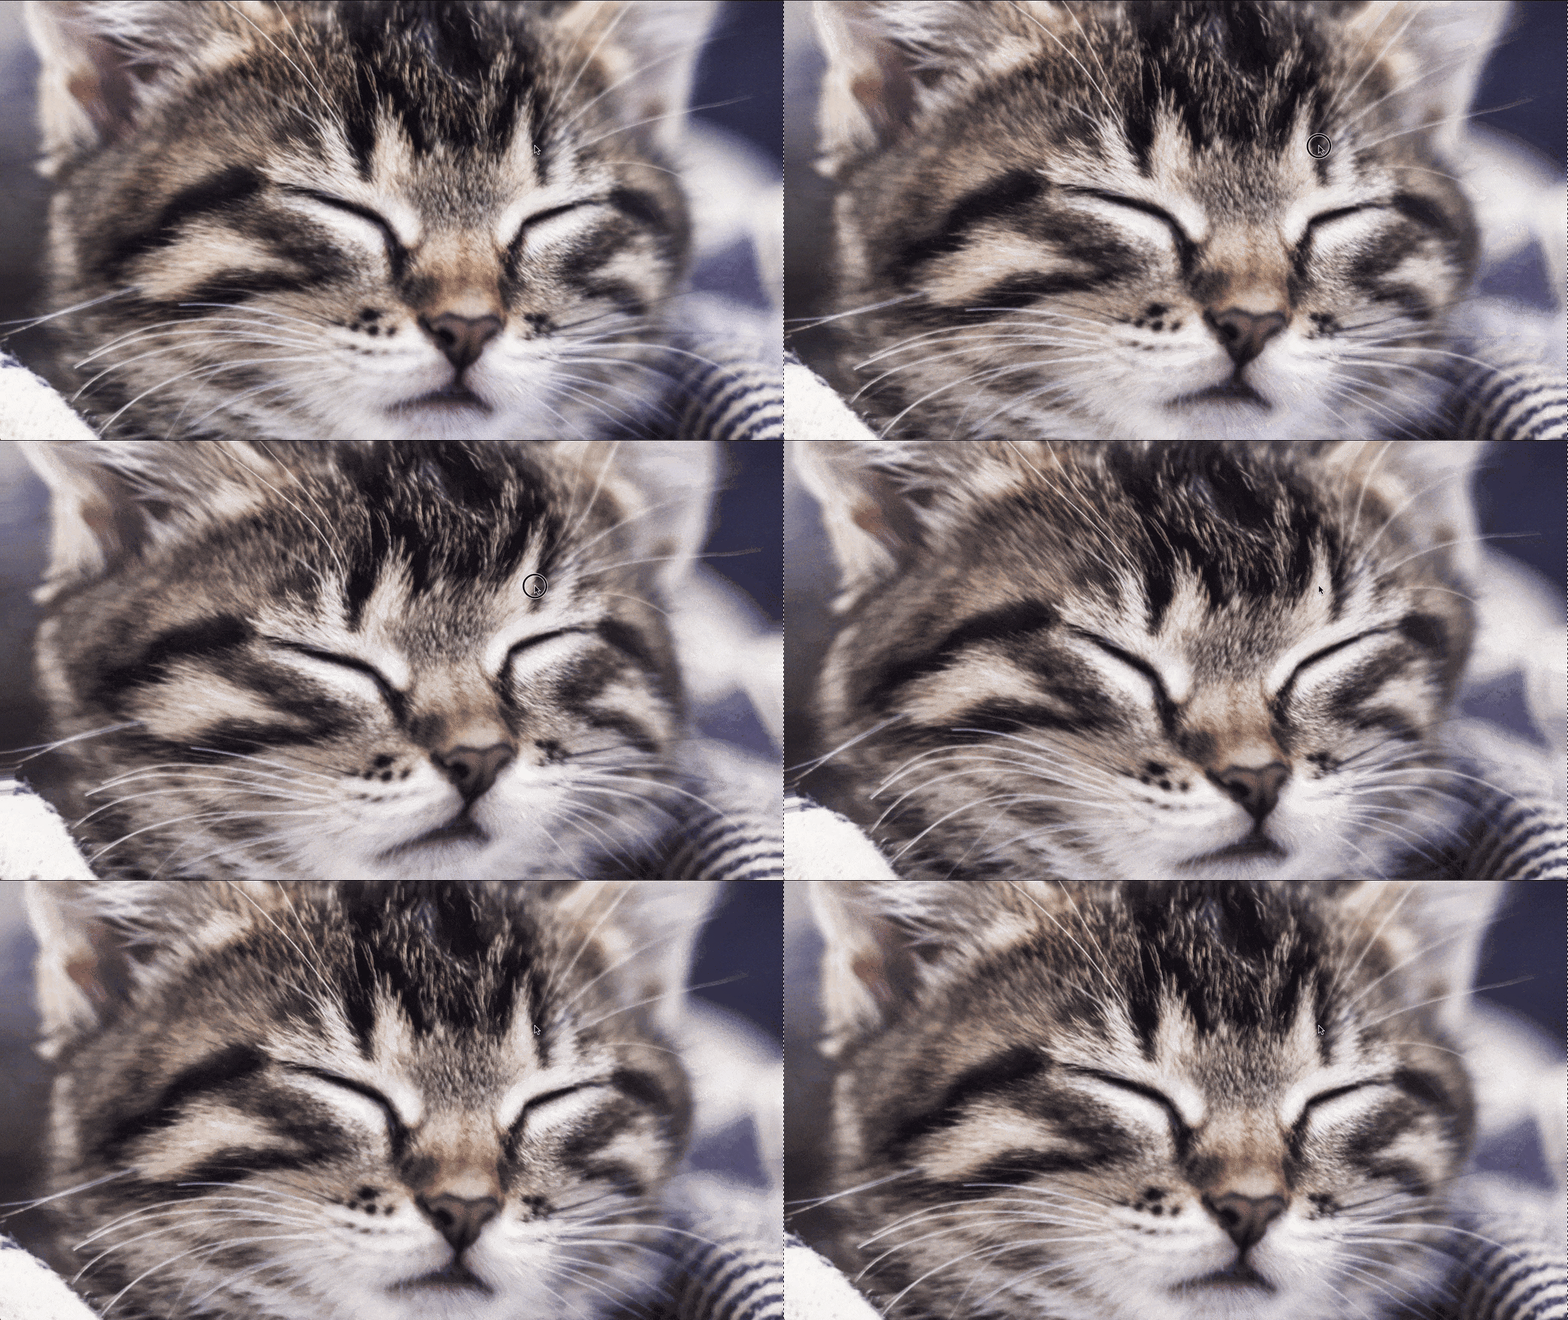
エフェクト:ゆらゆら
texture2D()に渡すUV座標をsin(), cos()でオフセットして、色の取得先を波っぽくずらします。
varying vec2 vUv;

uniform float uTime;
uniform float uPercent;
uniform sampler2D uTex;

void main() {
  vec2 uv = vUv;

  float t = uTime * 6.;
  float amount = uPercent * 0.02;

  vec2 uvOffset = vec2( cos( uv.y * 20. + t ), sin( uv.x * 10. - t ) ) * amount;

  vec3 color = texture2D( uTex, uv + uvOffset ).rgb;

  gl_FragColor = vec4( color, 1.0 );
}
シェーダーエフェクトはどれも小さな計算式の組み合わせで成り立っているので、こまめに途中式を変数に入れて名前をつけておくと、あとで見返したときにもわかりやすくなるとおもいます。
