最近AWSに触ることが増えていろいろと学ぶことがありました。
その学んだことの中でもAWS CloudFormationが今後色々役に立ちそうなので、
備忘録的な感じで残したいと思います。
AWS CloudFormationとは
AWSのリソースをモデル化およびセットアップするのに役立つサービスです。
詳しくは公式を参照ください。
https://docs.aws.amazon.com/ja_jp/AWSCloudFormation/latest/UserGuide/Welcome.html
AWS上で構築したインフラストラクチャをコードとして残して置くことができるだけでなく、
そのコードを元に再度環境を構築することができるため複製することや管理することが簡単になります。
AWS CloudFormationを使用してインフラを構築する
インフラの環境をコードとして落とし込むにはJSONもしくはYAMLの形式のファイルを用意します。
今回はインターネットに接続することを想定した仮想サーバーの環境をYAML形式で構築してみたいと思います。
使用するリソースはEC2インスタンスになります。
はじめにVPC周りの設定を行い、最後にEC2の設定を行います。
VPC等の用語についての説明は公式を参照してください。
https://docs.aws.amazon.com/ja_jp/vpc/latest/userguide/what-is-amazon-vpc.html
AWSTemplateFormatVersion: '2010-09-09'
Parameters:
  EC2KeyName:
    Type: AWS::EC2::KeyPair::KeyName
    Description: SSH public key
    Default: MyKey

Resources:
  # -------------------------
  # VPC
  # -------------------------
  VPC:
    Type: AWS::EC2::VPC
    Properties:
      CidrBlock: 10.100.0.0/16
      EnableDnsSupport: true
      EnableDnsHostnames: true
      InstanceTenancy: default
      Tags:
        - Key: Name
          Value: VPC

  GatewayAttachment:
    Type: AWS::EC2::VPCGatewayAttachment
    Properties:
        InternetGatewayId: !Ref InternetGW
        VpcId: !Ref VPC

  # -------------------------
  # Route
  # -------------------------
  RouteTable:
    Type: AWS::EC2::RouteTable
    Properties:
      VpcId: !Ref VPC
      Tags:
        - Key: Name
          Value: RouteTable

  Route:
    Type: AWS::EC2::Route
    Properties:
      RouteTableId: !Ref RouteTable
      DestinationCidrBlock: 0.0.0.0/0
      GatewayId: !Ref InternetGW

  # ---------------------------
  # RouteTable Associate
  # ---------------------------
  PubSubnetRouteTableAssociation:
    Type: AWS::EC2::SubnetRouteTableAssociation
    Properties:
      SubnetId: !Ref PubSubnet
      RouteTableId: !Ref RouteTable

  # ---------------------------
  # Security Group
  # ---------------------------
  SecGrpEC2:
    Type: AWS::EC2::SecurityGroup
    Properties:
      GroupDescription: Web Server Rule
      VpcId: !Ref VPC
      Tags:
        - Key: Name
          Value: EC2-Sec
      SecurityGroupIngress:
        - { IpProtocol: tcp, FromPort: 80, ToPort: 80, CidrIp: 0.0.0.0/0 }
        - { IpProtocol: tcp, FromPort: 22, ToPort: 22, CidrIp: 255.255.255.254/32, Description: MyIP}

  # ---------------------------
  # Subnet
  # ---------------------------
  PubSubnet:
    Type: AWS::EC2::Subnet
    Properties:
      CidrBlock: 10.100.1.0/24
      VpcId: !Ref VPC
      MapPublicIpOnLaunch: True
      AvailabilityZone: ap-northeast-1a
      Tags:
        - Key: Name
          Value: PubSubnet

  # ---------------------------
  # InternetGW
  # ---------------------------
  InternetGW:
    Type: AWS::EC2::InternetGateway
    Properties:
      Tags:
        - Key: Name
          Value: InternetGW

  # ---------------------------
  # EC2 instance
  # ---------------------------
  EC2Instance:
    Type: AWS::EC2::Instance
    DeletionPolicy: Delete
    Properties:
      AvailabilityZone: ap-northeast-1a
      ImageId: ami-068a6cefc24c301d2
      InstanceType: t2.micro
      KeyName: !Ref EC2KeyName
      SubnetId: !Ref PubSubnet
      BlockDeviceMappings:
        - DeviceName: /dev/sdb
          Ebs:
            VolumeSize: 20
            VolumeType: gp2
      SecurityGroupIds:
        - !Ref SecGrpEC2
      UserData:
        Fn::Base64: |-
          #!/bin/bash
          yum -y update
          yum install -y httpd
          systemctl start httpd.service
          yum install -y docker
          service docker start
          usermod -a -G docker ec2-user
          curl -L "https://github.com/docker/compose/releases/download/1.9.0/docker-compose-$(uname -s)-$(uname -m)" -o /usr/local/bin/docker-compose
          chmod +x /usr/local/bin/docker-compose
      Tags:
        - Key: Name
          Value: EC2Instance
※AMIについてはAWS側で用意されているものになります。
以上の設定でインターネットに接続可能なEC2インスタンスを構築することができました。
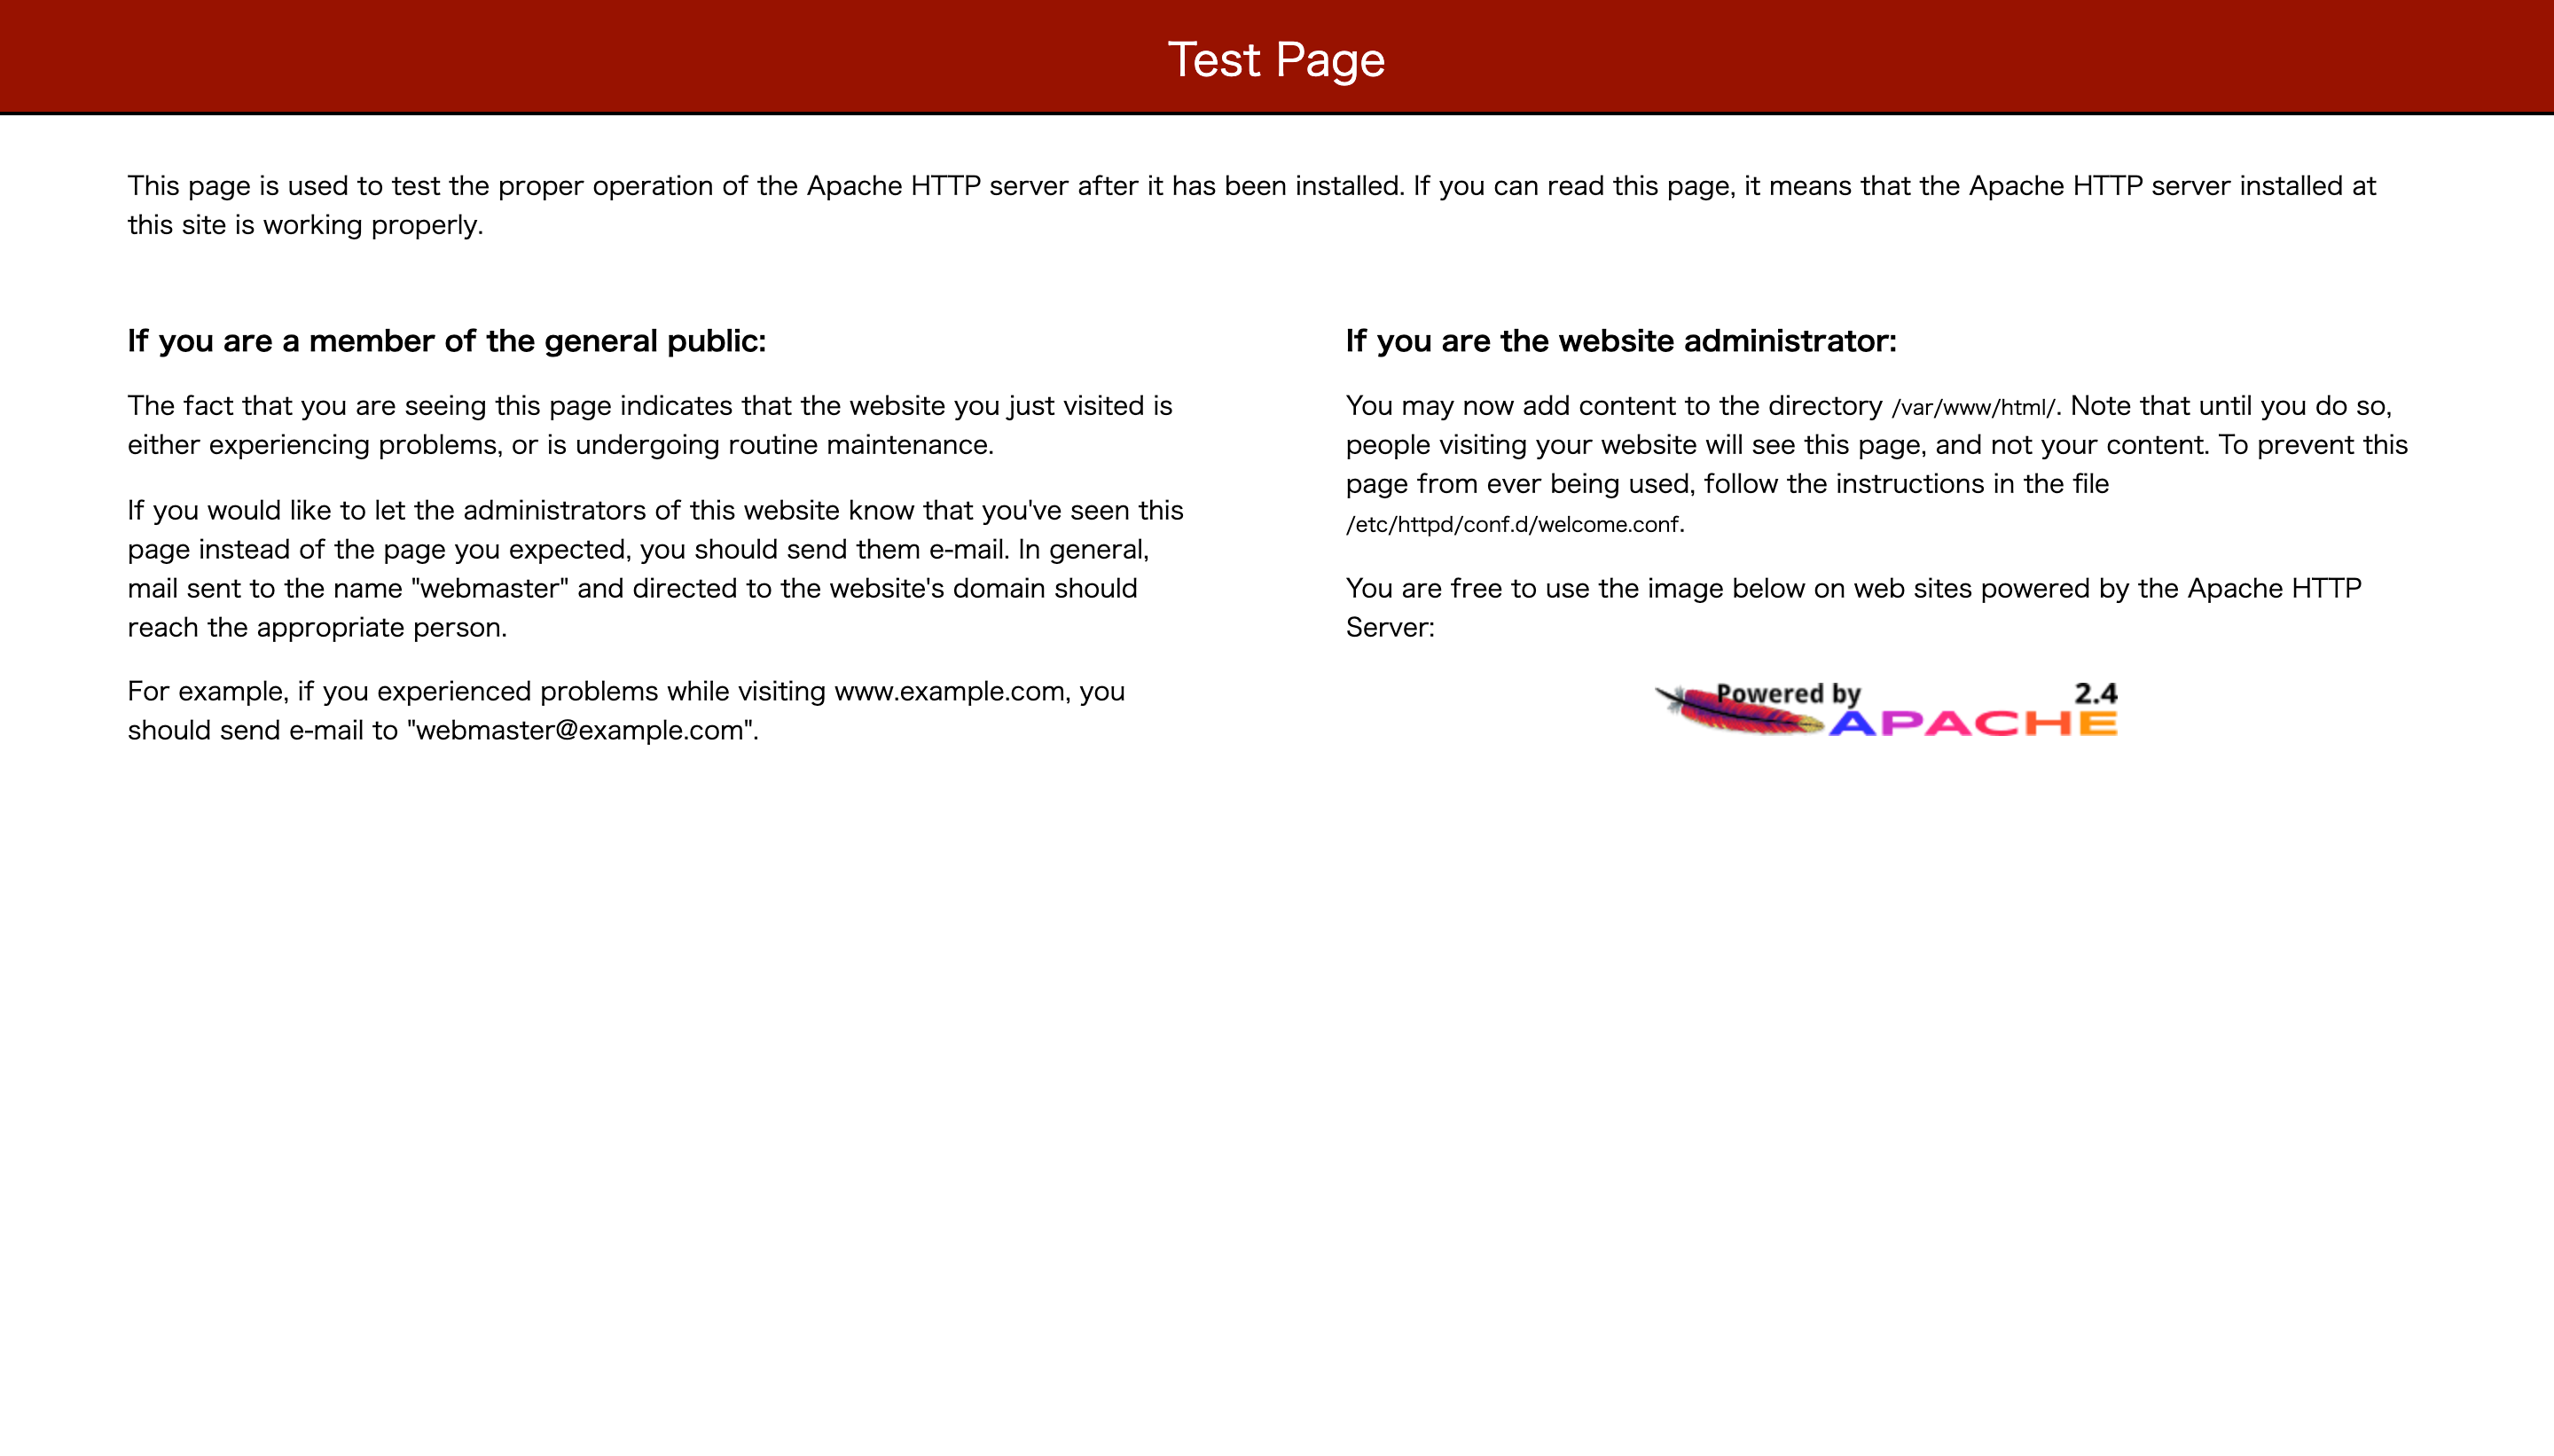
実際にURLから遷移するとApacheの画面が表示されています。

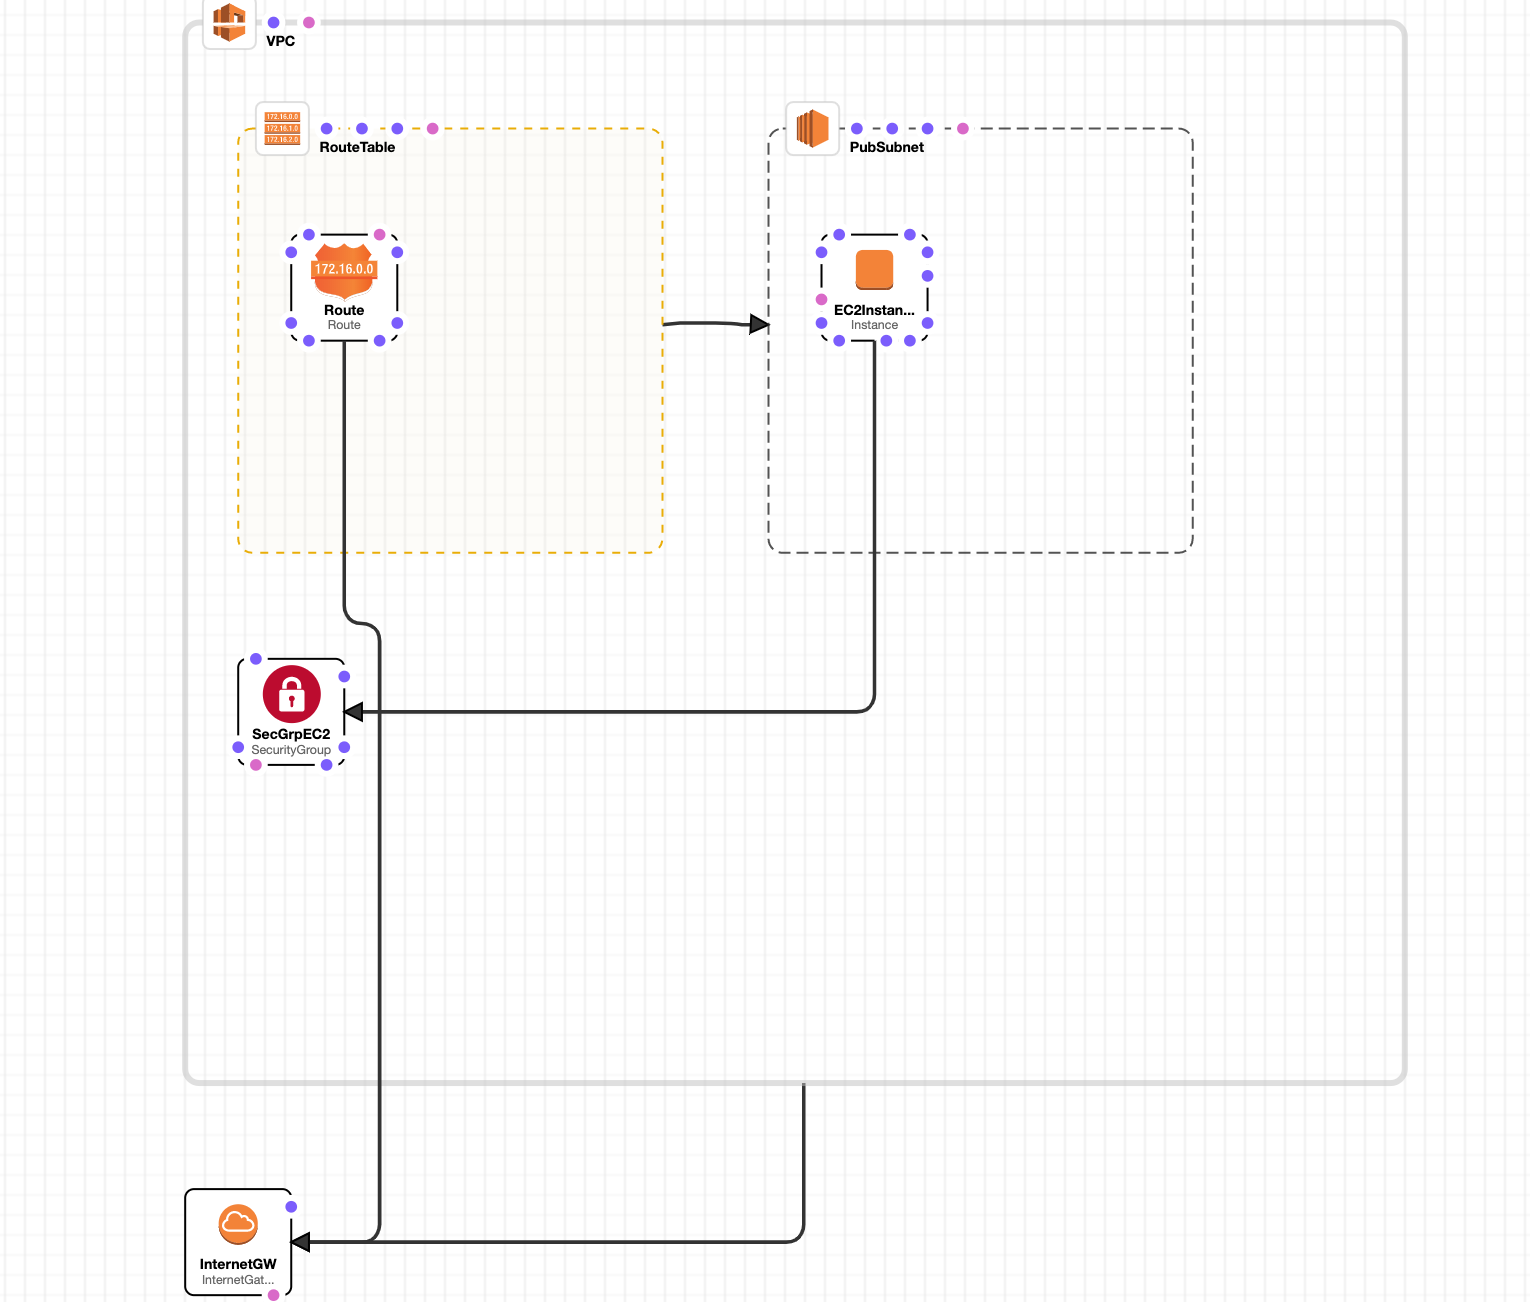
またCloudFormationのデザイナー機能で今回構築した環境を確認することもできます。

CloudFormationではEC2インスタンスを立てたときに実行させたいコマンドを
ユーザーデータとして設定することできます。
今回はEC2インスタンスを立てた時にDockerを入れるように設定しています。
また、DeletionPolicy: Deleteをつけることによって
CloudFormationでは構築したファイルを削除した時に使用したリソース全てを削除することができるためリソースの消し忘れによる課金を防ぐことができるという点でも便利だと感じています。